Since immigrating to Canada, as you’d expect, we’re starting from the beginning with everything. Furniture, accessories and food [like, spices. You don’t realise how long it takes to build up your cupboard until you have absolutely nothing]. We’ve been here 2 months and while it’s going to take a lot longer to get everything we need, I am able to start thinking about small projects to work on. One of them was some kind of storage for Cora’s toys.
I looked online for secondhand trunks and storage boxes but I didn’t fall in love with anything so I continued tossing Cora’s toys into the corner of her room. Then through an ad on Instagram, I was suggested a paper storage bag for toys. I thought it was cute, light and soft but at $30 [plus tax and shipping], I was unfortunately put off a bit [see first paragraph about how expensive the past few weeks have been].
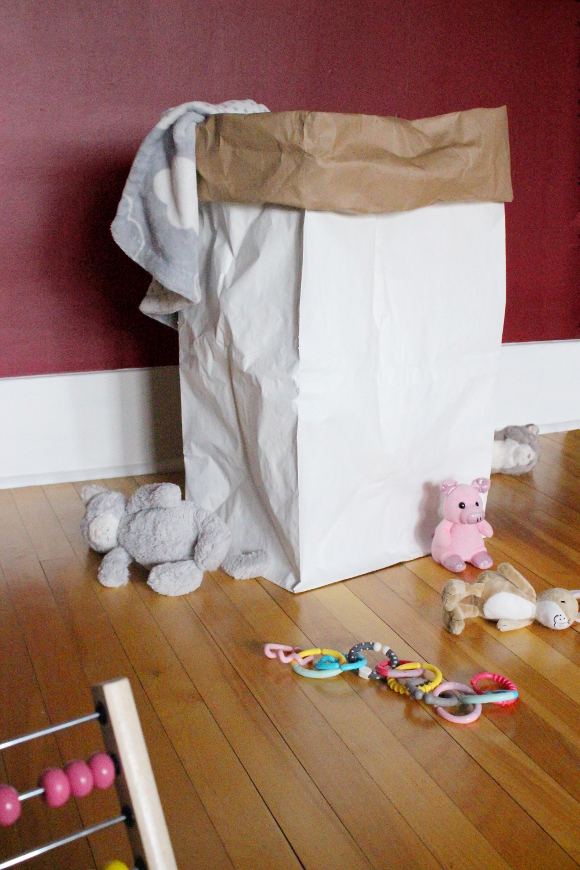
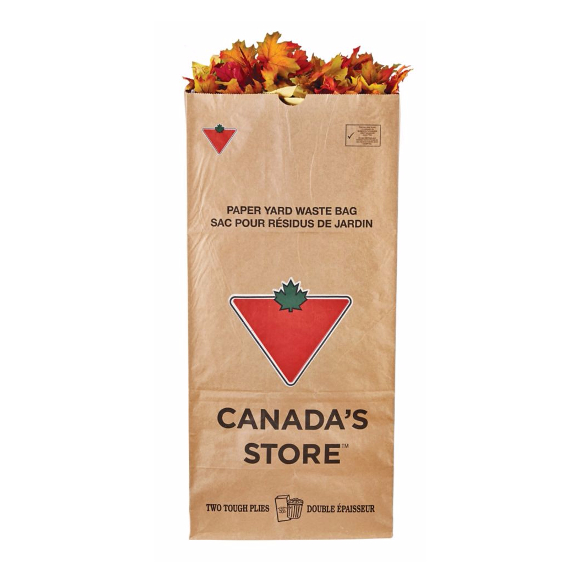
A few weeks passed and on our way home one day we passed a driveway with paper yard waste bags from Canadian Tire waiting to be collected. I saw them and immediately thought, “How perfect would they be for storing Cora’s toys! If I painted one white, it could sit unassumingly in our living room and chaos would be restored to every aspect of our lives.” Perfect.
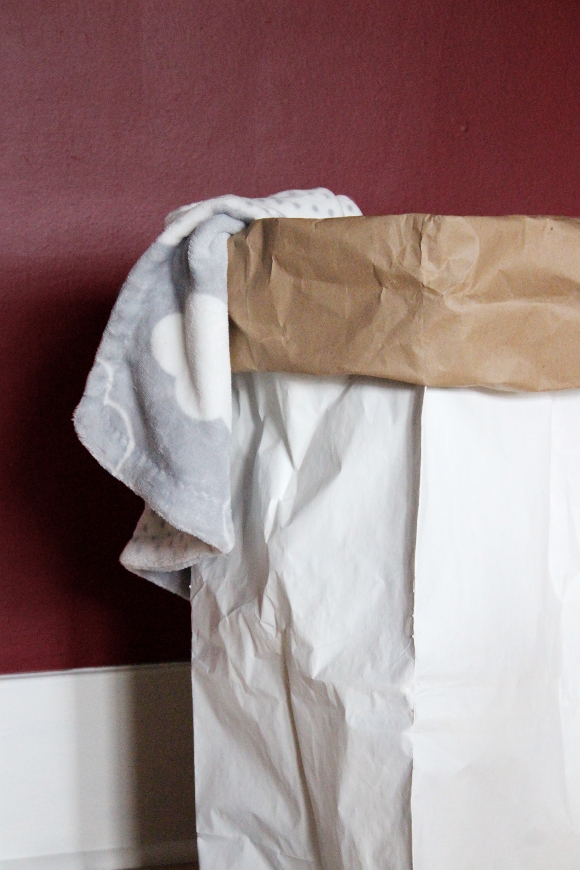
The next time I visited our local Canadian Tire I bought a pack of 5 bags for $2.69, headed home and began painting one white [which, by the way, was A LOT harder than I thought it would be]. That’s when I realised I was basically just making one of those paper storage bags I saw online a few weeks earlier. I was hesitant about sharing my project because it looks so simiar to the branded versions and I didn’t want it to seem like I’m copying them, but at the same time, I did think of the idea by myself too. After an overwhelming response to my Instagram stories poll and 100% of the vote going to “YES! BLOG IT!” [vs. “NO, YOU’RE A BAD PERSON”], I decided to blog it!
I’ll be honest in that it was pretty tricky at times trying to paint the bag [it continually collapsed while I was trying to paint the sides and I had the added bonus of teething toddler hanging out of me], so I wouldn’t blame you for wanting to buy one online and save yourself some hassle. BUT, if you’re like me, and like doing stuff yourself, my version cost me $0.53 for one bag [I used white paint I already had]. Not bad for something that Cora might literally tear through one day.


This is such a cool idea, and I can't believe how cheaply you did it!! It's a really different and interesting way to store Cora's toys. I'm really impressed that you even thought to create this from a garden waste bag! xx
Haha, thank you Maria! I'm so proud with how it turned out and I'm even hoping to paint another bag (as it came in a pack of 5 bag) burgundy for Cora's room! The white bag doesn't really stand out in her room. So burgundy it is! (Naturally. Duh ;))