A decorative plate display for our dining room

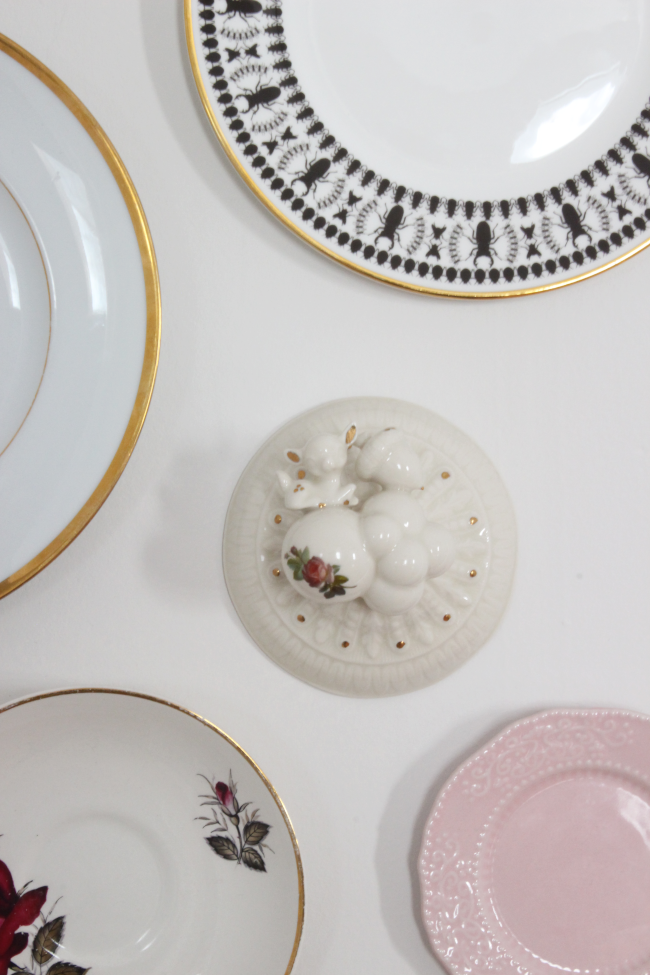
A few weeks ago I added a plate display to our dining room and I’m so pleased with how it turned out. I added some of my favourite thrifted plates along side some very fancy one-of-a-kind plates I’ve collected over the years.

A lot of the steps I took to hang the plates are pretty obvious, but since I encountered some trial and error [i.e. I dropped a plate], I thought I’d share my whole hanging process as this was the first time I’ve ever hung up decorative plates.
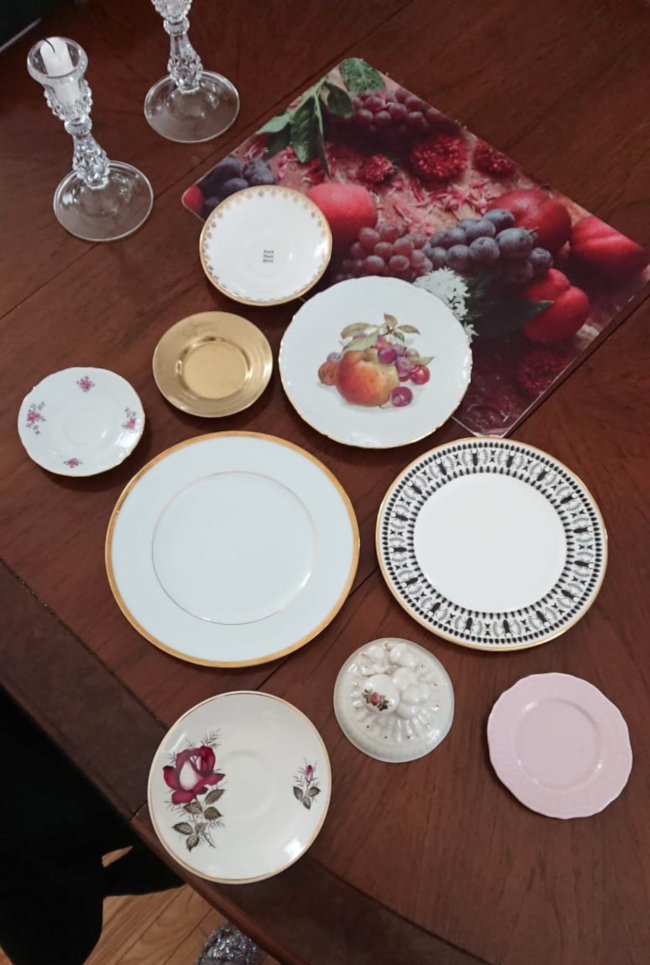
I started by making an arrangement with our plates [above] and swapped them around until I was happy with how they looked. I next left them on our dining room table for 5 days and awkwardly ate each meal around them. This step is optional.

I next worked on how to hang up the plates. Two of the plates came with hooks already fixed to the back, and I think we were in a state of lockdown when I was working on this [I’m loosing track of lockdowns at this point], so it wasn’t an option for me to walk into our local hardware store to pick up some sort of plate hooks, so I DIYed my own. I took some pull tabs, bent them slightly with plyers, and super-glued the bottom to the back of the remaining plates [seem below]. As an added strengthener, I super-glued a long piece of masking tape through each the pull tab. This looks 9,000% flimsy, but the masking tape sealed rock-hard to the back, adding extra “just in case Cora goes on a stomping rampage” insurance to each plate. Trust me, this is incredibly secure.
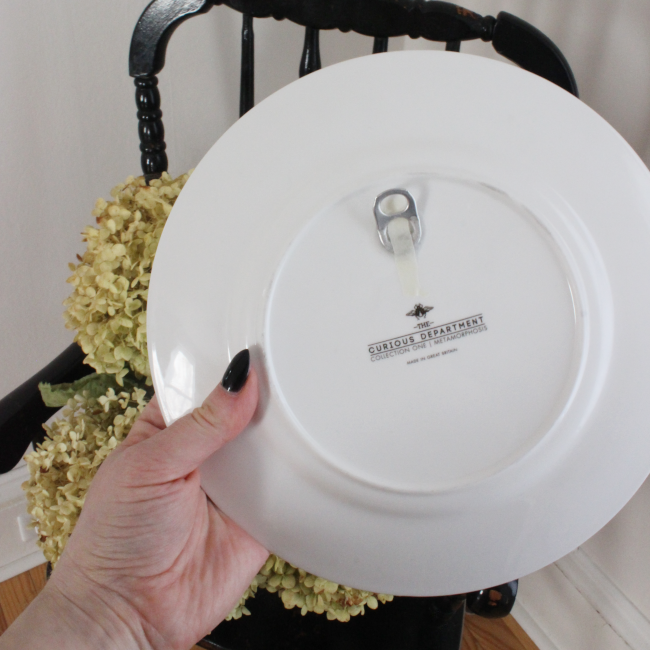
I then began adding the plates to the wall by starting with placing the two largest plates as a starting point, then adding one plate at a time. TOP TIP: it’s a total pain in the ass, but take every plate down before you hammer in a new nail [so your pattern will be: hang up a plate, hold up another plate, mark the next nail, and take down all previous plates before nailing in the next nail]. I didn’t do this in the beginning and my hammering caused the large plain plate to jiggle off the nail and fall. Luckily, it didn’t break. Taking all the plates off before nailing in the next nail is a total time-suck, but worth it in the end.
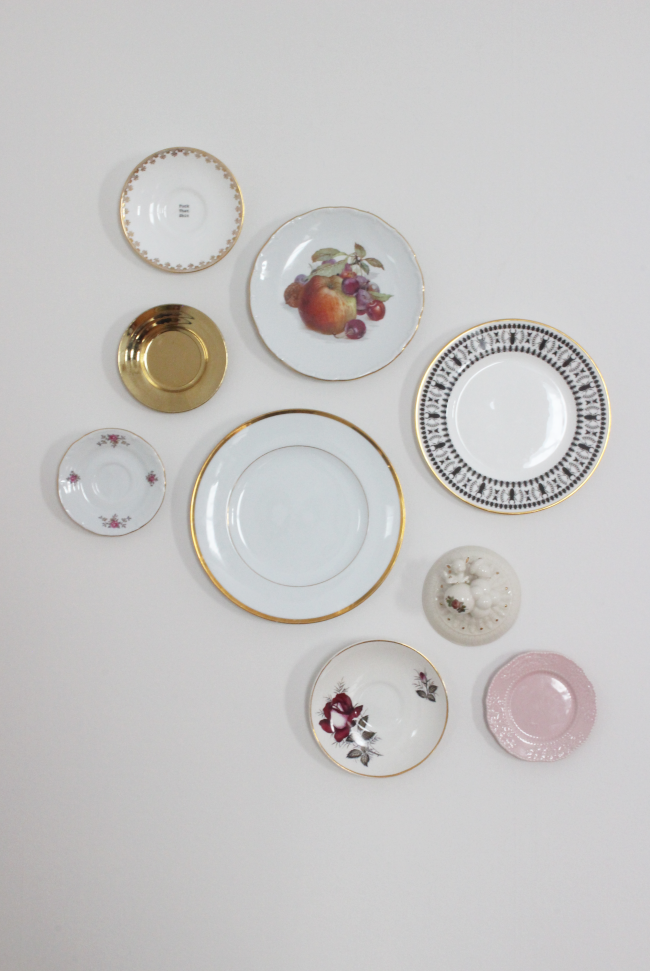
SOURCE LIST:
1. Fuck That Shit decorative plate by Lou Brown Vintage
2. Thrifted gold plate
3. Thrifted side plate from Value Village
4. Plate left in our Lower Town apartment by previous tenants
5. Thrifted side plate from a charity shop in Dublin
6. Insect Mandala side plate by The Curious Department
7. Bubble wall sculpture by Lana Filippone
8. Thrifted tea set from a charity shop in Dublin for our wedding
9. Plate left in our Lower Town apartment by previous tenants

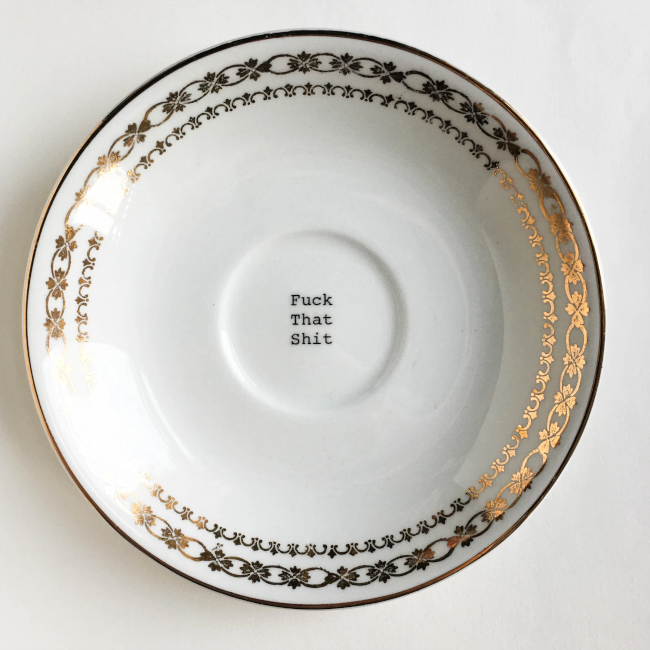
Special mention for one of my favourite plates which was a recent pregnancy insomnia purchase, Fuck That Shit plate from Lou Brown Vintage [pictured below is a similar plate since they’re all one-of-a-kind]:
I have many more plates I’d like to add to this corner in our dining room. A good few of which will be from Canadian artists I’ve found through Instagram over the past while, and there will be more thrifted plates as well. I’d love to have so many plates that they overflow onto the next wall.

In short: this plate display virgin is a solid convert.
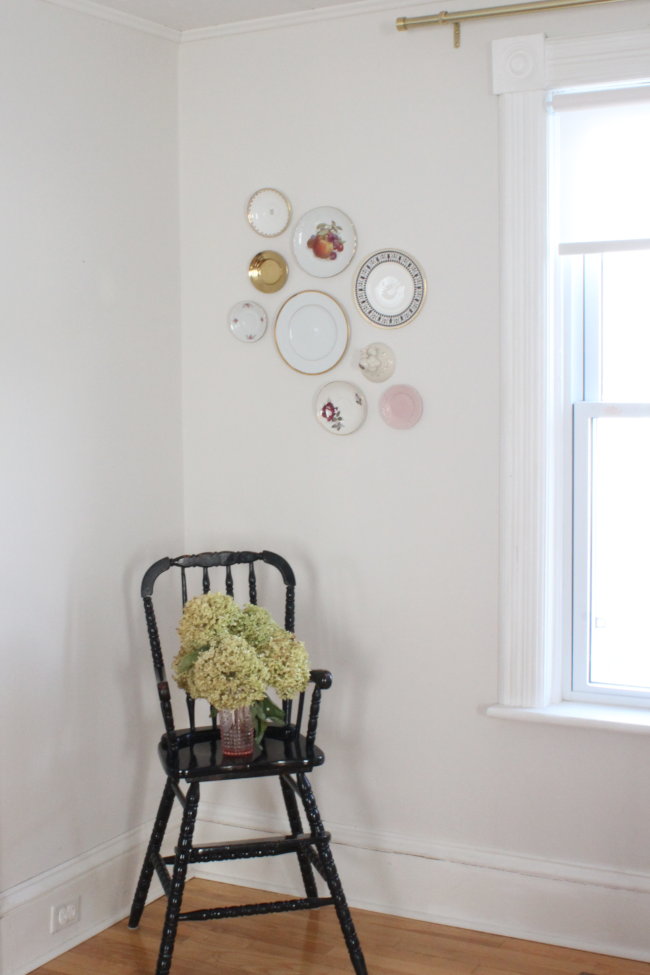
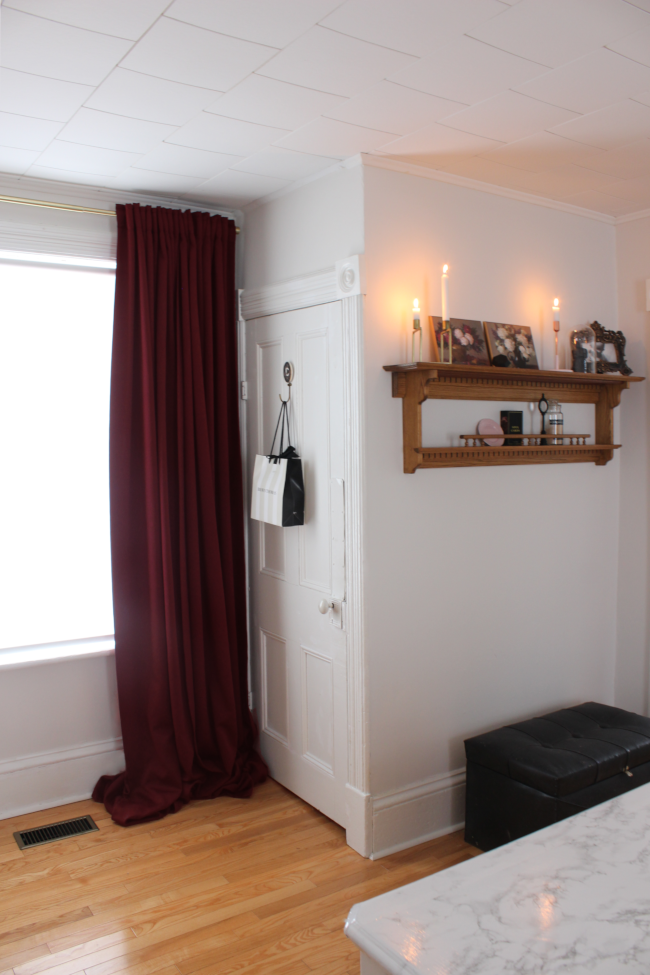
Also featured: secondhand painted black highchair, pretty gold curtain rods

Slow design – curtain rods

If your first reaction to reading the headline of this post was, “wow, it must be a slow news day if you’re writing about curtain rods”, then you wouldn’t be far off.

There are so many little projects I want to start on our house, but I never know where to start. I am not afraid to admit I don’t have a clear design plan yet for our home, and for some reason I feel guilty. Maybe from seeing bloggers move into a home and within a month, their whole house is redesigned. No thank you, that’s not me, and I’m learning it’s okay to be doing design slowly. One of those slow design decisions recently was looking for a beautiful set of curtain rods for our dining room.

By this point you will probably not be surprised to hear that I first looked for a long time for some curtain rods secondhand online. I searched and searched, but I gave up because the secondhand curtain rods I did find online were …

  • Cheap, low quality or made of plastic
  • Wildly overpriced [some people need their heads checked]
  • Didn’t fit our window dimensions
  • Couldn’t find more than one of the same style
  • Straight up fugly

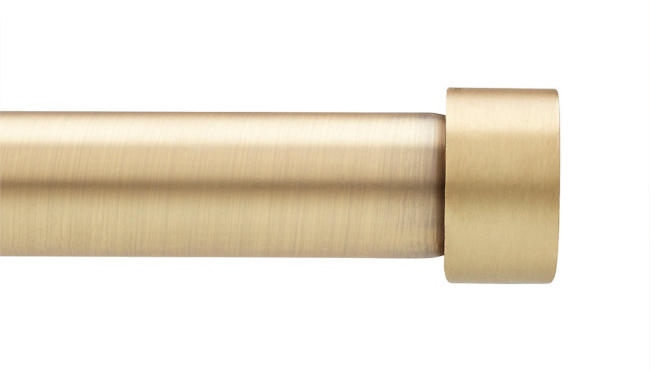
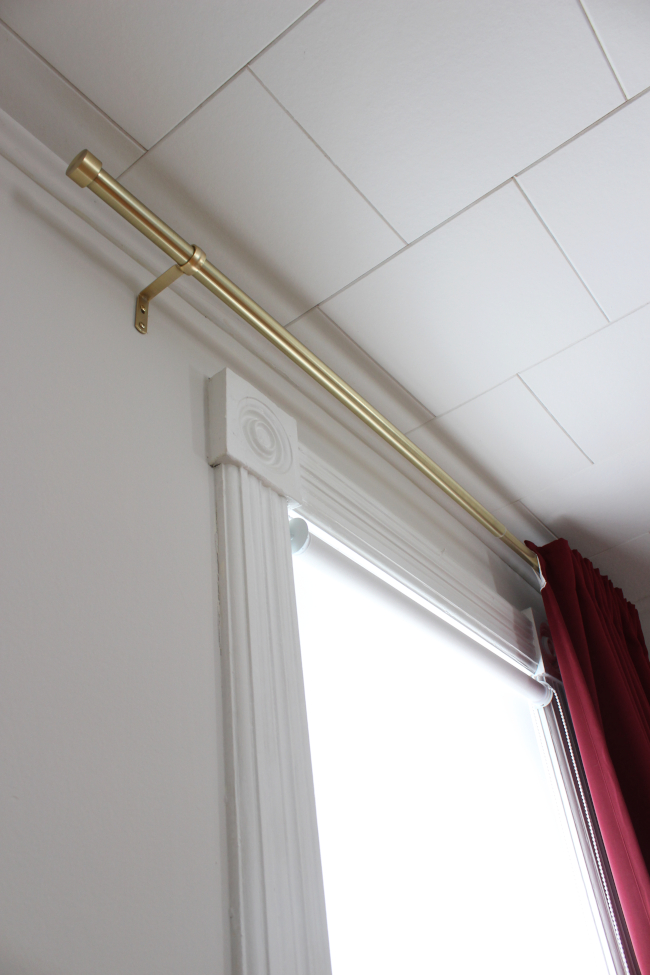
I tried my best, I did. But I gave up and started looking online for some alternatives. If I was going to buy new curtain rods, I wanted them to be sleek and really lovely. I found the brass finish Umbra Cappa [which sounds like a fraternity from Monsters University] curtain rods from Home Depot at $30. I took a chance and ordered two rods; one for each window in our dining room.

We collected them from our local Home Depot and I immediately hung one set up by our basement door. I hung our IKEA curtains [I don’t think they sell them anymore so I won’t try and link to them] and I think they look so perfect. It’s a really subtle addition having brass curtain rods in our dining room, but a detail I completely love.

I will conclude this post with a quote from Robert:

“You’re going to hang curtains? But we already have blinds on the windows … Isn’t that enough?”

Bless.

Top Five Blog Posts for 2018

While I didn’t blog nearly as much as I would have liked to this year, I did work on some projects that I really enjoyed. To cap off 2018 I thought I’d share my five most popular blog posts as chosen by you! 

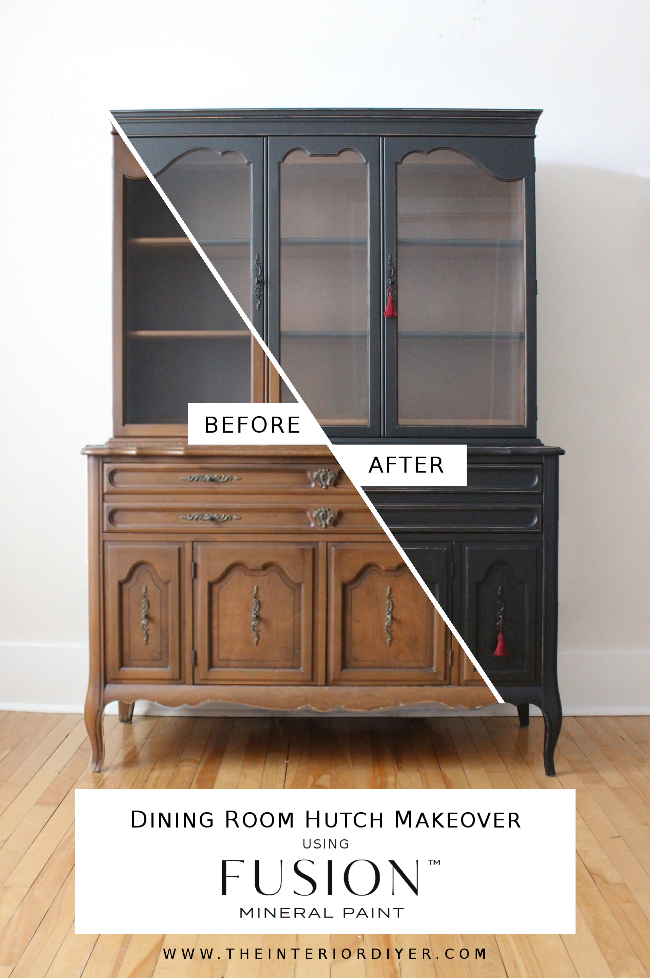
Dining room hutch makeover in Coal Black – One of my favourite painted updates this year by far. Finding and updating such a perfect piece for our dining room makes me want to buy big pieces of furniture for every room and repaint them.

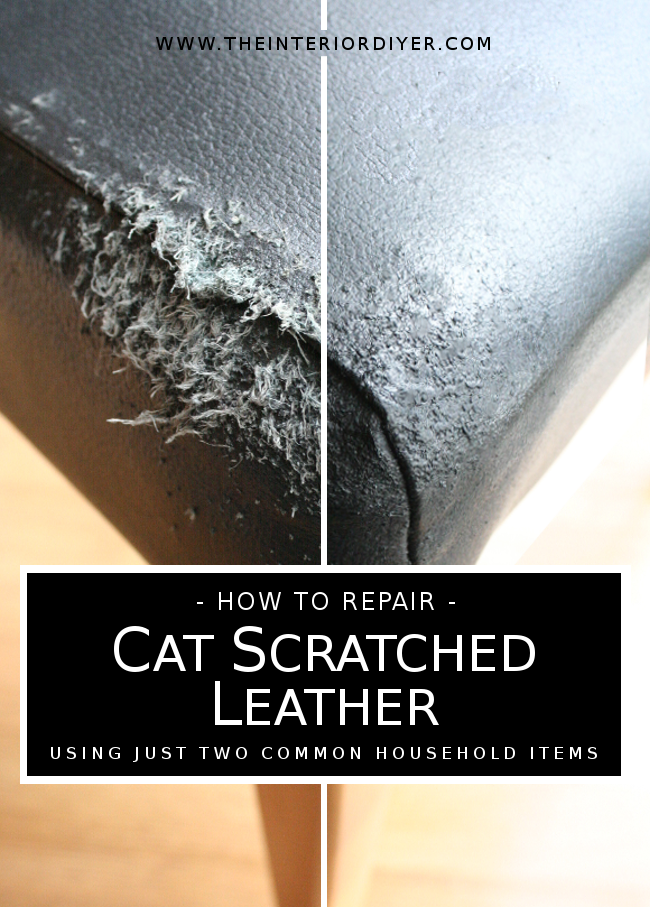
How to repair cat scratched leather using just two household items!

How to repair cat scratched leather – An old blog post of mine from three years ago that’s becoming more and more popular thanks to Pinterest! Turns out a lot of people have cats that also enjoy destroying things. You are very welcome here.

One Room Challenge Spring 2018 – Much like some time after having a baby, you forget the physical pain it caused you and you consider doing it again. My One Room Challenge this spring was pretty intense mentally and physically, but I’m already thinking about the next room I want to tackle.

Painting a leather chair using Fusion Mineral Paint – My next most favourite paint update this year was my secondhand leather armchair I painted black. I’m sitting in it right now and I will honestly say it is still in perfect condition.

Click through to four top tips for sourcing secondhand pieces online! #Secondhand #Thrifted

My top tips for buying secondhand items online – I’m glad this made it into my top five blogposts for 2018 as this is one of my favourite pastimes; searching for my next secondhand piece online.

And thank you if you checked out my blog some time in 2018. It means a lot that in the fleeting age of Instagram, people are still vising blogs. Even if it was just to have a snoop.