Last weekend we had some dear friends over for dinner. As per the usual, the table was one of the last things sorted. I’m the kind of person who over-cleans for guests; I end up cleaning areas of our apartment that I’ve never even seen, never mind our guests. Because you know, in case they find themselves on top of the cupboards in our bathroom, I’d like it to be presentable. You never know.
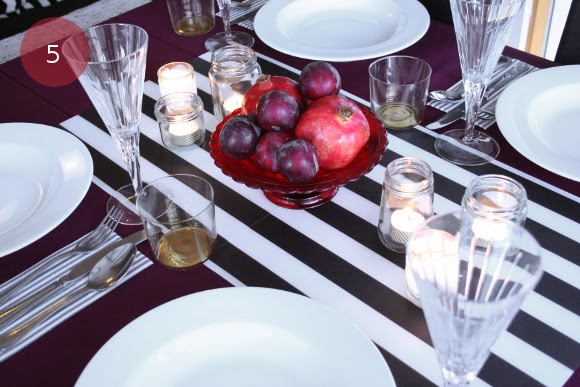
When I finally tackled the table, I kept it relatively simple, but I wanted some impact so I went with some bold colours. With Christmas fast approaching, the decor for this table doesn’t necessarily scream Christmas, but it can easily be adapted and customized to whatever time of year you want – birthdays, Easter, Thanksgiving or set for two for Valentines Day. So here’s what I did …
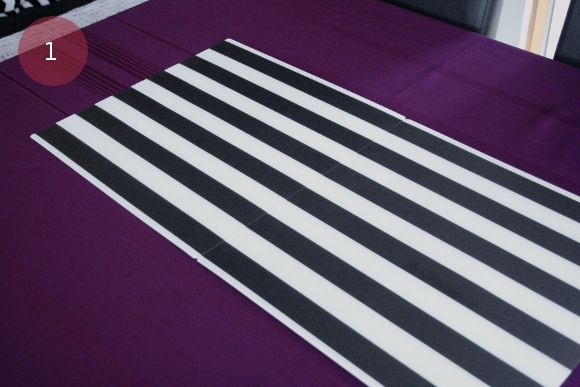
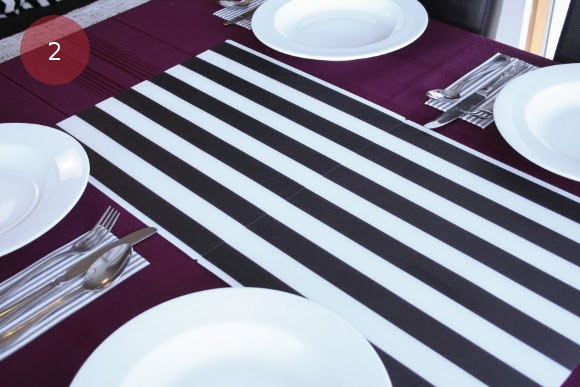
^ Step 1 – keep it basic with a table cloth and runner. I have a plum table cloth I stole borrowed from my parents years ago because it’s my favourite colour. I didn’t have a runner so I cheated and put two IKEA LJUDA placemats together and added them to the centre of the table. If you don’t have a table cloth – no need to panic. The same goes for a runner – just use what you have – some unfolded napkins, a scarf or even a section of wrapping paper will do the trick. Think outside the box.
^ Step 2 – napkins, cutlery and plates. Keep it simple. I went with plain white plates, some LAGLIG grey and white stripe napkins we already had {which tie in with the striped ‘runner’}, and I used our really standard cutlery. No need to faff about with the good cutlery.
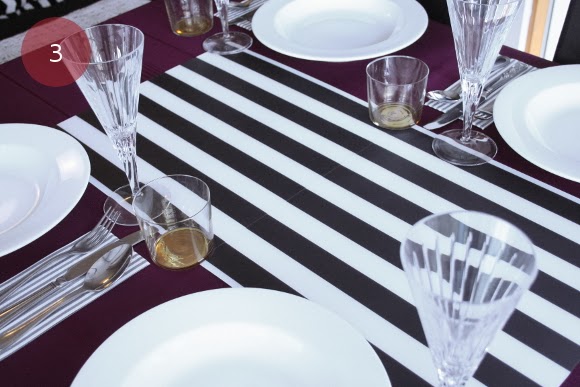
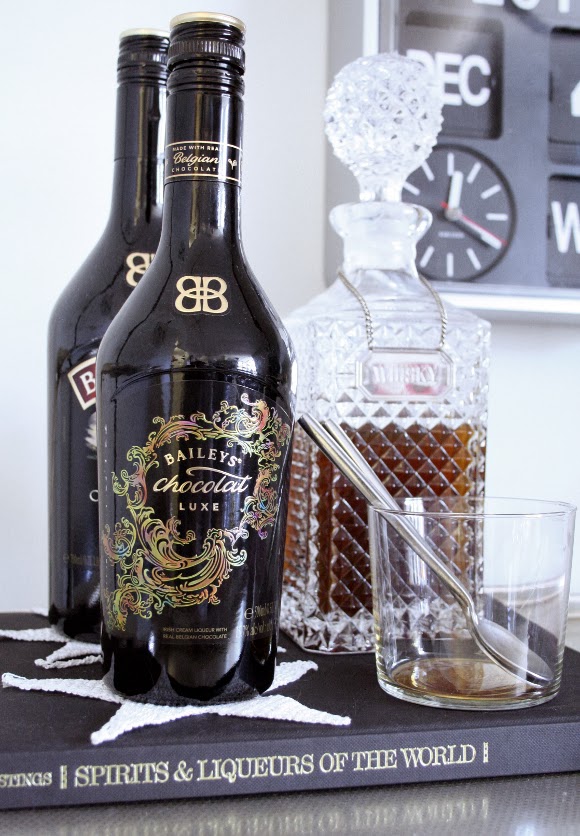
^ Step 3 – glassware! Normally I wouldn’t add tumbler glasses to a table, but I couldn’t resist bringing out my gold tumblers while I was taking these pics {they usually lay dormant on our bar cart}. Otherwise we’d just have wine glasses. Because just, well … wine. No explanation necessary.
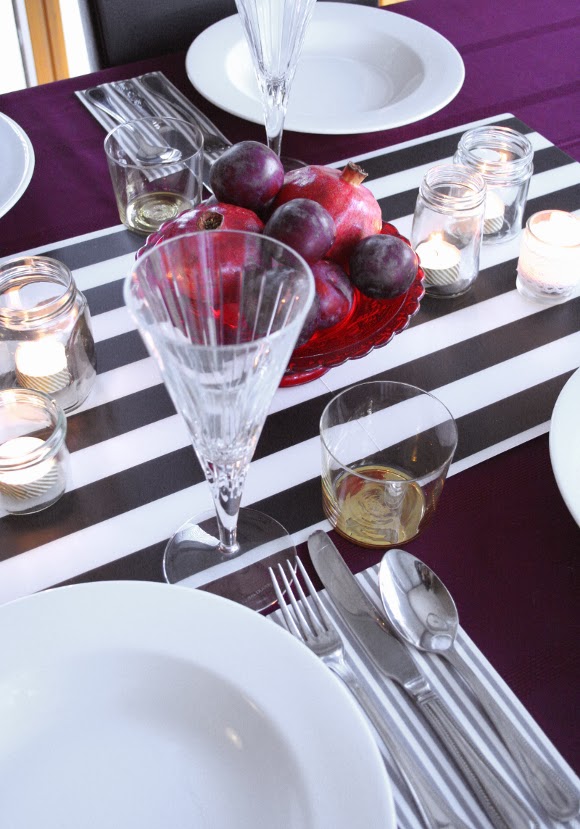
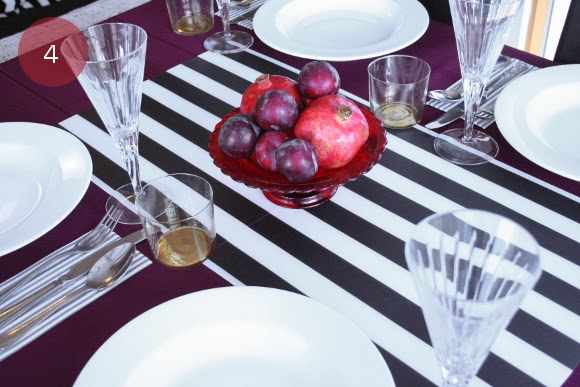
^ Step 4 – a centre piece. I kept it really easy and used what I had at my disposal. I had a little red cake stand and some fruit in the kitchen that matched the table. I bought these pomegranates the other day as they were reduced to clear {€0.60 each}, I loved their colour, and to be honest I bought them ’cause they’re pretty. I piled on some plums and there’s a centre piece for under €3. You like my plums?
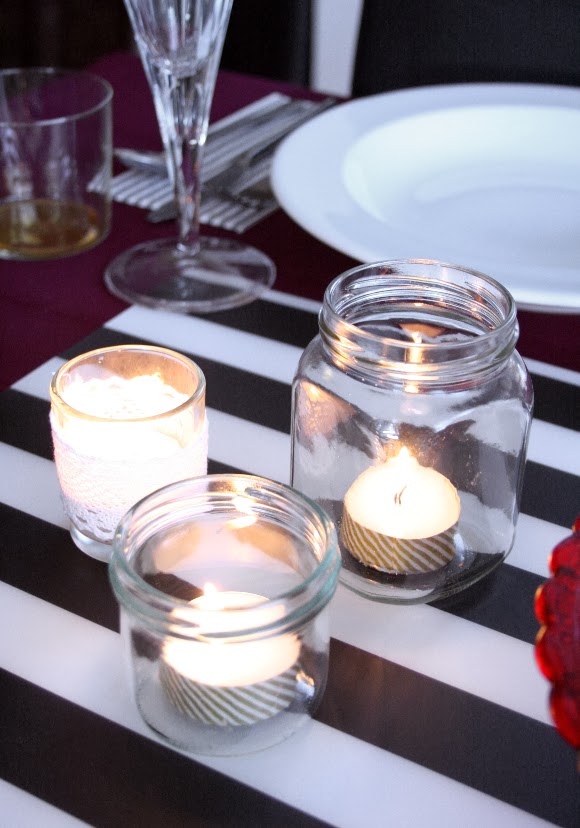
^ Step 5 – tealights. Confession: I’ve hated tea lights for years. They’re so tiny. What’s the point? But recently I’ve started rooting for them and they’re especially handy for decorating tables. What I did with my tea lights was add some gold striped washi tape to each tea light {thanks Pinterest} and popped them into clean jam jars. I think it’s a perfectly quirky and a bit of a rustic addition to the table.
You of course can add as much or as little stuff as you want, but I found sticking to these basic five steps really handy when I was decorating our table. So there you have it. Happy entertaining! xx A

