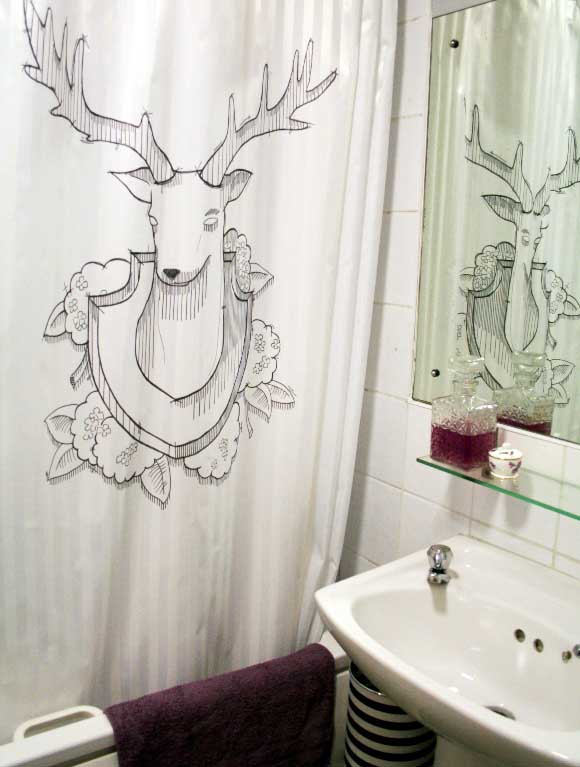
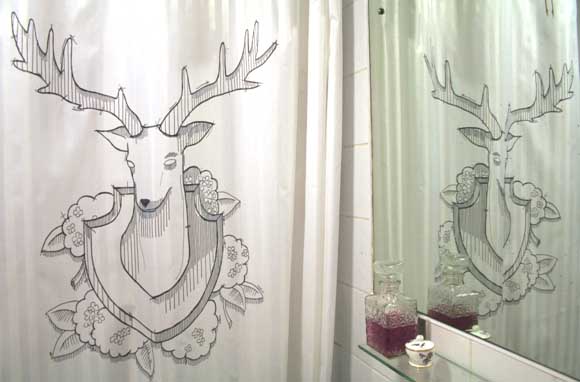
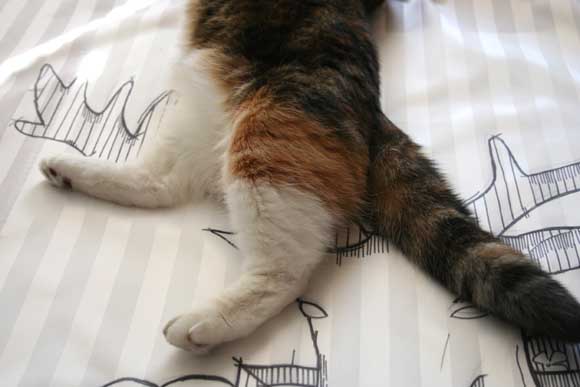
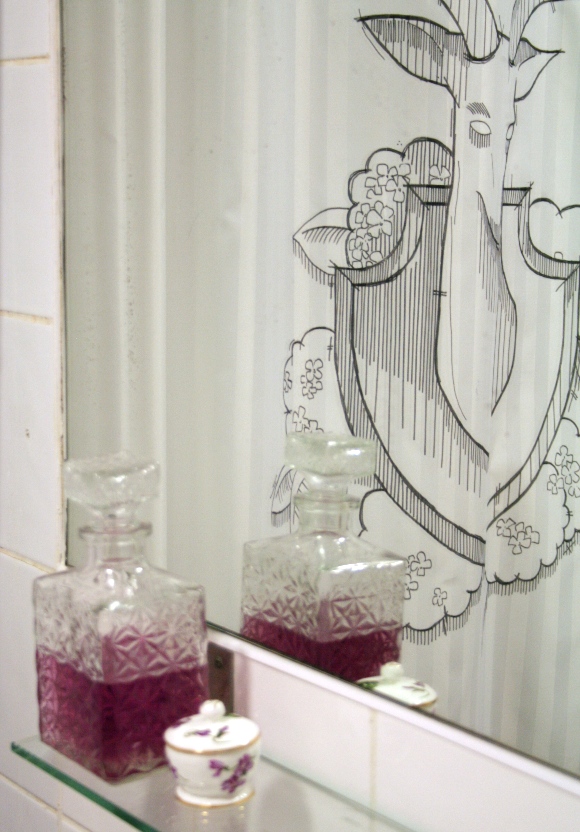
Our bathroom has received an unfair amount of design neglect this past while. I wanted to add a bit of pizzazz to it and thought what better way than via our shower curtain. With a marker in hand and three hours later, I added this Sharpie shower curtain to our bathroom, and I
finally have
those antlers I’ve wanted. Kind of …
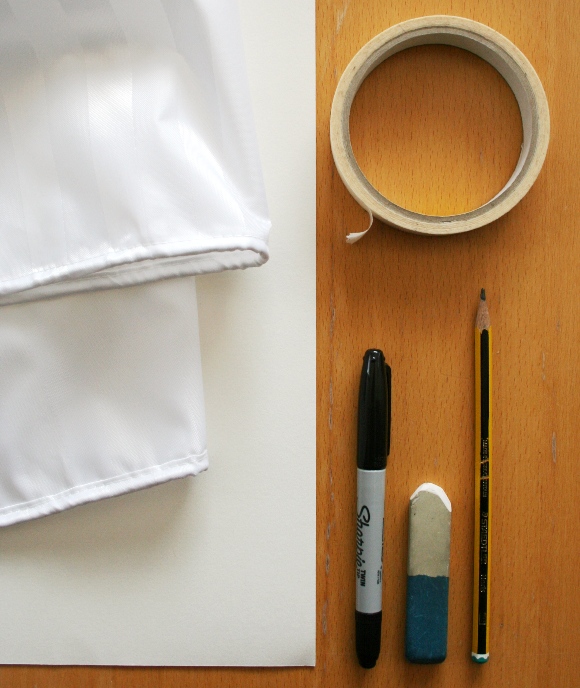
What you’ll need – a shower curtain {preferably 100% vinyl. I couldn’t find one and used a fine weave 100% polyester curtain and it worked out fine}, paper large enough to sketch on {tip – use the reverse side of a roll of wrapping paper if you don’t have large pieces of paper}, masking tape, a
Sharpie permanent marker, eraser, pencil and an imagination.
Step 1 – decide on what to draw on your shower curtain. This can be the hardest step. I magiked up this little number on Photoshop. This isn’t necessary, but Photoshop helped me quickly draw, erase, and rearrange my idea without wasting paper. I prefer the unfinished look of this sketch, so I kept the raw lines in my finished piece. This rough style of drawing also shows you don’t have to be 100% accurate to tackle a piece on this scale. You can choose to copy an existing image onto your shower curtain – you don’t have to create something from scratch. No judgement here.

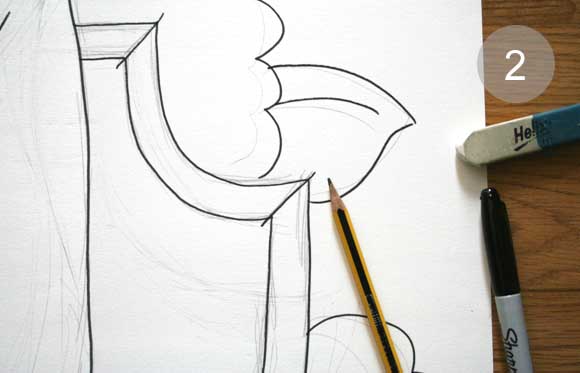
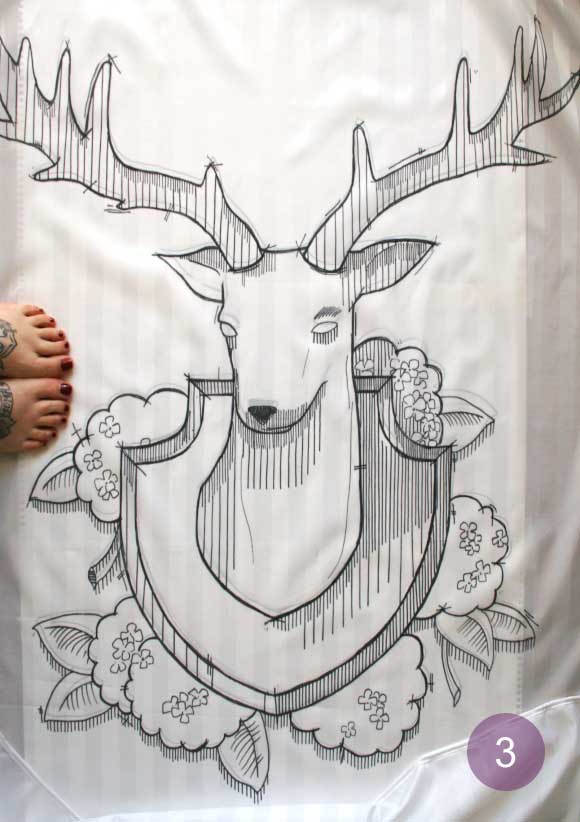
Step 2 – secure your paper to the floor with tape and draw your design in pencil. When you are happy with it, go over your design in marker. You will use this as a template. You can also choose to use this as your step 1 and skip the Photoshop malarkey if you like. Step 3 – lay your shower curtain over your template and draw your design using the permanent marker. You can tape down your shower curtain if you like to stop it moving around. I didn’t. I like living on the edge.
Step 4 – I ironed my shower curtain at this stage because I have OCD. This step is not necessary, but it was a step I took to make it nice and smooth. Please use caution when ironing a shower curtain. Don’t use the highest setting as we are dealing with plastic here, folks. Step 5 – c’est fini! Hang up your shower curtain, and enjoy!
You can make your design as simple or as complicated as you like. I think I may add more to ours at a later stage. I more so think this would be a fab weekend project for kids. A cheap and cheerful way to add some young people’s artwork into your home. And for those of you wondering, yes the Sharpie marker is permanent and no the water from the shower doesn’t effect it.
I hope you have an awesome weekend lined up. If the weather holds up here, I foresee lots of walks outdoors and who knows – maybe flip flops.
Happy Friday folks 🙂 xx A

