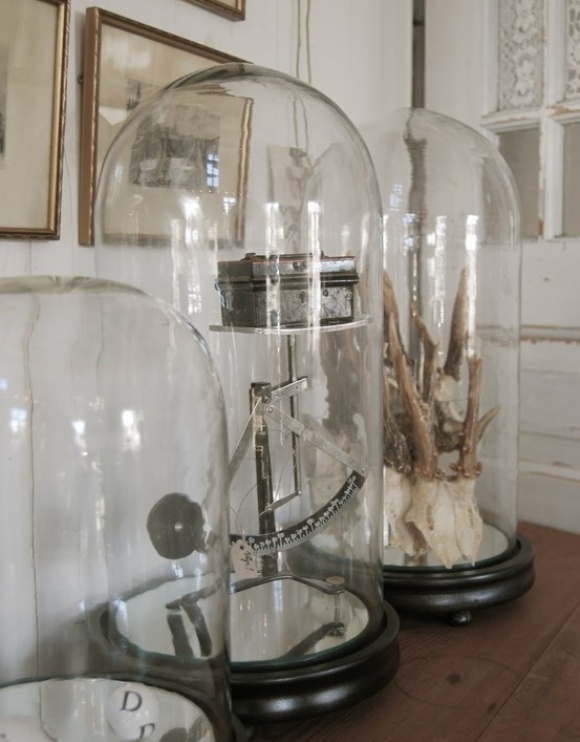
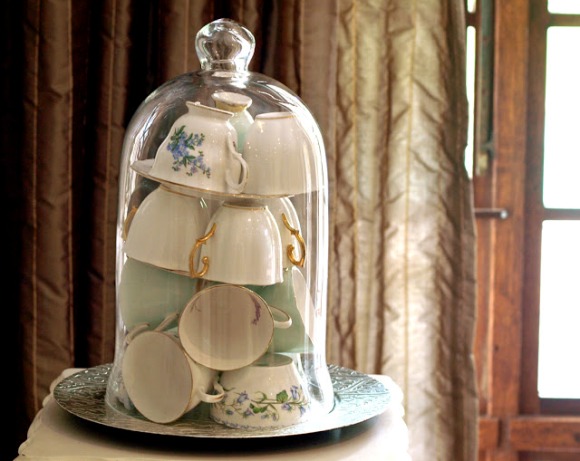
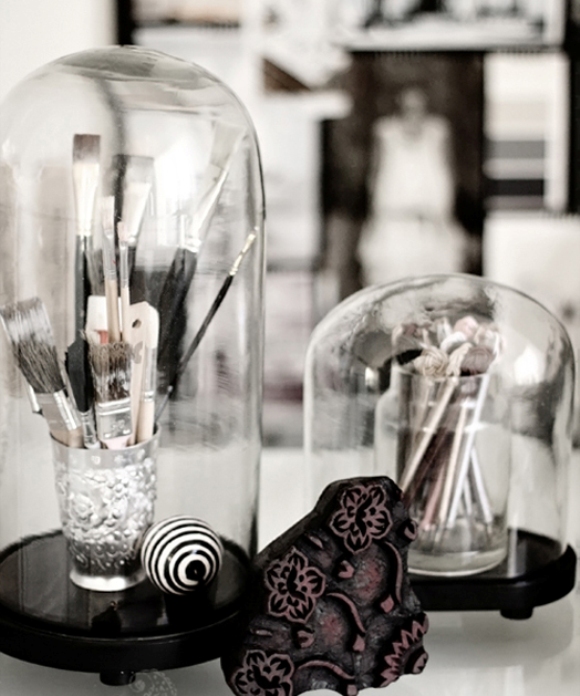
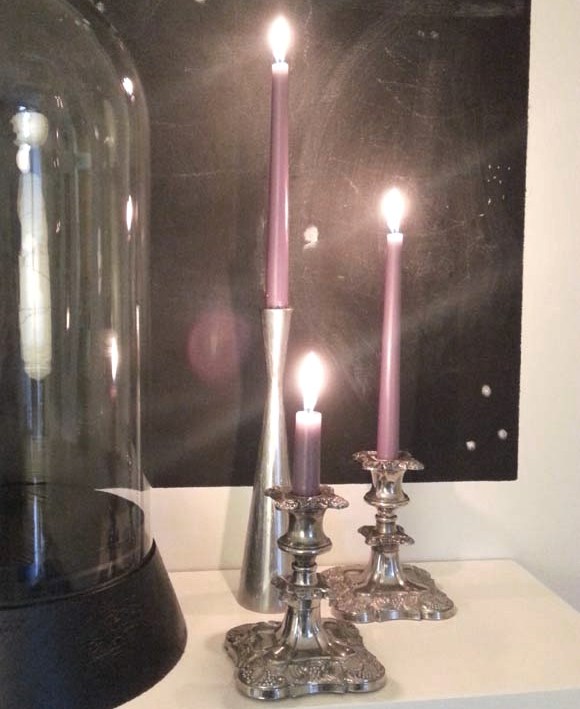
As of recently, my new obsession curiosity with bell jars and cloches may be quite apparent. If not, it will become blatantly obvious after this post.
I was shmoozing the internet machine the other night when I saw a tip on how to clean out old candle jars. This got me thinking about cloches, and how my leftover
Yankee Candle jar may be a not too distant relative of a cloche – it just didn’t know it yet.
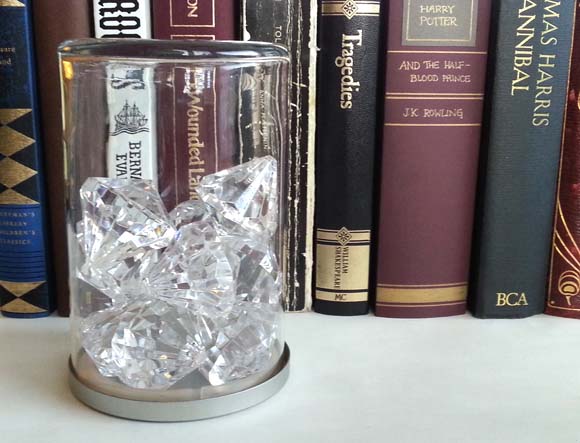
Below is how I turned a doomed candle jar into a cloche {or ‘bell jar’} …
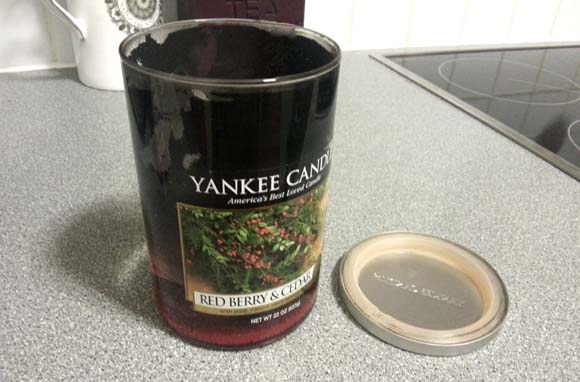
Step 1 : burn out your generic / Yankee Candle until rendered otherwise useless. Mine got super sooty which only increased the amount of winning this DIY got, since it makes the after picture look 8,000 times better.
NOTE: this will work best with
tumbler shaped jars. Meaning, straight up and down. Having said that, there’s nothing wrong with trying different shaped jars. You won’t find jar racism here.
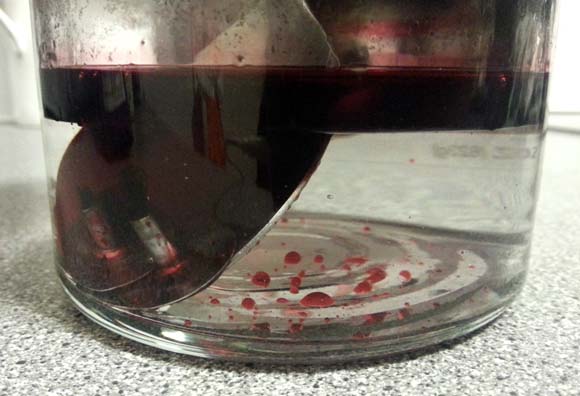
Step 2 : add a metal object to said jar – I used a large heavy spoon. This is so when you pour in boiling water, the glass doesn’t shatter. This bit always terrifies me – slowly pour in hot water almost to the top. I had to get hubby to pour the water in. That’s how much this freaks me out. But it turned out fine, so you shouldn’t worry.
You’ll notice the wax begin to float to the top of the water. This is good. Leave your jar to sit for about 45 minutes. Allow the water and wax to cool.
Step 3 : once the wax has reformed and is cool enough to handle, pull the wax off the top. It will still leave a rim of wax, but this can be taken care of easily.
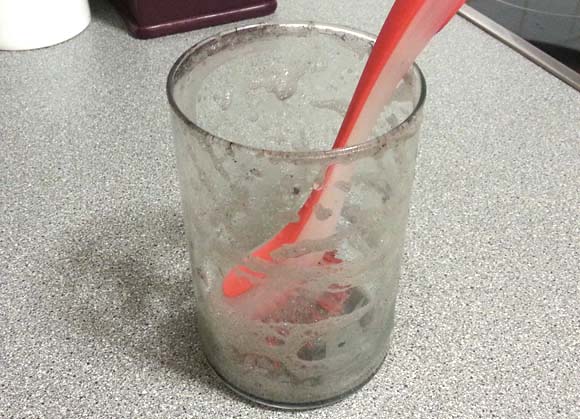
Step 4 : clean and scrub and clean your jar. The leftover wax can be cleaned off quite easily with a bit of elbow grease and soap.
LABEL REMOVAL TIP: most labels should peel off easily enough. Some may need some scrubbing action, but the really tough labels need the nail polish remover treatment. Use some toilet paper or tissues and use on jar as if you’re getting rid of nail polish. This worked a treat for me.
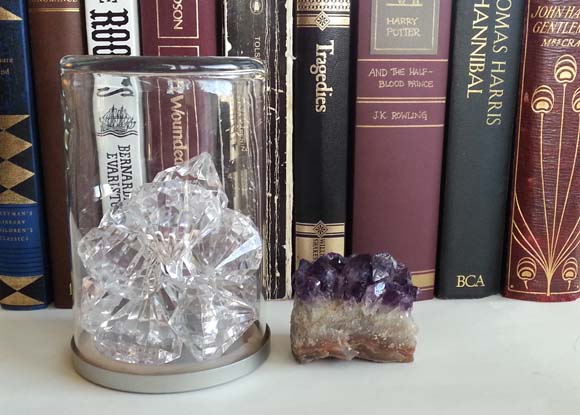
Step 5 : fill jar with whatever lovelies you prefer, put on the lid, and gently turn over. You can also go sans lid by tuning over the jar onto your hand, and then gently placing it onto shelf or surface of your choice.
And there you have it! Quite a simple and effective DIY if I may say so myself. Happy crafting, homies! xx A

