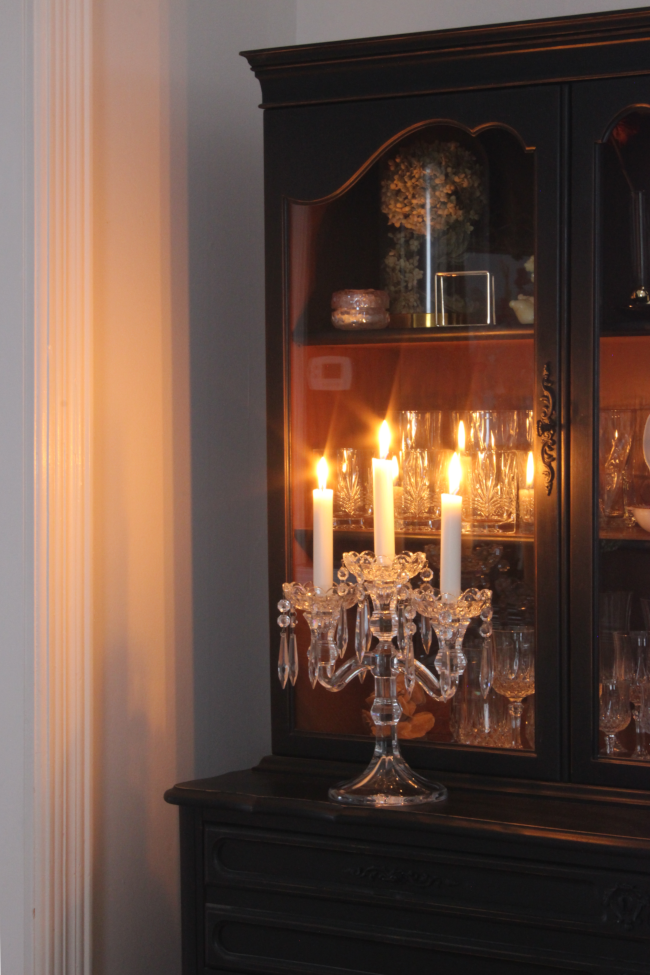
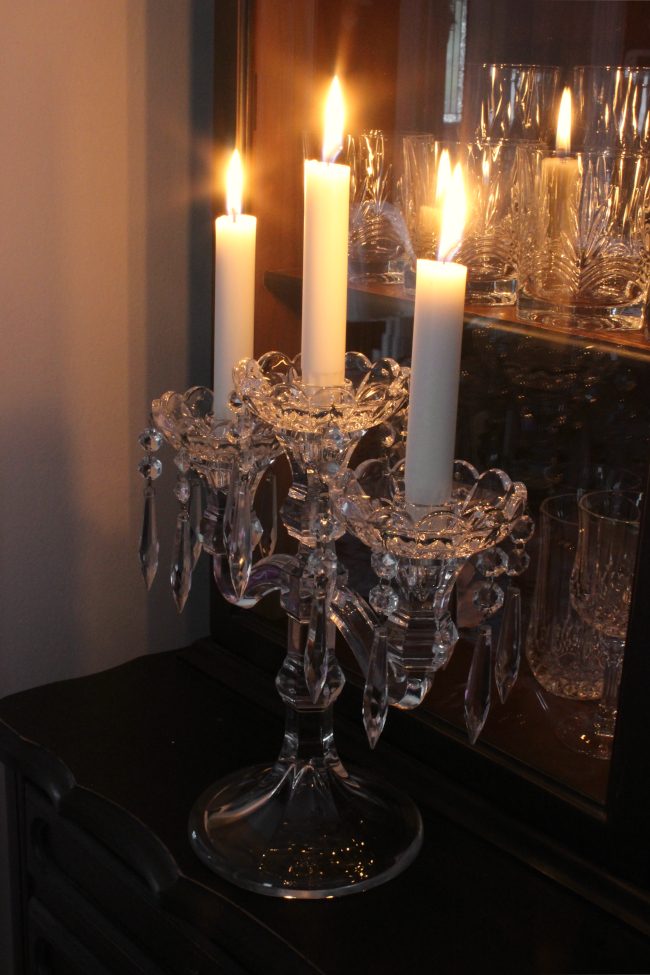
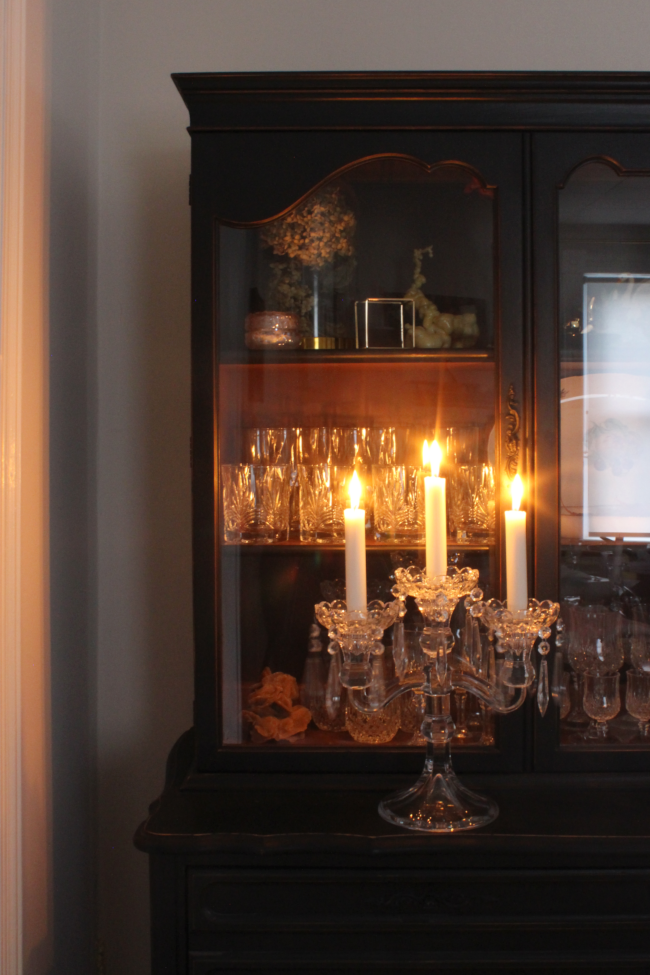
When Erin of The Collection Vintage at Home messaged me a few weeks ago asking if I’d like her thrifted crystal candelabra, I couldn’t type YASSSSSSS fast enough.
Ahead of her impending house move, Erin was downsizing some of the items in her home and when she originally shared her thrifted crystal candelabra she purchased through Facebook Marketplace earlier this year, I was not-so-quietly a huge fan. She had originally been on the lookout for lucite candlesticks and the lovely trio she bought came with a candelabra. She wasn’t too keen on the candelabra, so generously offered it to me.
Cora and I made a day out of it and went for a long walk to collect the candelabra on Tuesday [it was a porch collection and Cora and I kept plenty of distance throughout town]. Since we collected it we’ve had perfectly gloomy weather, which turned out great for some daytime candles and moody photos.
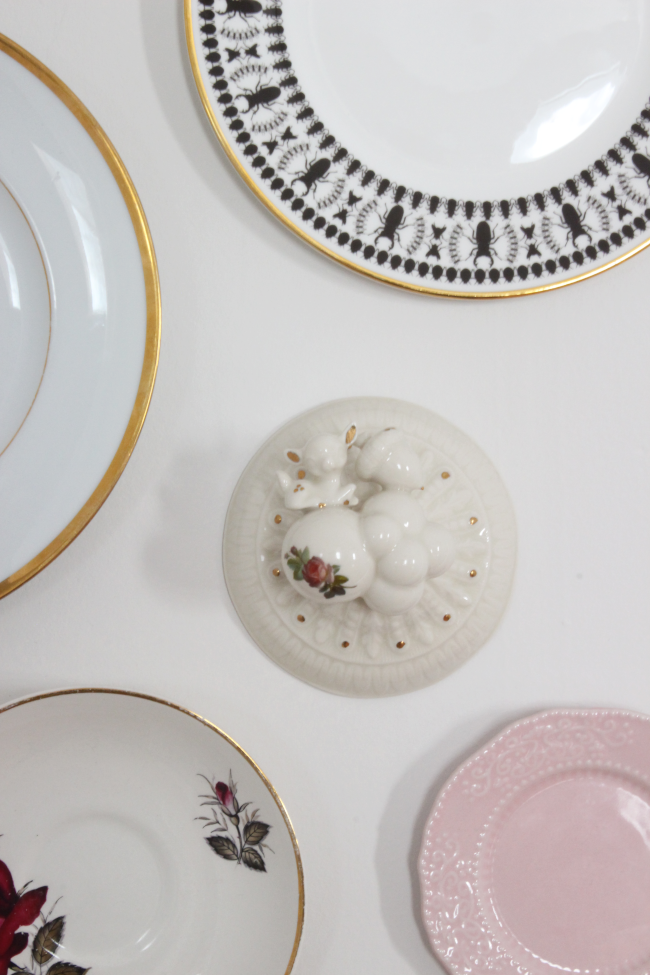
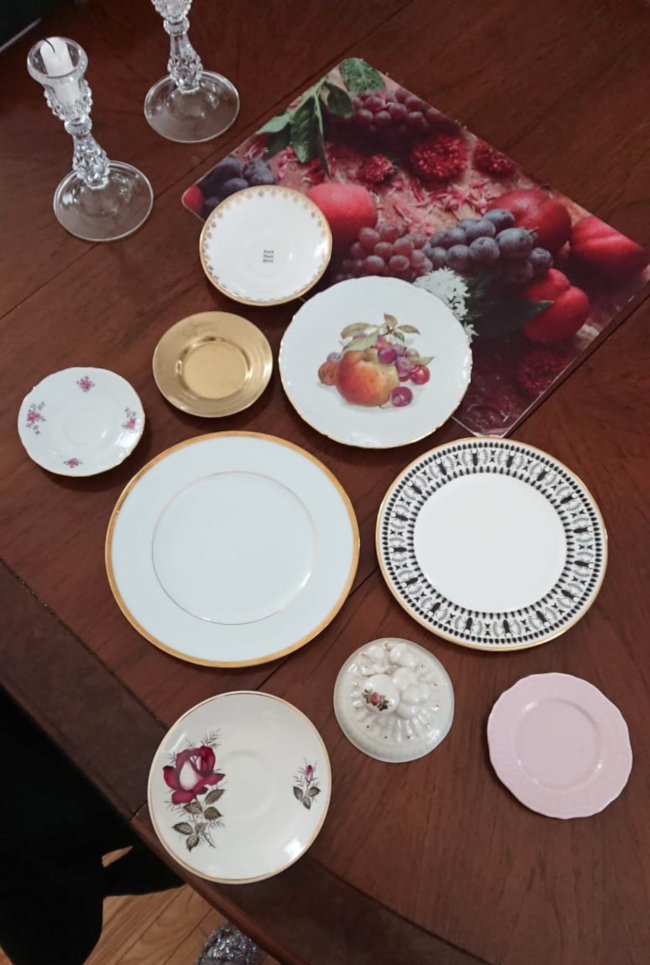
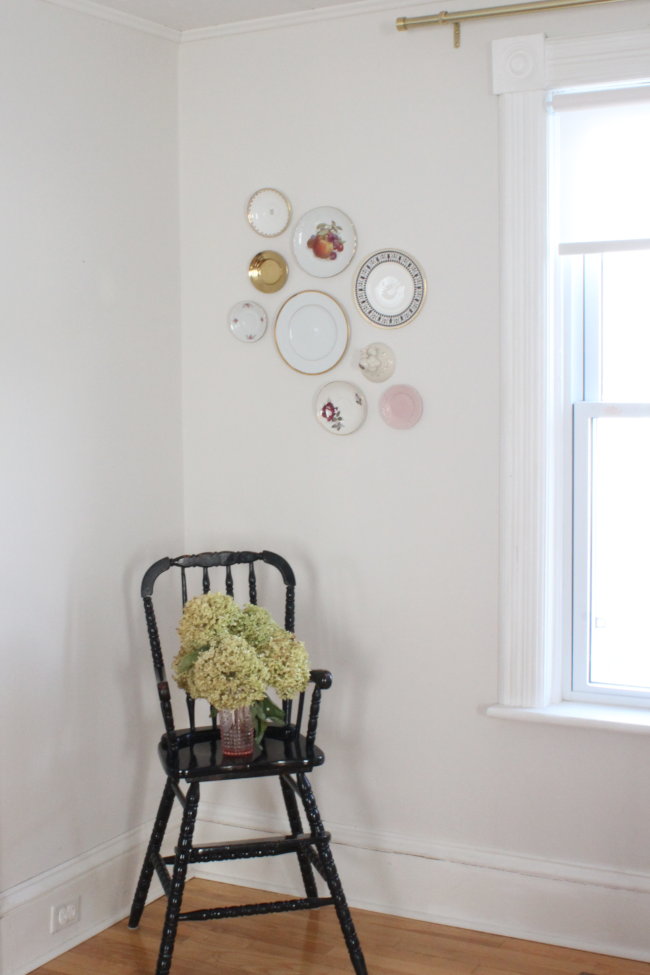
A few weeks ago I added a plate display to our dining room and I’m so pleased with how it turned out. I added some of my favourite thrifted plates along side some very fancy one-of-a-kind plates I’ve collected over the years.
A lot of the steps I took to hang the plates are pretty obvious, but since I encountered some trial and error [i.e. I dropped a plate], I thought I’d share my whole hanging process as this was the first time I’ve ever hung up decorative plates.
I started by making an arrangement with our plates [above] and swapped them around until I was happy with how they looked. I next left them on our dining room table for 5 days and awkwardly ate each meal around them. This step is optional.
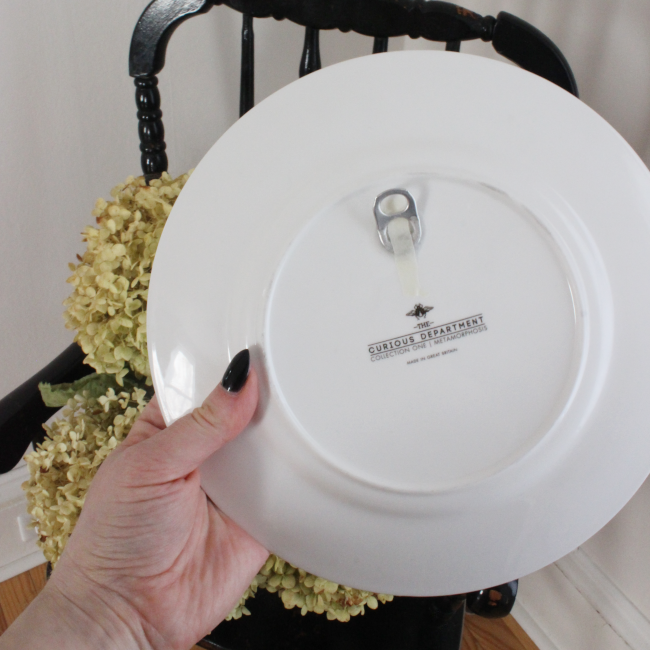
I next worked on how to hang up the plates. Two of the plates came with hooks already fixed to the back, and I think we were in a state of lockdown when I was working on this [I’m loosing track of lockdowns at this point], so it wasn’t an option for me to walk into our local hardware store to pick up some sort of plate hooks, so I DIYed my own. I took some pull tabs, bent them slightly with plyers, and super-glued the bottom to the back of the remaining plates [seem below]. As an added strengthener, I super-glued a long piece of masking tape through each the pull tab. This looks 9,000% flimsy, but the masking tape sealed rock-hard to the back, adding extra “just in case Cora goes on a stomping rampage” insurance to each plate. Trust me, this is incredibly secure.
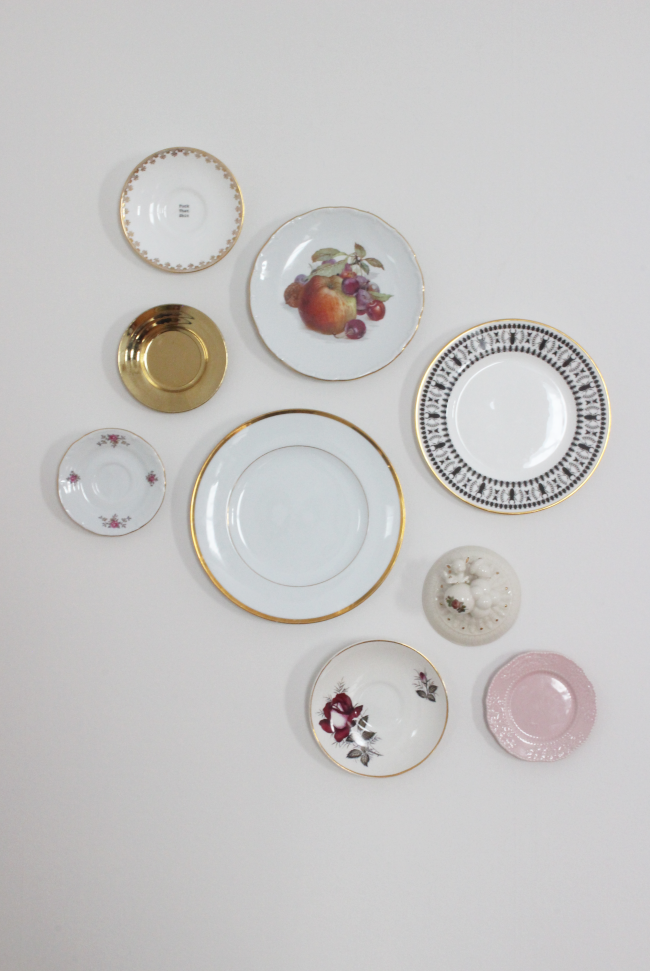
I then began adding the plates to the wall by starting with placing the two largest plates as a starting point, then adding one plate at a time. TOP TIP: it’s a total pain in the ass, but take every plate down before you hammer in a new nail [so your pattern will be: hang up a plate, hold up another plate, mark the next nail, and take down all previous plates before nailing in the next nail]. I didn’t do this in the beginning and my hammering caused the large plain plate to jiggle off the nail and fall. Luckily, it didn’t break. Taking all the plates off before nailing in the next nail is a total time-suck, but worth it in the end.
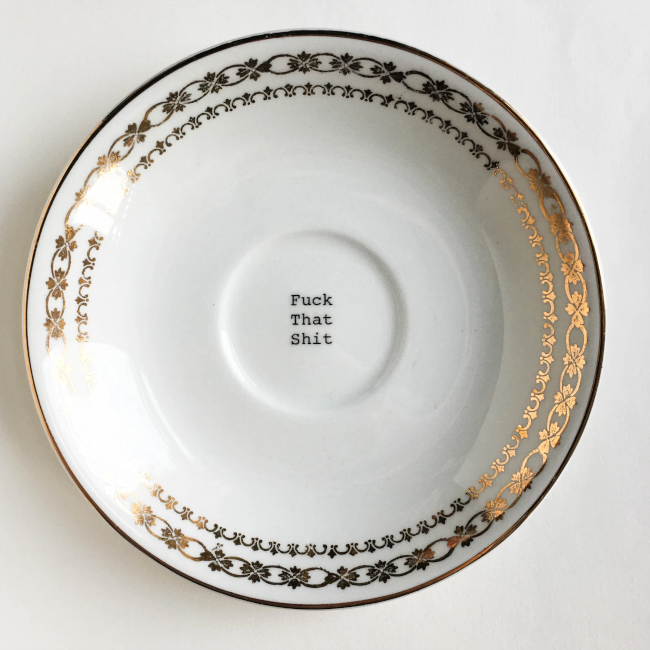
Special mention for one of my favourite plates which was a recent pregnancy insomnia purchase, Fuck That Shit plate from Lou Brown Vintage [pictured below is a similar plate since they’re all one-of-a-kind]:
I have many more plates I’d like to add to this corner in our dining room. A good few of which will be from Canadian artists I’ve found through Instagram over the past while, and there will be more thrifted plates as well. I’d love to have so many plates that they overflow onto the next wall.
In short: this plate display virgin is a solid convert.
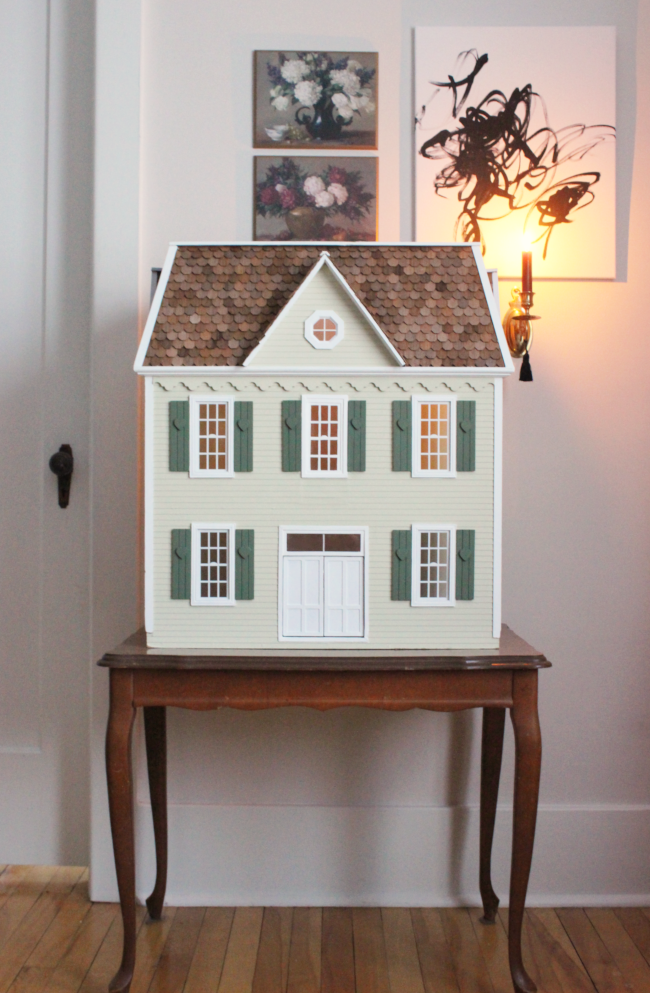
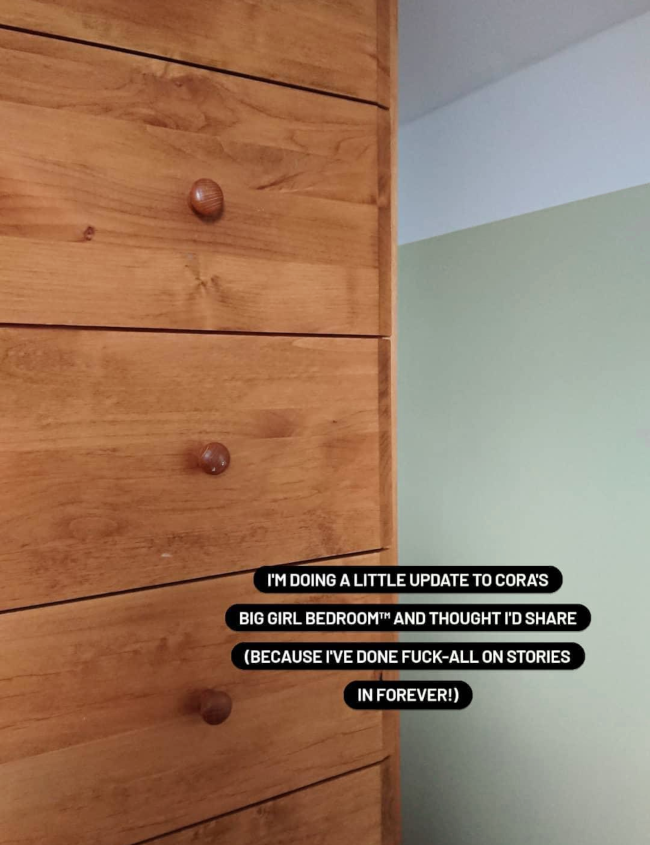
I’m quite excited to share my moodboard and layout plans for Cora’s Big Girl Bedroom™ makeover. It took me about 6 months to get my head around a colour scheme, theme, and design for her room, not to mention working around the physical limitations that came with her dormer sloped ceiling [see what I mean in the before photo’s of Cora’s room here].
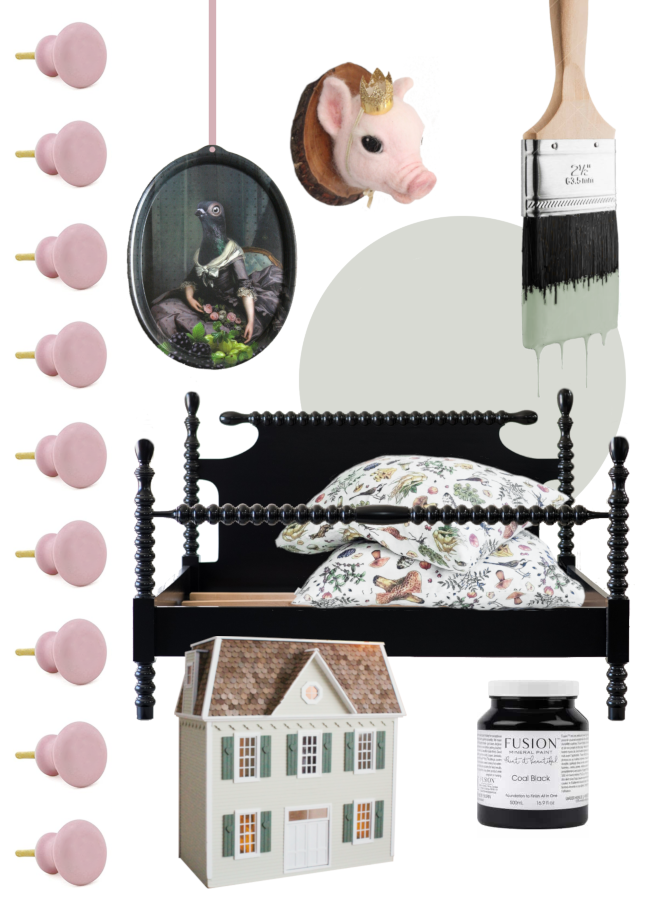
I took a huge amount of inspiration for Cora’s room from the dollhouse I updated and gave Cora for Christmas 2018. Mainly, the shade of green paint I used [pictured above] set the tone of her bedroom makeover.
I matched the green craft paint to the shade “Agaves Green” by Sico Paint via Rona hardware store [I feel I have to write hardware store as poor Rona has the misfortune of also being a slang term for the ongoing global pandemic. In case you needed clarification, I am not painting COVID-19 throughout Cora’s bedroom].
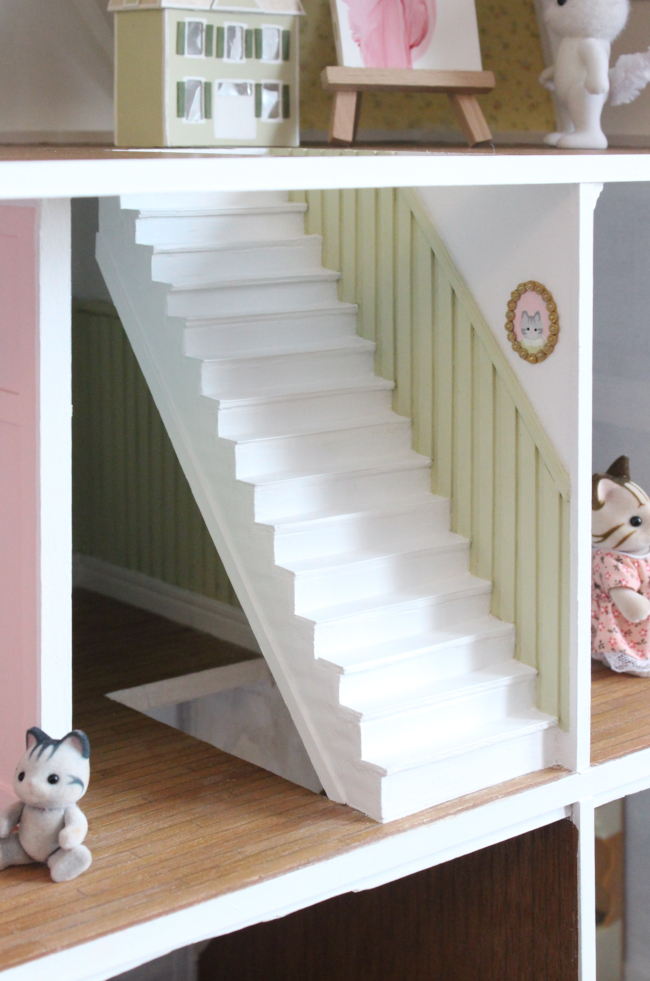
I decided early on that her room wouldn’t be entirely green, but half of it, similar to the little hallway I designed and coffee-stick-bead-boarded for Cora’s dollhouse [above].
Once I had the basic design figured out, it was time for the layout.
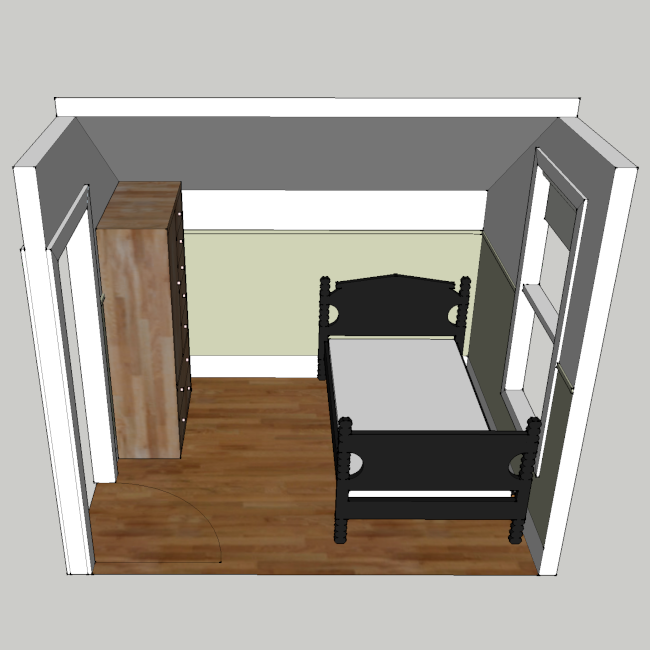
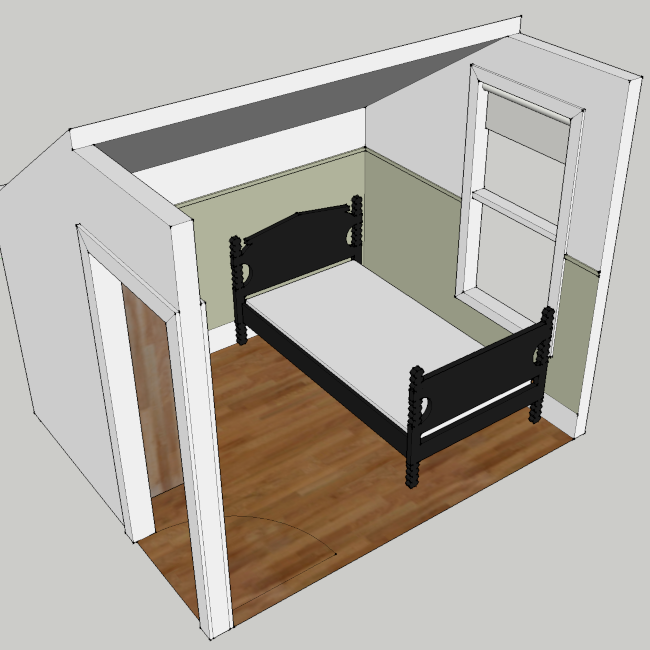
Cora’s bedroom is tiny. Like, hugely tiny. And it has the added obstacle of a dormered ceiling, plus no built-in storage, so I had to be creative [and cut-throat] with what furniture I added to her room. I measured her room and created a layout in Google SketchUp. Since there was little-to-no wiggle room when it came to space, I had to be certain the pieces of furniture fit and worked. Oh, and did I mention I sourced the furniture secondhand? If you’re new here, you may not know that I like to give myself a challenge.
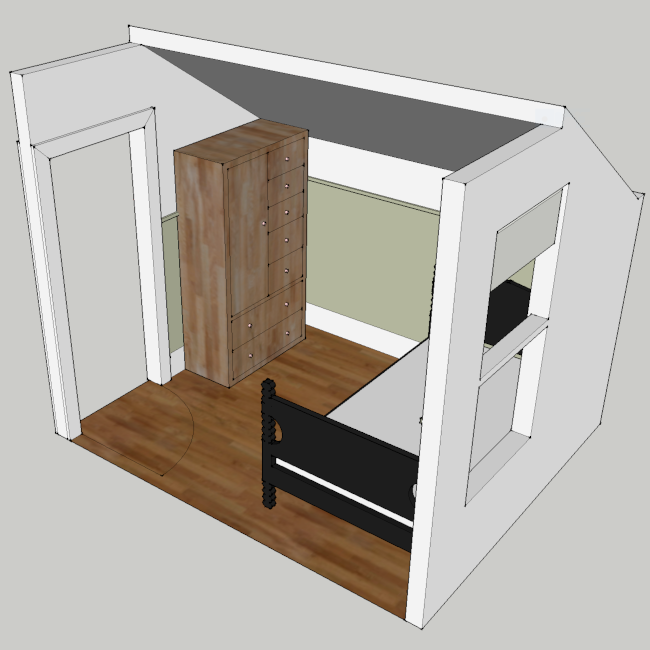
So here is the basic layout I decided upon for Cora’s Big Girl Bedroom™ makeover, using an armoir and bed I sourced from Kijiji:
There was very limited options for furniture placement, so unless Cora was prepared to sleep in a bean bag or stand in the corner like a vampire, there was only the above layout option.
I also took a great amount of pleasure getting the perfect armoire for Cora’s room; I looked online for a few weeks and the armoires I found were either too wide, too deep, or too tall, which were immediately ruled out because of the dormered roof. I took my time and found the perfect armoire for $50. It fit perfectly, and I actually love the shade of wood it is, so I won’t be painting it. Just updating the hardware.
This actually won’t be Cora’s room long-term. Once Cora’s 5th birthday rolls around, baby will be 6 months old and it’ll be time for her to move into this room. Cora will be moving into our spare bedroom later this year, and just wait until you see what I have planned for that room. It will essentially be my dream childhood bedroom. No spoilers.
SOURCE LIST – Walls “Agaves Green” by Sico Paint – Isild female bird tray by ibride – Needle felted pig by Felt Fauna by AC – Bed and armoire sourced secondhand via Kijiji – Bed painted in “Coal Black” from Fusion Mineral Paint – Mushroom linen fitted sheet and pillowcase by Grannet Home – Vintage porcelain pink knobs from Firstfinds