I was surveying our apartment last week sprawled out on the couch when I had the idea to do an update on some of the DIYs I’ve done and show how they’ve held up over time. For the most part, they’ve all stood the test of time! Hurrah! But for a small few, they haven’t aged as well as I would have liked.
Since I’m big on keeping it real, I wanted to do a little update to show you exactly how things have worked out. Because let’s face it, not everything goes according to plan #CestLaVie …
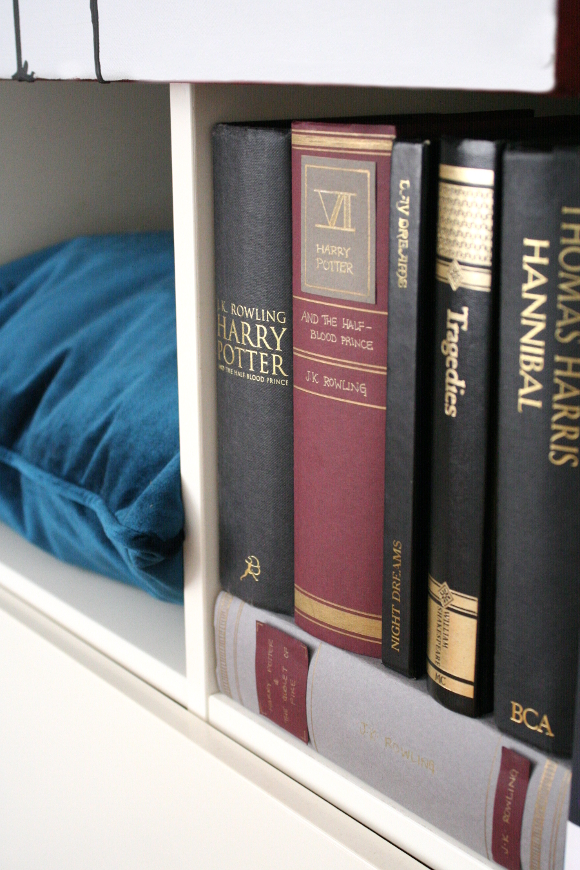
DECEPTIVE DUST COVERS GRADE: A+
Considering I made my first round of
deceptive dust covers close to 4 years ago, they’ve held up almost perfectly with the exception of the occasional label corner needing to be re-glued. I could not have imagined this project would have held up so well considering it’s just construction paper. A+ in [or on] my books.
BOLDER SHELVES ON A BUDGET GRADE: B
Since
installing black construction paper to the back of our landlords shelves in April of last year, they’ve held up relatively well. On the odd occasion, one section of paper will fall down. But as it only takes about 20 seconds to fix them, I won’t mark them down too much as for the most part, I still find them a great design solution as a renter and more importantly, so easily reversible.
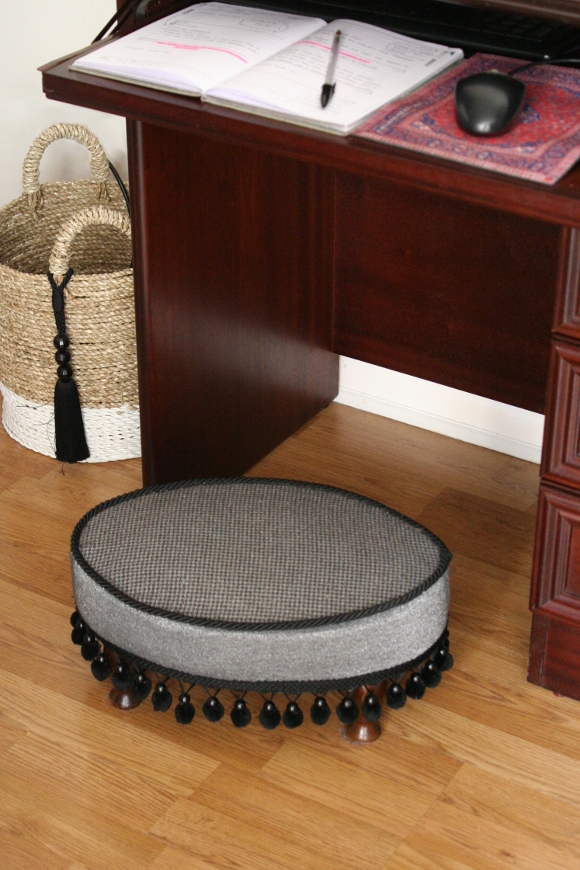
REUPHOLSTERED FOOTSTOOL GRADE: A+
As someone who suffers from
dangling legs because I’m kinda short syndrome, this
little foot stool is something I use every single day. And since reupholstering it 2 years ago, it’s still in near perfect condition. Not bad since it gets stood on on a daily basis.
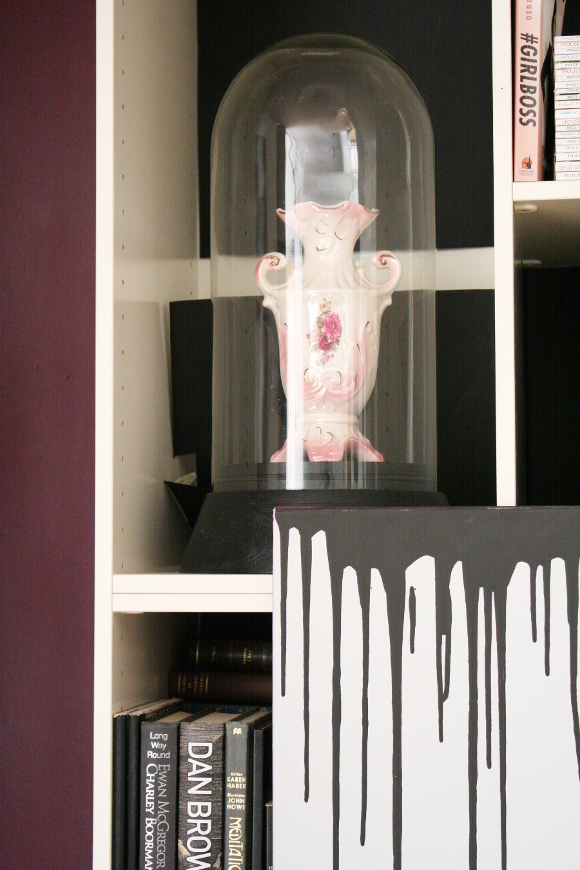
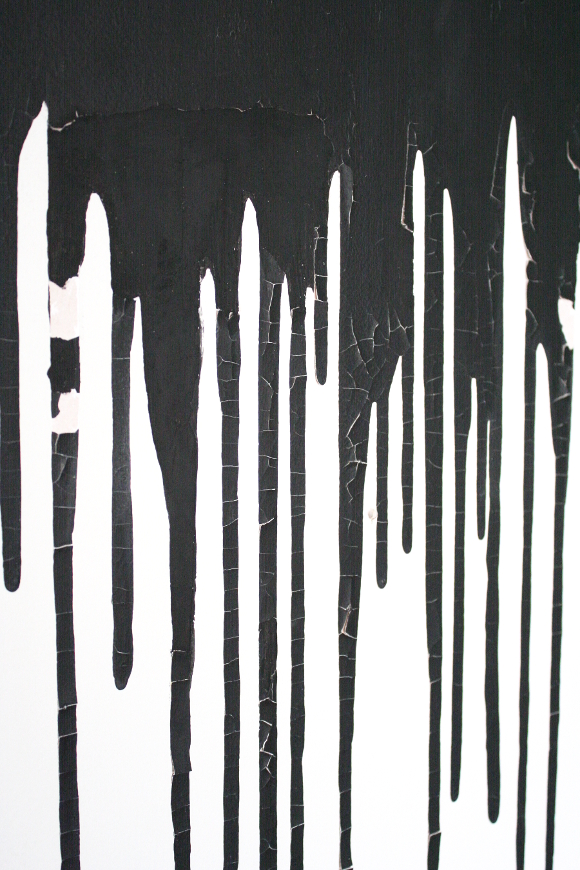
DRIP FEATURE WALL GRADE: F- BURN IT TO THE GROUND AND START OVER
Oh lawd have mercy. This project is what prompted me to write this blog post. At first,
the drip wall was perfect. It was such an accent in our living room. About a week later I noticed one of the main drips had cracked and split.
Simple enough of a fix, I’ll just repaint that section, and I’ll touch-up a couple more drips while I’m at it. NOPE. Queue domino effect and soon the cracks were out of control. I think for the most part this had to do with me using [cheeeeap] left over guache paint in stead of going out and buying a sample pot of wall-appropriate black paint. I’ll definitely be doing this project again, but with appropriate paint. I have well and truly learned that lesson.
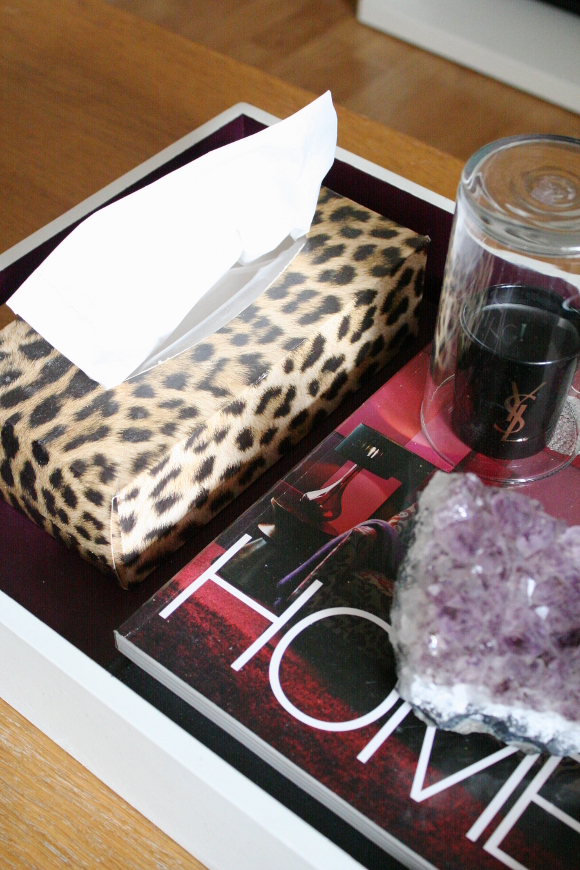
REFILLABLE TISSUE BOX GRADE: A+
Our little
refillable tissue box is an absolute trooper. It a massively complex DIY, if you can even call it that, but it has held up remarkably over the years [and tears]. It has a few scuffs here and there, but nothing a Sharpie can’t remedy.
LAMP REVAMP GRADE: A+
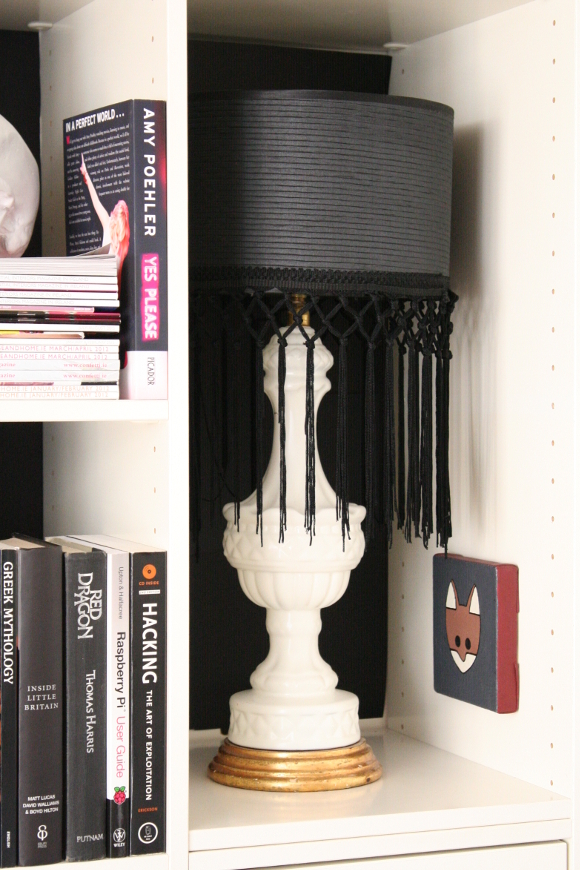
TASSLE LAMP SHADE GRADE: C
When I first
revamped my charity shop lamp, it was perfect! And it still is. It hasn’t aged at all and is still in perfect condition. Then, the following year I
added tassles to the lamp shade. That in itself has worked out great, with one exception – Juniper. I found out the hard way that our soon-to-be-11-year-old cat Juniper was sneaking up onto our desk and
EATING THE TASSLES, which is incredibly bad for cats as anything string-like they eat can get tied in knots in their little guts and the idea of that makes me want to cry. So for the sake of Juniper, that’s why I moved the
lamp up onto our shelves. I am much more tassle-aware now.
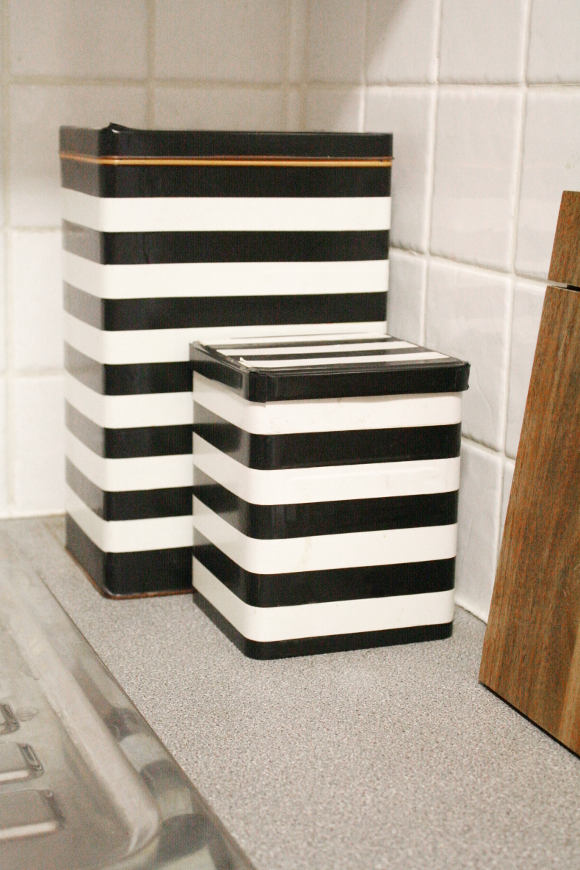
ELECTRICAL TAPE STORAGE GRADE: A+
One of my very first hardware store / budget hacks is still a raging success;
covering ugly stuff in electrical tape. As electrical tape is quite heavy duty, any of the pieces I’ve used it on have stayed the exact same. Even our cat food containers, as seen above; we’ve used them twice a day for the past 2 years and they’re still in perfect condition. That’s a total win in my books.

