Spare bedroom spruce up + room tour

We don’t own our apartment, we rent it. I feel I need to write this every so often as a reminder that I don’t have complete control over the design of our place. I have to work with what came with our apartment as best as I can. Don’t get me wrong, the bones of our apartment are good, but for the most part it’s restrictive. Especially when you have a blog that’s all about design and DIY. Trust me, if we owned this place, it would be wearing a velvet cape and lasers would be shooting out of its eyes. 

Anyways! In recent months, I’ve gotten a bit ballsier. We live here. I have projects I’d like to do in our apartment and stuff I want to hang up, so I’m going to go ahead and do that. Well, really uninvasive projects. I’m not ballsy enough to start knocking down walls. 

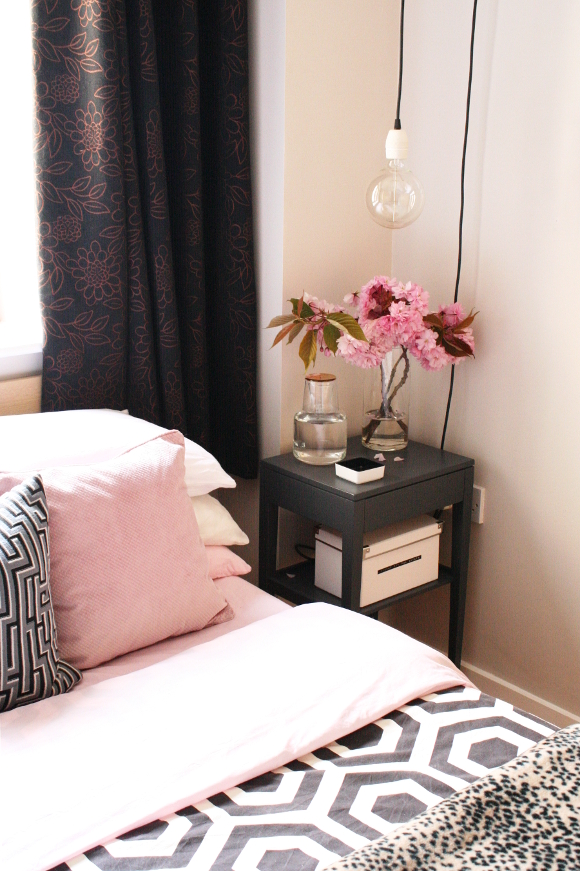
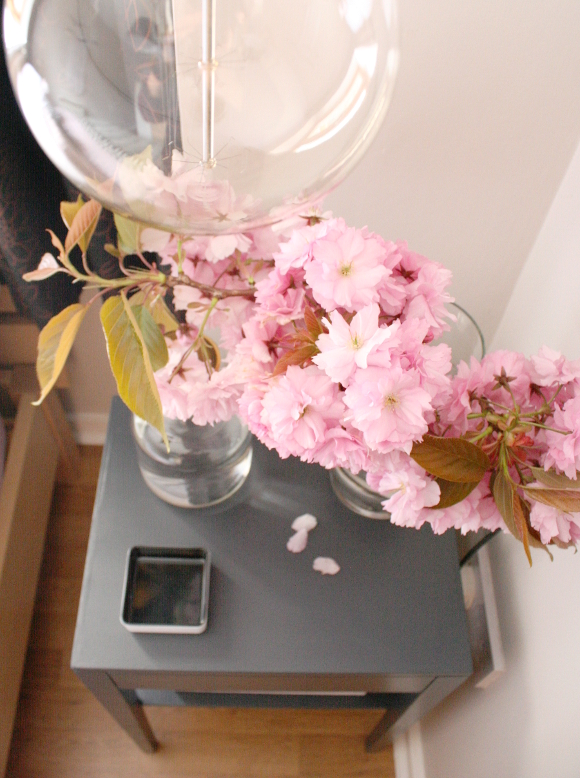
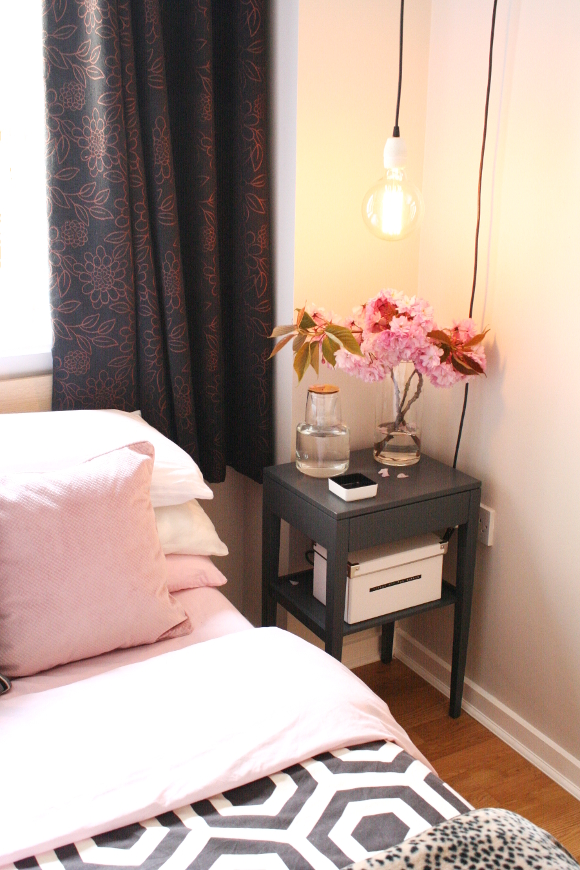
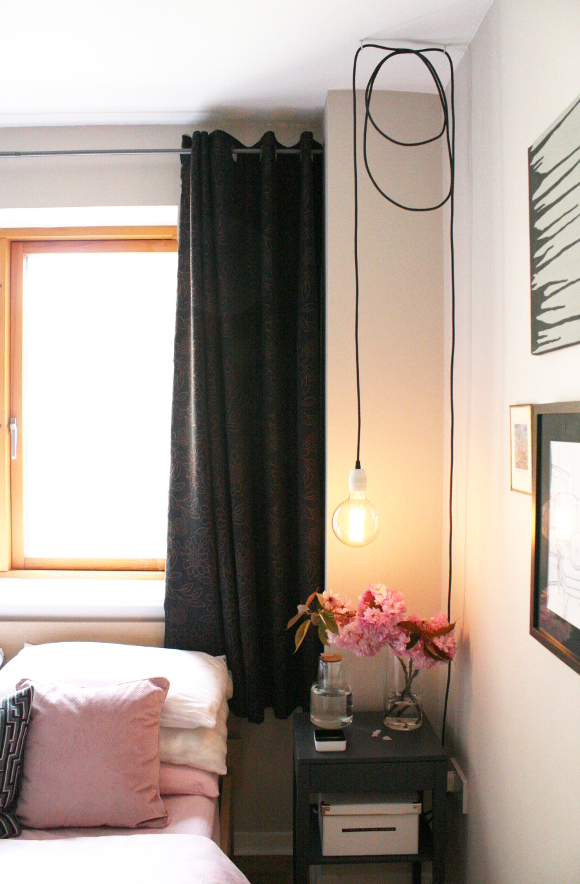
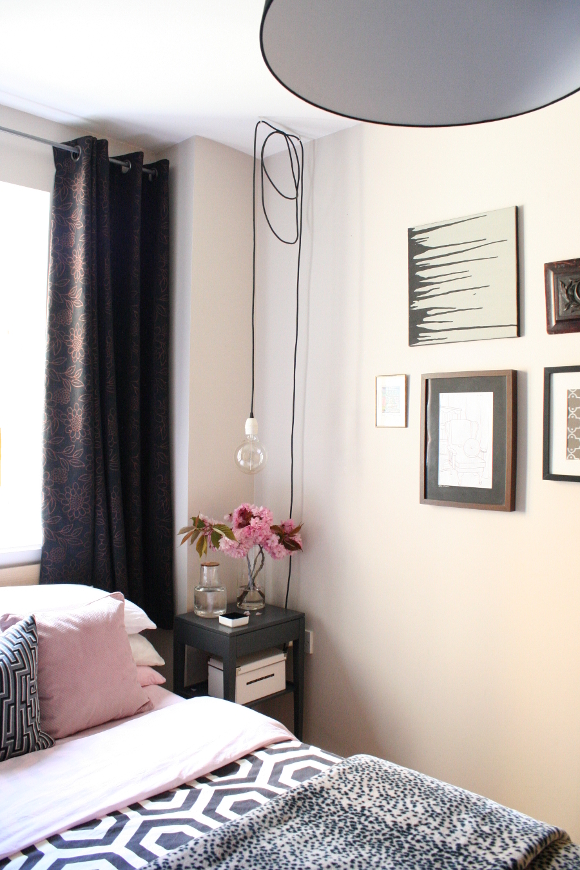
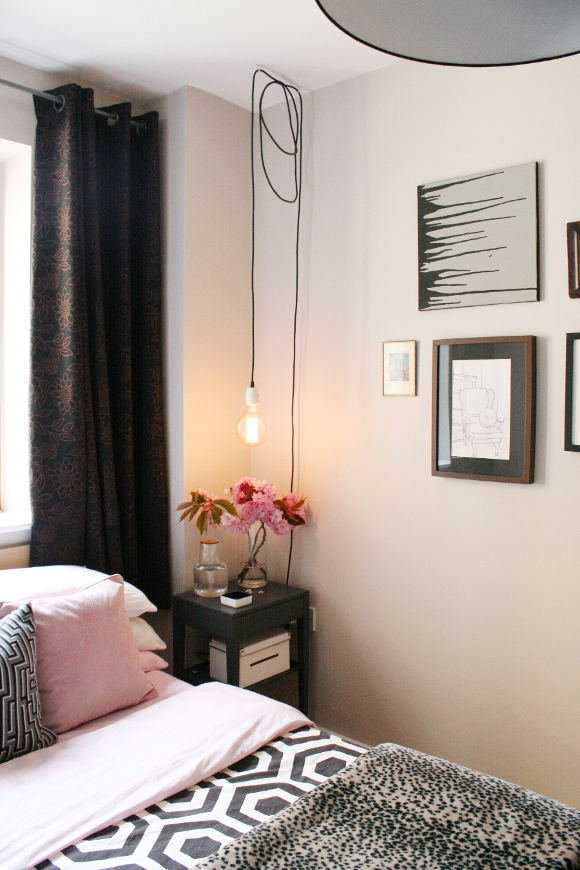
One such project I had in mind was to create a repurposed bedside light for our spare bedroom. As the bedside table is so small, I wanted a light that wasn’t taking up valuable table top real estate. Maybe I could hang a light from the ceiling … of course! What’s even better, I managed to make it out of a recycled vacuum cord. Boom.

And I have to say I’m de-lighted with how it turned out [sorry / not sorry]. A streak of exposed industrial style lighting to offset as well as compliment the calming pink accents. And of course, I have a tutorial lined up next week for how you can DIY your very own recycled light!

UPDATE – see my vacuum cord pendant light tutorial here

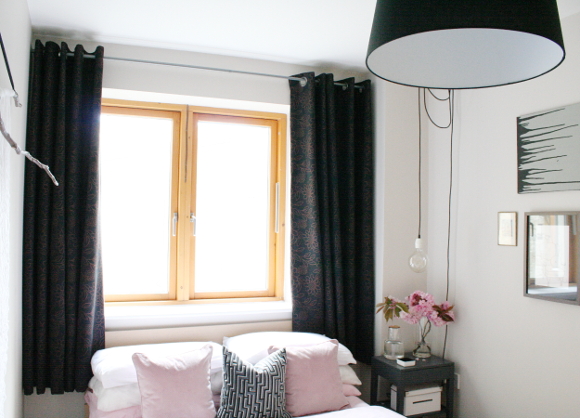
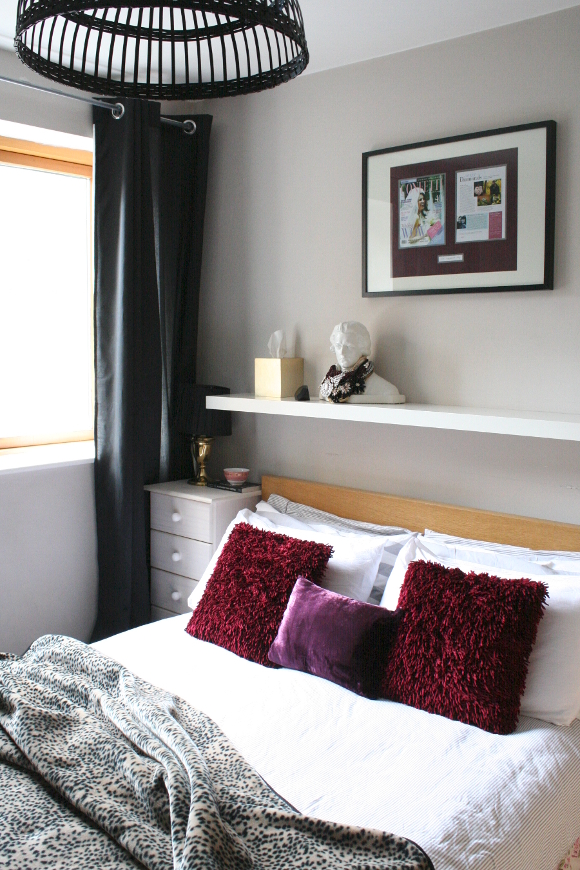
Regarding the rest of the room, below is a little panoramic tour as I realised I’ve never shown anything other than one corner of the room. And I do mean a little tour as it’s a small room … 

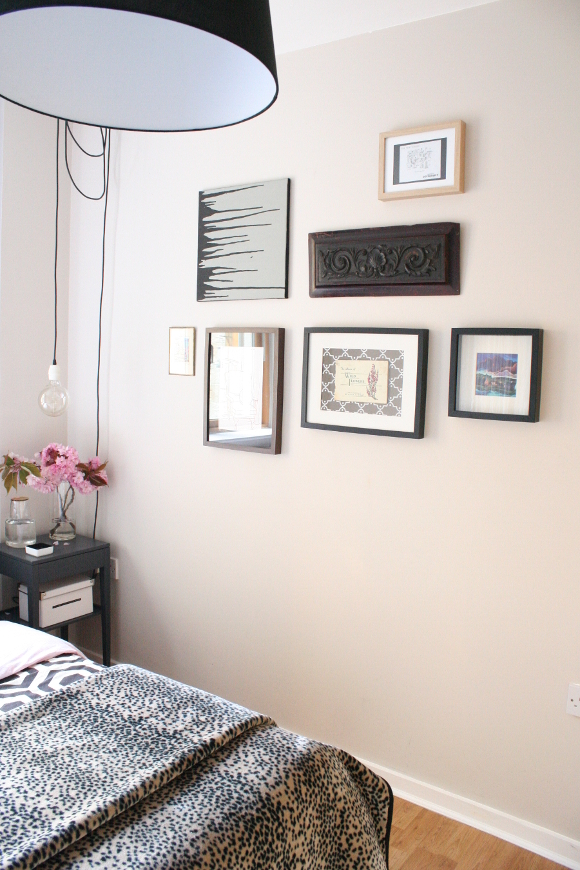
I attempted to add a gallery to one of the walls. We’ve lived in our apartment for five years now and we have a scarce amount of pictures and artwork hung up, so I’m practicing in here. I hung the most calming and peaceful pieces in the spare bedroom; some of the weirder and darker stuff I’ve kept for the rest of our apartment as the last thing I’d want is a guest to be weirded out by something we have hanging on the wall.

This wall is also a work in progress – anything leftover from updating our bedroom will be hung up here and added at a later date. 

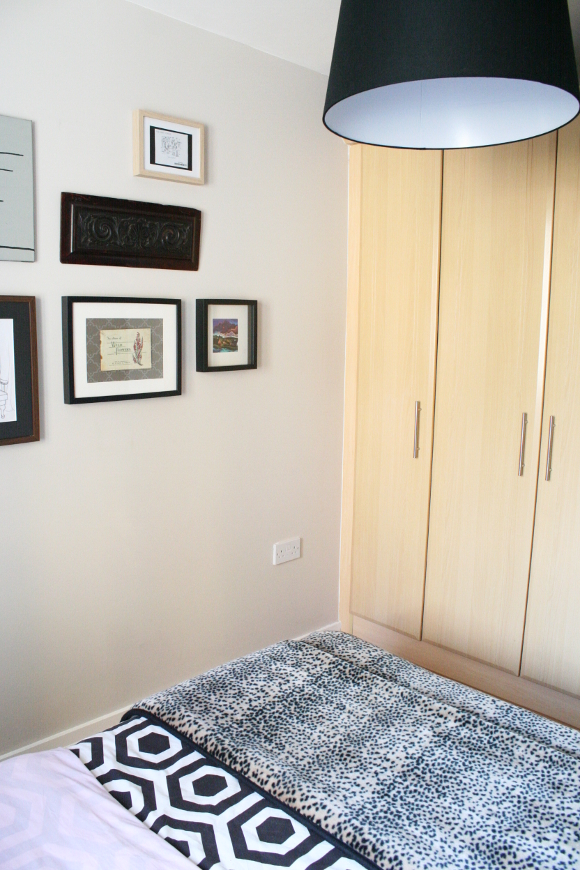
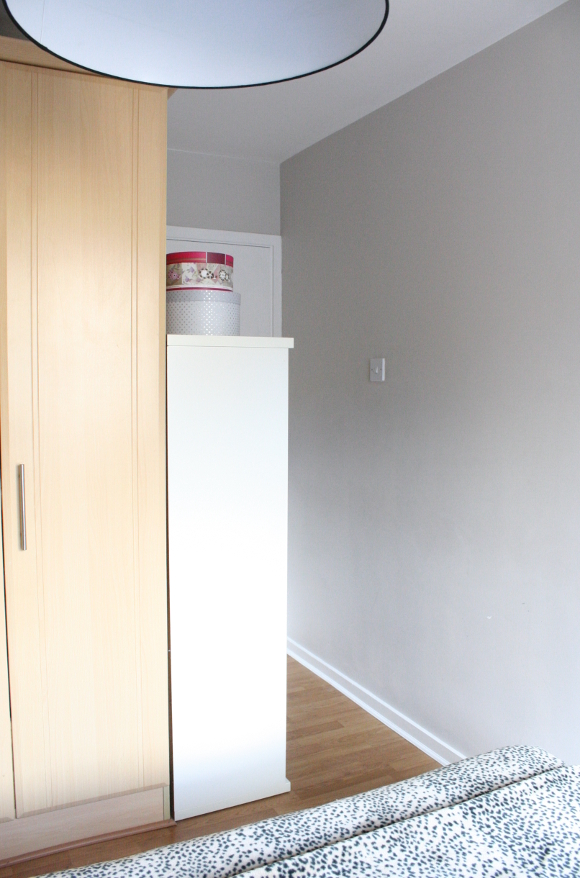
The narrow white shelving unit above houses our DVD collection. It’s not very wide so it doesn’t get in the way of the bedroom door.

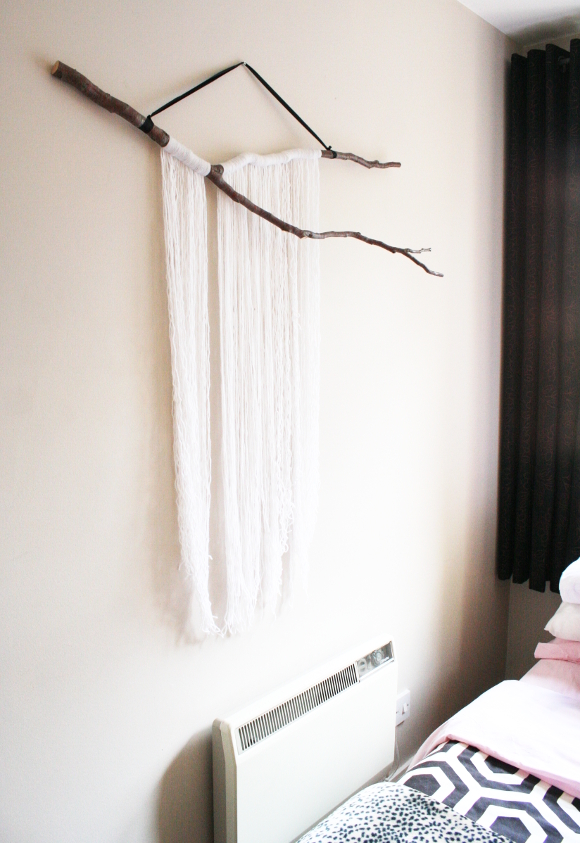
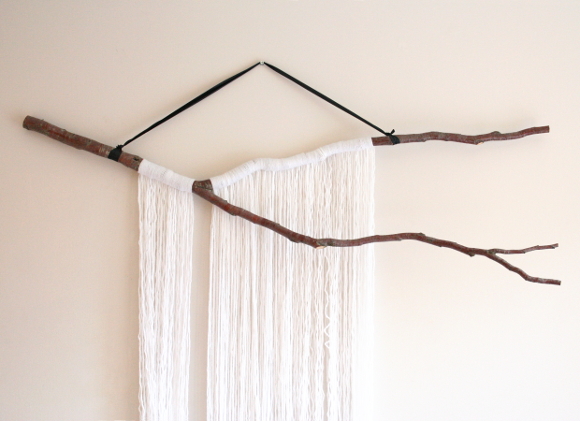
My first attempt at yarn art is up! Again, I kept the yarn colours calm and neutral. If this were anywhere else in our apartment it would probably have black or red yarn. But, guests. It’s not good if your guests want to hide. This is another work in progress as I might add more yarn.
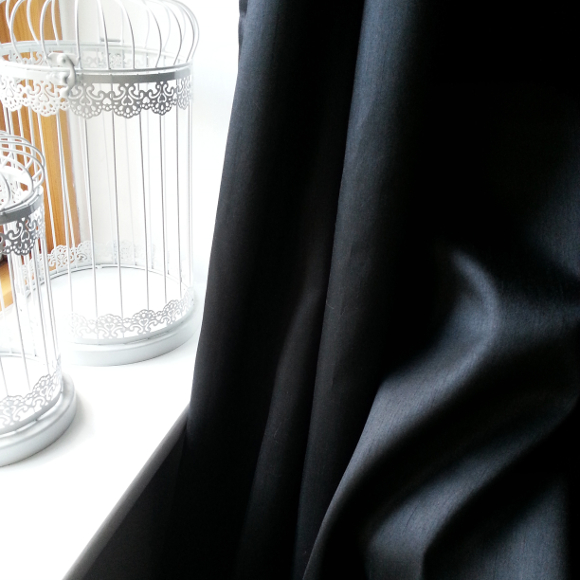
Another small update I made was to the window. I added a longer curtain rod to extend the curtains all the way to the walls. It makes the room look a bit more finished as well as covers the unsightly vent. And it looks all hotel curtainy. I love hotel curtains! 

I showed husband the completed room yesterday evening. He looked around for a good while and finally said, “I’m actually jealous this isn’t our room” and walked out. Seal of approval I’d say! I can’t wait to work on our bedroom and get some artwork and a bit of attitude up. 

And to anyone that’s stayed in our spare bedroom up until now, I’m sorry. You are more than welcome to come back now that it’s a proper room with a bit of character! Give give me a couple hours notice to buy in some breakfast. xx 

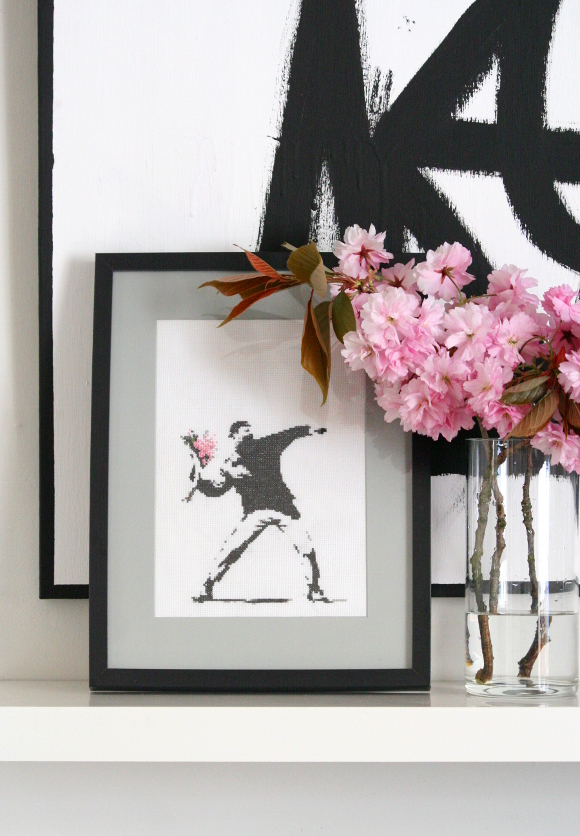
Flower terrorist revisited – Banksy cherry blossom

One of my first tutorials was my Banksy flower terrorist cross stitch. To this day, it’s one of my most popular blog posts and I get about an email a month asking for more details on it or for the Excel pattern. No word of a lie – another email just came in while I was typing this out. Ha! 

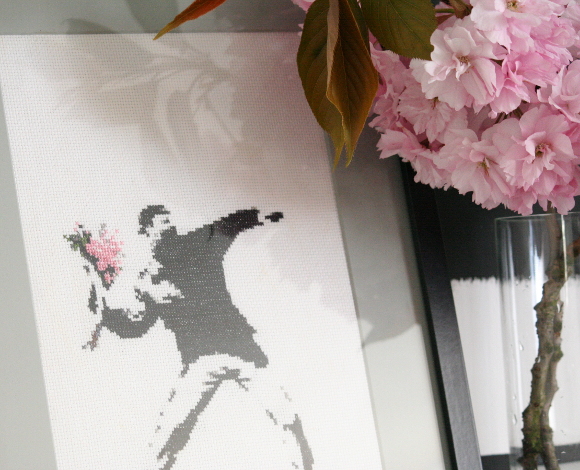
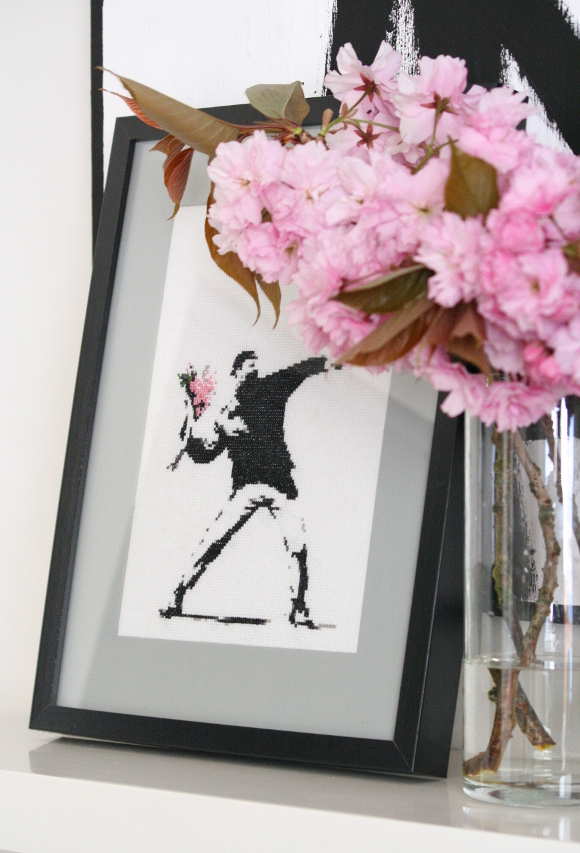
For a long time I’ve not been fond of the colours I originally cross stitched into the tightly gripped bouquet. Blue, yellow, red, pink, green, brown – too many colours for me. I had the idea years ago to pick out the stitches and redo it in a colour I’d much rather prefer, but in true form, I never got around to actually doing it. Until this morning. 

But what colour would I make the bouquet? A nice shade of dainty pink would look nice, afterall, it is cherry blossom season. That’s it! CHERRY BLOSSOMS. YES. Perfect! I picked out the previous colours and added dainty pink thread haphazardly to the pattern [as cherry blossoms are wonderfully floofy and out of control]. 

I love this pattern as I’ve had all kinds of people get in contact asking for the pattern. Rebel teens for their bedroom, a guy for his mancave, a lovely woman wanting to stitch it for her grandson, and many in between [Dev – if you’re reading this, power through the boring bits! You can do it!]. They always tell me what they hope to use it for and how much they love Banksy. The feeling is mutual. 

For me, changing the flowers to cherry blossoms has given my tired old cross stitch [it’s five years old this year] a new lease of life. When I was finished restitching it this morning I really got excited about it all over again. Yes, it’s no longer true to the original graffiti, but just like the rest of us, it’s had to adapt a little bit. 

Master bedroom makeover update – Part II

Since I last blogged about upgrading our bedroom, I’ve slowly but surely made some of the changes. Not all of them yet, but some. I didn’t think I had made a big enough change until I looked back at my before pictures. Yeesh.

That’s the thing about updating your home. It doesn’t happen in 24 hours like TV shows lead you to believe. It happens slowly over weeks and sometimes months and THAT’S OKAY. It’s only when you look back at what it looked like before that all your hard work is put into perspective. Even if you’re only half way there. 

Contrary to my original plans to completely flip the floorplan of the room, I didn’t. I was able to iron out a lot of the layout problems without having to change too much of the room. One of the biggest and best changes I made was swapping the bed frame in our room with the one in the spare bedroom. The frame in the spare bedroom was very low, so swapping it and having a low bed in our bedroom sorted issue #3 on the list of problems

So here’s what I’ve updated in our room so far …

– Repainted the skirting boards, window sill and door WHITE
– Removed the heater from the middle of the room.
– Replaced the heater switch with a socket so we can use our TV [thank you again Maria for that tip!].
– Replaced the light fixture.
– Bought curtains – nearly new! In their original packaging, but bought second hand.
– Bought a longer curtain rod so the curtains can hide the unsightly mirrors and vent in the corner [as seen below compared to the 4th last picture here].
– Disassembled the awkward AF shelves.
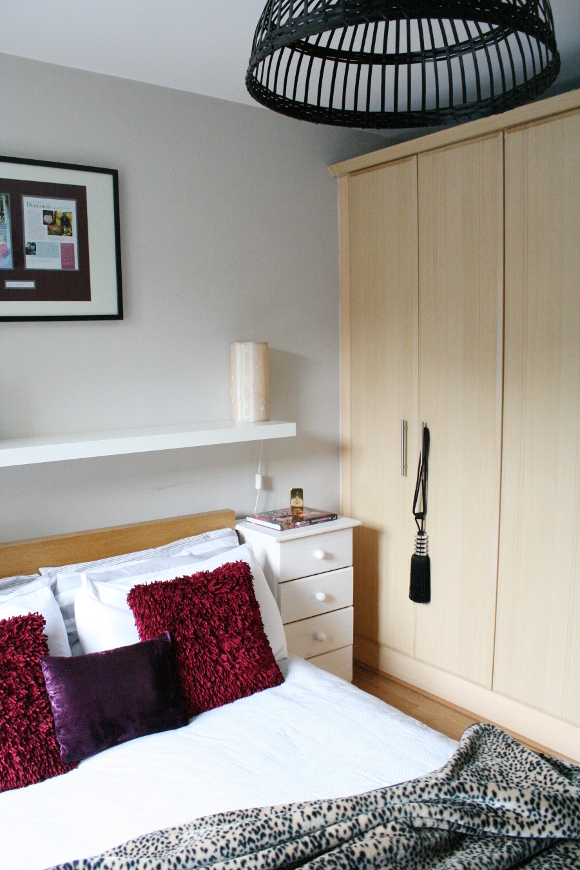
– Sold our IKEA bedside locker and bought two bedside lockers for 9 euro each, second hand!
– Got my hands on some red rasta pillows [not sure about the purple one though. It may go]. 
– Swapped the bed frame for the lower bed frame, and nearly decapitated myself in the process.

And here’s what’s left to do … 
– Make a cover to cover or camouflage the current wooden headboard.  
– Hang up / incorporate our [new-ish] mahogany mirror
– Add artwork to the walls. I’m tired of boring walls. I’ll be DIYing some artwork too.
– Upcycle the bedside tables; possibly paint them and change the knobs.
– Find a pair of matching or semi-matching bedside lamps.

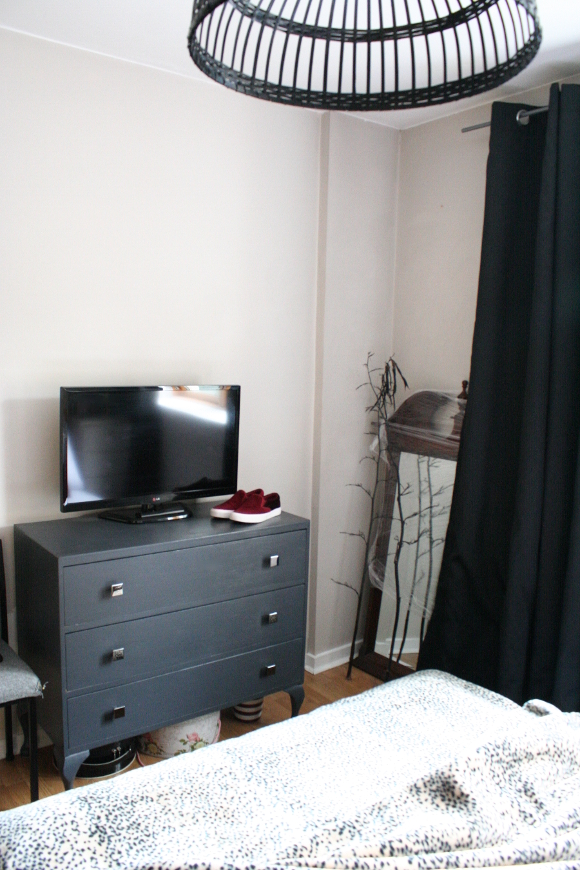
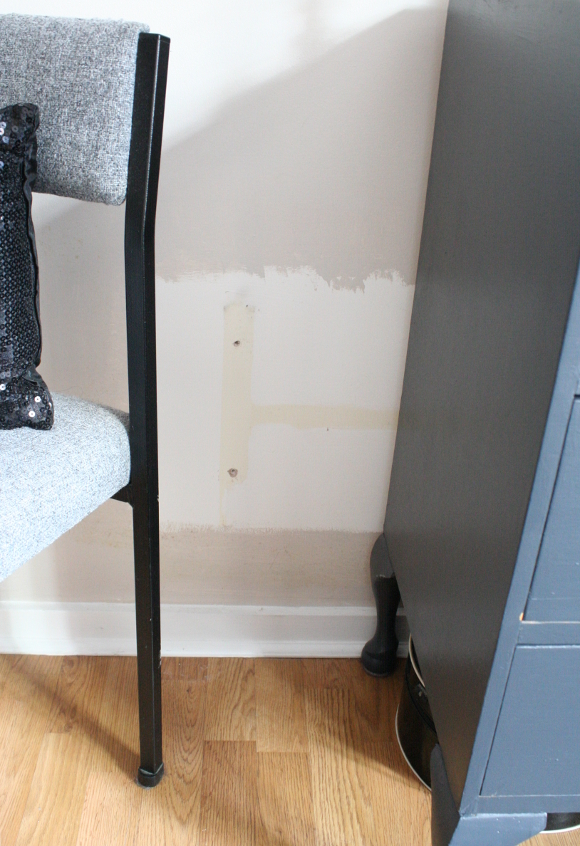
Above is to show where Dad DIYer helped me remove the heater from the wall [I’m not at all confident with electrics]. Having the heater removed means we can now place our dresser in the middle of the room at the foot of our bed; where it aught to be. For the moment, in the warmer months, the heater is stored under our bed as our landlord didn’t approve of it being placed under the window. So under the bed with it for now so we don’t have to put up with it. My old skip-salvaged desk chair sits next to our dresser and cleverly disguises the absence of paint on the wall. 

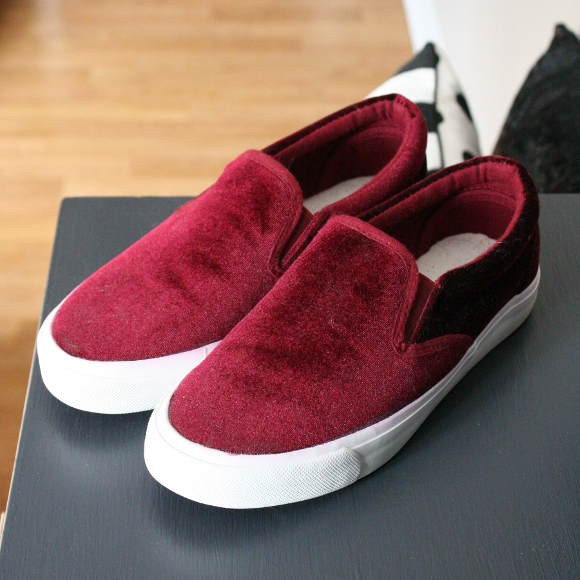
And finally, what inspired it all – I saw these red velvet shoes in Forever 21 around this time last year. I bought them solely for their pretty factor. I like velvet and I like quirky takes on the classics, which as lame as it sounds, is an inspiration for our bedroom makeover. Inspiration strikes at the most unusual of moments. 
In the mean time, I’ve also been working on updating our spare bedroom on a budget, which for the most part was ready for our guests earlier this month, but I’ll be adding the final touches this week to it and can’t wait to share it! Stay tuned!