Ten minute morning tidy

While I’m chasing my field of interiors dreams, I work an office job by day during the week. I wake up early, feed the cats, apply my face, get dressed, make a lunch, but one thing that will always be part of my morning routine before I go to work is that I set aside 10 minutes to tidy our apartment. 

I know a large number of you are currently recoiling at the thought of it and serving up some serious stink-eye. Something along the lines of this comes to mind … 

But today I’m going to convince you that yes, you do have time fo dat. And it will surprisingly make your day so much easier. And here is my one reason to convince you –
  • If you spend 10 minutes tidying your home in the morning, when you get home in the evening, exhausted from work, you will be walking into an already tidy home. More time for dinner, more time shooting the breeze with your spouse, more time chillaxing. The less chaotic your surroundings are, the more calm your mind is and the better quality your home life will be. 

Have I convinced you? Good. Here are my tips for the 3 main areas of your home that you should consider for your ten minute morning tidy … 

BEDROOM

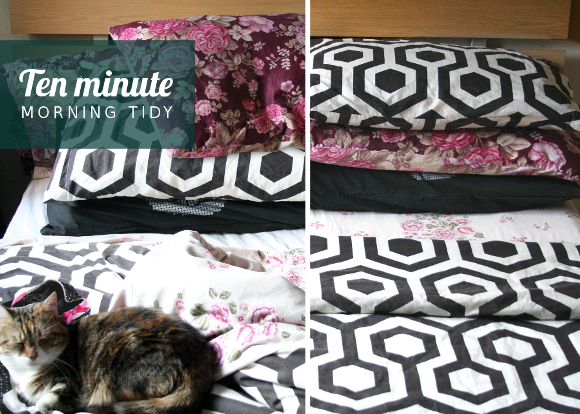
My first real job when I was a teenager was working as a housekeeper in a Travelodge Hotel a stones throw from home. I learned not only how to change and make a bed in under 2 minutes, but the importance of a tidy bed. Your bed is the biggest thing in your room and the first thing you see when you walk into your bedroom. If it’s chaos, your room is chaos. It doesn’t have to be made perfectly, just a couple seconds of effort to straighten your bed sheets.

LIVING ROOM

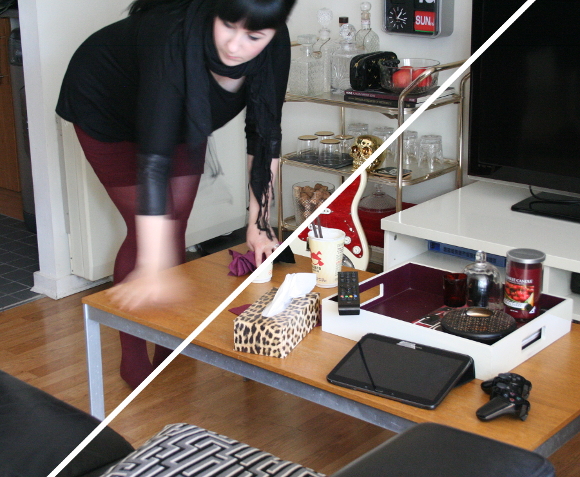
Our living room is the heart of our home and therefore the quickest to fill with junk. It’s the messiest room so I’ll spend the most time tidying it. Still, I only allow myself 5 minutes, otherwise I’d never leave the house. I start off by putting the living room items back where they should go – tablet goes on our desk, the PS3 remote goes into the PS3 / husband accessories drawer, any notebooks go back onto our shelves etc. Anything that needs to go into the kitchen gets put on the counter and anything that needs to go elsewhere in our home I put in our chuck it bucket. Don’t waste time by running into every room of your house. 

We’re at a good place now as I’ve been avidly downsizing, organizing what we have and working on giving all our stuff its own place. A home for everything and everything has a home. If you need a bit of inspiration to get you started you can check out my 5 decluttering tips or my less 365 mission. 

KITCHEN

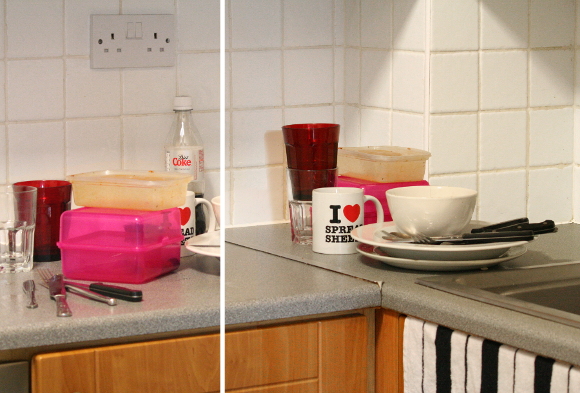
There’s nothing I despise more than doing the dishes. We’re not blessed with having a dishwasher in our apartment so we have to clean our dishes old school style. And because of this, there are always dishes haunting our kitchen counters. Let me get one thing straight, I do not clean dishes in the morning [that’s were I say ain’t nobody got time for dat]. I like to think of our kitchen as in a constant state of contained chaos. I stuff things in the recycling where necessary and stack all the dishes in the corner by the sink so they’re not all over the counter, where they patiently wait for my husband to come home and wash them. 

But for those of you who have the luxury of owning a dishwasher? Bend over and I’ll show you where you can put your dishes. You have no excuse.

xx A

Bedside table makeover {it only took 4 years}

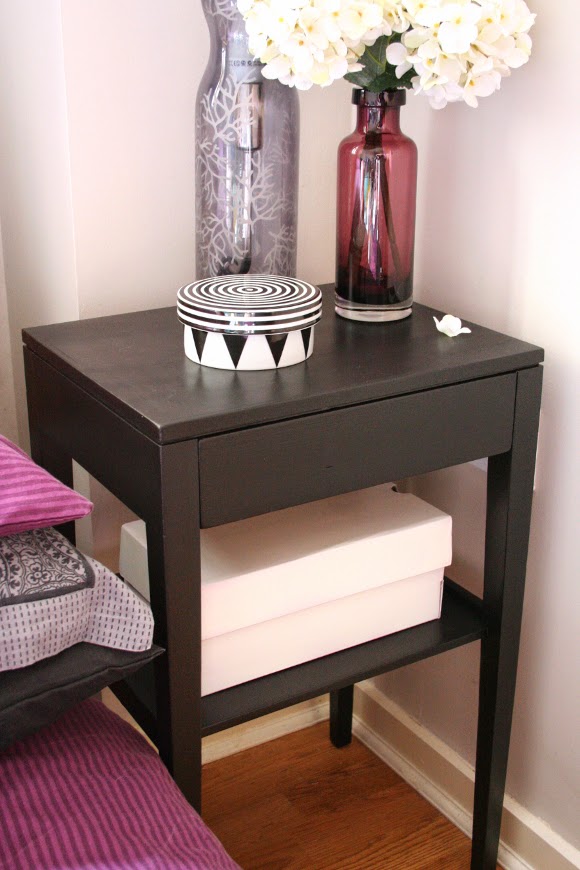
When we first moved into our apartment I was on the lookout for a bedside table for our spare bedroom. It didn’t take too long as I struck gold one day when I spied this little gem on Freecycle. It was cute, had nice lines and was mostly wooden with the exception for the top which had a weird plastic-y layered Frankenstein top {so technical} which you can see a bit better here. I had big plans for this little bedside table. And then 4 years happened. 
Last week while I was taking pictures for my rescue kit for the unexpected guests blog post, I had had enough of looking at Franken-table, so I made it my priority to send some long overdue attention its way. 

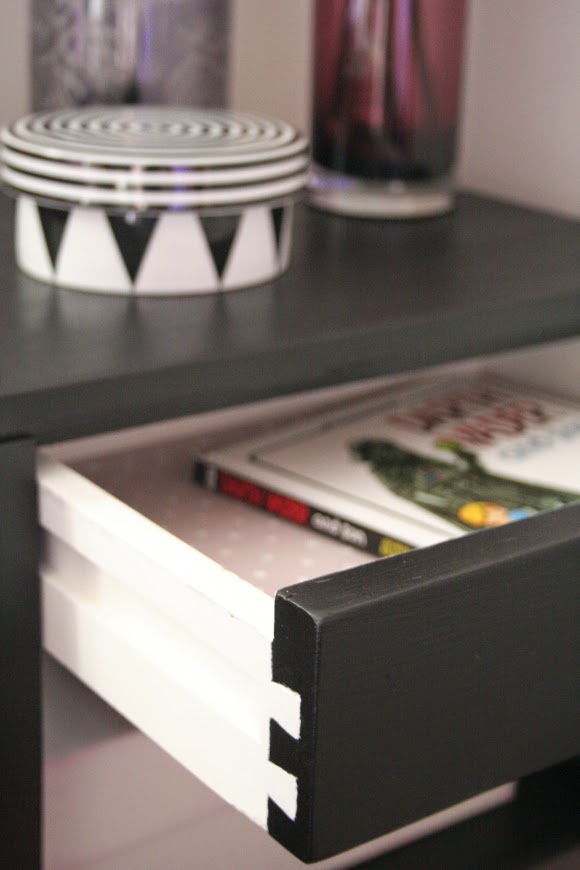
From the start I wanted to paint it black, but also have some contrast and a little dose of whimsy. Black, white, and kinda pink.
I first primed the entire thing, let it dry for 24 hours and then started working on the black. I had bought a can of black furniture paint, but once I applied it {to half of the bedside table – there wasn’t enough to cover the whole thing}, it looked awful. It made me feel crap. I left it to dry in the spare bedroom and ignored it until the next morning. 
Luckily, my Montana black acrylic spray paint came to the rescue. I resprayed the whole thing and it looked the business. And I still have half a can left.

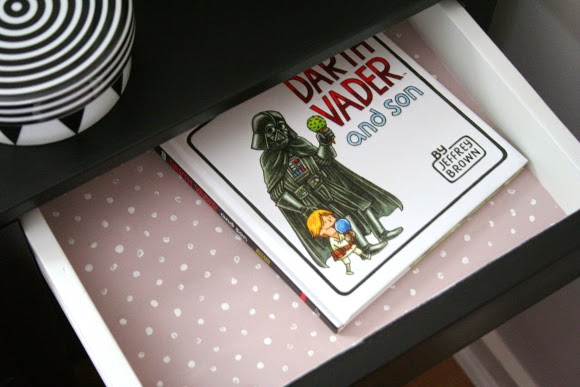
I then painted the inside of the drawer white. I wanted to line the inside with some pretty paper, but then I figued, why not just paint it? I had a smidge of Dulux Ashbury Easycare pink paint leftover from the bedside tables I upcycled for Oxfam, so I painted the bottom of the drawer dusty pink and added a polka-dot pattern by dipping the end of a pencil into white paint and used it as a stamp. I free-handed the pattern which kind of makes it feel a bit less strict. 
I am exponentially happier with how the bedside table looks now. It really anchors the corner of the room and is a strong focal point when you walk into the room. I just wish I had repainted it sooner. 
Black, white and kinda pink. I think I met the brief. 

DIY Friday – rescue kit for the unexpected guest

It has happened on occasion where a friend or family member would come over for dinner, wine would happen, we’d chat about all sorts of rubbish into the wee hours, then husband and I would offer our guests to stay in our spare bedroom if they’d like. Since they didn’t bring anything with them with the intention of staying over, on most occasions they’ve had to head home. So in preparation for next time, I came up with a little emergency guest kit to keep in our spare bedroom, should we have some unexpected {but not unwelcome} guests. 

I should say that I didn’t buy anything especially for this kit. I didn’t even buy a new box – I just painted one we already had. Since husband and I do a fair amount of travelling, we usually come home with travel sized stuff {pretty hotel shampoo and shower caps we’ll never use, amirite?}, so it just made sense to put my hoard of tiny hotel stuff to good use … 

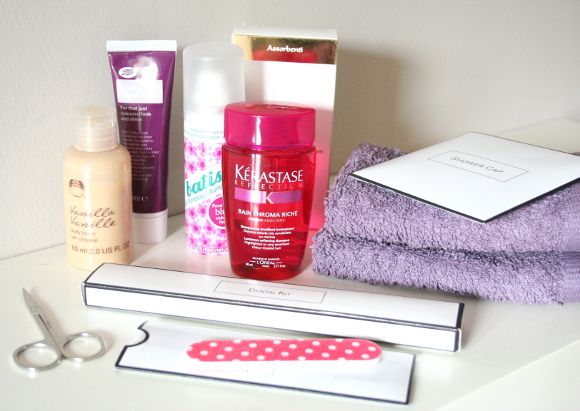
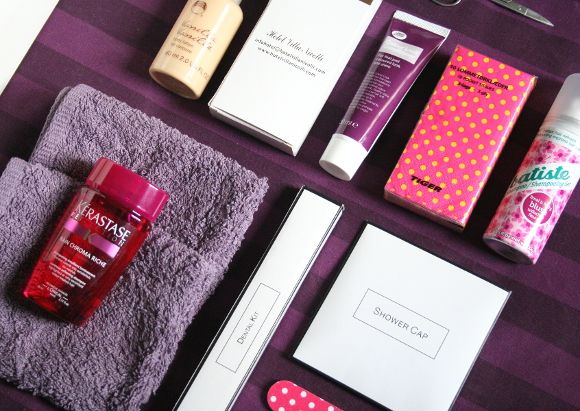
What’s in our rescue kit for the unexpected guest:

– a facecloth {or two}
– mini shampoo
– mini conditioner
– mini dry shampoo {god bless dry shampoo. Just sayin’}
– moisturiser
– travel pack of tissues
– a lady item {we’re all grown ups here. Yes. Things happen to ladies.}
– shower cap
– toothbrush and teeny tube of toothpaste {in the long white box}
– nail file
– a small pair of scissors {you never know}

This is just a rough guideline of what to include in an unexpected guest kit. Again, most of the items are things we picked up while travelling. The black and white boxes are from the hotel we stayed on our honeymoon in St. Petersburg. It’s nice to know they’re finally being put to good use. Or at least they’re ready to be, should the time come. 
So this weekend invite your friends around for a couple of drinks, and tell them you’re prepared. Just in case. 😉 xx A

p.s. That bedside table is getting it and soon. I’ve been meaning to give it a makeover for about 4 years now. Its time has come.