DIY Friday – bespoke Christmas baubles

On Monday I wandered down my usual charity shop route on Capel Street and when I stopped at CASA charity shop, I struck gold as they had a basket full of random unwanted Christmas baubles looking for a new home for 0.10 each. I couldn’t not. 
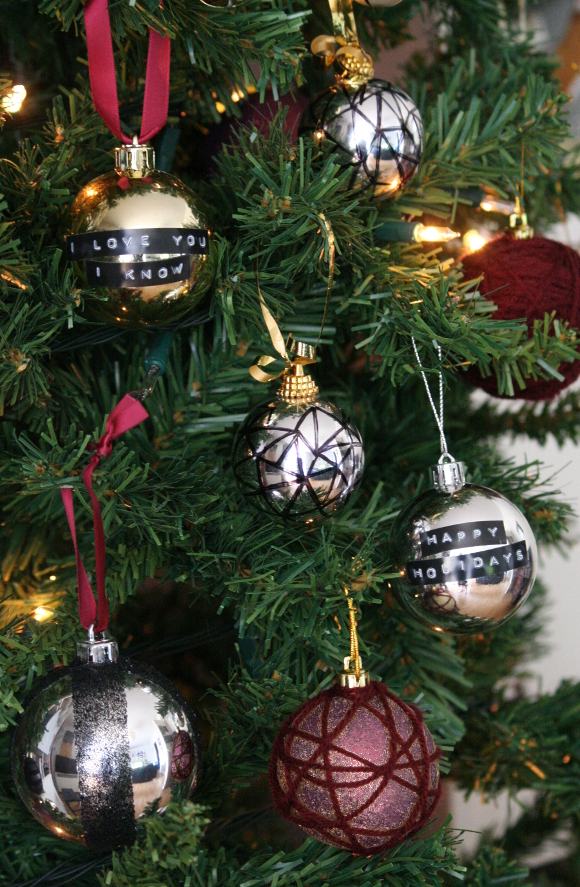
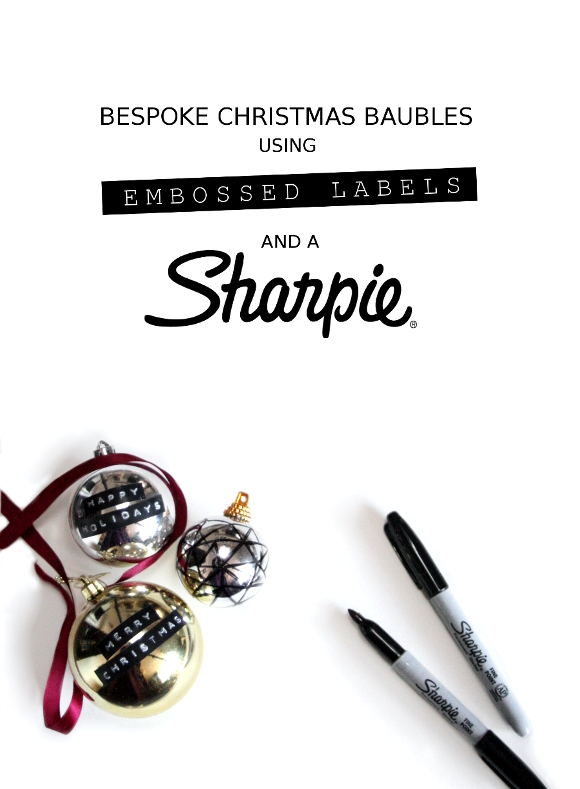
I headed home with a bag full of baubles and a couple of ideas for how to make them more personal. I first thought of drawing rough geometric triangular patterns on them using a Sharpie in keeping with this years edible ornaments I decorated. I couldn’t go wrong as I didn’t have a pattern in mind; I just kept drawing triangles haphazardly in various sizes. 

Optimal thumb placement on the bauble so you can’t see all of me in my pyjama glory. Dripping in diamonds. God bless tripods and timers. 

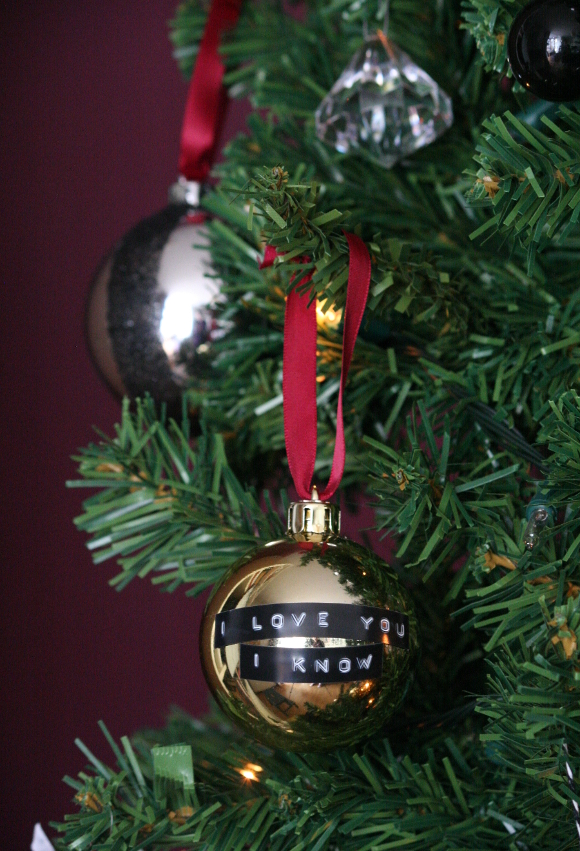
For the larger baubles, I had an idea to add some punched Dymo embossed labels to add a simpler and old school retro feel to our decorations. I punched out some of our favourite phrases including our wedding vows from Napoleon Dynamite [ALWAYS AND FOREVER] and some romantic Star Wars quotes [“I LOVE YOU” … “I KNOW”]. Husband particularly enjoyed those. 

Some more ideas to decorate your baubles, last year two years ago I used double sided tape and black glitter to decorate some plain baubles, as well as wrapped glitter / scratchy baubles in yarn to better suit the colours in our home. These baubles can be seen at the bottom of the image above. 

How are you guys coming along with decorating for the holidays? I’m not finished yet, but to me that’s part of the fun. Adding, making more things, moving things around to the point that it drives husband insane because he can’t find anything the next day. It’s all part of the season. 

Happy Friday, friends! I hope you have something festive lined up this weekend. Happy holidays xx A

When paint colour and finish go wrong, and what I did about it

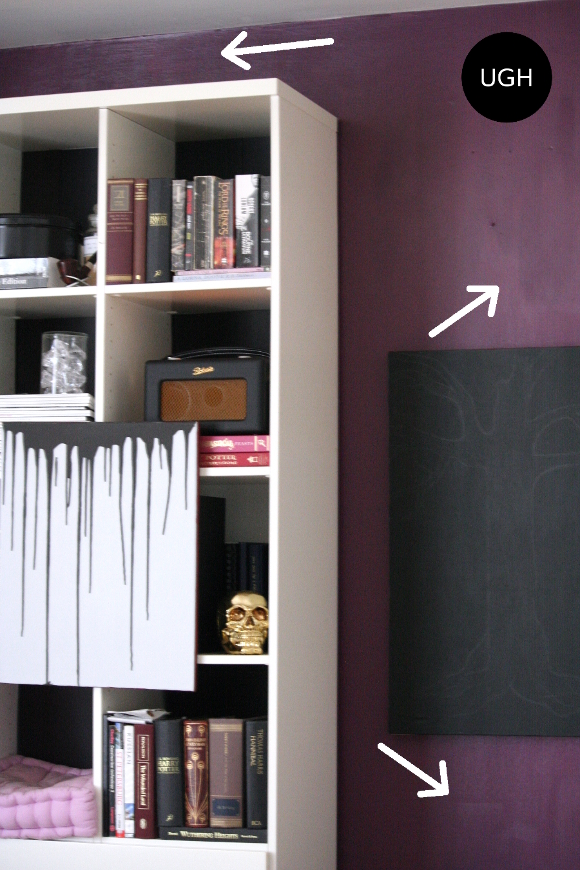
Last week I shared a picture of the new hue on our living room wall. The reason I gave you an out of focus sneak peek of it is because the paint was so ugly that I wanted to tear my eyes out. It was bad. I thought I had failed. And here is how I conquered said failure. 
These photos were taken on different days and under different lighting conditions, so please excuse some of them as they aren’t the best. 

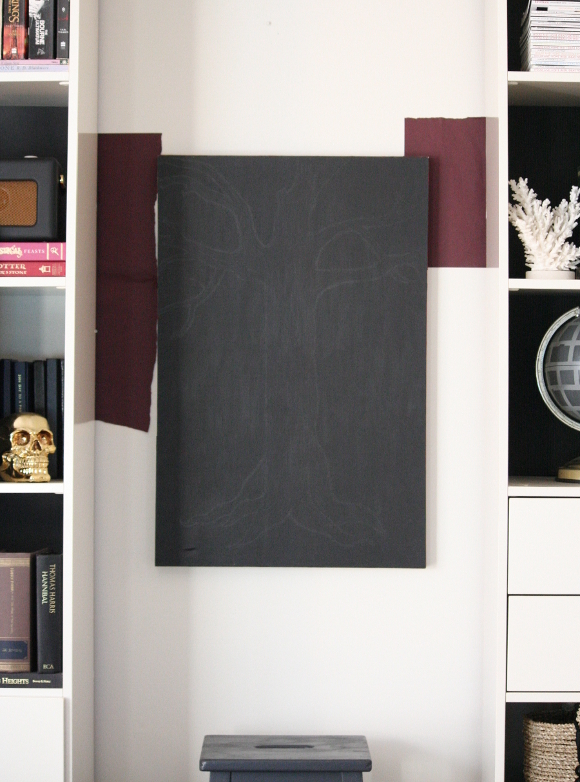
I wanted to paint the wall behind our shelves a bold colour. I’ve always swooned over the deep maroon some of the deceptive dust covers I made 100 years ago, so I took some left over scrap pieces of the paper and taped them to the wall to give myself an idea of whether or not that colour would be too dark, and also to see if that hue would suit our room. 

I loved the colour and was excited to get painting so we headed out that evening I bought a 2.5L tub of B&Q’s forest fruit paint. In a silk emulsion finish. It wasn’t until the next morning that I realized how wildly unsuitable it was for our living space. You could see every brush stroke and it was so shiny you could almost see yourself in it. It made me feel pretty crap. 

I remembered a discussion my dad and I had about paint a couple of weeks previously. I wondered, if I mixed a little bit of plaster of paris into the paint, would it make it look like matt paint? 

I mixed a couple of teaspoons of  plaster of paris with water into a smooth paste then added it to a couple of cups of paint in my painting tray. Whatever you do, do not add the dry plaster of paris directly to your paint. It’ll end up like a badly made hot chocolate with lumps everywhere. 

At the same time, I wasn’t too keen on how purple the paint was. It was a cold purple and definitely wasn’t adding to the cosy vibe I was going for. Before I started mixing my paint in the tray with the plaster of paris, I cheekily squeezed a tube of cherry red acrylic paint into the tub [which was only about 1.5L after my 2 coats of paint on the wall the previous night] and mixed furiously. 

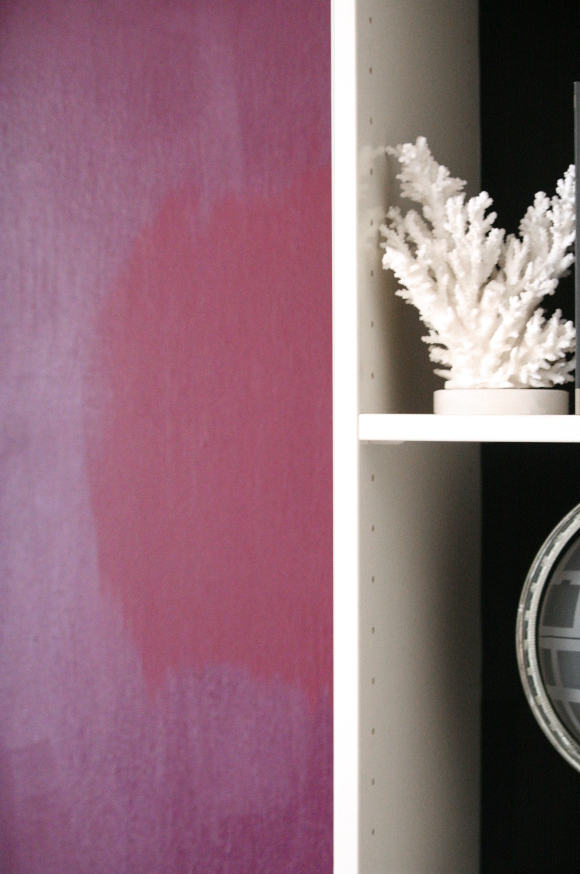
I painted a test patch to see how the new paint differed in both colour and sheen. And just like Charlie, this level of Sheen was winning. 

The above picture is a bit horrible, but you get the idea. I was excited. I had conquered the paint. I was in love with how it turned out and it only took one coat of paint to fix the problem. Please tell me I’m not the only one who’s had a paint disaster?

At the moment I don’t have photos of the entire wall without a Christmas tree stuck in the middle, but the colour is much better suited for our living room. A beautiful berry hue. That paint very nearly got the better of me. Nearly. xx A

Edible ornaments – revisited

Last week I hinted towards an upcoming Christmas feature [which will be out on Sunday!], so I decorated our apartment for Christmas a week early. I repainted our living room [again], fought with the Christmas tree and put it up, decorated for the season and as is now tradition, I made this years’ batch of edible ornaments, just in time for the photo shoot … 

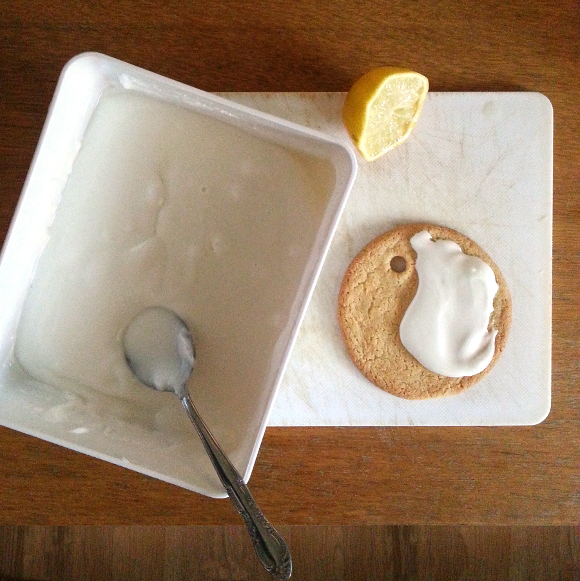
This year I made our edible ornaments a bit simpler. I used a tumbler glass from our cupboard as a cookie-cutter to make all the cookies uniform and I cut the holes out of the raw dough with a plastic drinking straw.

I baked the cookies, let them cool and added the lemon icing using the back of a spoon [full edible ornaments recipe and instructions here].

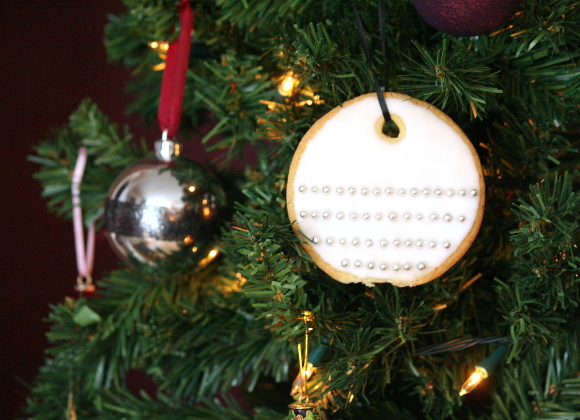
For some of the cookies, before the icing set I added edible silver cake decorations. To get them to in a straight line, I used the back of a knife to gently indent the icing and the silver decorations fell into place more easily. 

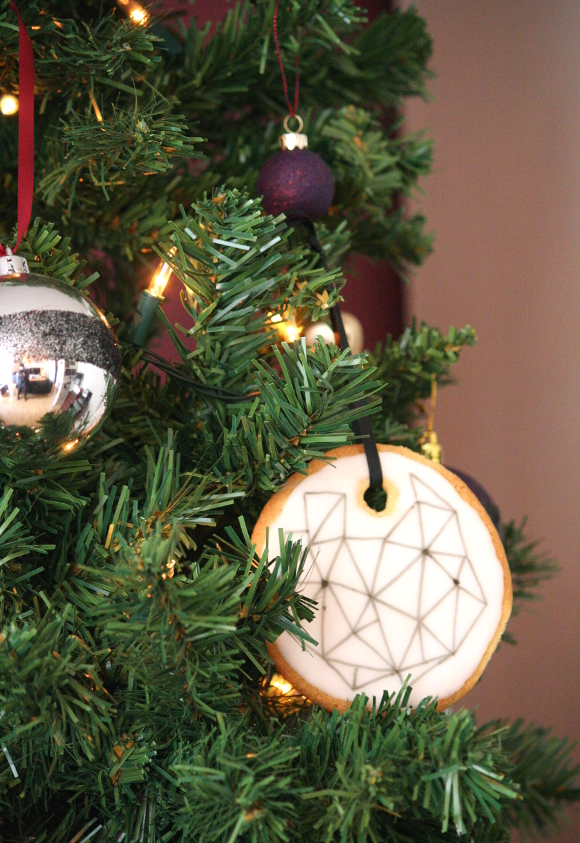
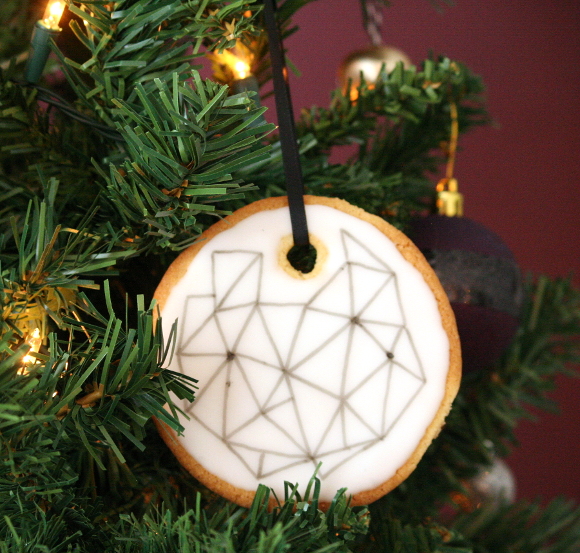
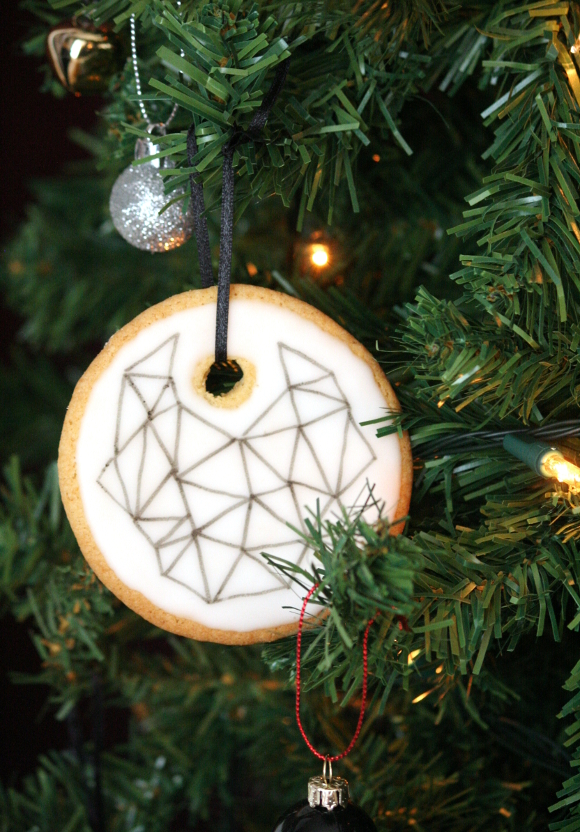
But for the majority of the cookies, I let them sit for 24 hours and allowed the icing to dry completely. In order to draw on your cookies with an edible marker, you must let the icing dry for at least 24 hours. As you can see in places on the cookie below, because the icing wasn’t completely set, when I drew on it the icing cracked and the marker bled [dark spots].

This year I made our edible ornaments a bit more on trend. Completely by accident. I initially wanted to draw constellations on them, but I mucked up the first one so I kept drawing triangles and it turned into a neat looking geometric design. Which just so happens to be very trendy this year. And by drawing without a plan like this, there is a very small margin for error and you can’t go wrong. 

This could be a great Christmas project for kids of all ages and will keep them entertained for maybe 15 minutes. I can’t promise anything. But the best part of these ornaments is eating them straight off the tree. For example, our Christmas tree is within arms reach from my desk. I just devoured one. OM NOM NOM. 

I’ll be sharing my sneaky Christmas feature on Sunday, so keep your eyes peeled. I can’t wait! Happy Friday, homies. And best of luck with your decorating xx A