Roughly this time last year I spotted
this pin from
Design*Sponge on Pinterest and I knew I had to recreate it in our home. Their pin was all about their
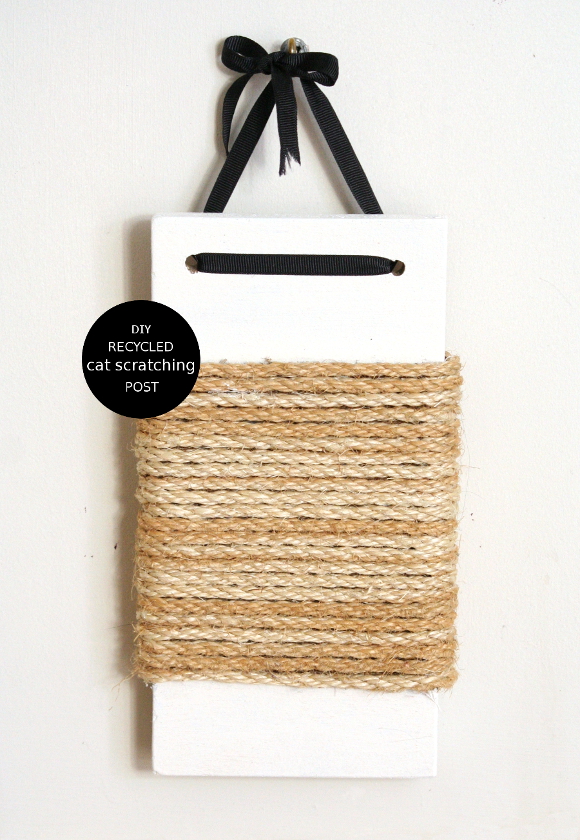
stylish cat scratching post tutorial which showed you how to make a pretty cat scratching post to hang on your wall.
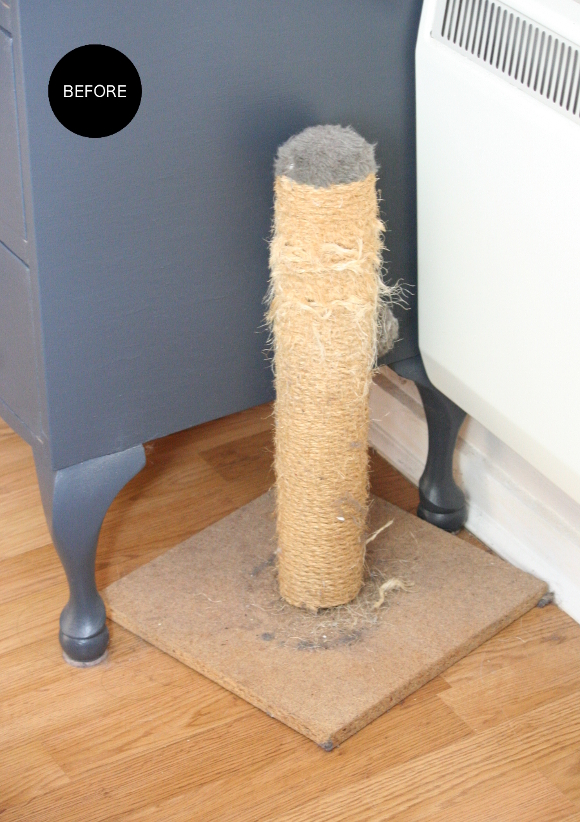
I thought of that pin every time I saw our current haggard cat scratching post. Just look at it, cowering behind the dresser in our bedroom …
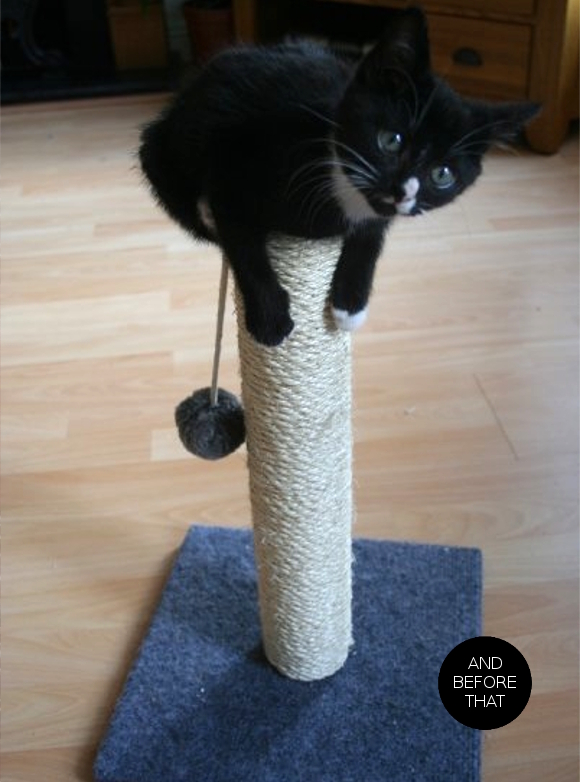
I bought this scratching post close to 7 years ago when Toshi was a kitten. And if you’re curious + I want to share a picture of how painfully cute Toshi was as a kitten, whether you like it or not, here’s what our cat scratching post looked like way back then …
Squee! Our scratching post hasn’t aged very well thanks to two sharp cats, but that’s what it’s supposed to do, right? I kept remembering Design*Sponge’s tutorial and thanks to my recent
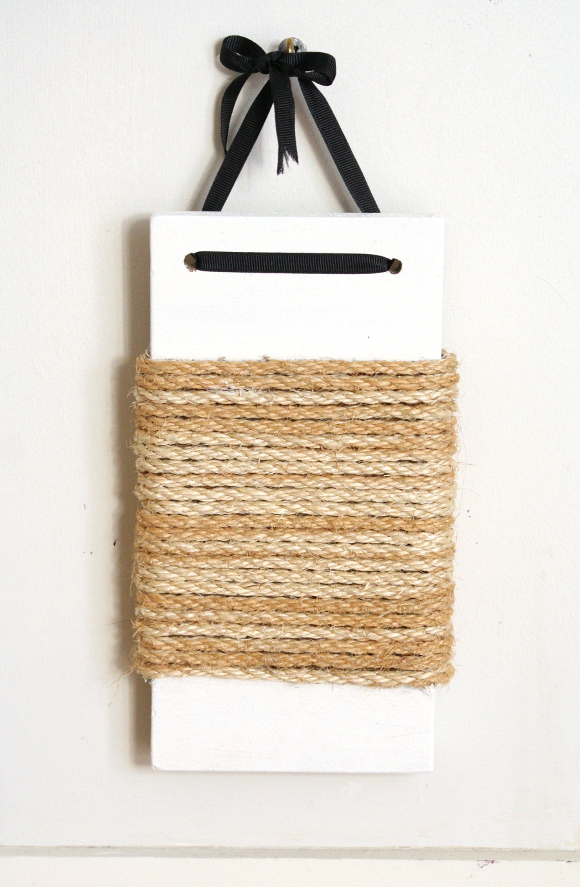
nearly new wood challenge, I thought hey – I could just recycle our scratching post by reusing all its pieces in a new way! And so I did. And here’s how I did it …
What you’ll need – an old cat scratching post, a saw and a drill, a staple gun, a screwdriver [for removing staples, if needs be], paint and some ribbon, but these aren’t necessary. You could leave the board au naturale and use extra twine at the top in stead.
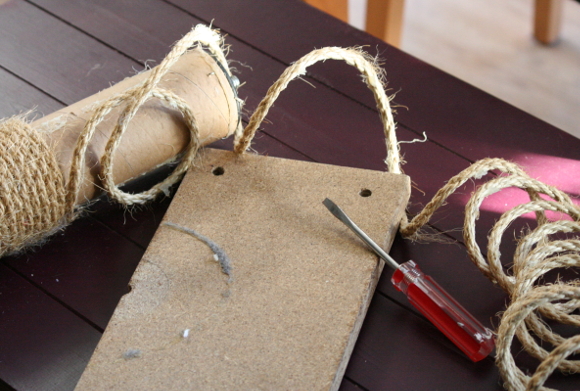
Method – I unscrewed the original scratching post from its base, enlisted in some DIY-expert-dad help and asked him to saw the base in half then drill two holes in the top; in order to hang it up [thanks again, dad!]. I unravelled the twine from the original scratching post and added it directly to the ‘new’ base.
TIP: if you want to paint the base, do that now. I only decided to paint it at the very end, and it would have been easier if I painted it at this point.
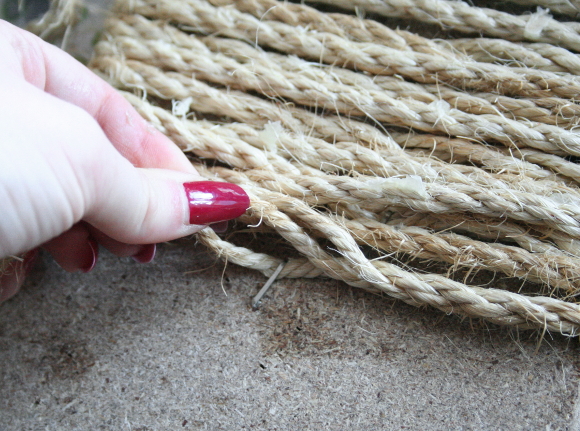
I stapled the twine on the back of the board and started winding it around. Every second row I un-twisted the twine and stapled it to the back of the board [as seen above], to ensure the rope was extra secure. After all, there were going to be two cats picking at it.
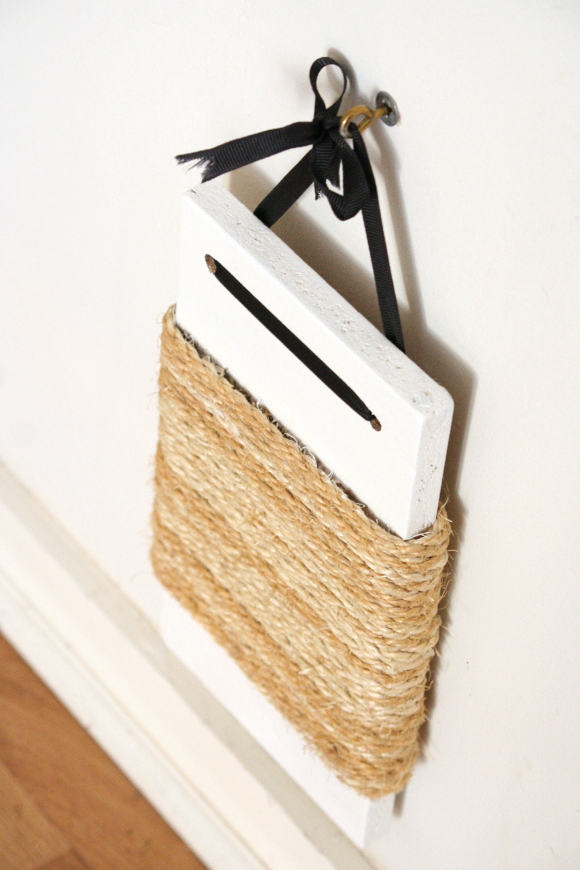
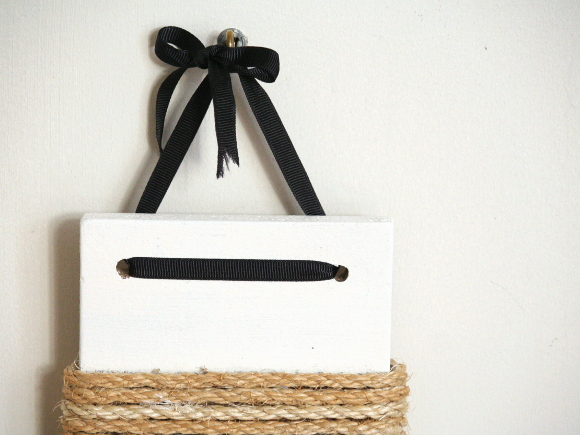
I wound the twine around until I was happy with the amount, and then stapled the twine a couple of times at the back to finish it off. I threaded a spare piece of black ribbon through the two holes and tied it tightly in a knot, then made it pretty by tying it into a bow.
Since there would be two cats hanging out of the new scratching post, I needed something tough that would hold up so I used a wall anchor. I measured the previous height of the scratching post and the height that our cats prefer to scratch at, and hung the new scratching post at this height. I threaded the ribbon through an eye hook and wound the eye hook into the wall anchor. Snug as a bug.
So if you have an old eye-sore of a cat scratching post and want to have something a bit more chic for your feline friends, fear not for you already have the materials at hand.
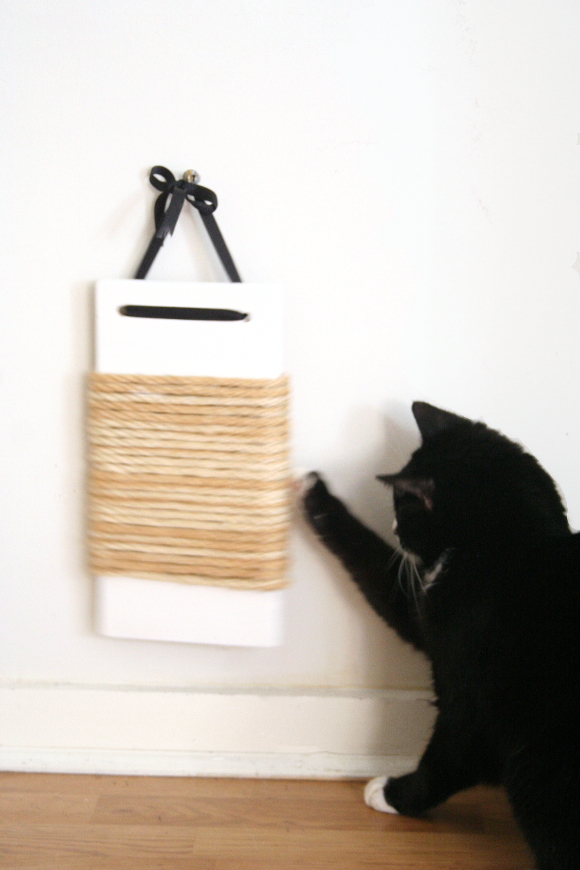
And there you have it! I just hung up the new scratching post the other day and I have yet to see either Juniper or Toshi properly use it. Just yet. I had to trick Toshi to get that picture of her playing with it, but I know you won’t tell anyone. Us Bloggers are just a bunch of liars.
xx A

