I love you to the Death Star and back

Today is a special day as it is husband’s birthday. He’s turning the ripe old age of 27. The same age I was when we got married. Yep, I’m a cradle robber. Represent. Anyways, I had a very special present in mind for him this year and I had it stored in my memory bank for some time …

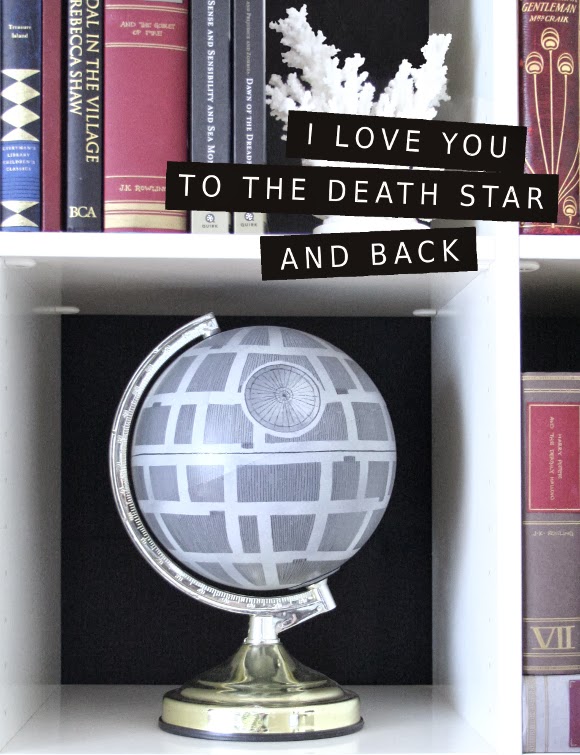
Back in April my lovely friend Pat from In My Wheele House blogged a project she had done with a globe, some chalk + chalk paint and blew my mind by drawing the Death Star right onto that baby. I knew it would be a perfect home made present for husband. I found a globe in a charity shop, picked up some spray paint and I was on my way.

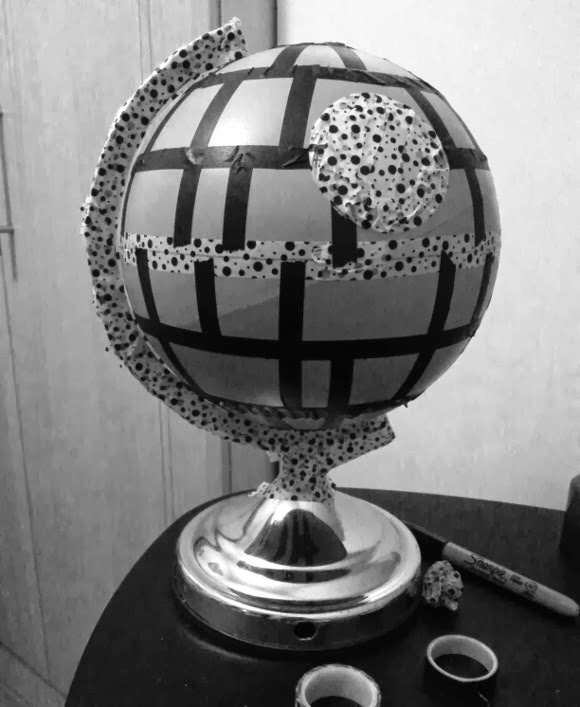
First I washed the globe, let it dry then I sprayed it with one coat of Iron Curtain grey paint – how very appropriate. Since it was plastic I went with spray paint to avoid peelage. And of course I went with my good old reliable Montana. I let it dry over night, and the next day I taped it off with washi tape. I used a thinner-than-usual black washi-style tape I got in IKEA. The reason I chose washi tape vs. masking tape is because it’s a lot more gentler when it comes to removing. 

I taped out a grid  of sorts {as seen above}, then sprayed with a darker shade of Montana paint {I cannot for the life of me remember its name right now}, peeled off the tape and again let it dry overnight. And please excuse my incredibly shoddy phone pic above. I was working sneakily in the spare bedroom at night – not the best for taking photos. 

The next day I used a Montana acrylic extra fine paint marker to draw in the details. I free-handed the wobbly and incredibly inaccurate lines and finer details, hoping it would closer resemble the Death Star. Yeah, I know it doesn’t look exactly like it, so if you’re a hardcore fan, please be gentle. If you squint your eyes at it from far away, it’s a dead ringer though. The perfect addition of nerd to our living room if I may be so bold.

It’s about to get sappy all up in here folks. You’ve been warned.

Happy birthday husband. You are the light of my life, always and forever. And as I wrote on your card, I love you to the Death Star and back.

Five steps to a festive table

Last weekend we had some dear friends over for dinner. As per the usual, the table was one of the last things sorted. I’m the kind of person who over-cleans for guests; I end up cleaning areas of our apartment that I’ve never even seen, never mind our guests. Because you know, in case they find themselves on top of the cupboards in our bathroom, I’d like it to be presentable. You never know.
When I finally tackled the table, I kept it relatively simple, but I wanted some impact so I went with some bold colours. With Christmas fast approaching, the decor for this table doesn’t necessarily scream Christmas, but it can easily be adapted and customized to whatever time of year you want – birthdays, Easter, Thanksgiving or set for two for Valentines Day. So here’s what I did … 
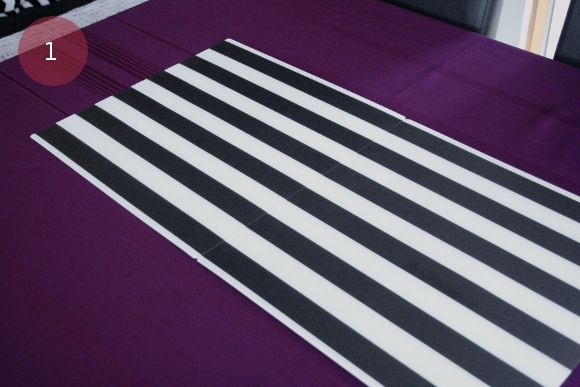
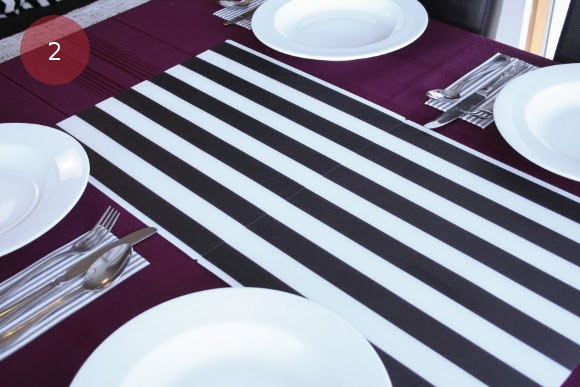
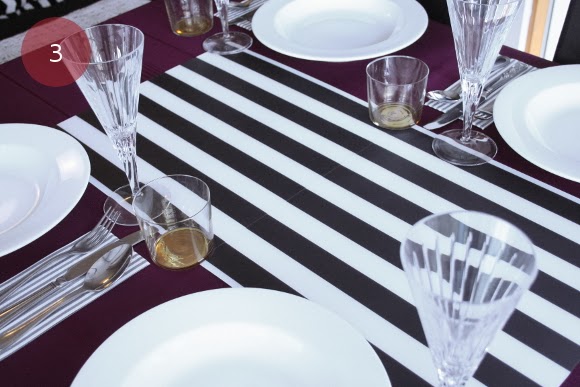
^ Step 1 – keep it basic with a table cloth and runner. I have a plum table cloth I stole borrowed from my parents years ago because it’s my favourite colour. I didn’t have a runner so I cheated and put two IKEA LJUDA placemats together and added them to the centre of the table. If you don’t have a table cloth – no need to panic. The same goes for a runner – just use what you have – some unfolded napkins, a scarf or even a section of wrapping paper will do the trick. Think outside the box.

^ Step 2 – napkins, cutlery and plates. Keep it simple. I went with plain white plates, some LAGLIG grey and white stripe napkins we already had {which tie in with the striped ‘runner’}, and I used our really standard cutlery. No need to faff about with the good cutlery.

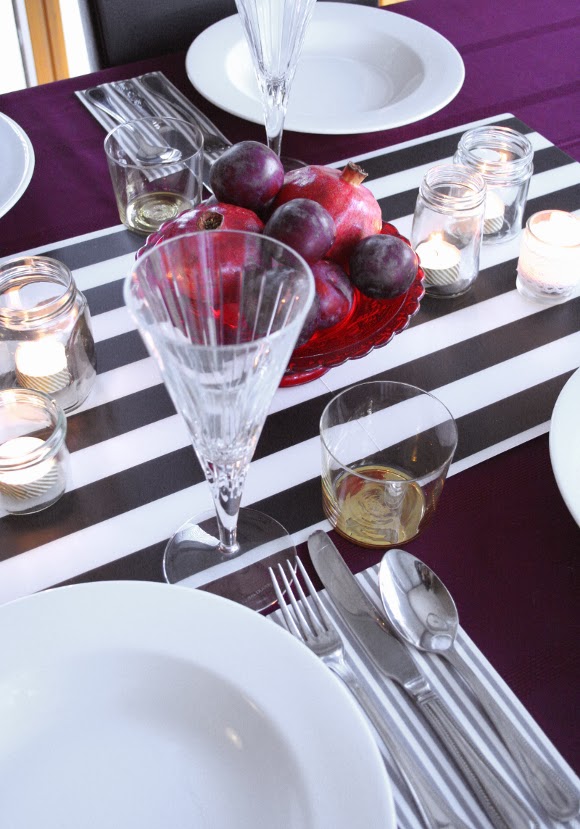
^ Step 3 – glassware! Normally I wouldn’t add tumbler glasses to a table, but I couldn’t resist bringing out my gold tumblers while I was taking these pics {they usually lay dormant on our bar cart}. Otherwise we’d just have wine glasses. Because just, well … wine. No explanation necessary.

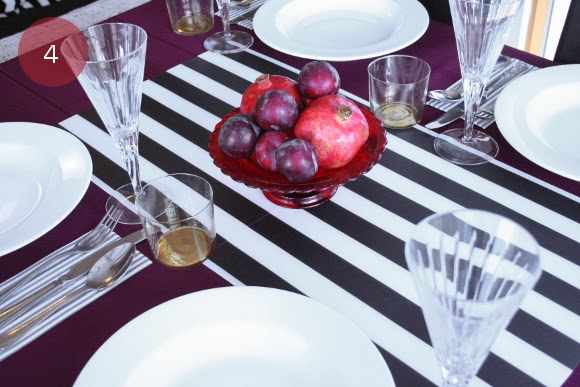
^ Step 4 – a centre piece. I kept it really easy and used what I had at my disposal. I had a little red cake stand and some fruit in the kitchen that matched the table. I bought these pomegranates the other day as they were reduced to clear {€0.60 each}, I loved their colour, and to be honest I bought them ’cause they’re pretty. I piled on some plums and there’s a centre piece for under €3. You like my plums?

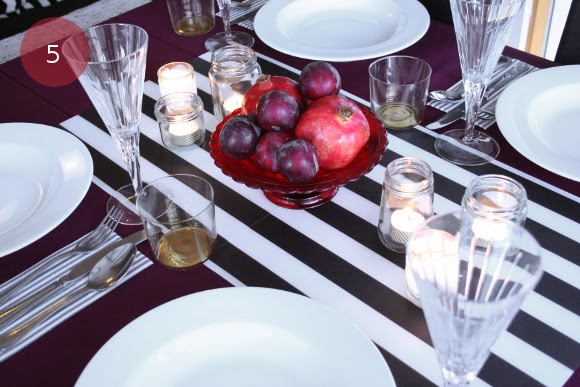
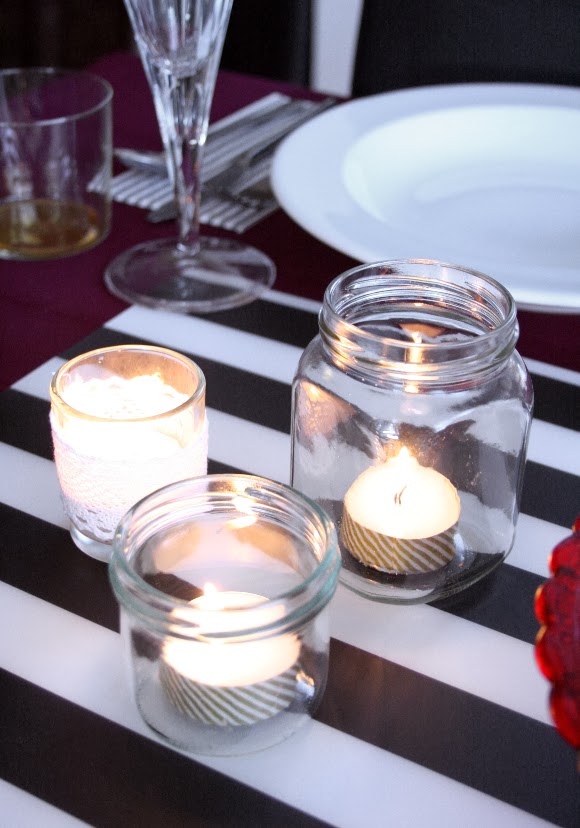
^ Step 5 – tealights. Confession: I’ve hated tea lights for years. They’re so tiny. What’s the point? But recently I’ve started rooting for them and they’re especially handy for decorating tables. What I did with my tea lights was add some gold striped washi tape to each tea light {thanks Pinterest} and popped them into clean jam jars. I think it’s a perfectly quirky and a bit of a rustic addition to the table.
You of course can add as much or as little stuff as you want, but I found sticking to these basic five steps really handy when I was decorating our table. So there you have it. Happy entertaining! xx A

Crafty Christmas tutorial link-up

As promised in my edible Christmas ornaments post, here is the list of all the projects involved in Lupin’s Christmas Link-up! The perfect little projects to get you in the mood for the encroaching season … 

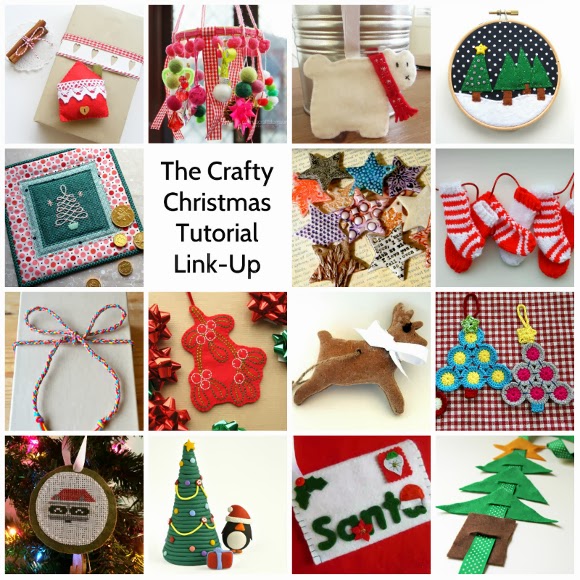
ROW 1 – felt house gift tag holder by i ManuFatti, Christmas trinket mobile hoop by Carina’s Craftblog, felt polar bear ornament by La Creature and You, and Christmas Hoop by Claire Payne.
ROW 2embroidered Christmas mug rug by Button Button, polymer clay star ornaments by Saraccino, and knitted Christmas stockings garland by Knit Me a Cake.
ROW 3DIY Christmas ribbon by Adventures & Tea Parties, embroidered mistletoe ornament by Bugs and Fishes, scented salt dough ornaments by Retro Delicious, and crochet Christmas tree decorations by Homemade@MyPlace. 
ROW 4Christmas cross stitch raccoon ornament by Hugs are Fun, polymer clay Christmas tree by Little Creatures, Christmas wish-list felt envelope by Jumbleberries, and felt Christmas tree toy by Pinwheels and Stories. 

ROW 5let it snow embroidery pattern by A Little Happy Place, festive wanderers embroidery pattern by Unexpected Kitty, festive felt and fabric coasters by Betz White, and holiday ribbon pillow by Mrs. Saint Nick.
ROW 6felt gingerbread man gift tag by Grace’s Favours, crochet Christmas star jar covers by Dinki Dots, and edible Christmas ornaments by moi! 
ROW 7cross stitch Christmas trees by Made by Mrs M, secret love letter Christmas gift tag by Crafts of Texture, applique love Christmas card by Halcyon Threads, and Christmas mini mitts by The Crimson Rabbit. 
ROW 8felt reindeer ornament by Pickle-Lily, Christmas carousel by Aura Verde Crafts, embroidered Christmas stocking ornament by Cocojude, and stenciled Christmas embroidery hoop by Angharad. 

Enjoy! xx A 🙂