DIY Friday – seam wars

Friday you sexy beast, we meet again. And it couldn’t have come sooner as it means I can finally show you what I’ve been up to this week! 
But before I jump into today’s DIY, I will first say sewing is not my forte. My most sincere apologies in advance as I did not include progress pictures for today’s tutorial. I normally don’t sew beyond the basics of repairing clothes, but I managed to successfully sew up this little number for today’s DIY Friday, and it ended up being a fairly straight forward job. Which literally translates to – if I can do it, anyone can. 

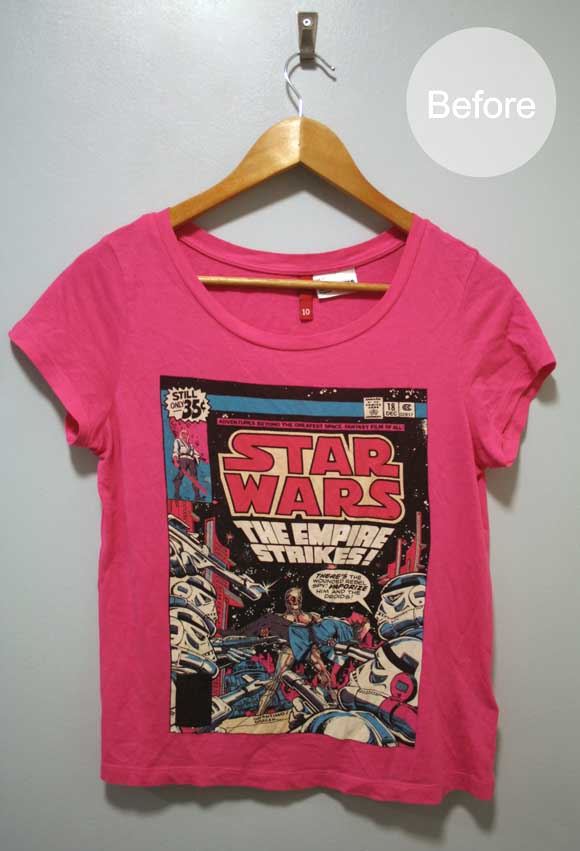
It all started with a Star Wars t-shirt I saw it in H&M and had to have. More so for husband’s benefit than my own since he is the fan, and my eyes start to glaze over if someone talks about Star Wars for more than 4 minutes. Unfortunately, after one wash said t-shirt warped and is now too short in the torso for my liking {do not want muffin tops hanging out}. I didn’t have the heart to give it away, so I immediately thought of transforming it into a pillow {I’ve done something similar before with a skirt}. 

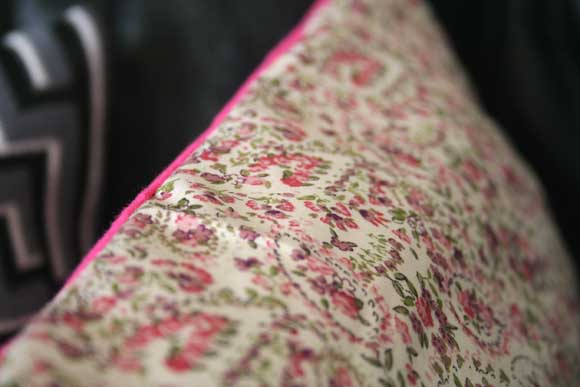
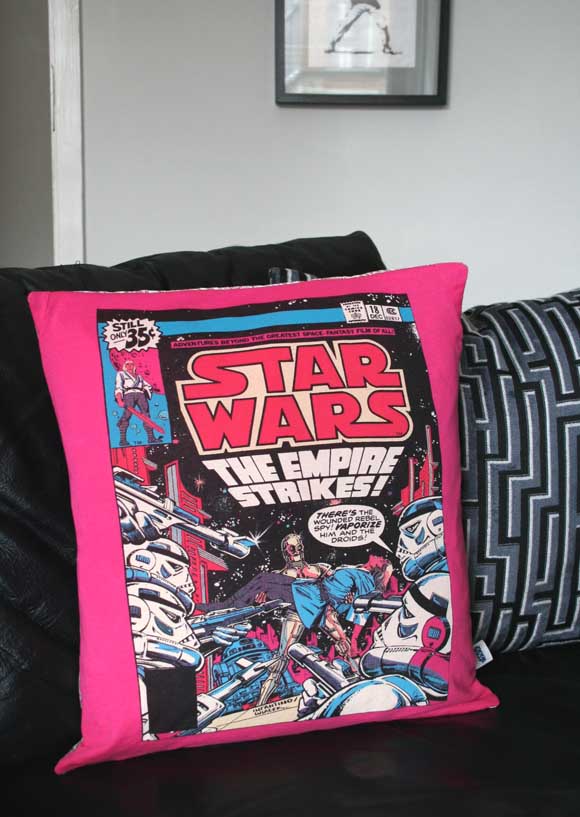
Luckily, I had a pillow insert that was the perfect size. Keeping the image centred, I drew the dimensions of the pillow. I cut it out including an additional inch border along all four sides. Since the t-shirt fabric was thin and a bit too stretchy, I used some fun, flowery fabric of my own as the pillow backing to give a bit of structure. I sewed the two pieces together and voilà! 

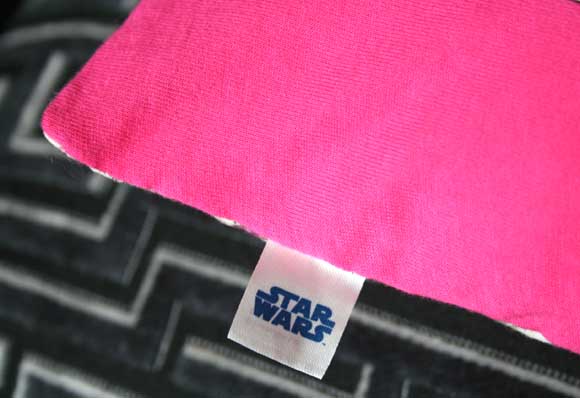
It was a pretty straight forward and I channelled my elementary school quilting techniques {drawing a line with a ruler, sew along said line}. And to further trick people into thinking it’s a real pillow, the t-shirt had its own little authenticated Star Wars label sewn in so I seam-ripped that baby out and incorporated it into the finishing pillow seam. Legit. 
Happy Friday, friends! I hope this week treated you well, and you have a totes awesome weekend lined up. xx A

DIY Friday – stuff I stole from Pinterest

For this weeks DIY Friday I compiled a short list of uber simple DIY’s inspired by none other than Pinterest. It’s so easy to become a serial pinner without actually putting your favourite pins into action, so I wanted to share three of the easiest pins I’ve found and used. I wish I could claim the below ideas as my own, but unfortunately, my conscience will not allow. On to the good stuff –

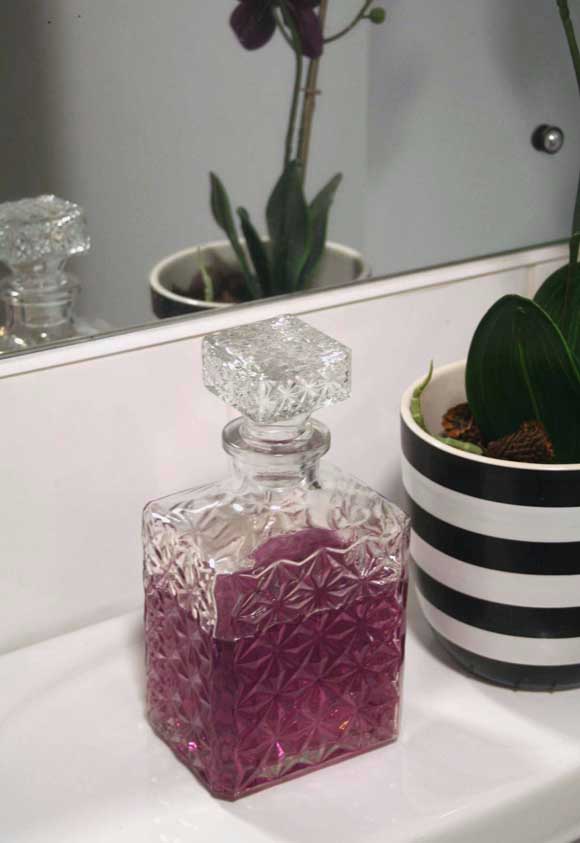
I have a thirsting passion for all things decanted so when I spotted this pin, l just had to add it to our bathroom. Do you like rich mahogany and the smell of leather bound books? If so, this pin may be just the thing for you. Ditch your ugly mouthwash bottle and proudly display it all classy in a decanter in your bathroom. Because you’re so sophisticated.

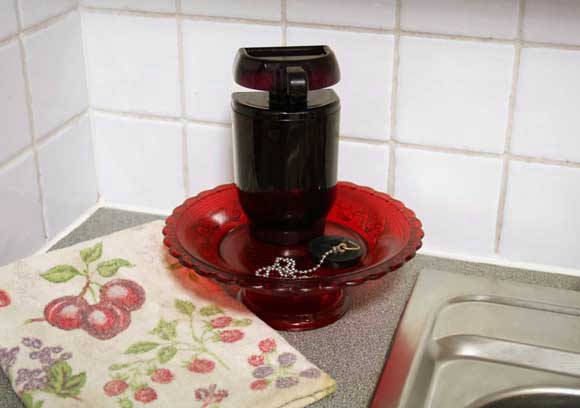
This is a great pin and caught my eye as a quick way to add a bit of glam to an otherwise boring sink – adding a cute cake plate to display your washing up side kicks. Because let’s face it, who actually likes standing at their sink? Speaking as someone who hasn’t had a dishwasher in 9 years {except husband, of course}, I will honestly say I am not one of those people. 

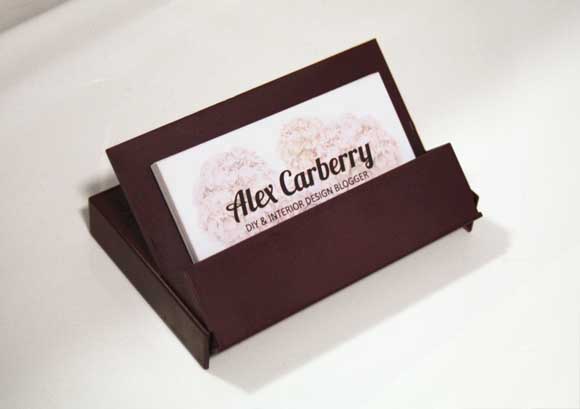
Lastly, it makes me feel old to learn that cassette tapes are now being referred to as ‘retro’ pieces, but at least their cases are making a mini come back. This pin showed that this otherwise discarded item can be flipped to hold your phone or as I’ve done here because I’m a nerd, to hold business cards. Since this cassette case was scratched and a bit haggard, I spray painted it to disguise the ugly.
And as for me, as of this afternoon I am so incredibly excited to say I had my very first photo shoot styling gig for House & Home. Mind = blown. I feel so lucky to have been asked to do it and what an incredible title to be able to add to my ammunition. At long last my OCD is coming in handy …

With that, happy Friday homies and I hope wherever you are you have a super weekend. We might have a mini BBQ celebration for dinner me thinks {any excuse really}. I hope your weekend is chalk full of grill. xx A

Work space reveal

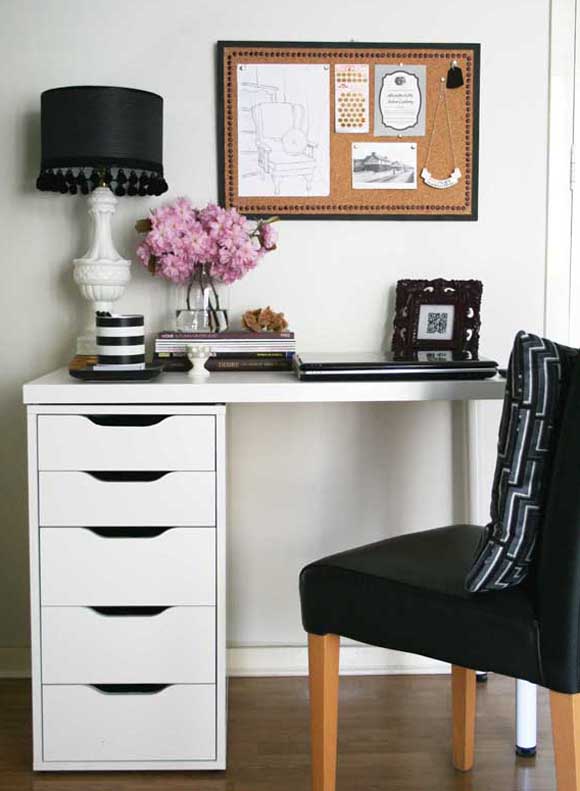
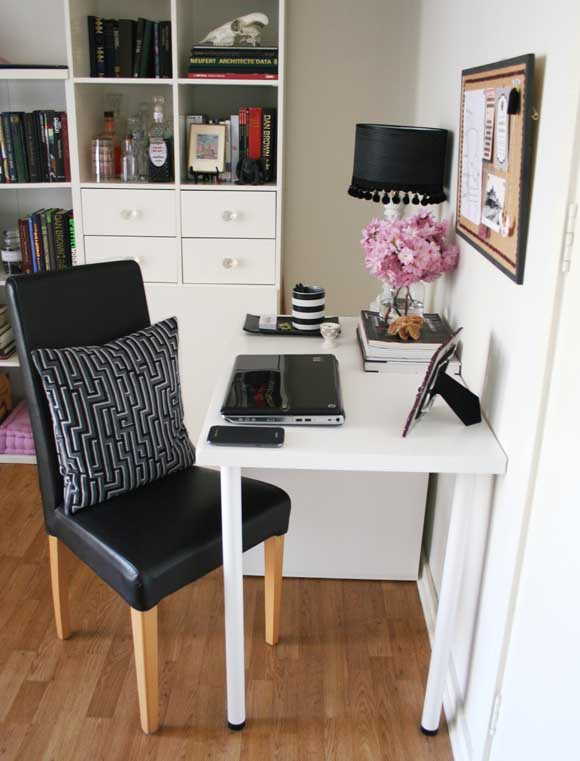
Before now, we didn’t have a work space in our apartment. We would sit in front of the TV with searing laptops on our laps and hazily go back and forth between staring at the TV and the occasional burst of work on the laptop. Enough was enough and I felt we needed a work space area in our living room. No more TV distractions. A place to sit and pound on the keyboard. So one lazy Sunday we traveled to IKEA where I scoped out options, measured, made decisions, stuffed my face with Swedish delights, swore at flatpacks, assembled, tweaked, designed, snapped branches, and finally, sat down. And here is what I ended up with … 

Our very own mini office nook! What was in this space beforehand was a tall shelving unit holding our vast DVD and game collection. This corner got a lot of neglect, but it was a great spot to add a little work space. It’s more so perfect because it is easily hidden behind our living room door which is always kept open {as seen on the right}, so you don’t see the work space until you walk right into the room. 

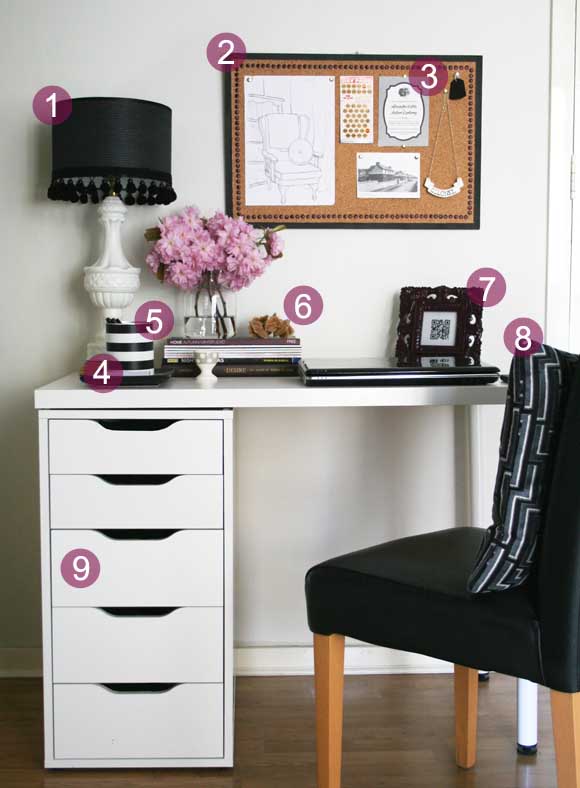
Thanks to my inspiration pictures, there were some basics / key pieces I had in mind for our desk to make it feel more encouraging to sit at …


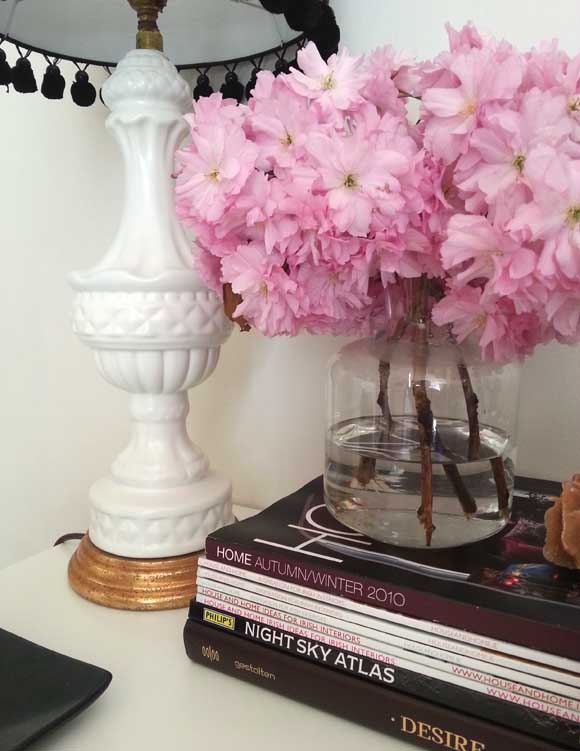
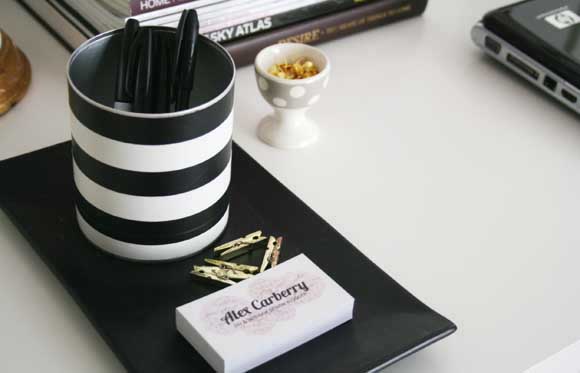
1 – I added a bulletin board to give height to the desk space as well as somewhere to pin {the real meaning of pin my friends} my favourite stuff up. I decorated the bulletin board itself by spray painting thumb tacks / push pins and adding them as a decorative border as well as painting the wood trim in a deep charcoal colour.  2 – One of our wedding invitations gets pride of place. 3 – Our new lamp, especially thrifted for the new nook. 4 – My new business cards {that I still can’t hand out in a professional manner. So much cringe}. 5 – My fool-proof quick and cheap revamp – an empty hot chocolate tin covered in electrical tape6 – I added a stack of my favourite books and magazines. Some are for visual purposes only {that top one is a catalogue and is going on 3 years old, but I love the colours on it}, along with some of my favourite magazines. Along with a desert rose I picked up on our Tunisian travels. 7 – My framed QR code cross stitch, perfect for any desk. 8 – Stay strong as one of my favourite pillow sets, picked up from TK Maxx. 9 – I went with the ALEX desk from IKEA. It was the perfect size for the limited amount of space we had in our living room, and I mean really, do I have to state the obvious? It’s called ALEX. Plus it was on sale for €79. Hells yes. 

I’m pleased as punch with our mini office nook and I feel like such a grown up sitting at it. All we need now is to frame both our college degrees and hang them above the bulletin board. Too legit to quit.

xx A