The end of most years I’m not too keen on the idea of a roundup post. But if you make the mistake of scrolling through the past year of your blog, it’s near impossible to not pick some favourites to write about. I’ll try to keep this brief, so I’ve picked a handful of my favourite memories and projects from this year.
2015’s game started strong with the completion of the
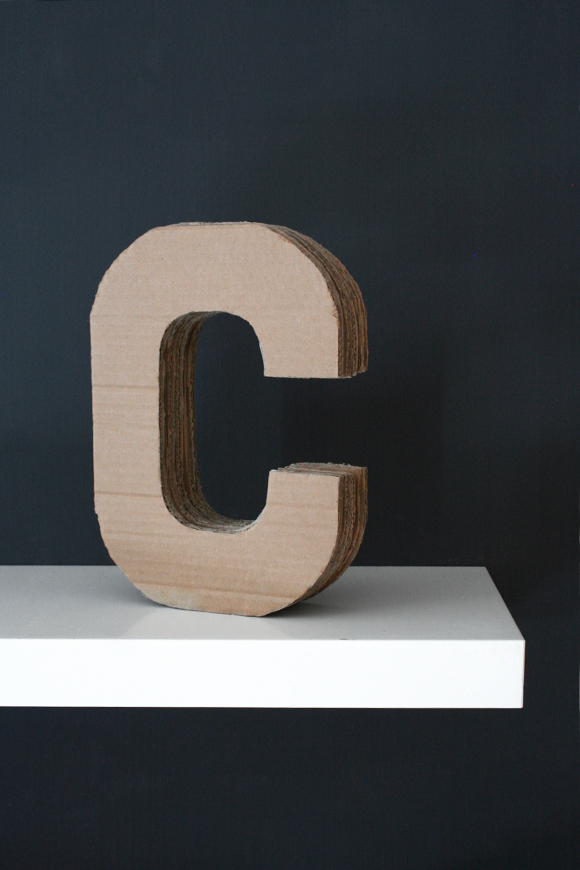
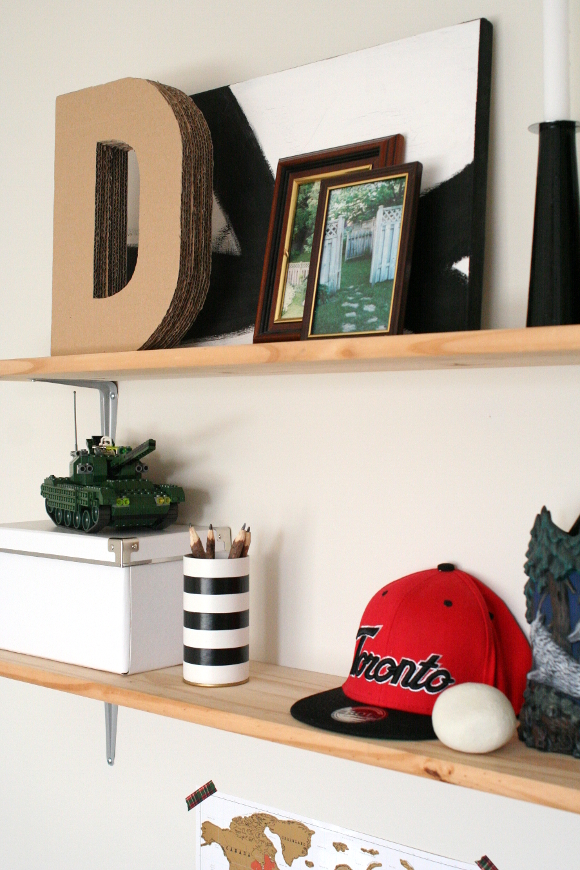
Canadian man cave office I designed for my Broseph [above]. I really loved taking that theme and running with it. I still spot pieces I’d love to add to his office, but I really have to stop myself. I still have serious office envy.
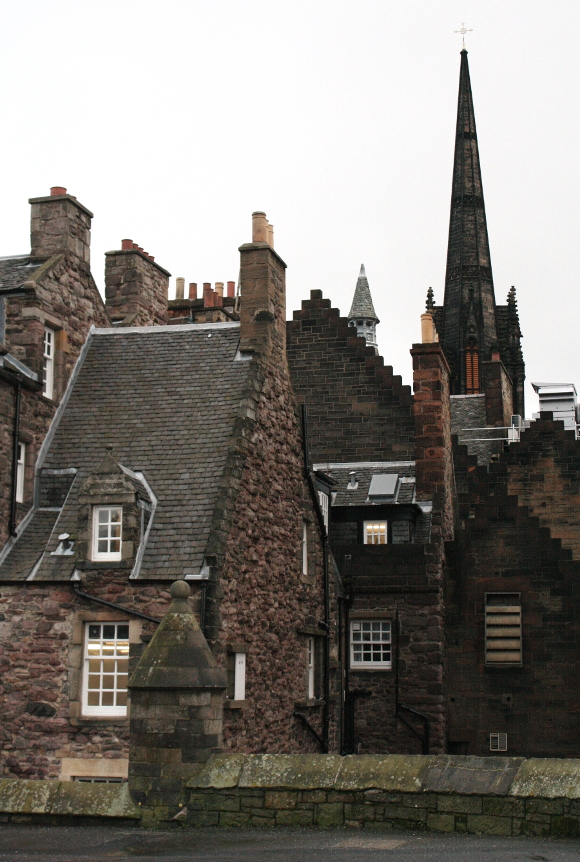
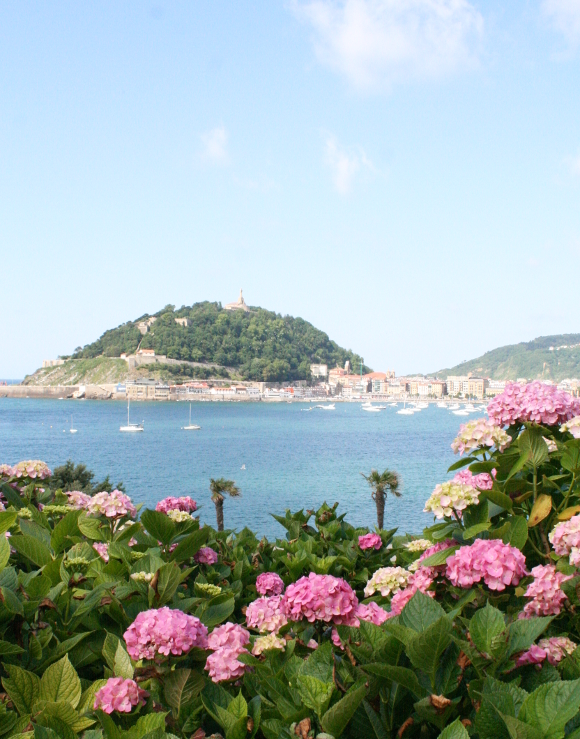
We traveled near and slightly less near this year to
Edinburgh, Scotland and
San Sebastian, Spain [also
Bilbao]. I love seeing new places and crossing new countries off my list, but I’m also not the best with traveling so I’m a bag of emotions at the best of times. Over the next year I’d love to visit Iceland, Netherlands, Poland and Japan, but we’ll see how far my nerves get me.
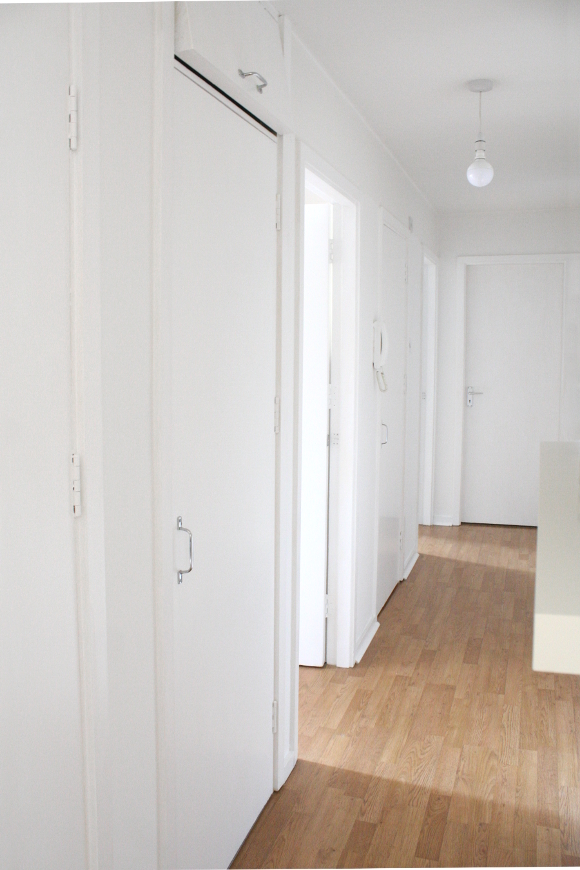
One of the biggest, most time consuming and monotonous projects I took on this year was conquering the disgusting yellowed
doors and skirting boards throughout our entire rental and repainting them white. It may not seem like a big deal, but to us it made a huge change [you should really see the before pics]. I’m still deliriously happy with how much it’s changed our home. Projects like this don’t make an impression on anyone else but you. I like those changes though. When people eventually go “
Oh! I just noticed the ugly yellow is gone!” Clean and fresh and not gross.
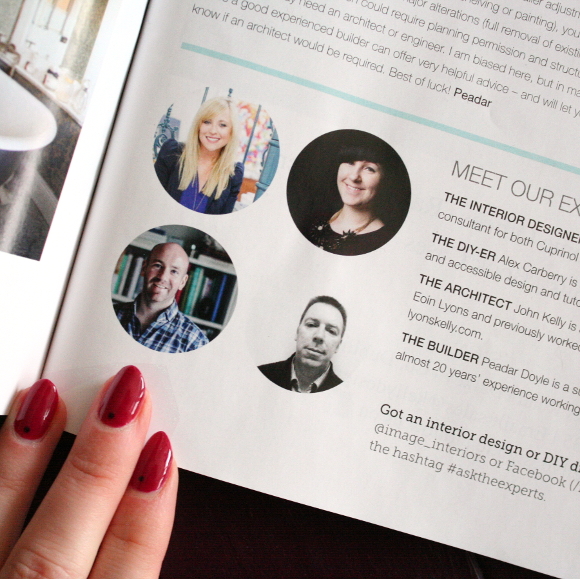
My mind was fairly blown this year by the people that got in contact to work alongside with. I teamed up with Woodies and created a huge variety of DIY tutorials for them, I became Image Interiors & Living’s
DIY Expert, conducted interviews and corresponding blog posts for Colortrend paint twice, wrote for the Irish Independent and the Sunday Times, created some fun posts for Harvey Norman’s blog and partnered with Wayfair.co.uk again for some Star Wars goodness to name a few [all of these and more can be found
here].
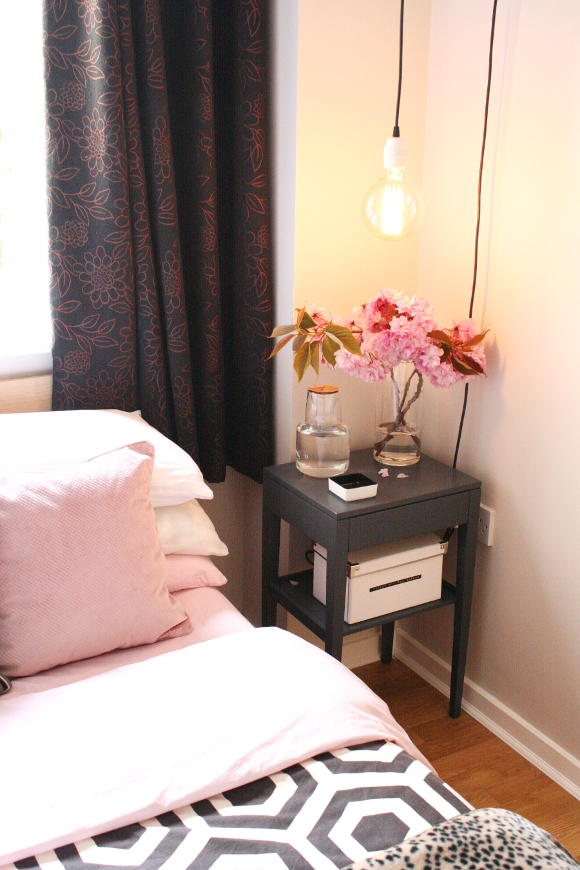
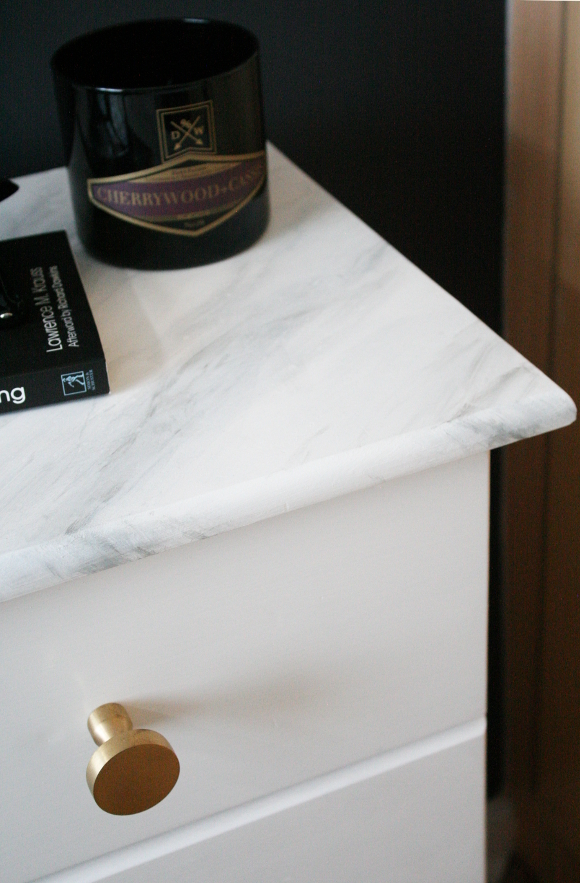
But if I’m honest, my favourite projects this year [and TBH, always and forever] are projects where I upcycled and updated otherwise unwanted or unloved pieces. For example, the upcycled
vacuum cord pendant light in our spare bedroom and the
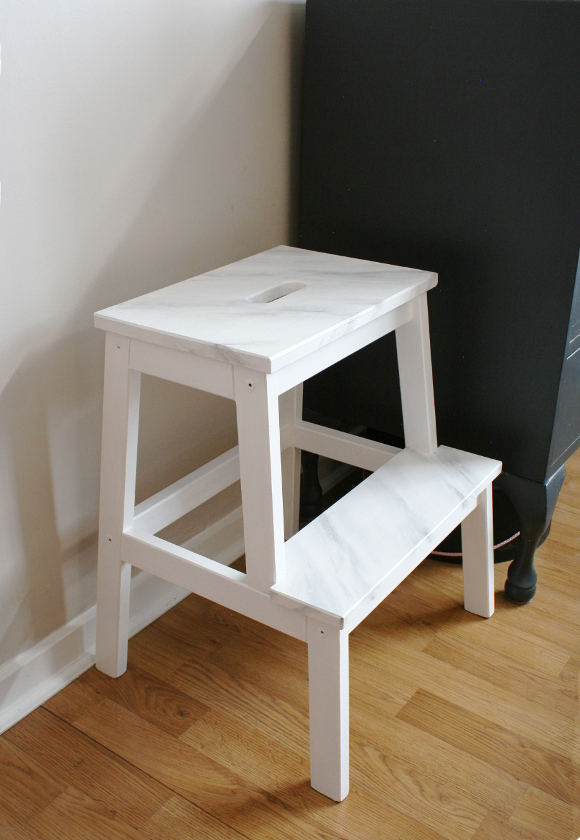
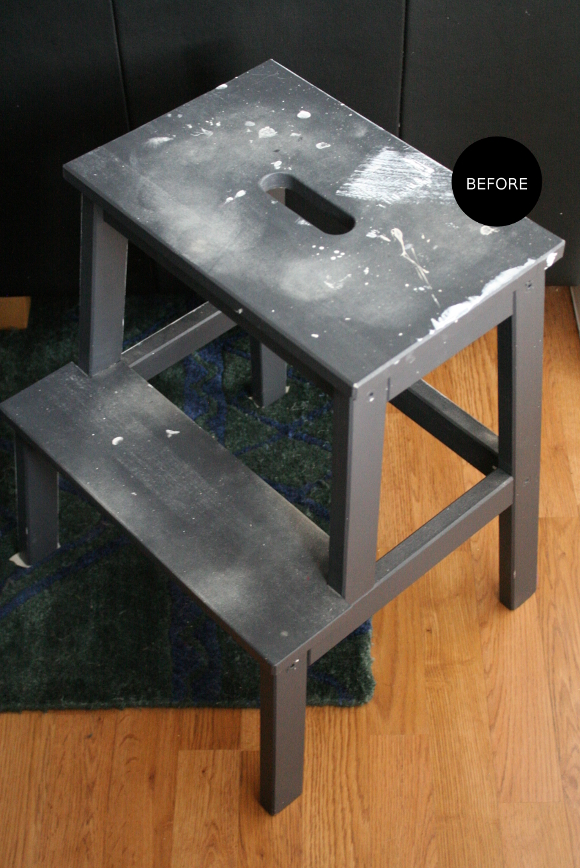
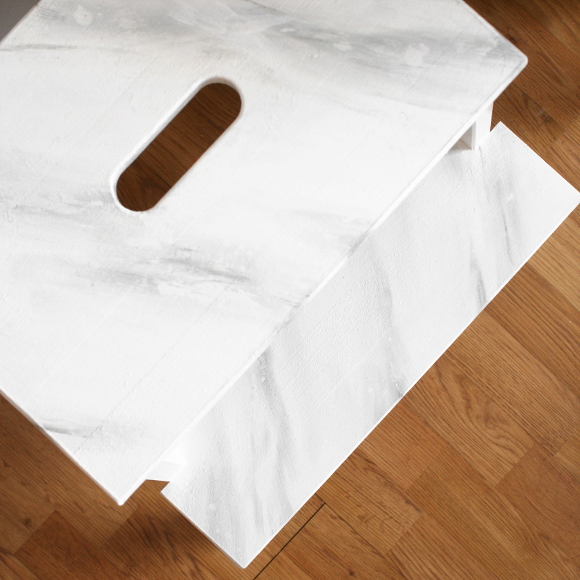
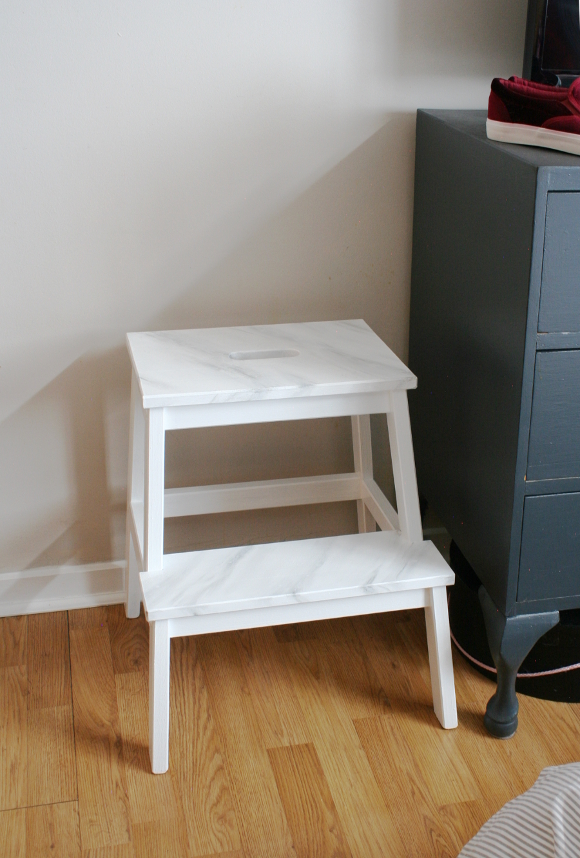
updated faux marble bedside tables in our bedroom. Things like that will always be my passion. That’s what gets me really excited and wanting to scream from the roof tops that style and the contents of your home don’t have to come with a hefty price tag. And sometimes, no price tag at all [if you wanna see all my DIYs, check out my
DIY Tab]. And if you’re stumped about upcycling or upgrading a piece and want some help,
get in contact! I would just die to help other people out with making the most with what’s already available. I’m hoping 2016 will be the year everyone becomes a bit more conscious of where their stuff comes from and at what cost.
At the very least, I hope you had a lovely 2015. Even if not all of it was perfect, it got you to where you are now. And from me, a massive thank you. If you’re reading this or ever read any of my blog posts, thank you. I know it won’t be translated fairly well through a screen, but it really means a lot to me xx

