Nursery dresser makeover!

It  really feels like things are moving at a snails pace these days [myself included], but things are finally getting ticked off my to-do list. One of them being the nursery. Between appointments and classes and endless lists of what to do and get, there’s so much involved in getting ready for a baby. And once you get everything struck off your list, you start thinking of more things you should do. My lists are reproducing. Or sometimes you just want to lay the hell down and nothing gets done for a day or two. Do I sound complainy? I really don’t mean to, I’m just glad things are finally starting to fall in place!

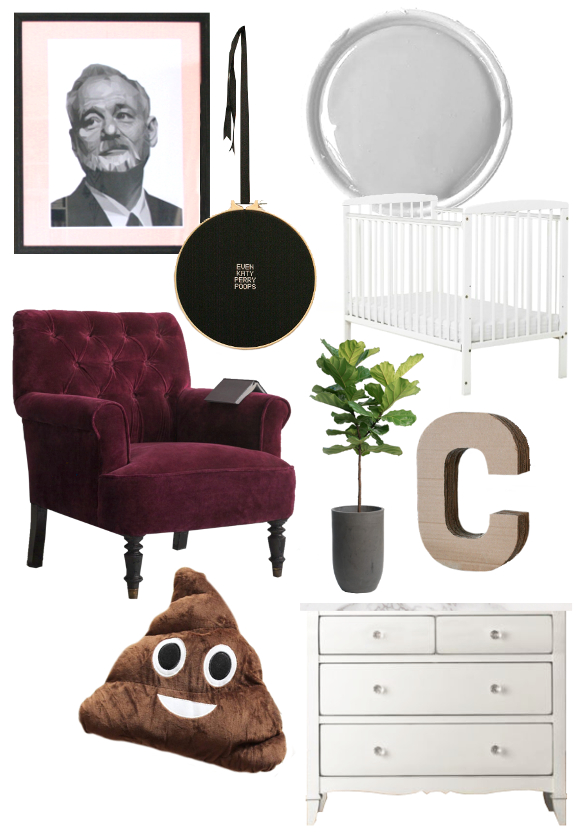
Back when I first put some ideas together for transforming our spare bedroom into a nursery, I wanted to source as many secondhand items as possible. So when we were looking for a dresser / changing table, I took to Adverts.ie and found a perfect sized one for €45 …

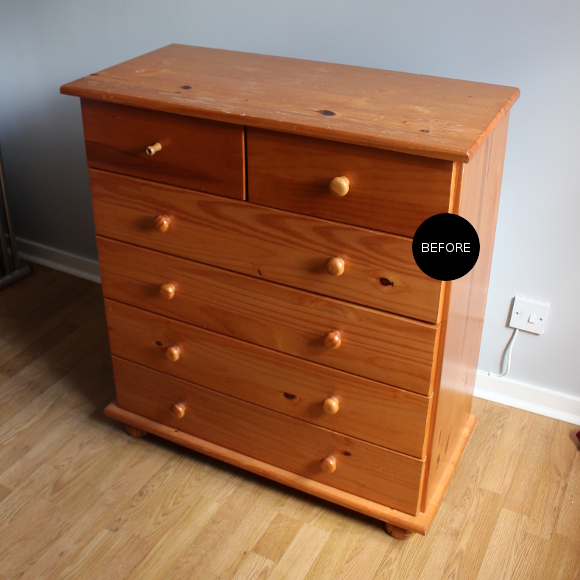
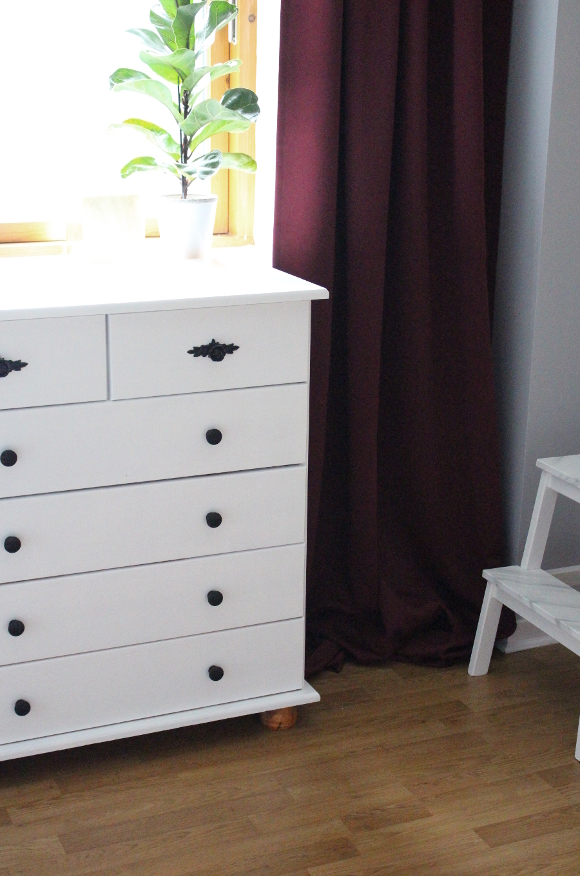
It  was a standard dresser in relatively okay condition. I knew I’d be painting it as there were already a lot of different wood finishes in the room – walnut crib, faux pine floor, some other faux wood on the built-in wardrobes and then the chicken-fat orange wood around the windows, the combination of them all together just wasn’t working.  

Since our spare bedroom / nursery is a fairly dark room and the dresser would be going under the window [potentially blocking more light from the room], I didn’t want to go with anything too wild or dark on the dresser. When it came down to it, I wanted to keep it light and bright. I still had some leftover white Rustoleum paint from updating our bedside tables this time last year, so on went 5 even coats of plain white paint all over. I thought of doing a faux marble effect again, but quickly changed my mind as I didn’t want to overdo it.

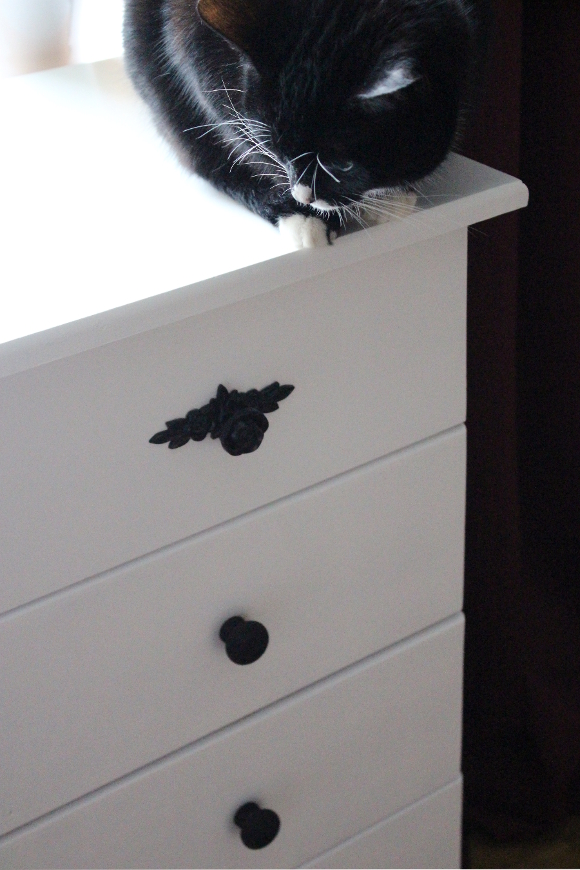
As for the details on the dresser, I kept it relatively simple. I spent about 2 weeks looking for the perfect hardware for the drawers. I found these black rose knobs and backplates on Etsy [which I don’t think is a genuine Etsy seller and is probably a warehouse of sorts, but welp. I couldn’t find them elsewhere and I really wanted them so I got them]. I thought they were a perfect mix of whimsical, dainty and a little bit gothic. I decided to order just two knobs for the top drawers and went with very simple knobs for the rest of the dresser  as I didn’t want to overkill it [I found perfect budget-friendly untreated pine knobs in Woodie’s that I painted matt black]. 

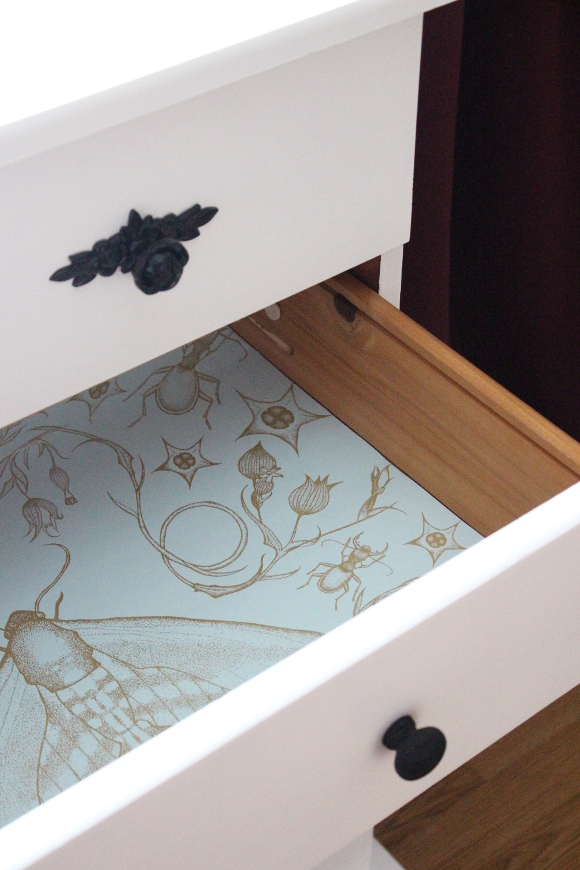
Since getting my hands on Emma’s Tangled Hawkmoth wallpaper, I immediately knew I’d be lining the drawers of any future nursery dresser with it. Unfortunately we can’t hang wallpaper in our apartment [boo, renting], so into the drawers it went. It works so perfectly and I love seeing peeks of it underneath all the tiny baby clothes. I want to line ALL OF THE THINGS WITH IT NOW.

As for the feet of the dresser, I’ve not done anything just yet with them. I’ve left them unpainted as they were, which in a way kind of makes it look like the dresser is floating [I know, a stretch] but I’m hoping to either swap them for different feet or just take them off entirely. 

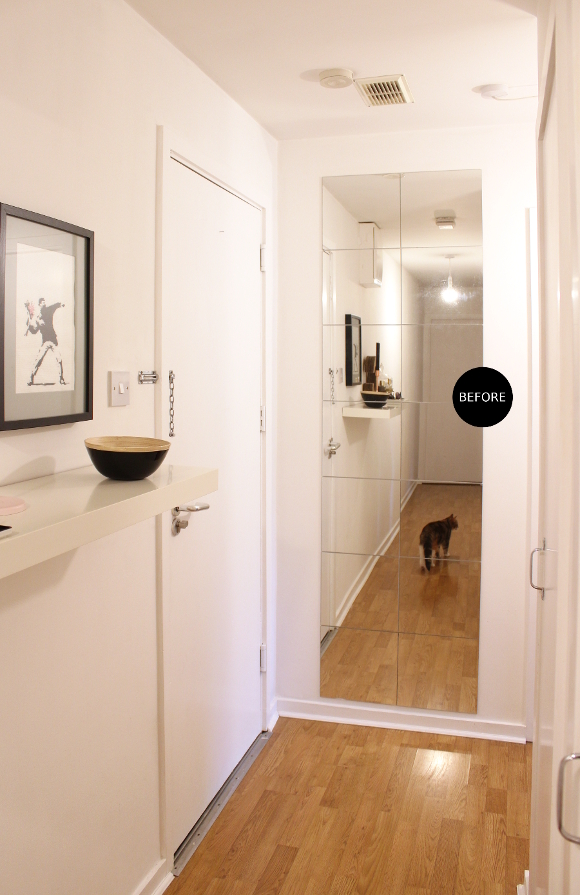
I should also say sorry for all the tightly cropped nursery pictures – it’s really to spare your eyeballs from seeing the madness that lurks to either side of the nursery. Soon, though. Soon it should be finished! Considering baby is now finished cooking and I’m 40 weeks [and 4 days], but I think [see: hope] later this week baby will make her debut. Fingers crossed – but not legs. Legs are anything but crossed 😉

Nursery plans – part 2

I’ve managed to somehow not accidentally spill the beans on the gender of little bebe-to-be. Yet! Seeing as I’m sharing some design ideas today, spoiler alert: we’re expecting a little girl! We were completely surprised when we found out as I was utterly convinced it was a boy [shoddy early mother instinct]. I wanted to avoid obvious choices for the nursery like pink and flowers etc. Maybe because I was convinced for so long it was a boy? This was one of the reasons I fell into a bit of a rutt … 

There are two reasons we hadn’t started the nursery until this week. For some reason [hormones], I had it in my mind that all the unfinished projects in our apartment had to be resolved before I could start the nursery. I made an 8-page list of things I had to do before we could begin. This ranged from cleaning the oven, painting the immersion, recaulking the bathroom, painting the ceilings and everything in between.

The second thing stopping me was the design of the nursery itself. I don’t know how or why [hormones], but I was under the impression [again, hormones] that the nursery had to be wildly different from the rest of our home; a different colour scheme, style and be gender neutral. I don’t know why. Did I mentioned hormones?

Luckily, over the past week I shook myself out of both mindsets. I realised I just want a cute and fun nursery [groundbreaking, I know]. We’re having a girl. Yes, I like burgundy. And pink. This isn’t new. I also like green but I’m not going to reinvent the wheel with our nursery by trying to make it something wildly different to what we already like. I’m hoping to make it fun and cute without it screaming ‘A LITTLE GIRL LIVES HERE ZOMG CAN YOU TELL THROUGH ALL THE HOT NEON PINK?‘. A little bit fun and a little bit Grand Budapest Hotel with gothic accents.

Less typing, more visualising! Onto the design we’re hoping for …

– A lot of the artwork for the nursery will be from what we already have [Bill Murray print, cardboard monogram etc.], will be second hand or from independent artists as much as possible.
– As for wall colour, I’m aiming for a subtle and cheery light grey paint. Fleetwood Paint sent me a gift voucher a few months ago and I’ll be excitedly picking up some tester paints this week. Yeah, grey is a safe shade. I decided on it because it goes with every colour [and I’m hoping to have a bit more colour in the nursery than the rest of our apartment], but also when we eventually move out, a subtle grey paint won’t need to be painted over compared to the living room and our bedroom. Forward thinking.
– Going with my mostly second hand theme, we picked up a standard pine dresser a few months ago for next to nothing on Adverts. I’m hoping to repaint it white at the very least; maybe something a bit more fun. We have yet to find an armchair to re-cover, but im hoping to find one soon. SOON.
– I’m also just hoping to put a lot of fun and cute things in here; hopefully appealing to both babies and adults alike. Some amigurumi creatures, alternative pieces and a handfull of cheeky things that’ll surely make our nursery a lot less worthy of appearing in a magazine [ahem, poo pillow and my ‘Even Katy Perry Poops‘ cross stitch #KeepingItReal].

I don’t have an entirely set design in mind so we’re mostly going to see what we find and do a bit of winging it. But the above are the basics and I’m hoping to build on it as we go. It’s exciting now that we’re about to start, but we better hurry up as we have T minus 9 weeks … ZOMG 🙂

Mahogany mirror hallway update

About a year and a half ago my parents gave us their mahogany mirror for safe keeping. Unfortunately, it went to waste for a long time and sat wrapped in the corner of our bedroom [as seen in this blog post] that is, until last week!

I had every intention to hang up said beautiful mirror, but I wasn’t sure exactly where to hang it. For a long time I thought about hanging it in our room, but I wasn’t 100% certain so it continued to sit. It finally dawned on me to hang it at the end of our hallway behind the front door. It was the perfect space for it! Long before we moved in our landlord stuck a cluster of IKEA mirrors to the wall behind the front door. They definitely were a functional addition to the hallway, but their charm had well and truly warn off in recent years. At the very least, they were impossible to keep clean.

It’s not too noticeable from this photo, but not all the mirrors were flush [to be honest, as we found out when hanging the mahogany mirror, the wall itself is not flat]. If you were standing in the hallway trying to use the collective cluster of mirrors to inspect your outfit, your knees may be left entirely out of the equation thanks to the different angles of the mirrors. There were many blind spots and some of the mirrors tilted outwards vertically leading you to believe you were wider than you actually were. Not something anyone, let along a pregnant woman, wants to see. You can kind of see this effect on the mirror Juniper appears on. 

Using a metal ruler, I carefully removed the mirrors by filleting the ruler behind each mirror and scraped the sticky pads off of the back of each mirror, one at a time. I sanded the leftover sticky marks and applied about 4 – 5 even coats of paint to the entire wall [those yellow marks proved tricky to hide]. I carefully stored each mirror on top of the wardrobe in the spare bedroom and will put them back in place when we eventually move out. 

Dad DIYer, along with help from Robert, hung the mirror last week and it has made such a HUGE change to our hallway. We’re no longer warped-looking when checking out our outfits and it’s such a welcome and more put-together addition to our hallway. Also, mahogany. When we grow up and have a real house ALL OF THE THINGS will be mahogany.