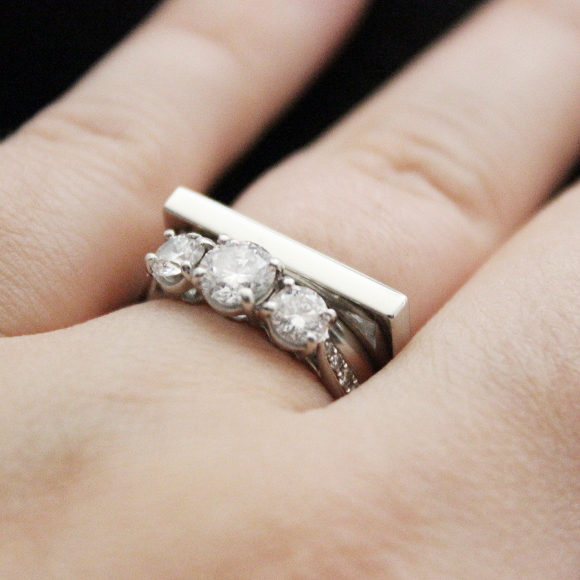
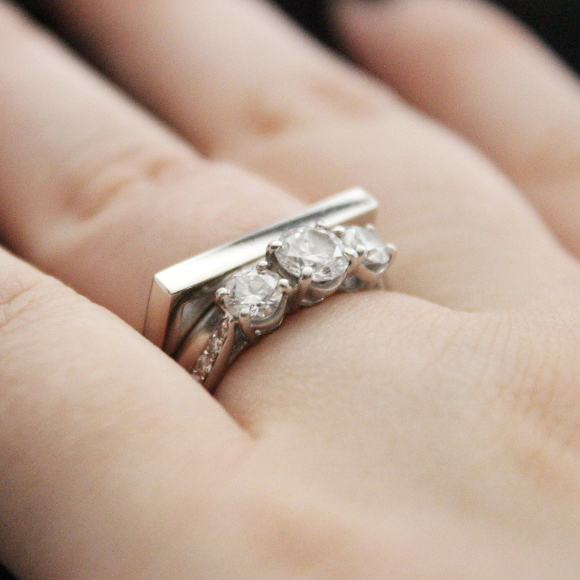
Bespoke eternity ring by Da Capo Goldsmiths

When I was pregnant with Cora, Robert asked if an eternity ring was something I’d like. To be honest I didn’t know what an eternity ring was before then, but I liked the idea of one [sans diamonds. My engagement ring has more than enough diamonds for me]. 

Five years ago when Robert and I were organising our wedding, I had the idea of having a flat-top ring as my wedding band. I really like strong contrasts and I liked the idea of having a flat-top ring next to the engagement ring that Robert chose for me*. At the time we were on a tight budget, so it was an easy decision to go with a traditional wedding band. But I still thought about that ring. And in the five years since we got married, I thought about it often.

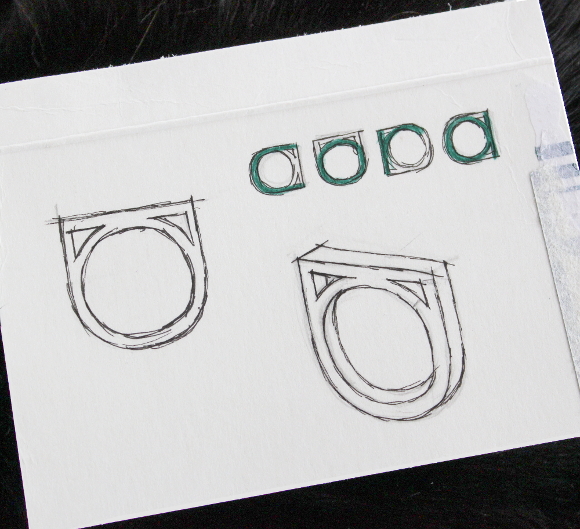
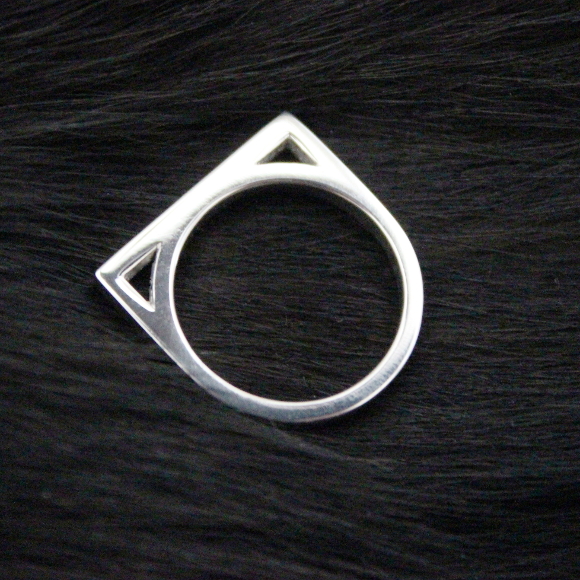
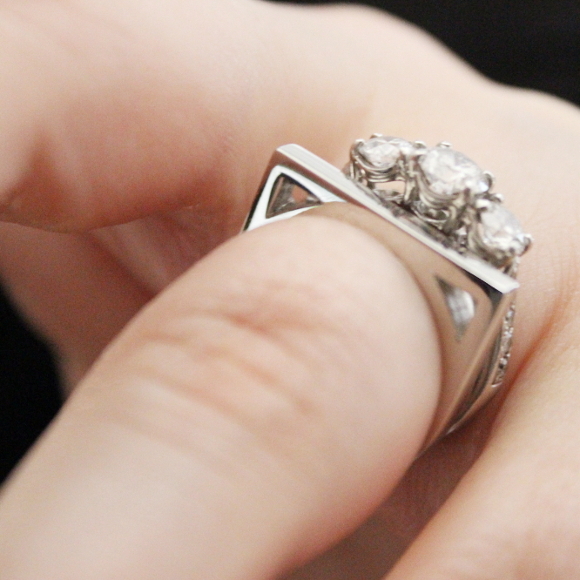
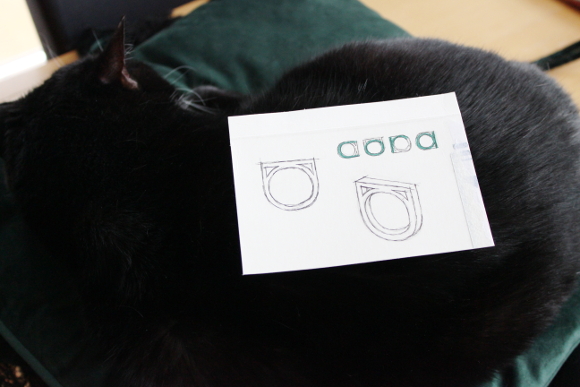
Once Cora was a few months old, I started thinking about an eternity ring and my flat-top wedding band came to mind. As I was sketching its general shape, I noticed that if I turned the drawing one direction, it looked like the letter ‘C’. I turned it again, and it looked like an ‘R’. Then depending on which way you turned the ring, it would spell out Cora’s name. I had the perfect shape in mind, but I knew it wasn’t finished. In April I had a stronger idea and began sketching a new design [I remember it being April because I drew on the back of an After Eight easter egg box]. To loosely mirror the gallery look of my engagement ring, I thought about removing the inside corners of the eternity ring [I don’t know if that makes sense. My sketches below will help]. When I did this, the ‘Cora’ aspect of my design was so ridiculously strong that my heart jumped and I knew this was the design I wanted. 
I drew the ring in four different directions for each letter in Cora’s name, marked each letter in green pen and showed Robert – “Cora“.  

I went to a jeweler in town and asked about getting a bespoke ring made. They didn’t have such a service, but they pointed me in the direction of Da Capo Goldsmiths. I emailed Sé and a few days later I had an appointment in their studio. 
Sé [pronounced ‘Shay‘] and I talked for over an hour about the design. He showed me countless pieces he made that were full of secret messages and perfect details that only the wearer knows. Sé immediately understood what I was looking for and I knew my idea was in more than capable hands. A few weeks later Sé sent some 3D designs including 2 alternative designs. I ended up deciding on my original design and of course felt so guilty because Sé’s designs were really beautiful. As Sé explained, by having a choice between designs I can me more sure about what I want. 


Do you know how difficult it is to photograph your own hand?
It’s about as elegant as trying to photograph a string of burst sausages.

A few weeks later my eternity ring was ready and I haven’t stopped looking at it since. I love the juxtaposition between my engagement ring, my wedding band and my eternity ring. They’re a collection of different styles from different parts of my life and I love how they all make the other stand out. Thank you again, Sé for your talent, creativity and for making the ring I’ve been dreaming about for 5 years into a real thing. If you’re thinking of having anything bespoke made, I would strongly suggest you contact Sé and Lee. They are jewelry wizards.  

p.s. I should also thank sleepy Toshi for being my perfect backdrop model. Also, my new ring looks a little like it has cat ears and I am 9,000% okay with that.

*Robert spent 2 weeks worth of lunch breaks going from one jewelry store to another comparing engagemetn rings and looking for the ‘perfect one’. He’d often spend his entire lunch hour looking and not have time to eat a lunch. He’d then come home starving, I’d be in the middle of making dinner and he would want a sandwich. “I’m making dinner, can you just wait 20 minutes?” I’d say, and he never told me why he was hungry. Don’t worry, the guilt still haunts me. 

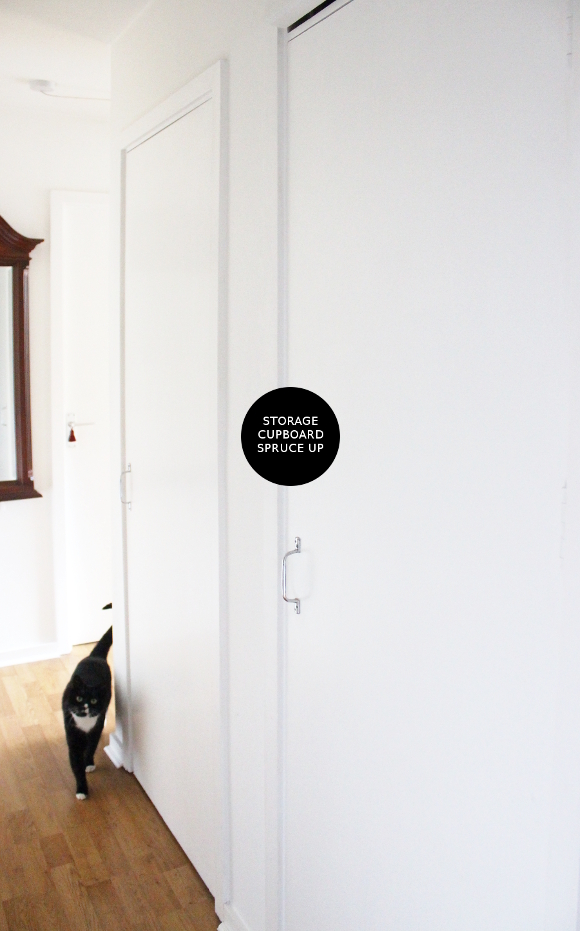
Storage cupboard spruce up

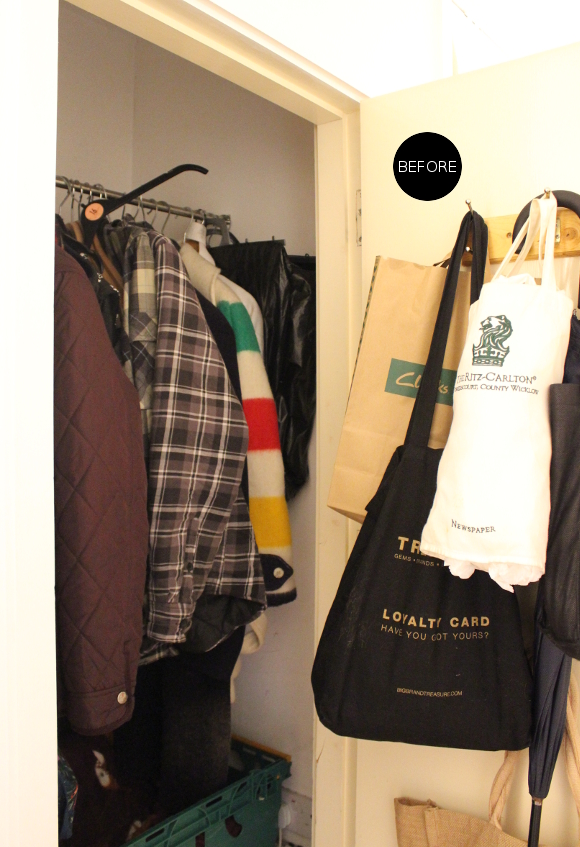
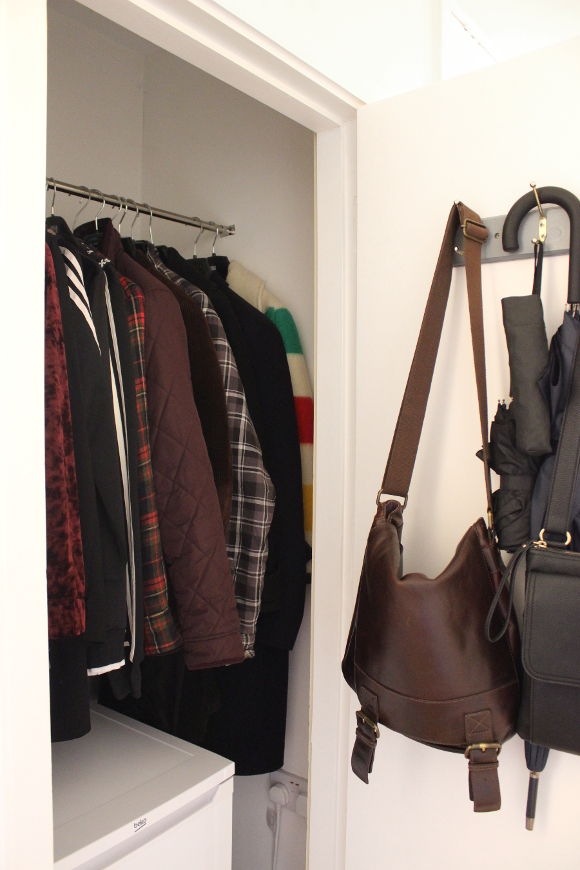
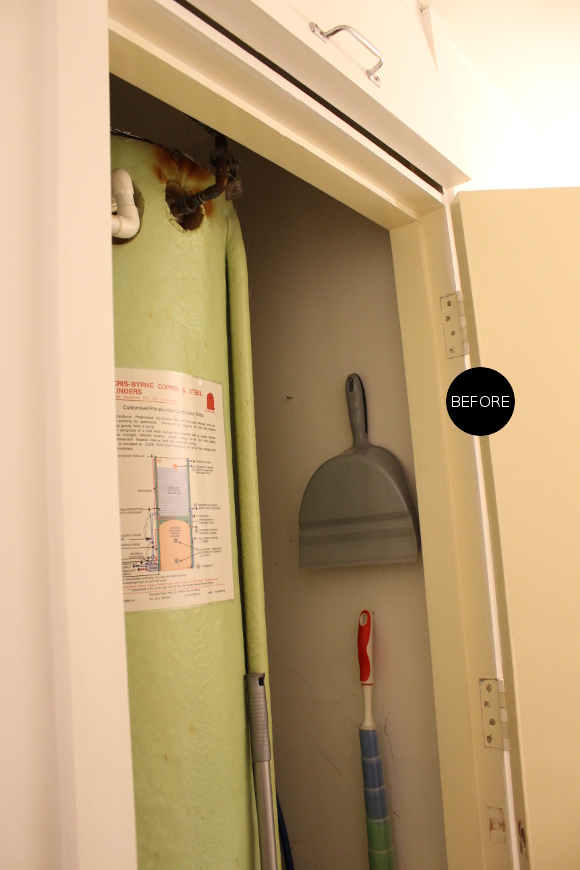
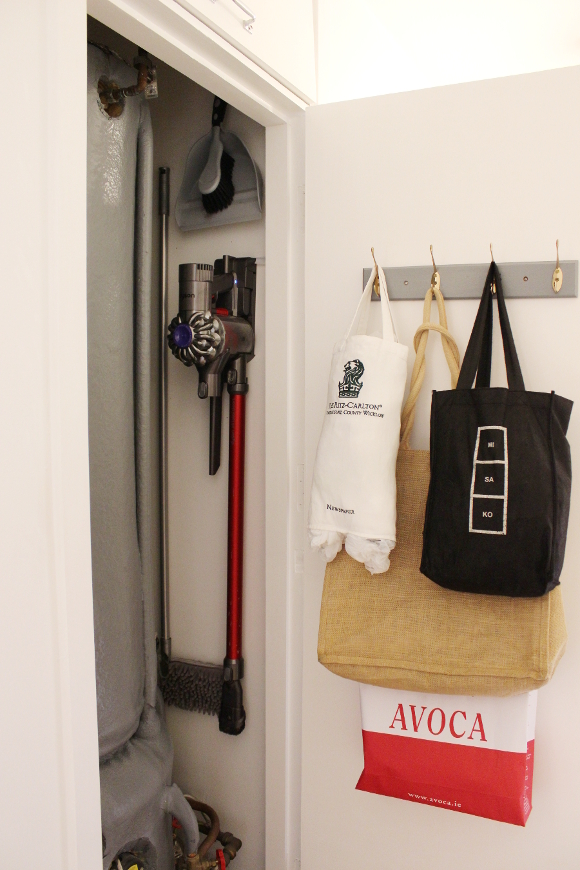
If a good storage or organisational before and after blog post doesn’t float your boat, I totally understand you scrolling past this one because this is going to do nothing for you. It is however something I’ve gotten ridiculous levels of enjoyment from, so I really wanted to share it. As of yesterday I finished giving our hallway storage an upgrade and so felt inclined to share. It didn’t cost me anything extra to update our cupboards [as I used leftover paint and supplies I already had] – it just took some time and considered planning. And ridiculous levels of nesting hormones. 

We have a number of storage cupboards in the hallway of our rental. Over the past two months I’ve slowly updated our coat and immersion cupboards [we have a third cupboard, but I’m saving updating that for a rainy maternity day]. Yes, they’re storage cupboards and no one really cares what they look like on the inside, but I do. I do. And I know. I know the horror of what lies behind those doors every time I walked past them. Those cupboards caused my nesting hormones to be personified [or animalised?] as a wild bear trying to get out of a shirt and tie. It was time. I wanted pretty storage cupboards so I got down and made them happen.

COAT CUPBOARD
Early last year when I repainted the doors and skirting boards in our hallway, the only place I didn’t paint was the inside of cupboard doors [because they aren’t immediately seen]. De-yellowing and repainting the inside of the door and trim was at the top of my list. I then repainted the inside of the cupboard with leftover basic white paint, I tidied and donated some coats as well tackled the storage on the back of the door. At the time, everything was hanging from those three hooks on the back of the door – our bags, my bike bag, shopping bags, a bag of canvas bags and a plastic bag chute thingy. I decided to cut down and use the few hooks we had for things we use every day [umbrellas and bags]. We also added a medium sized freezer to the cupboard which will be perfect for lots of emergency / pre-made meals for over the next few months. And years. Until baby is 18, basically. 

p.s. See that Hudson’s Bay Company coat? I found it in our local charity shop for €5 last year [for those not familiar with HBC, their point (aka, stripe) blankets and coats are serious triple figures]. I’ve never worn it but I’m never, ever getting rid of it. Ever. Even if there’s a fire.

IMMERSION CUPBOARD 
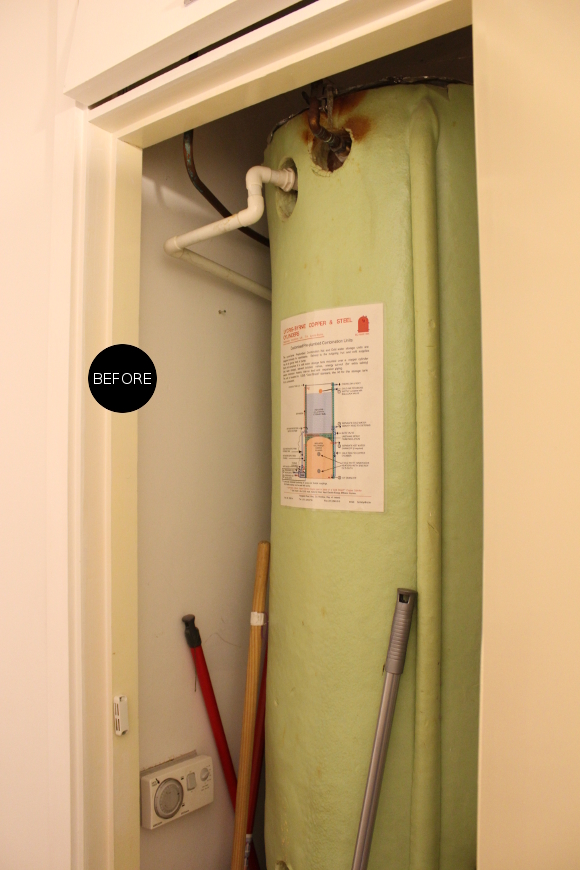
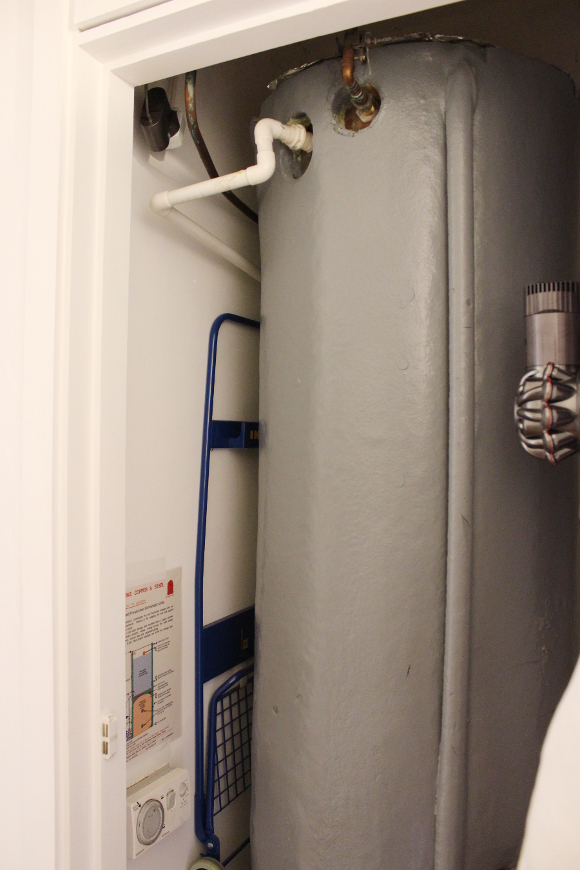
The original puke-green [actual technical Pantone shade] of the immersion foam alongside the yellowed door and trim really appealed to my eyeballs. I Googled it and Google said it was fine to paint this type of hardened insulation foam, so I grabbed a tub of leftover grey paint and added two coats. I also repainted the door and surrounding trim white, the door hook grey, inside the cupboard basic white and finally got around to hanging everything up properly. Our plastic and canvas bag storage was demoted to the immersion door along with a bag of Dyson attachments. 

I know this is barely pretty enough to be blogging about, but there’s something my sick mind finds therapeutic about making a neglected storage area pretty, functional and as much a part of our home as the rest of it. 

How to revive a low pile rug

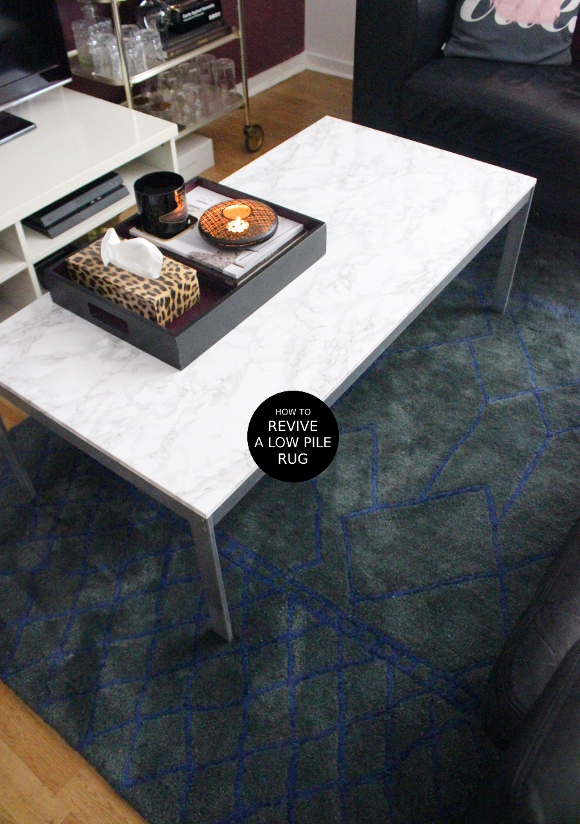
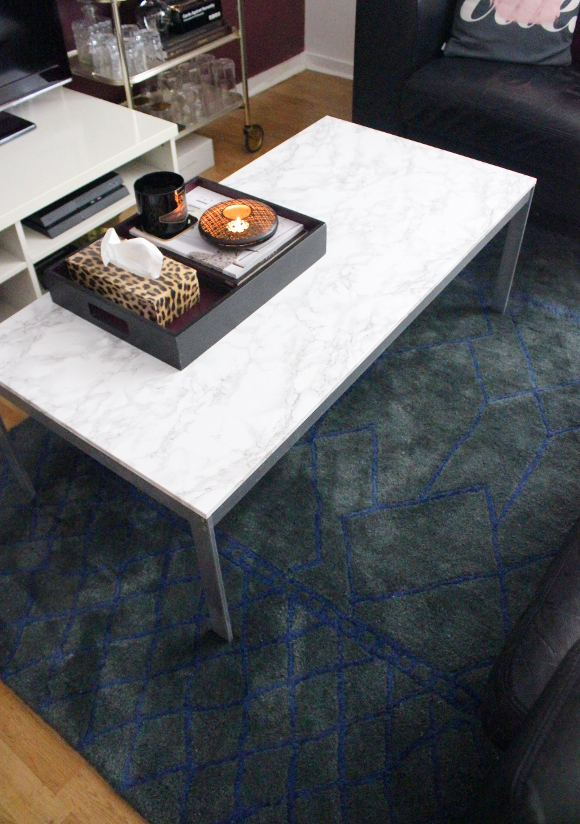
With two indoor cats and us being two predominantly indoor humans, the viridian rug in our living room gets its fair share of wear. Especially as it’s placed in a high traffic area and since during the winter months we spend most of our time on the couch, our fluffy rug can get pretty sad and flat looking. 

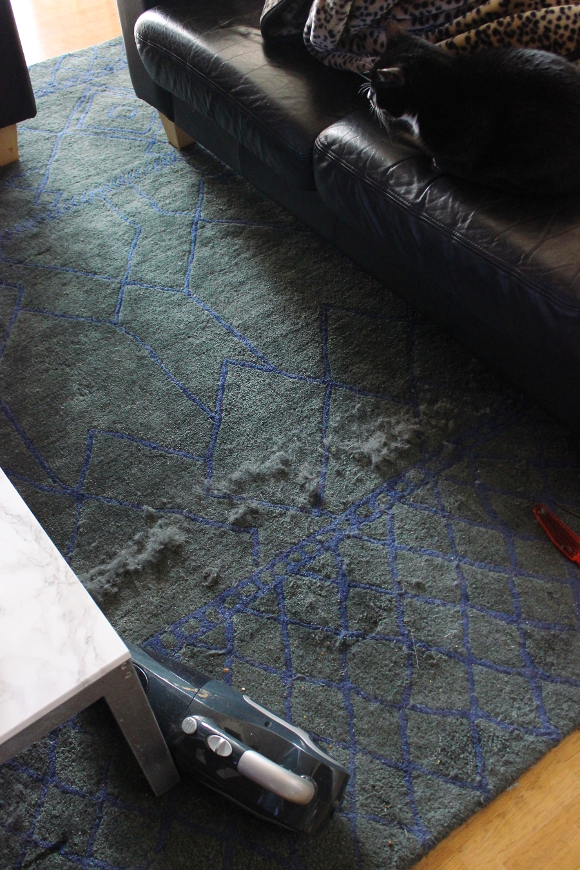
As part of my usual morning routine, I give our rug a quick vacuum with our handheld on a daily basis to keep it tidy. However, recently it’s been getting a bit squashed and worn looking. I had a burst of energy one day so I decided to see if I could bring it back to its former floofy self. I grabbed some basic tools and along with my camera, I took some pictures as I went.  

This isn’t a tutorial or project that’s particularly exciting in any way, but I figured if I benefited from this bout of spring cleaning, there’s bound to be one other person out there with an equally sick satisfaction who takes pleasure in bringing something back to its former self through good old fashioned elbow grease. Here’s how I brought our rug back to life … 

WHAT YOU’LL NEED:
– a rubber brush of sorts [available in most hardware and home care stores]
– a pair of scissors to trim any stray pieces of wool
– a vacuum
– a dust mask [it’s not necessary, but I wore one so I didn’t inhale any rug fluff]

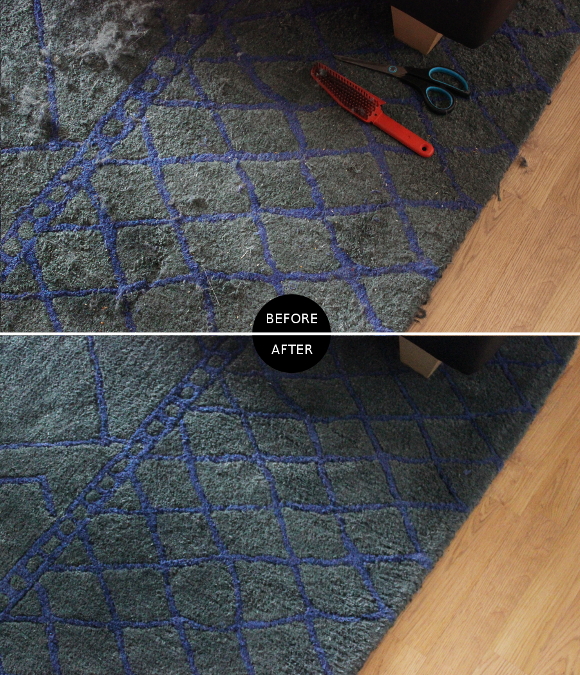
STEP 1: using a rubber brush, I brushed the rug in the opposite direction to which the pile is running. This is easy to figure this out by running the brush in different directions; whichever direction brings it back to its former fluffy self is the right one. Do this with vigour. The best time would be immediately after an argument or if you have something really important that you should be doing but are looking for a justifiable procrastination, then get down on all fours and do this. 

STEP 2: you may not need to do this step, but as we have cats and they occasionally pick at our rug [which I am totally fine with – it stops them from picking at the furniture], you may need to trim some stray pieces of wool. This is easy enough to do and the more often you do it the less you have to trim the next time. It’s not nearly as tedious as it sounds.

STEP 3: brush and trim one section at a time  [I focused on about a two-foot band at a time], then vacuum up all the chaos. When it’s all done, sit back and smugly observe how awesome your rug looks again. It took me roughly an hour to do a really thorough job of the rug in our living room, but it may take you much less. I let our rug get quite bad before tackling it for the sake of a good before and after photo, so keep in mind it doesn’t always look as bad as the before photos.

This isn’t something I expect anyone let alone myself to be doing on a weekly basis. This is something you may do to refresh a rug before you have your mother in law or the Queen come to stay over. I’ve done this once previously to our rug since we got it four months ago, and it honestly brings it right back to life.

It really does look very close to new again. I now just consider its upkeep a form of cardio. Oh, and should you have a flatwoven rug, you can also check out my tutorial on how to repair a very worn [flatwoven] rug here!