Our wedding – flowering favours

These little delights were a labour of love. I’m not going to lie to you. This took a lot of planning and effort, but I think they’re worth it. It started off with a blog post and some voting on the idea of flowering tea as a wedding favour, and thanks to the reinforced results {18:1 in favour}, I had my mind set and we were on it like a car bonnet.

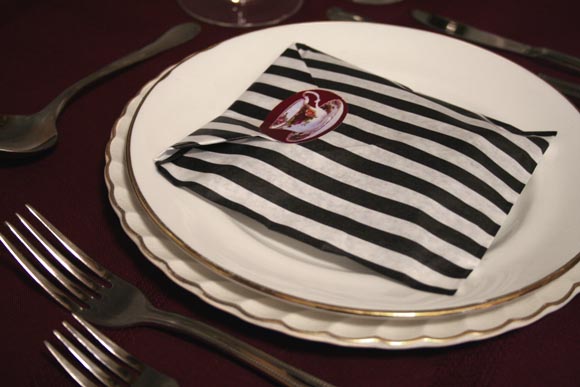
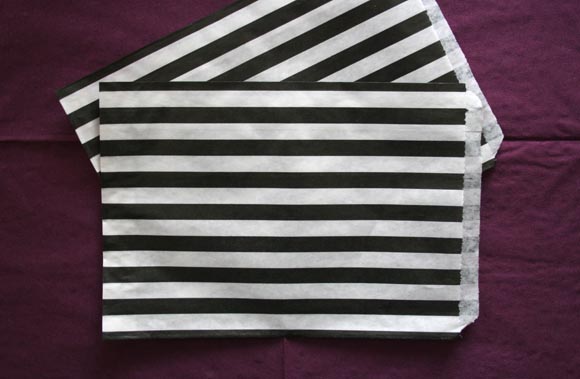
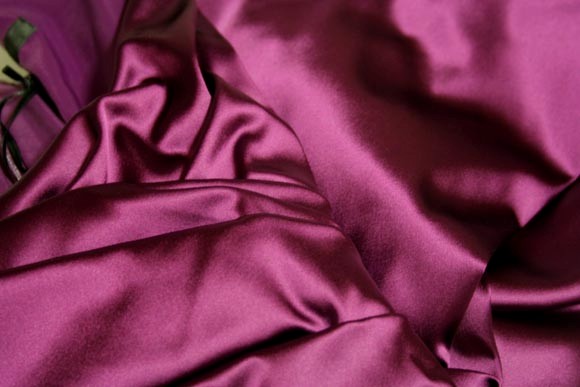
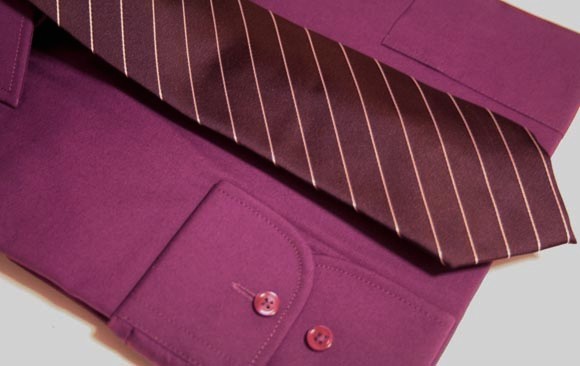
Our wedding so far will have a light theme of tea – fiance is a tea-a-holic, and I adore old tea cup sets [the older, the better]. We’ll be using old teapots to house hydrangeas and other dark flowers, as well as dainty teacup sets as tea light holders. Juxtaposed against our palette of dark berry hues and a hit of black and white stripes, I hope we get the look right. I’m getting v. excited. Anyways – onto the favours!


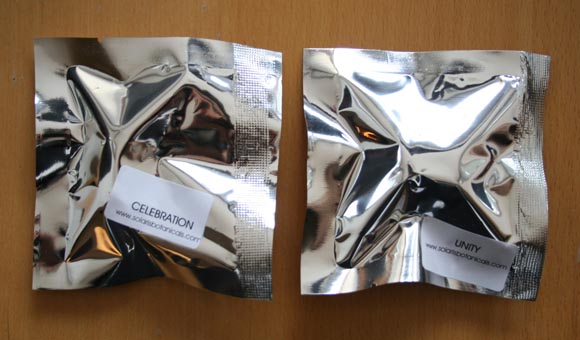
It began with the flowering tea itself. I ordered half-and-half Unity and Celebration flowering teas from Solaris Botanicals – I thought the names of these two teas were the most suited for the occasion.

Up next was the aesthetics side of things. I knew I wanted to tie in our strong contrast of black and white stripes, so the hunting online for the right paper bags began …

I found cute paper bags {not too big, not too small}, and what was even better, they were cheap and under budget. Hells yeah. I picked up these delights online from Fern Mae Sweet Shop & Packaging

Since the flowering teas came individually sealed in foil, they needed to be transferred into plastic zip-lock bags {for freshness / longevity reasons}. The hunt began for a zip-lock bag that would fit inside the paper bags. That was laborious to say the least. At long last I found a shop that sold the perfect size. Score. Props to Terenure Office Supplies.
Next on the list were the instructions. I’m not about to hand people something that looks like a massive wad of pocket lint without explaining what to do with it. I concocted a two sided instruction set and description of each flowering tea, and cut them all out {god bless paper cutters}.

Next I designed a tea sticker to slap on the outside to give a hint of what lies inside, as well as tying in with our tea theme. More cutting out …

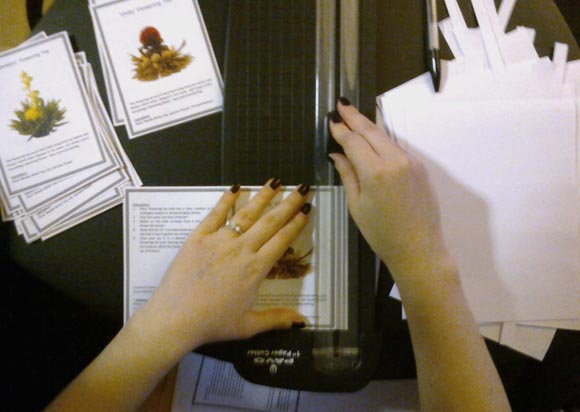
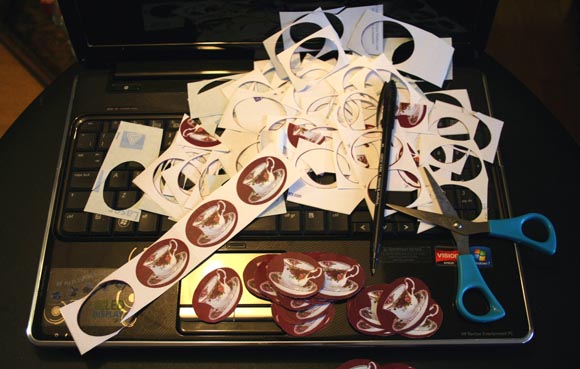
On to the assembly line, and after a couple months of logistics, they came together nicely this past weekend. I’d like to take this moment to EXHALE. Can’t wait to see what our guests think of them. And of course, what do you guys think of them? What did you have as parting favours at your wedding? Or, do you think parting gifts are a stupid idea?

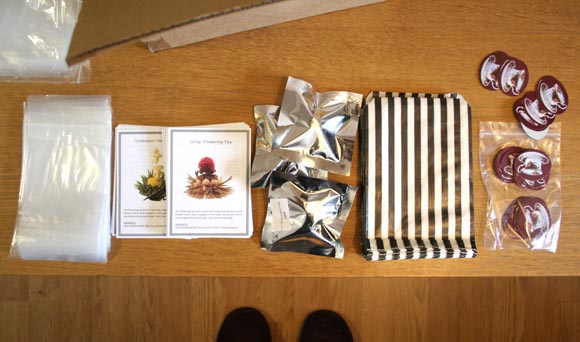
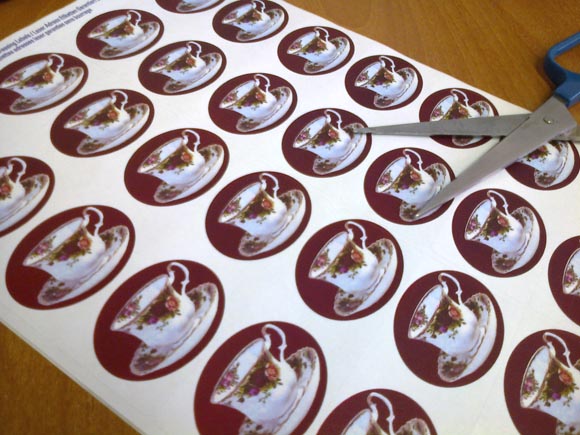
In case any of you are curious, our favours worked out at €2.40 per person. That’s including tea, zip-lock bag, instructions, paper bag and tea sticker. Not bad me thinks … 

Lately …

… I can see the light at the end of the tunnel. Dresses have been purchased, details are being finalized, suits at the ready, and an emergency trip to IKEA. It’s been a messy week, but a lot of shit got done. The biggest being bridesmaid and groomsmen attire. That’s a huge factor right after all the venue / supplier stuff that I didn’t think would be so brain-consuming. I’m feeling much more relaxed knowing their outfits are sorted 🙂

First up I designed and printed the tea stickers for our favours. A label to indicate what can be found within. That’s a whole hella cutting-out ahead of me …

In the beginning I didn’t want matching bridesmaid dresses. I figured it would be impossible for all to agree on one. Turns out, we found an amazing dress for one bridesmaid, and they all look smashing in said dress. Hell to the yes. And for reals, they will be able to wear them again.

I sorted out the  gentlemen’s boutonnieres this week and thoroughly enjoyed making them. No lie. I was in my element, and can’t wait to sit down and craft more weddingy stuff. Tutorial is right on over here if you’re curiosa.

Groomsmen = sorted. They look a bit screamy-purple here though. Ties will be mismatched so it’s not too stuffy looking. I’m not fond on things being too matchy. Just think – black suit, purple shirt, dark tie, plus above boutonniere. Not bad me thinks.

And something that blew my mind a little – I had my engagement ring resized for the second time. Who knew hands hoarded so much fat? I’ve been slowly loosing weight since Christmas. I’ve lost almost 30lbs / 2 stone / 12kg to date, so I suppose I shouldn’t be too surprised when my fat-ass hands aren’t so fat anymore. Hands are weird. Side note – my engagement ring is much more sparklier in real life 🙂 Fiance picked it out himself. Sob story – he spent two weeks’ worth of lunch hours shopping for the right one. Sometimes going without eating lunch. He hurts my heart sometimes.

Anyways, happy Friday everyone! I hope you have a kick-ass weekend planned ahead. I myself will be heading to dinner followed by seeing one of my favourite movies on stage tonight. Literally cannot wait.

I’ll end on one of my favourite quotes of all time –

“If you haven’t anything good to say, come sit by me.”
-Clairee Belcher, Steel Magnolias

Our wedding – boutonnieres

From day one, I knew I would make the boutonnieres for our wedding. I wasn’t 100% on what they would look like, but I knew they would have an element of stripes. Little ideas came and went, until I came up with this simple idea. An ever-so-slight take on war medals, since my man and said groomsmen are of the combat Playstation era.

I have to thank Laura ‘Lupin’ Howard as I used her Felt Butterfly Brooch tutorial as an assembly guide for our boutonnieres. Thank you, Laura. You sew crafty.

What you’ll needfaux flowers, felt in a colour of your choice, scissors, ribbon, 3 hole brooch pin, thread to match your felt, and a  cutting template {I used the thread bobbin as a circular template}.

Step 1 : using your template, cut out two felt circles. They don’t have to be perfect since they’ll be covered. Step 2 : cut two lengths of ribbon roughly 6cm long {length of your finger}. Fold the end in half and cut at a sassy angle to spruce them up. Step 3 : overlap the ribbons a little, and sew them onto the ‘back’ of one of the felt circles. About 6 stitches will keep the ribbons in place. Trim off any excess ribbon.


Step 4 : on the ‘front’ of that same circle, sew between 6 and 8 faux flower petals using a similar colour thread. Don’t be too precise with the spacing otherwise it looks stuffy. Step 5 : with your second circle, sew the brooch pin in place using a double thickness of thread. I sewed mine above center, so the top of the boutonniere won’t droop or fall forward when eventually pinned on a lapel. Step 6 : sew the two circles together with matching thread around the circumference, and there you have it! Cuteness in under 20 minutes.

These delights cost me next to nothing since I had most of the supplies already. I ordered in the ribbon from Press Gang Supplies especially for our wedding details, and the brooch pins were picked up at the local craft store. I had some scrap felt from a previous project, and of course, I had faux hydrangeas balls-to-the-wall all over my apartment. Easy peasy. {Pictured below – the groomsmen boutonnieres along with fiance’s dark hydrangea boutonniere. I customized that little number with markers to get the colours just right and a little more realistic.}

I cannot express how much these little guys cheered me up. I haven’t had the time to make anything in the past three months, and without realizing, it was making me uber upset. I sat on the couch the other night and made all four of these delights in one go, and I felt so much better doing what I do best. Can’t wait to share more wedding craftiness.