#Shedspiration

Last week I accepted my third project / challenge with Woodie’s. And it was a good one. It was all about creating #Shedspiration.

THE BRIEF – transform a typical garden shed into a haven for gardening and tool accessories, with organisation and storage being the primary focus. Challenge accepted, twirling with arms wide open in a field full of tulips. Styling a small space for optimal storage? Relax, I got this one, guys.

First, I chose a colour for the shed to be painted. I went with Cuprinol’s warm yet neutral ‘Pale Jasmine’, and the interior walls got one coat of paint. I then defined the three work areas – a mini gardening area for re-potting and the likes, a hardware station to draft up DIY ideas, and a small area to chillax over a cup of tea and a cheeky biscuit [or three] while surveying all of your hard work. 

Using large storage crates as a base, I created the foundations for the two work stations and added large wooden shelves as the worktops. [I should state that for the hardware side, this station is NOT suitable for using large power tools on. This station is suitable for storing tools, drawing up plans and for working on smaller projects. A proper work bench is necessary for using power tools, but you guys know that already. I just have to put it out there]. 
I used the walls to my advantage and hung up as much as I could, including a shelf over the hardware station for the smaller and more used tools and hardware accessories. 

I kept the palette very neutral [yet snuck in two hits of my favourite berry hue] when styling and adding character to the shed, and I stayed away from using specific brands as much as possible, to keep it all neutral and middle of the road and open minded. Every item you see in the shed is available in Woodie’s, so if you see something you like, head to your local branch! 

I had particular fun with the signs – Laura had suggested a few cheeky and inspirational phrases, so I ran with the idea and designed some bespoke super simple Woodie’s-style posters to place in the shed. My favourite being “IN CASE OF ZOMBIES. OR YARD WORK.” perched among the garden tools. 

A huge thank you to all the staff in Woodie’s Blanchardstown for letting me make a nest in your shed for an entire day, and for all your help / not judging me too much with my questions and statements [“Don’t worry, I’m not stealing this … Is that shed sealed and/or moisture proof? … I’m just bringing all this stuff into the garden section … How many trolleys do you have in this branch? … Could you reach that for me? I’m vertically challenged” etc.] 

I had possibly way. too. much. fun creating and styling this shed. I really felt like the Emily Henderson of sheds by the end of it. 

Check out my other projects with Woodie’s – Valentine’s day trayMother’s Day string art

Mother’s Day string art

A couple of weeks ago Woodie’s set me the challenge to create a project for Mother’s Day that was quick, easy, would make a statement and also consisted of supplies found in Woodie’s branches nationwide. Challenge accepted.

A project I had filed neatly away in my brain for such an occasion was a, dare I say old school, string art tutorial. It was perfect as it required only a handful of supplies, all of which could be picked up from your lcoal Woodie’s. And even better, it’s a simple tutorial so you don’t need to be a DIY expert to make it [remember, nothing tugs on heart strings quite like imperfection].

Onto the good stuff! Here are the items from Woodie’s I used for the string art …
– a piece of wood shelf board [800 x 300 x 16mm], cut to a square
– a pack of 20mm masonry nails
– Dulux tester pot in whatever colour you like*
*I originally planned on painting this project in a shade of turquoise, but as we were going to be working with a green screen during filming in parts, green or blue was a no-no. So purple it was! 

Items you’ll also need …
– a saw to cut the wood shelf
– a hammer
– scissors
– a pencil and a piece of paper to draw your template
– tape to hold the template in place
– a paint brush

Now I’ma show you how to make it in 6 seconds. Ready? Prepare your retinas for my stop motion video debut … 

I think JP Prewitt would be proud.

I worked alongside a truly cool and down to earth team at Agtel on this Vine for Woodie’s. It took us just over 3 hours [plus 2 hours prep] to put this little gem together. It was my first stop motion video experience so it was very surreal and exhilarating to see the video come together one frame at a time. I was exhausted by the time I got home, but so excited to see the finished piece. Hats off to Agtel. You guys are magic. 

I showed my parents the Vine as soon as it went live and it turns out my dad used to make and sell string art! Albeit incredibly more complex pieces. I’m assuming before my time because I don’t remember seeing my dad make any. I do remember a couple of pieces over the years, but unless you’re told “that was made by dad!“, you just don’t know. My future children better brace themselves. They about to get schooled.

So there you have it! I hope you enjoy our little video, and to all the mothers out there – both human and fur baby variety – happy Mother’s Day this weekend xx

p.s. I’m now on Vine! I haven’t a clue how to use it, so we’ll see how much I use it. So far I’ve done the equivalent of retweeting. 

Valentine’s Day chalkboard tray

Last month the lovely / incredibly cool Laura gave me a tour of the Woodie’s Tallaght branch to help brainstorm some ideas for my first project with them. We excitedly agreed the first project should be Valentine’s based, and thought of all that could be DIYed for the big day. Most importantly, we wanted it to be an easy project that really made an impact. We checked our calendars and when we realized Valentine’s Day landed on a Saturday this year, we knew something for breakfast in bed would be perfect. 

Woodie’s wooden tray was a perfect canvas for the project. I did a lot of head scratching and finally thought – why not paint it in chalkboard paint so sweet nothings could be scribbled all over it; perfect for a romantic breakfast in bed! BOOM. A simple DIY that makes a statement. Literally. 

What you’ll need
– A wooden tray from Woodie’s
Rust-Oleum’s spray chalkboard paint, available at Woodie’s
– Dulux tester pot of your choice for the handles, available at Woodie’s
– Paper towel or cloth
– A pair of protective gloves [I reuse the gloves that come included in hair dye kits] – Newspaper to protect surfaces from paint
– A small paint brush
– And chalk for cheeky messages

Step 1

Give your tray a thorough clean with a damp cloth or paper towel. Allow your tray to dry before you continue onto the next step. 

Step 2

In a well ventilated area, lay down plenty of newspaper to cover and protect any surfaces. Following the instructions on the can, shake the can thoroughly and with your gloves on, holding the tray upright with the can roughly 30cm away, begin spraying in a steady back and forth motion, overlapping with each line. Take your time and spray the paint thinly. Allow to dry for 30 minutes before applying a second coat. 

Step 3

If you’d like to add colour detail to the handles, do this after the second coat of paint has dried. I used a small paint brush to add detail, but this isn’t necessary. 

Step 4
When adding any chalky messages, don’t write too heavily and make sure the chalk isn’t too sharp; if you use a sharp piece of chalk it may etch into the paint.

After breakfast is served and devoured, to remove your message, simply use a damp paper towel or cloth to wipe it clean.

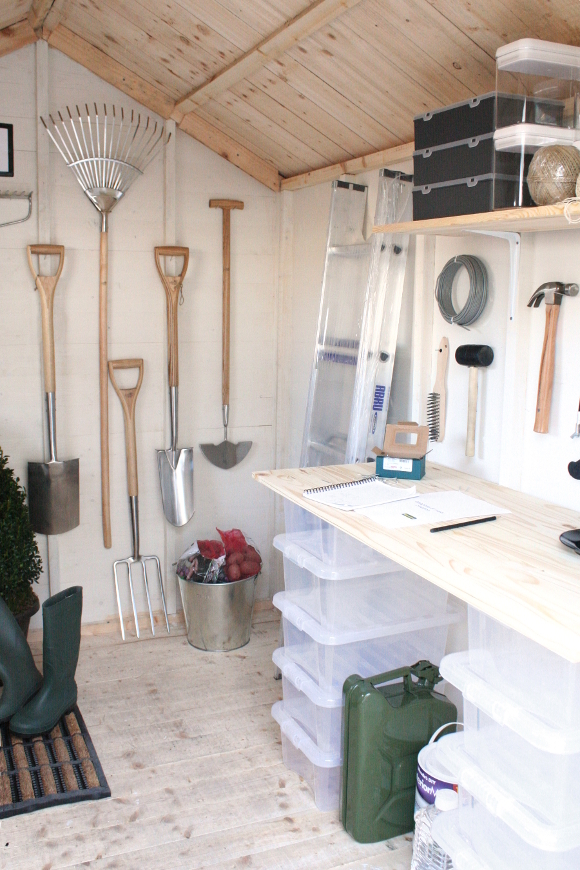
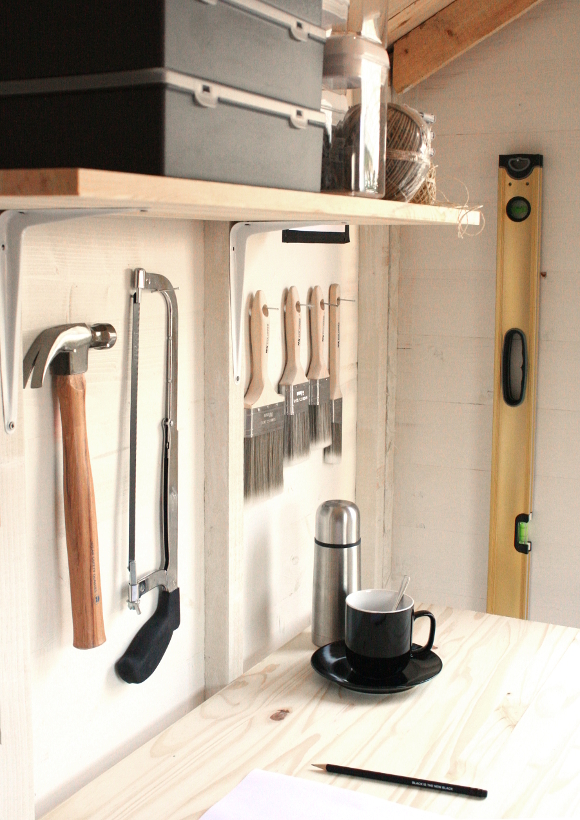
It took me around an hour to do this project, from start to finish. A simple project, but a statement nonetheless. And I should say everything you see in the photo shoot was sourced from Woodie’s. Especially that kitchen.

This project was especially memorable as it was DIYed, styled, photographed, edited and written by yours truly. But more so, working with a company like Woodie’s and with people like Laura who are equally excited and nerdy about home improvement and all things DIY, really is inspiring and so exciting. 

You can check out my full tutorial on Woodie’s website as and from now! Go check it out. Get painting. Get inspired. Get cheesy, lovey and creative. It’s tray chic [you’re welcome]. xx A