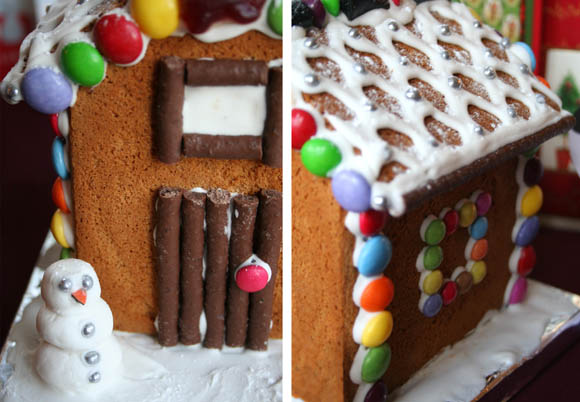
This year I made three mini gingerbread houses – one each for two of my friends, and one for a couple fiance and I go on dates with regularly. It was my alternative idea for a present. I’ll be making two more bigger gingerbread houses this week for family. I’ll make sure to post pictures once they’re done!
Festive note: a point I’d like to make is that this is something that can be made {dare I say} after Christmas. I hate hate hate how the moment Christmas is over, all the Christmas cheer is dead. It’s called the Christmas SEASON for a reason. I like to plan things after Christmas, and especially in January after New Years since there isn’t much to look forward to after all the hype of Christmas. So maybe arrange to make and decorate a gingerbread house on the 27th of December. Live a little. Colour outside the lines.
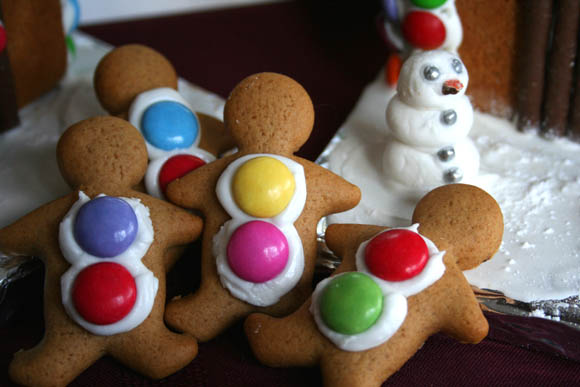
With the extra dough I was left with, I made two-bite gingerbread men. The Smarties look like they’re devouring them. All the excruciating details on how to make your own sweet structures can be found after the jump. Happy holidays! 🙂
Ingredients
Step two: structural engineering
The next step is to cut out a template for your gingerbread house. I drew mine out on paper, cut it out, then placed it on my rolled out gingerbread. You can make yours as simple as you like. It’s really not as intimidating as you’d think. Here are some templates to give you an idea of how easy it is.
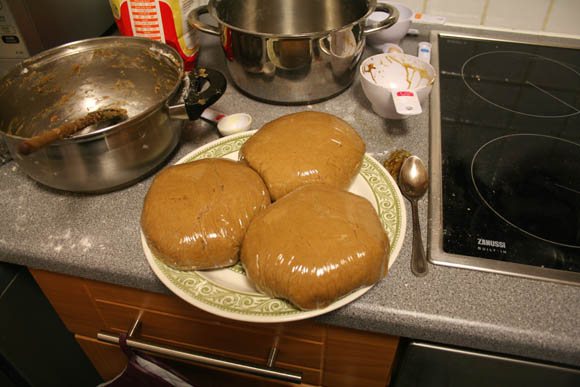
First roll out your gingerbread on parchment paper. What I did was dust the rolling pin with icing sugar regularly to stop the dough from getting out of control. This is where the parchment is very helpful. Cut your templates in the dough, and then roughly cut the parchment it’s on, keeping it on the paper, and place on your baking tray. This will help your blood pressure. Bake for roughly 10 minutes at 180C {350F} while keeping an eye on the dough as all ovens vary. When the dough is cooked, take out of the oven and leave to cool. Roughly an hour.
Ingredients
2 egg whites
2 1/ cups icing sugar
In a bowl whisk your egg whites while slowly adding the icing sugar. Once roughly half the icing sugar has been added, you can choose to heat your mixture, for anyone out there hesitant about using raw eggs in your icing. Since I mixed mine in pots {boo, no mixing bowls in this house} I placed mine over a low heat for 2 minutes, whisking furiously so not to cook the egg whites. Alternatively, you can place your mixture in the microwave for 40 seconds.
Step three: assembly and decorating
Using your icing, begin to assemble the gingerbread house. Once they are structurally sound and standing on their own, use more icing to fix them to your base. For the base of my houses, I wrapped a DVD case in tin foil so we could easily hand over the mini houses to our friends. Now the fun part begins – use your favorite sweets and treats of your choice to decorate your house in whatever way you’d like. I always have such high hopes for how mine will look, but they usually turn out looking like poop. The plus side – they’re edible, so they won’t be hanging around for long.
Many thanks to Simply Recipes who supplied the best gingerbread house recipe I could find, and gave some really good tips to save some holiday angst. Happy holidays, and happy baking!


