
I’ve been putting a phenomenal amount of pressure on myself to do and make new projects for our first Christmas in Canada as a little family. Reality, however, always has different plans. The reality is that we moved into our apartment less than 2 months ago and there is SO MUCH I didn’t realise would be involved with starting from scratch with everything. I’m working on cutting myself some slack [and will be trying my best to actually relax over the holidays], but I still wanted to spread some Christmas cheer, so today I’m sharing a roundup of my favourite Christmas projects. And luckily, 50% of them are edible [my kind of project].
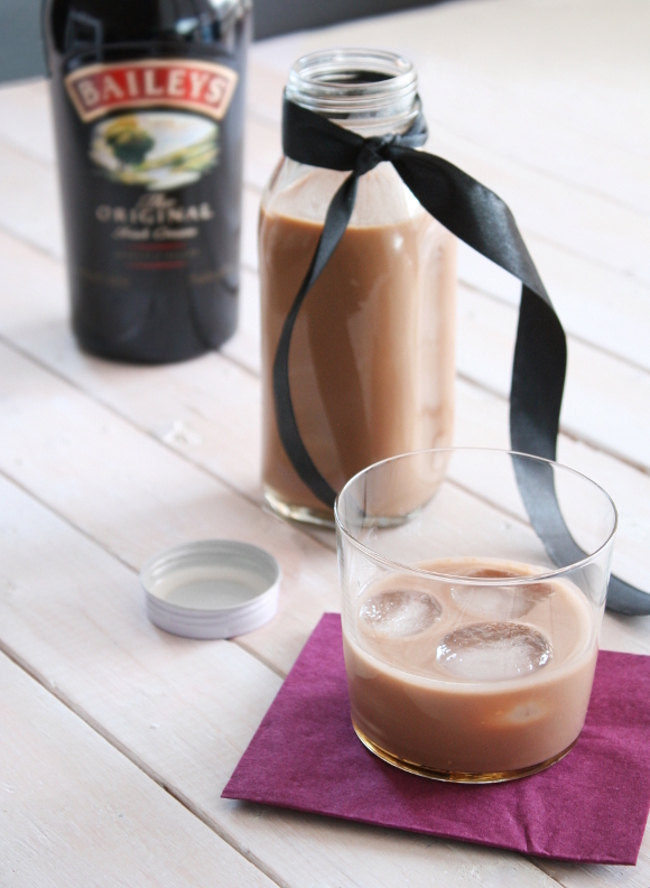
VEGAN BAILEYS – I made this recipe two years ago for Sadhbh of Where Wishes Come From’s Christmas Craft Advent. I promise this recipe legit tastes like Baileys. It was sooo good. But if the whole vegan thing isn’t your thing, two years previous to that I published my Nannie’s Knock-Off Baileys recipe.
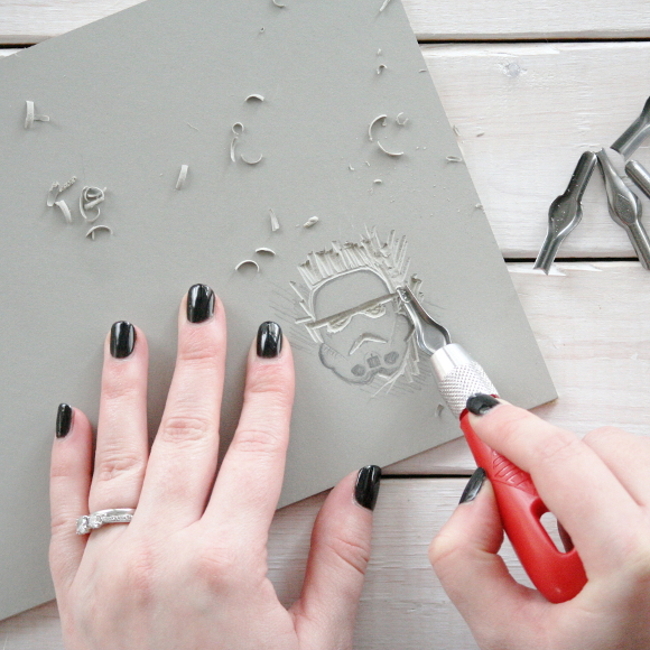
STORMTROOPER STAMP TUTORIAL / STORMTROOPER WRAPPING PAPER – a really fun project I made for Wayfair a few years ago combining Star Wars and my affinity for wrapping paper. You could very easily use this stamp tutorial to make a stamp to create a wallpaper effect!
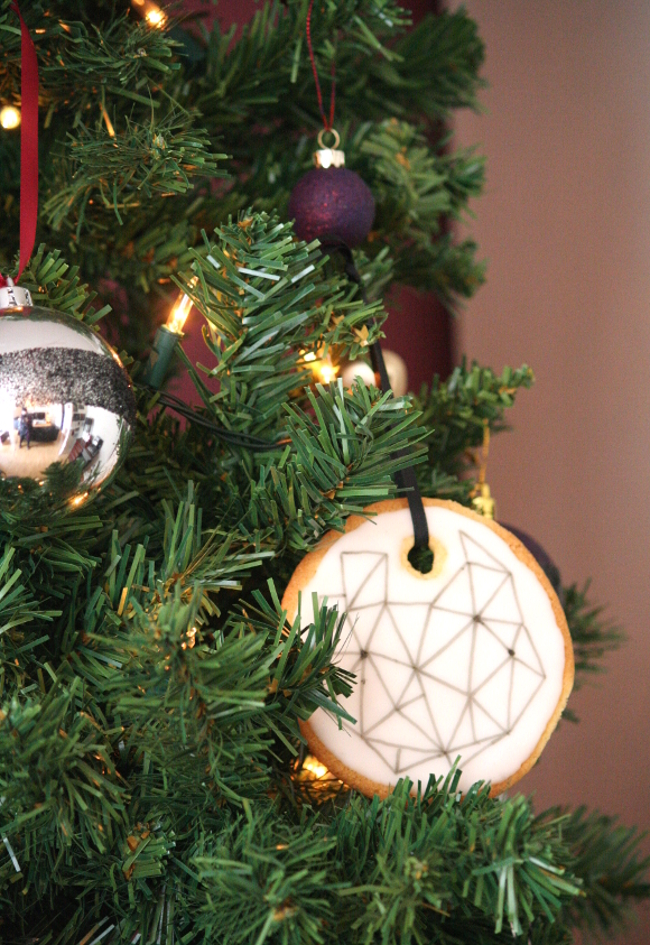
EDIBLE ORNAMENTS – another one of my favourite Christmas projects that I was hoping to recreate this year but never got around to it. I’ve made these zesty lemon Christmas ornaments a few times and they do not disappoint. They’re very easy to make and even more fun to eat straight off the tree.
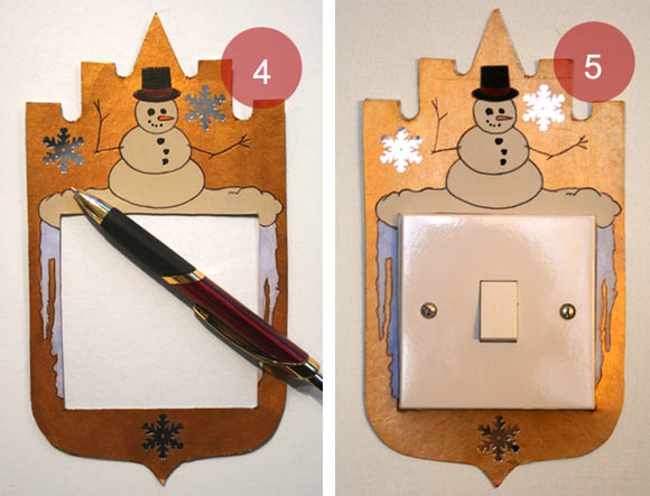
SEASONAL SWITCH PLATES – this is an oooooold project [as noted by my photography ‘skills’], but making these seasonal light switch surrounds were one of my favourite projects years and years ago. I can’t wait for them to arrive in our container. Actually, I might have to make more to suit Canadian light switches as they’re a different shape … ANY EXCUSE RLY.
Those are my strictly Christmassy projects, but if you’d like to see all my DIYs, just check out my DIY tab. Merry Christmas / bottoms up!
Knock-off Baileys two ways
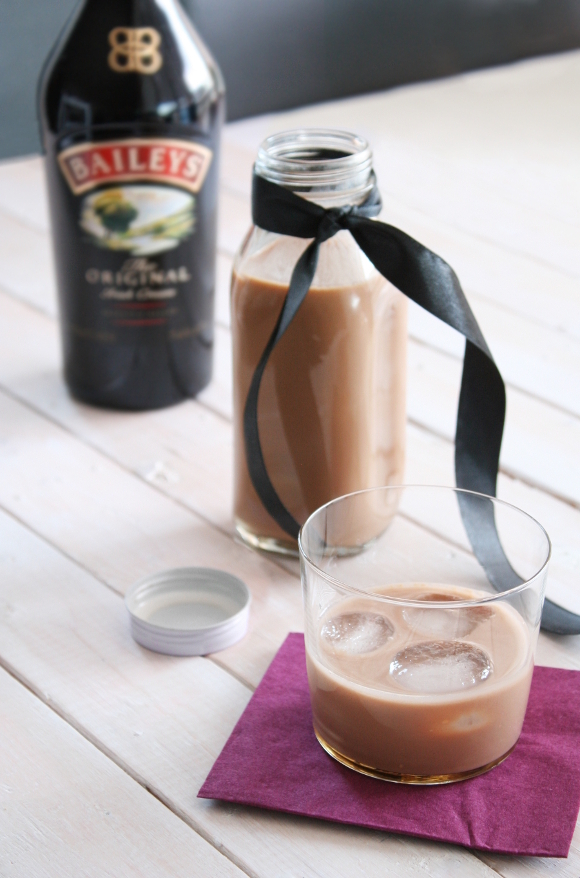
A couple of weeks ago the lovely Sadhbh of Where Wishes Come From asked me to partake in her #CraftAdvent 2015. I of course couldn’t not. I asked if I could submit a [boozy] recipe instead and Sadhbh was all over it. I wanted to try making a dairy-free and egg-free version of Baileys and figured this was the perfect excuse opportunity. So with my grandmother’s recipe at hand, I created a vegan version of it and YOU GUYS. IT’S SO GUD. Obviously, it’s not the exact, exact same as Baileys, but it’s soooo close. If you’d like to see the full recipe, head over to Sadhbh’s blog post here! Includes a regular version and vegan. So. GUD.
I’ll be enjoying a glass this evening as among all the craziness that’s happened over the past 2 weeks I’ve agreed to do a little something for TV. It might lead to more. I’m terrified within an inch of my life so I’ve agreed to do one segment, see whether I like it [or curl into a permanent fetal position] and take it from there. Things will be a lot less vague in the new year, I promise! But for now, bottoms up.
Edible ornaments – revisited
Last week I hinted towards an upcoming Christmas feature [which will be out on Sunday!], so I decorated our apartment for Christmas a week early. I repainted our living room [again], fought with the Christmas tree and put it up, decorated for the season and as is now tradition, I made this years’ batch of edible ornaments, just in time for the photo shoot …
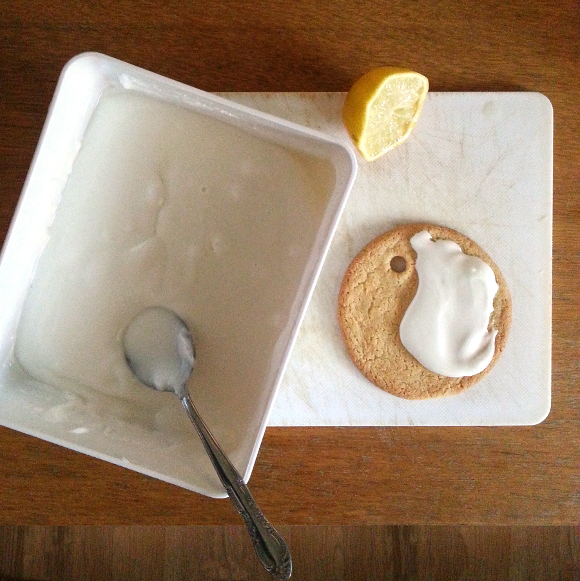
This year I made our edible ornaments a bit simpler. I used a tumbler glass from our cupboard as a cookie-cutter to make all the cookies uniform and I cut the holes out of the raw dough with a plastic drinking straw.
I baked the cookies, let them cool and added the lemon icing using the back of a spoon [full edible ornaments recipe and instructions here].
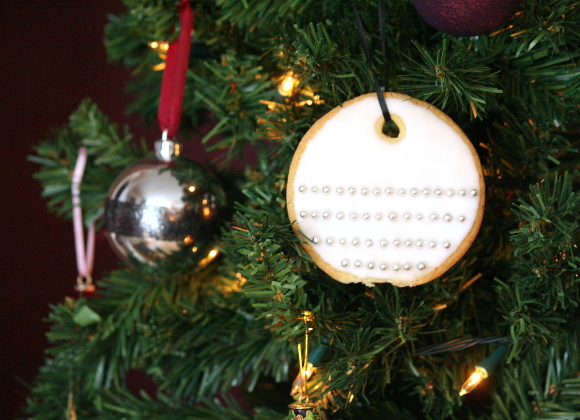
For some of the cookies, before the icing set I added edible silver cake decorations. To get them to in a straight line, I used the back of a knife to gently indent the icing and the silver decorations fell into place more easily.
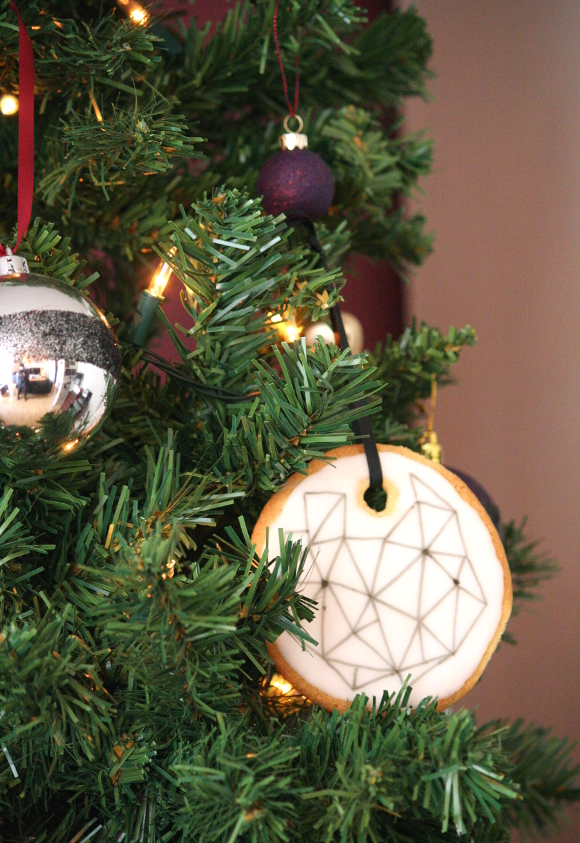
But for the majority of the cookies, I let them sit for 24 hours and allowed the icing to dry completely. In order to draw on your cookies with an edible marker, you must let the icing dry for at least 24 hours. As you can see in places on the cookie below, because the icing wasn’t completely set, when I drew on it the icing cracked and the marker bled [dark spots].

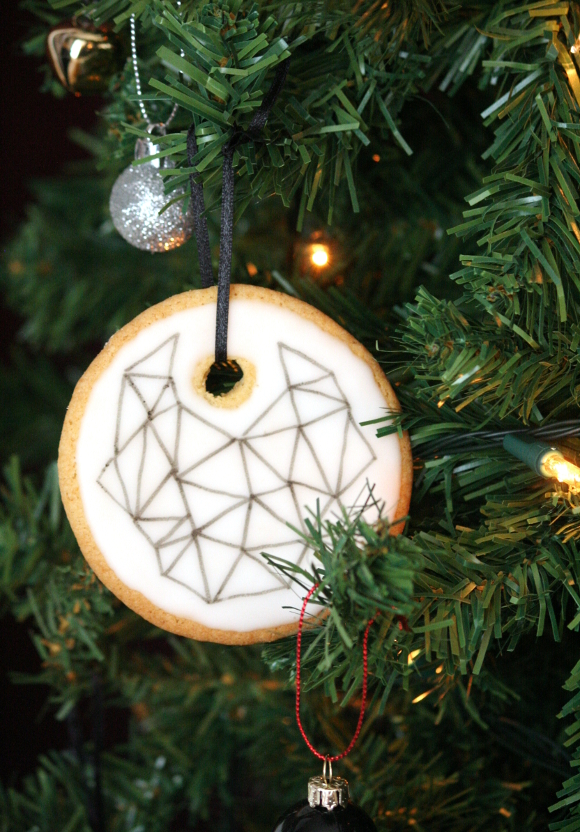
This year I made our edible ornaments a bit more on trend. Completely by accident. I initially wanted to draw constellations on them, but I mucked up the first one so I kept drawing triangles and it turned into a neat looking geometric design. Which just so happens to be very trendy this year. And by drawing without a plan like this, there is a very small margin for error and you can’t go wrong.
This could be a great Christmas project for kids of all ages and will keep them entertained for maybe 15 minutes. I can’t promise anything. But the best part of these ornaments is eating them straight off the tree. For example, our Christmas tree is within arms reach from my desk. I just devoured one. OM NOM NOM.
I’ll be sharing my sneaky Christmas feature on Sunday, so keep your eyes peeled. I can’t wait! Happy Friday, homies. And best of luck with your decorating xx A
- 1
- 2
- 3
- 4
- …
- 13
- Older Posts