Canadian man cave – coordinating mismatched furniture

While it isn’t a groundbreaking blog post, today I thought I’d share a cheap and cheerful design tip that I’ve put into action on a couple of my projects to date. 

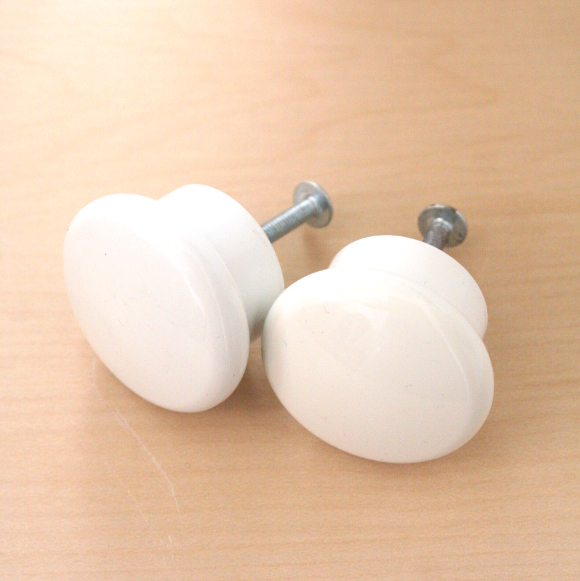
It’s a simple tip that I used again while redesigning my brother’s Canadian man cave; there was some mismatched pieces of furniture in the room so we removed all the existing handles and replaced them with coordinated pieces to make the room feel less mismatched and more sharp. 

A small detail I know, but to me, those are the sellers. The devil is in the details. It cost us under a tenner for the whole room and it made the room feel more considered and designed as a whole. 

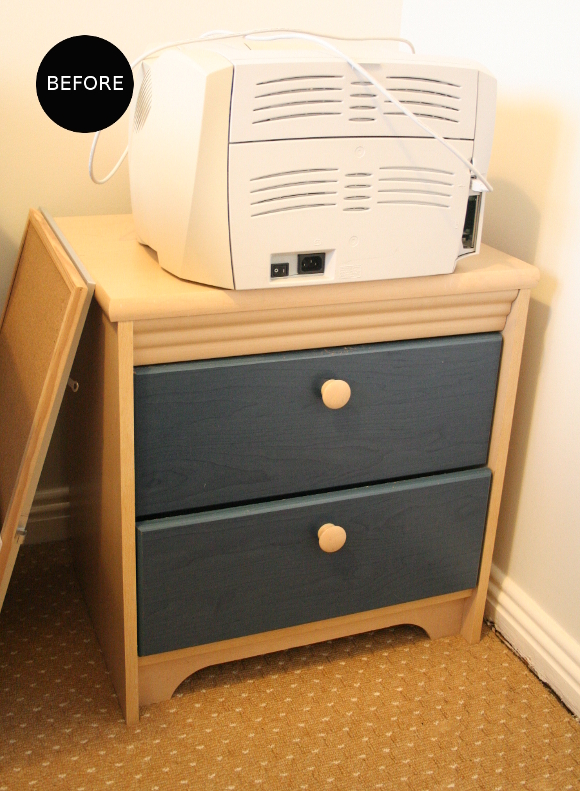
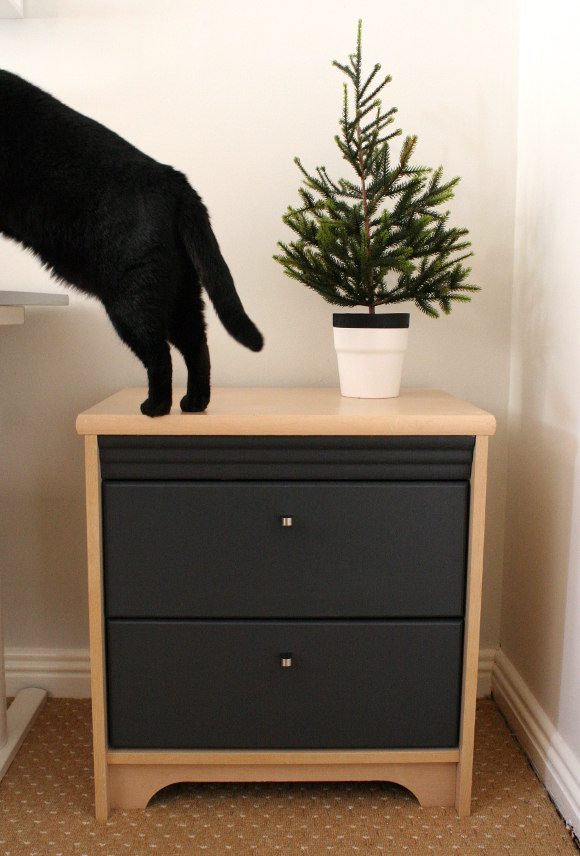
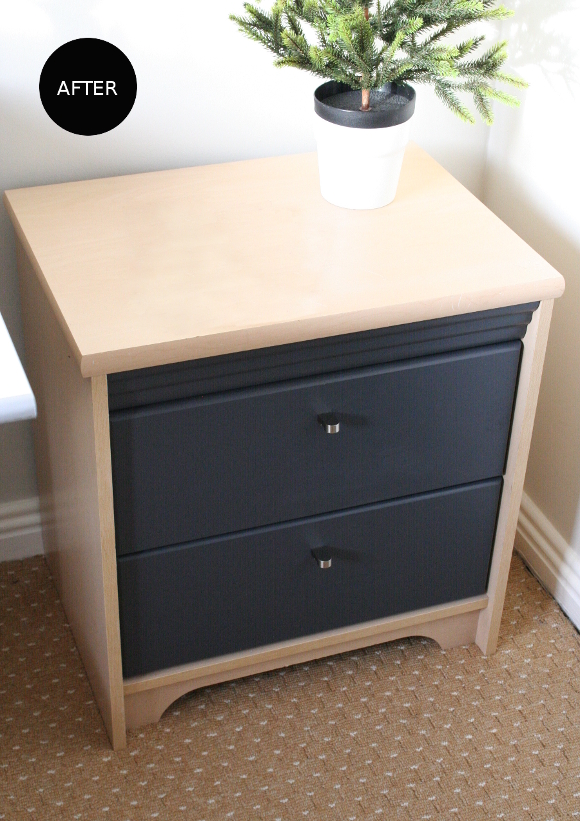
The main piece of furniture I changed was the hardware on the desk drawers. Originally, my brother and I each had one of these drawers in our bedroom as our bedside lockers growing up. In my parent’s new place, there isn’t room for both lockers in my brothers bedroom so one is being used as much needed desk storage. 

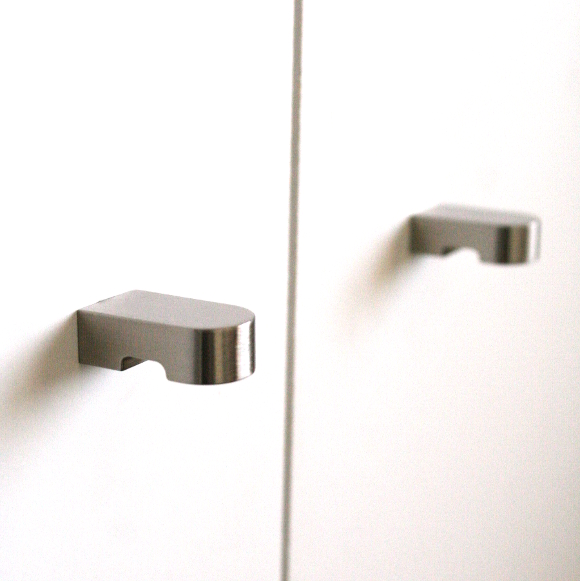
To make the drawers feel a bit more mature, we repainted the drawers plus the wavy detail above the top drawer in an effort to make it seem sleeker. I repainted the drawers with Dulux‘s Exterior SatinWood paint in ‘iron clad’ that was leftover from our bedside table and stools. When the drawers were dry, we then replaced the handles with some sleek ORRNAS knobs from IKEA. Queue gentleman’s desk companion extraordinaire … 

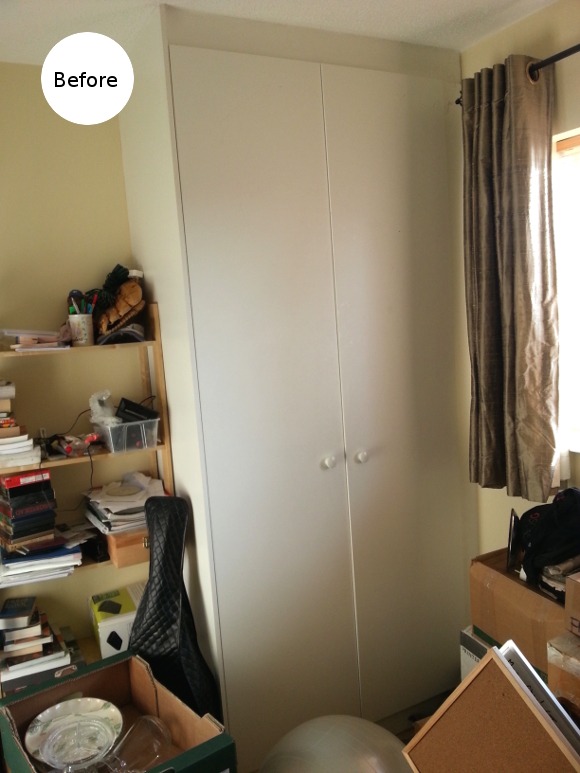
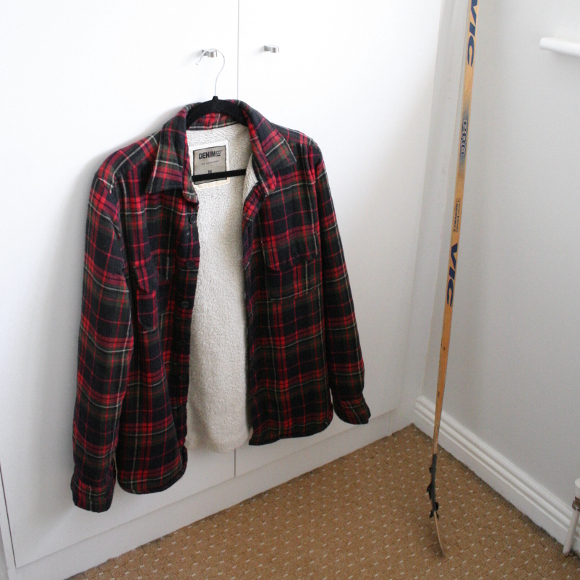
To further coordinate the room, we took off the wardrobe’s existing boring builders handles and replaced them with more ORRNAS knobs from IKEA. It’s impossible to photograph the wardrobe and the desk drawers together as they’re on opposite sides of the room, but trust me, these small details really help tie the room together. 

Some really minor details, but it really makes a difference. I bought new handles for our own home office and updated ours at the same time. While our new old desk doesn’t match the shelves in our living room, I coordinated all 9 handles on the shelves and desk and it ties them together on another level. I did this again last year for Picado by coordinating the new kitchen hardware with the vintage dresser knobs. 

They’re tiny details, but I find they make thoughtful impacts. 

A weekend in Edinburgh

This weekend husband and I spent 3 days in Edinburgh, Scotland. We got home late last night and would give our right arms to have stayed another 3 days. Edinburgh was immense. Even when I went through our photos this morning, I had a tough time narrowing down which ones to share. I whittled it down to 24. And even that was a struggle.

We flew over early Friday morning and checked into The Glasshouse Hotel, all sneakily booked and organised by husband. He did good. 

When we checked in, we were bumped up to a delux suite which was nothing short of lush. At the end of each day we longed nothing more than to go back to our hotel room. After walking 10+ hours, all we could think about was the larger than life bath tub and fluffy bed which were perfect for getting over the bitter weather. Less than a 10 minute walk from the centre, if you find yourself in Edinburgh, I strongly suggest you stay here. It’s luxury.

When we hit the streets of Edinburgh on Friday, I was rather pleasantly surprised to spy my favourite colour. Everywhere! Edinburgh had a running theme of my favourite berry hue. I’m assuming this is the city’s colour, as it was everywhere. But you won’t hear me complaining. I did however wreck husbands head by pointing it out at every opportunity. 
I don’t know what we were expecting from Edinburgh, but we weren’t expecting what we found. The buildings, the streets, the scale and the history. And the buildings. Did I mention the buildings? Edinburgh was a feast for my eyes. 

On Friday we took a bus tour around the city and further wandered for hours around Our Dynamic Earth, the Scottish Parliament Buildings, and the Palace of Holyrood. Stopping and creeping and photographing. We had bright blue skies met with bitter cold. We weren’t well prepared for the cold so sitting on the open-top tour bus took its toll. It snowed in the late evening but as we love snow, it just made is squeee an embarrassing amount. We walked up Calton Hill before retiring to our hotel. We were so cold that we basically slipped into hibernation the moment we got to our room. 

The next day we were a bit more prepared for the cold. It was a colder day, but as we wore all the clothes we packed, we were warmer. I wore my dress, skirt, 2 scarves, 2 pairs of tights, hat, faux fur thing, gloves and coat and I even used my own hair as insulation inside my coat. We were still cold. But it was a good excuse to stop in for whisky and hot beverages every chance we could. We ate haggis [which I now adore. I found it to be a cross between white and black pudding] and drank all the Innis & Gunn
On Saturday we ventured around Edinburgh Castle. We made our way up, and the views were mind = blown … 

The view from Edinburgh Castle was immense. I can’t even. Snowy mountains, mismatched rooftops, spires and even a soldiers’ dog graveyard. This and the tale of Greyfriars Bobby got us right in the feels.

We wandered up and down The Royal Mile, visited the Games Masters exhibit in The National Museum of Scotland, and stopped in for lunch at the Whiski Rooms. Again with the Edinburgh berry. On point. Oh and though it’s more of a Glasgow thing I think, we indulged in a deep fried Mars bar. And I thought it was heaven. 

We visited the Edinburgh Dungeon at night which was equal parts creepy, informative and terrifying. We could have done with a few more days in Edinburgh, but we managed to pack in a serious amount in the 3 days we were here.

Edinburgh, you blew our minds. We will be back. 

DIY Friday – cardboard monogram

For my brother’s new Canadian man cave office, I wanted to make something new for his shelves as so many pieces in his office were being sourced and recycled from his own ammunition. Not complaining, but I had an itch to DIY a thing [or 3] for his room. One of the things I wanted to make was a free standing model of my brother David’s initial as mini focal point.

A 3D, if you will. 
I know. 
My husband is so lucky to have found me. 

While I was letting the idea roll around in my head, I got a delivery that came in a massive cardboard box. Not one to waste anything, I quickly saw the box as the perfect medium for the project. Thus the cardboard monogram came to be! And here’s how I did it …

What you’ll need
Cardboard
Scissors
An exacto knife / Stanley blade
A pencil
An A4 piece of card or thick paper
Spray adhesive

Step 1 – I used an entire piece of A4 card paper as the template; I simply rounded off the corners, eye-balled the centre and cut it out.

TIP – it’s important to use a template vs. using the last piece of cardboard you cut out to draw the next piece. If you were to do this, each letter would not be uniform. It’s like taking a photocopy of a photocopy of a photocopy. You get the idea.

Step 2 – using your paper template, trace your letter onto the cardboard. Try not to get your hair in the way. #BigHairProblems

TIP – if the letter you’ve chosen has a large straight edge [ie – the left edge of the ‘D’], line this up with the edge of the cardboard to make it easier on yourself and you’ll have one less side to cut out.

Step 3 – cut out your letter with a good, comfortable pair of scissors. This might be a bit tough, so the more comfortable your scissors, the easier it’ll be.

Step 4 – using your exacto knife / Stanley blade, cut out the centre of your letter on top of a cutting mat or as I did here; using 3 pieces of cardboard underneath. And for the love of all things holy, please be careful when using an exacto knife / Stanley blade. I know you’re careful, but I just have to say it.

Step 5 – repeat the above steps to cut out your letters until you have enough to made a 3D letter. This can be any amount but I found 15 pieces to be a good number.

Step 6 – using spray adhesive in a well ventilated area, spray each letter and stack them together, making sure to give priority to aligning them correctly at the base, as this is where it’ll matter most. If the letters are not aligned here, it won’t stand properly. 

I sprayed and stacked the D’s and placed a couple of heavy books on top of them for a couple of hours to ensure they stayed put. And that’s it really! I’m very pleased with how it turned out, and so was my broseph. And so was husband actually. I think I’ll be making a couple for our place too.

And that’s how got some bespoke aesthetic out of a cardboard box. Happy Friday, homies! xx A