
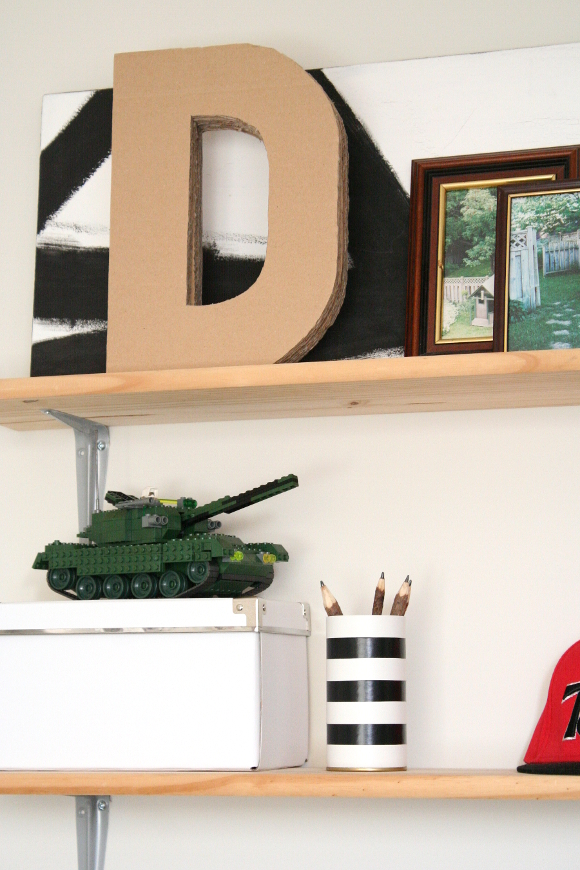
For my brother’s new Canadian man cave office, I wanted to make something new for his shelves as so many pieces in his office were being sourced and recycled from his own ammunition. Not complaining, but I had an itch to DIY a thing [or 3] for his room. One of the things I wanted to make was a free standing model of my brother David’s initial as mini focal point.
A 3D, if you will.
I know.
My husband is so lucky to have found me.
While I was letting the idea roll around in my head, I got a delivery that came in a massive cardboard box. Not one to waste anything, I quickly saw the box as the perfect medium for the project. Thus the cardboard monogram came to be! And here’s how I did it …
What you’ll need
Cardboard
Scissors
An exacto knife / Stanley blade
A pencil
An A4 piece of card or thick paper
Spray adhesive
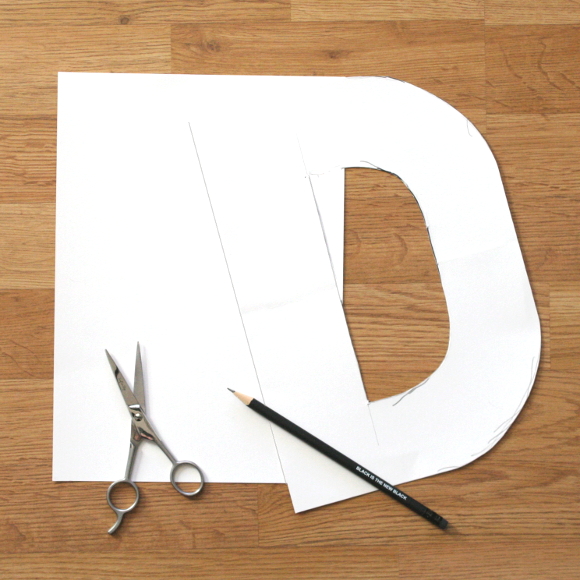
Step 1 – I used an entire piece of A4 card paper as the template; I simply rounded off the corners, eye-balled the centre and cut it out.
TIP – it’s important to use a template vs. using the last piece of cardboard you cut out to draw the next piece. If you were to do this, each letter would not be uniform. It’s like taking a photocopy of a photocopy of a photocopy. You get the idea.
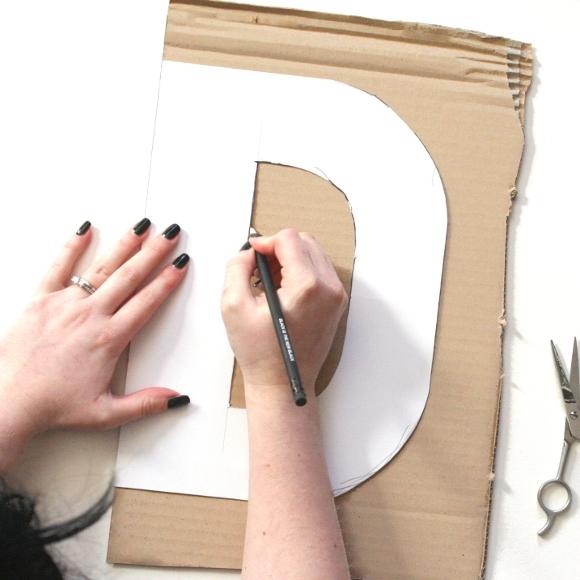
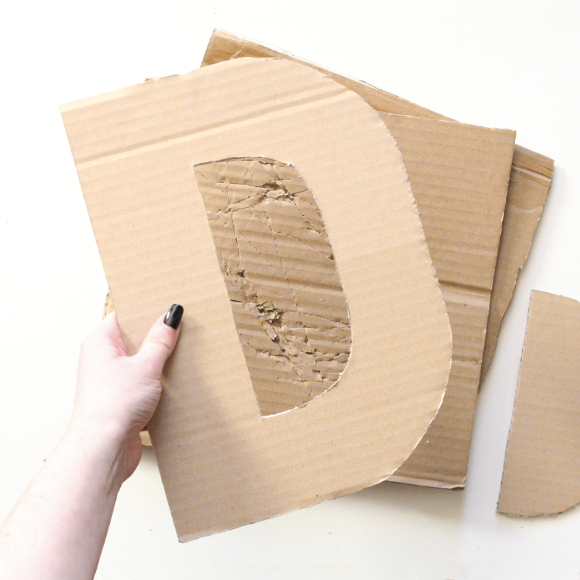
Step 2 – using your paper template, trace your letter onto the cardboard. Try not to get your hair in the way. #BigHairProblems
TIP – if the letter you’ve chosen has a large straight edge [ie – the left edge of the ‘D’], line this up with the edge of the cardboard to make it easier on yourself and you’ll have one less side to cut out.
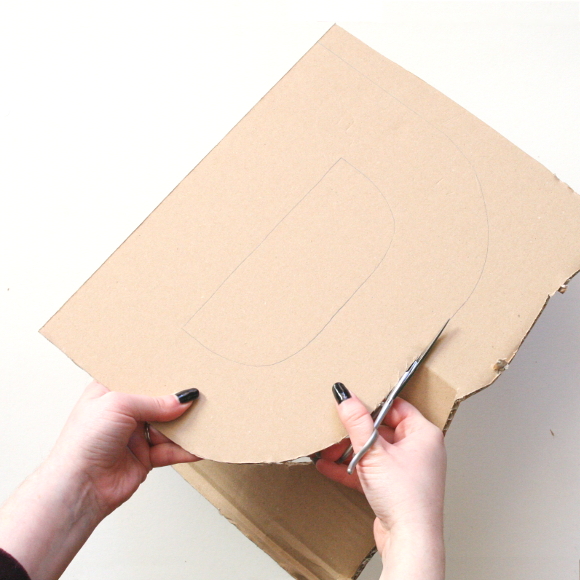
Step 3 – cut out your letter with a good, comfortable pair of scissors. This might be a bit tough, so the more comfortable your scissors, the easier it’ll be.
Step 4 – using your exacto knife / Stanley blade, cut out the centre of your letter on top of a cutting mat or as I did here; using 3 pieces of cardboard underneath. And for the love of all things holy, please be careful when using an exacto knife / Stanley blade. I know you’re careful, but I just have to say it.

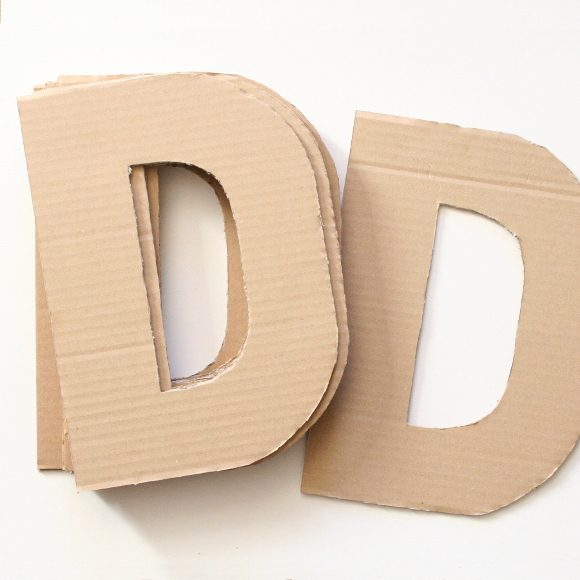
Step 5 – repeat the above steps to cut out your letters until you have enough to made a 3D letter. This can be any amount but I found 15 pieces to be a good number.
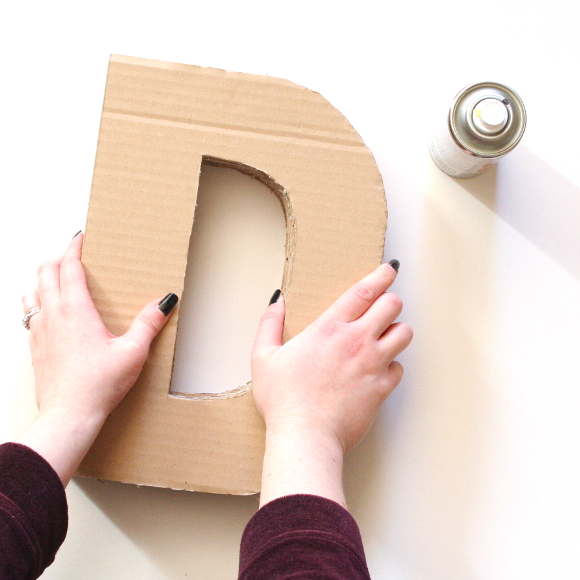
Step 6 – using spray adhesive in a well ventilated area, spray each letter and stack them together, making sure to give priority to aligning them correctly at the base, as this is where it’ll matter most. If the letters are not aligned here, it won’t stand properly.
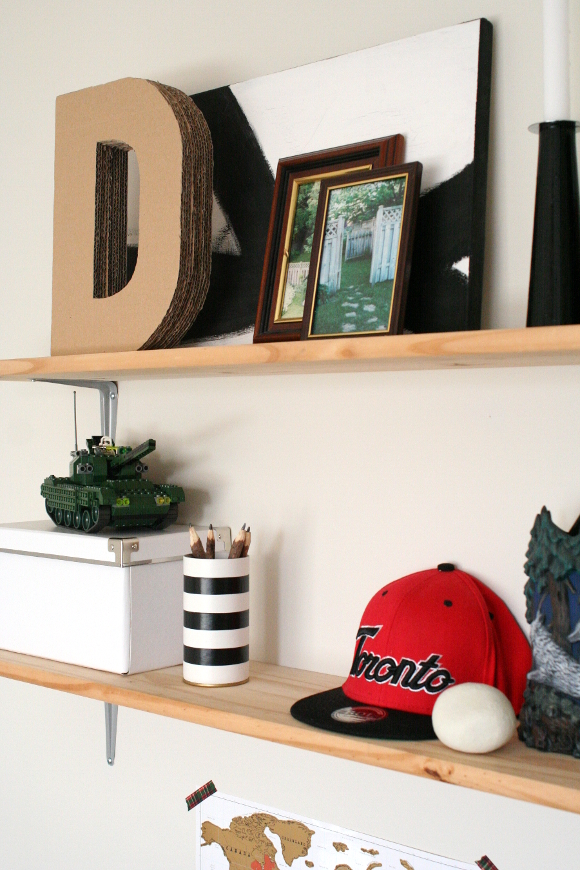
I sprayed and stacked the D’s and placed a couple of heavy books on top of them for a couple of hours to ensure they stayed put. And that’s it really! I’m very pleased with how it turned out, and so was my broseph. And so was husband actually. I think I’ll be making a couple for our place too.
And that’s how got some bespoke aesthetic out of a cardboard box. Happy Friday, homies! xx A
So simple, yet effective! Although, 15 is a lot of Ds to cut out – very patient! (That reminds me of 'Love Actually' – "8 is a lot of legs, David!" – which might mean nothing to you if you don't watch the film every Christmas like I do!)
Maria xx
"That octopus costume's taken me months" – I know it all too well, Maria! Hahaha, and so does Robert, to his horror.
Yeah, 15 D's is a lot. But I cut them out over the course of 3 days. I probably should have mentioned that in the post. Oops.