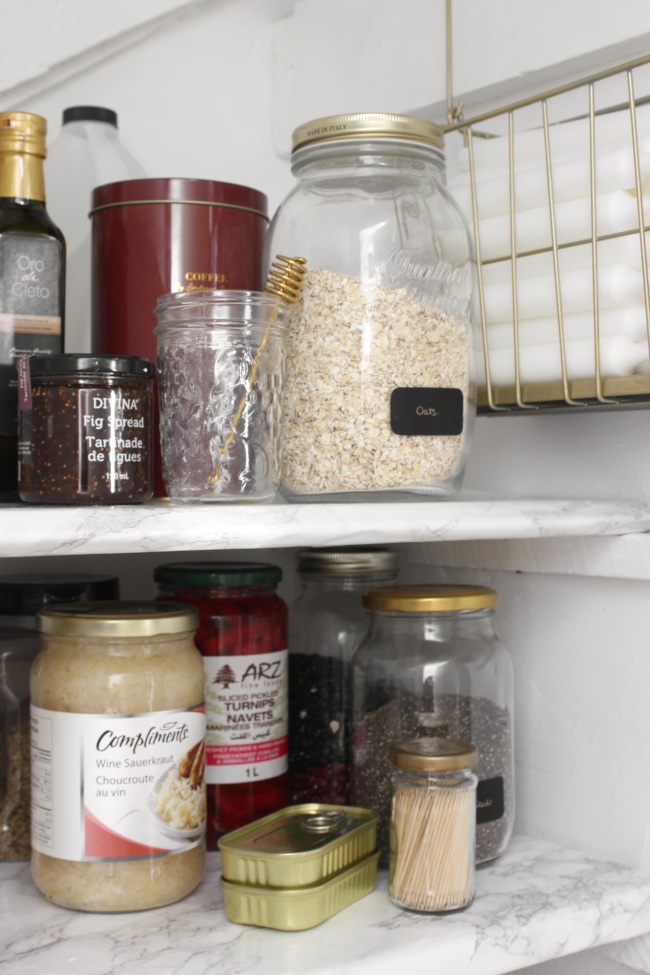
Updating our pantry was not only my first project this year, but the first project I worked on in our new home. It was the perfect small project to get me back in the swing of DIYing; it was a small space, it didn’t take long to complete, looked absolutely atrocious beforehand [which always ensures an excellent after] and cost me around $15 to update.
As a reminder and in case you haven’t seen any decent horror movies recently, this is what our pantry looked like before …
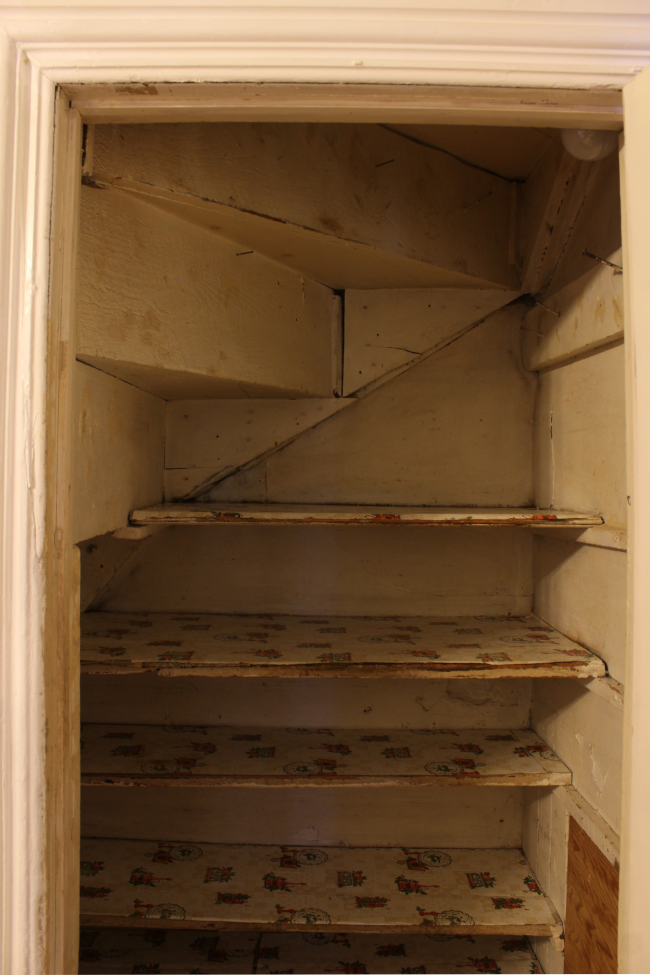
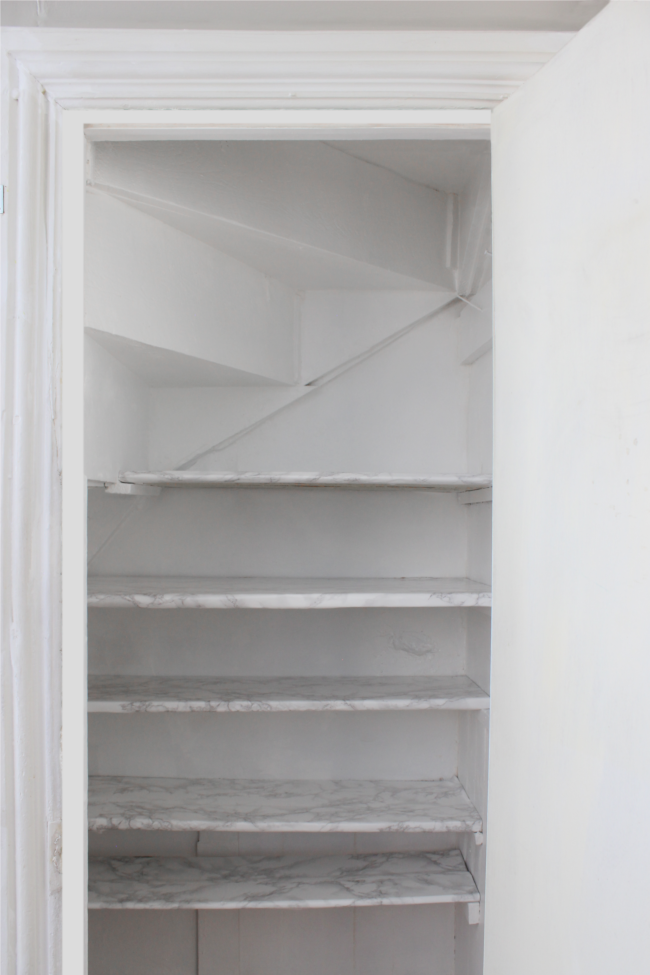
… Followed quickly by what it looks like now! I started updating our pantry by first of all, scrubbing it thoroughly. I used warm, soapy water with a bit of vinegar to clean the walls and underside of the stairs. When I removed the shelves, I found mouse droppings on the little shelf ledges – they most likely ended up there when the shelves were wiped over the years. I can confirm that as much as I love mice, we don’t actually have any in our home and the little poops are from some time ago. Still, as soon as I discovered said poop, I resorted to the bottle of Lysol wipes left by the previous owner and wiped the shelves, shelf ledges, stairs, walls and floors thoroughly. Because food.
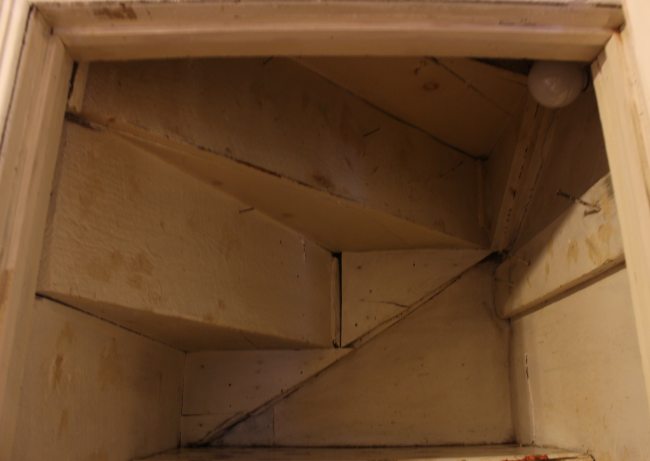
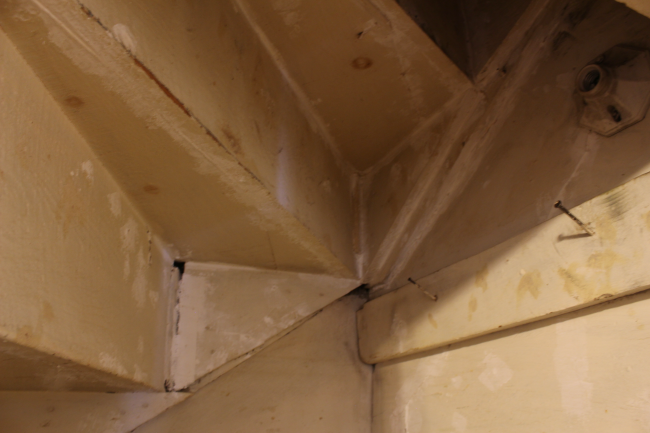
After a thorough clean, I removed the extra nails, filled the holes and the many gaps of all shapes and sizes. To show that my ‘before’ pictures are not entirely exaggeratedly yellow, above you can see my first round of filler [first round of many in some places], which itself is off-white. Our pantry really was a nondescript shade of children’s nightmares.
I ended up giving the pantry 3 coats of semi-gloss white paint. I decided to keep the original shelves as they were already the perfect size and I figured it would be wasteful to replace them. They already worked perfectly, so it would have been frivolous to replace them. I cleaned them via chemical warfare with Lysol then covered them in my go-to faux marble contact paper by d-c-fix [I’ve used contact paper on a lot of projects. If you’re curious, you can see them all here. From kitchen counters to coffee tables. Also, you can see my tutorial on how to easily apply contact paper here!].
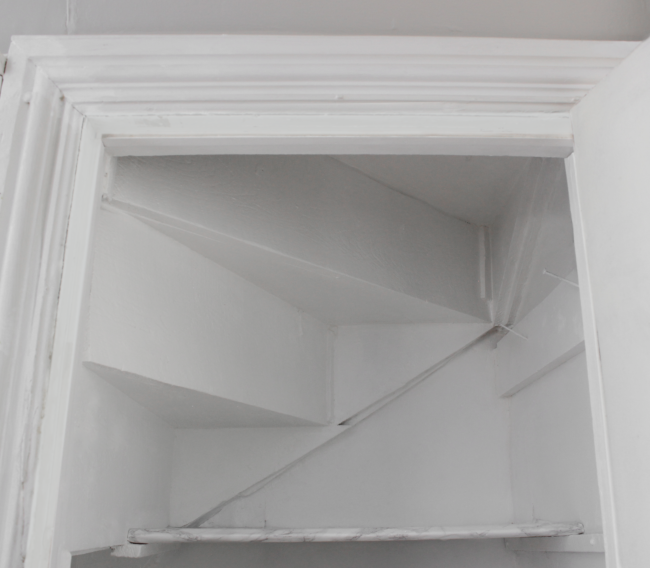
I am so pleased, and dare I say proud, with how my first project in our home turned out. However, I’m not completely finished with this space. I want to update the pantry door as well as get the sweet little pantry light working again [see more about me rescuing it from a life of paint on my Instagram here].
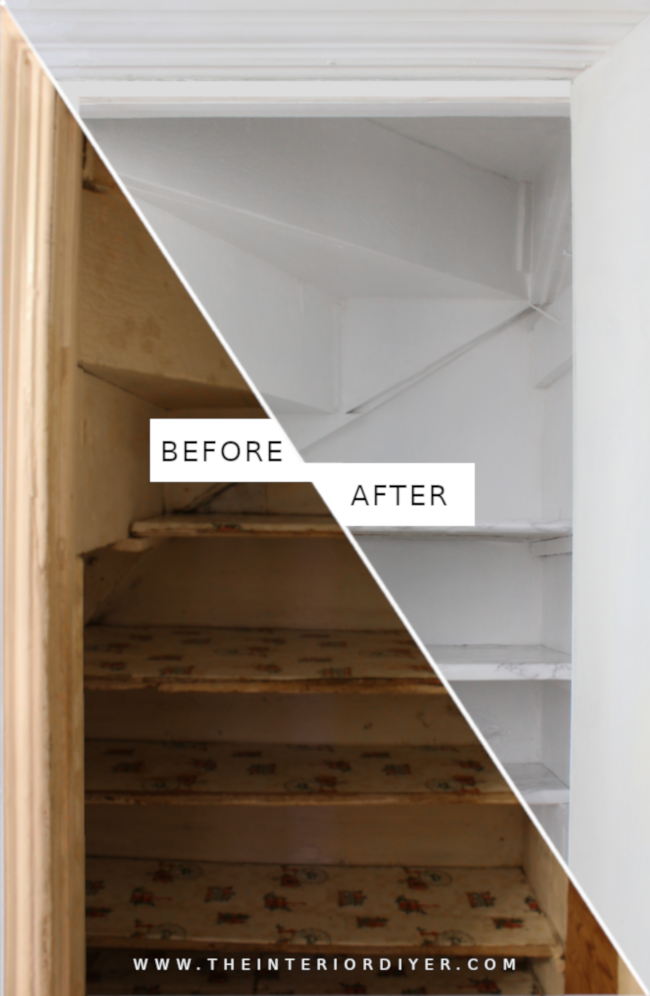

Amazing what a bit of paint and some elbow grease will do! It looks great.
Author
Thank you so much, Barb!
Excellent work 👏 Have a pretty gross kitchen island in our new place that could definitely do with some contact paper love, so will be hitting that post up soon too!
Author
Welcome back to Ireland, Nathalie! (if I can say that all the way from Canada!) I can’t wait to see what adventures Galway has in store for you three.
I love this – such a satisfying transformation! And you can’t beat a nice bit of pantry organisation in pretty containers!
Author
Yes!!! I always know you’ll appreciate a good organizing storage post, Maria! There is nothing more pleasing than a clean new place to organize (don’t tell Robert).