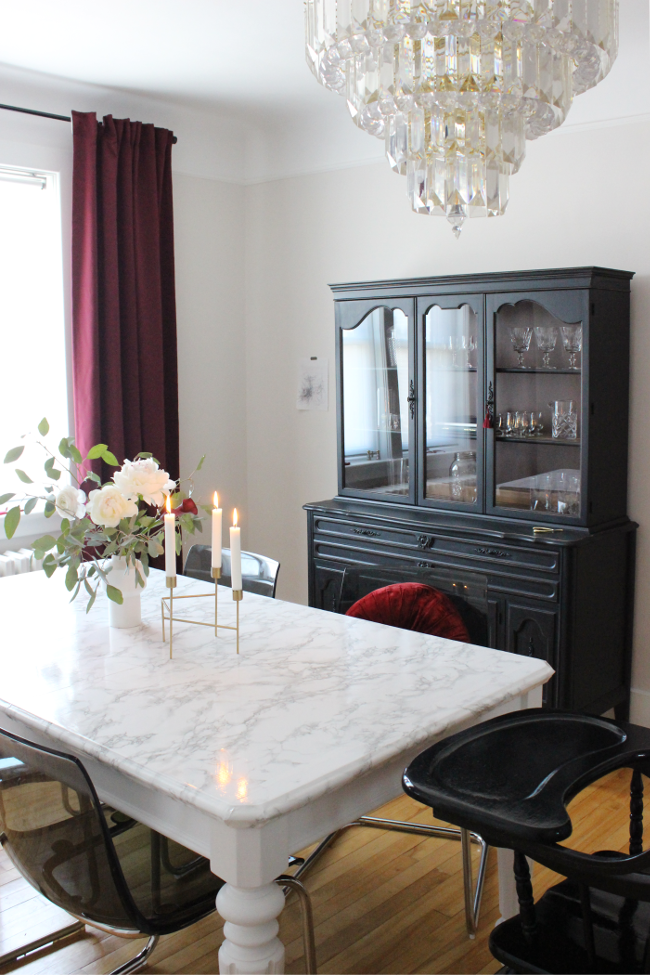
It’s been in every dining room photo since my One Room Challenge but I never got around to properly introducing it; our updated dining room table! I updated it in May with some faux marble contact paper and I’m only getting around to writing about it now. Story of my life these days, but it was the best update I could have made to that table.
One of the many things the previous tenants left for us was their dining room table. They knew we had next to nothing since emigrating from Dublin and since they’d be buying a dining table for their new house, they decided to really kindly leave their old one.
I was irrationally excited about it as it’s a really solid table [we bought a table last October, but it ended up being very weak and flimsy]. Our dining room is also a really big room so it needs a big table to anchor it and make it feel less like you’re floating around in the middle of the ocean. While I loved the shape and size of the table, I knew I’d want to eventually update it. But exactly how was my next daunting question.
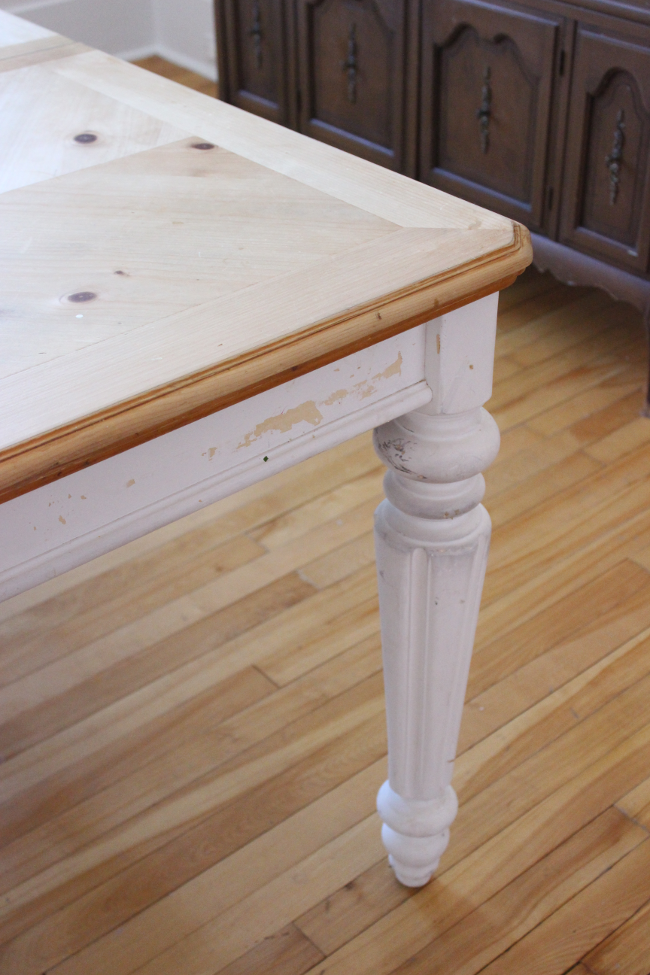
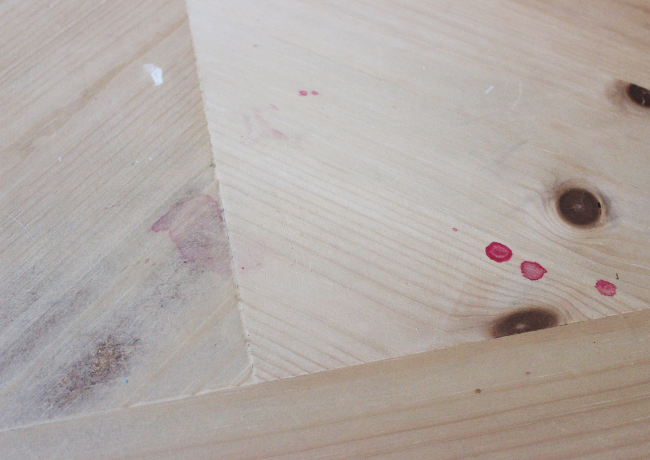
The table is for the most part solid wood, but in a deceptive way. In a few spots [as you can see on the left in the photo above] it’s some sort of MDF just beneath a thin surface of real wood. There was also no finish so the raw, untreated wood had a lot of stains it wasn’t willing to part with; nail polish, coffee and food in general. None of which could be cleaned off.
I first thought about staining the table with a wood stain, but to be honest, I didn’t like the wood pattern on the top and the already dark knots would have ended up looking even darker. My next immediate thought was to cover it in contact paper, but I was hesitant. I mean, that’s a lot of table to cover. And the edges were so fiddly.
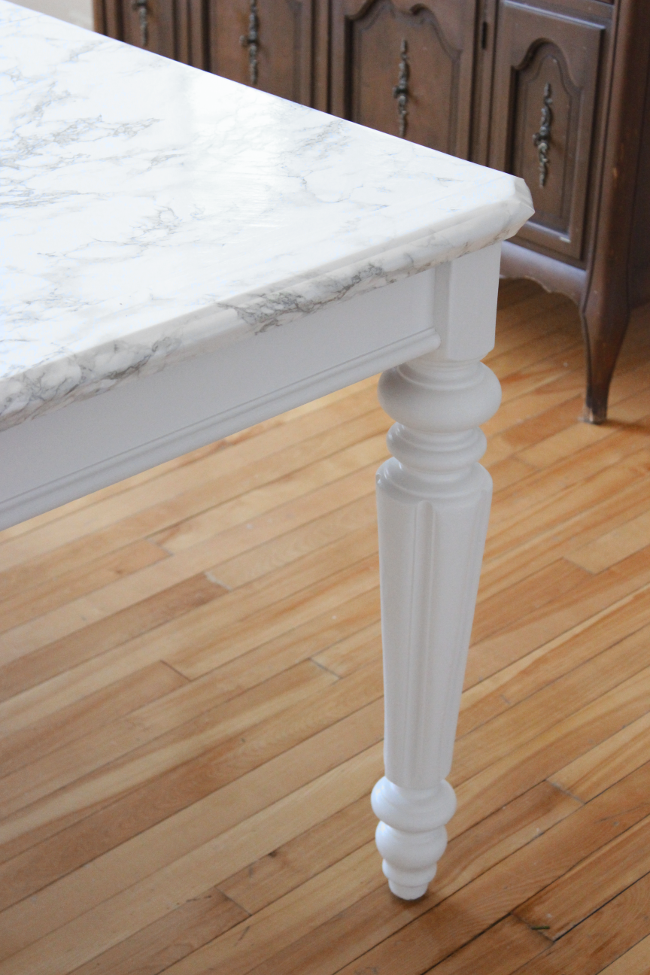
It wasn’t until a few weeks later that I finally made a decision; I was trying to once again clean a smushed blueberry from a few days previous [yay, untreated wood that absorbs everything] when a massive splinter of wood from the edge broke off into the palm of my hand. And I mean it was huge [#ThatsWhatSheSaid]; it was about 5 inches long, razor sharp and decided it would much rather hang out in my hand. What if it had broken off when Cora was around? What if it happened when I wasn’t there to see it? The mind goes to fantastic places once you become a parent, so that afternoon during Cora’s nap I took out the rolls of contact paper and got to work.
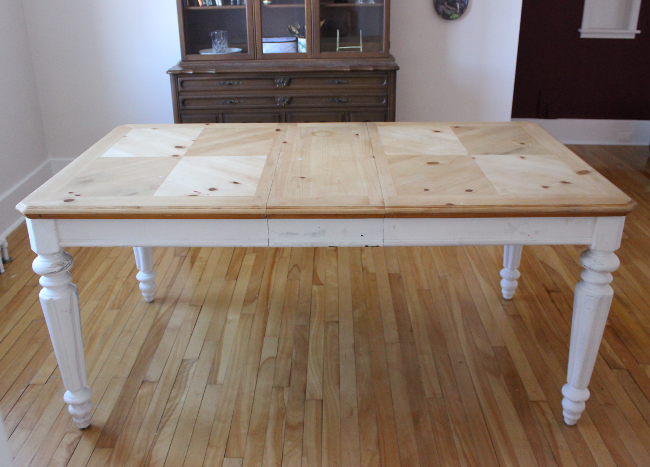
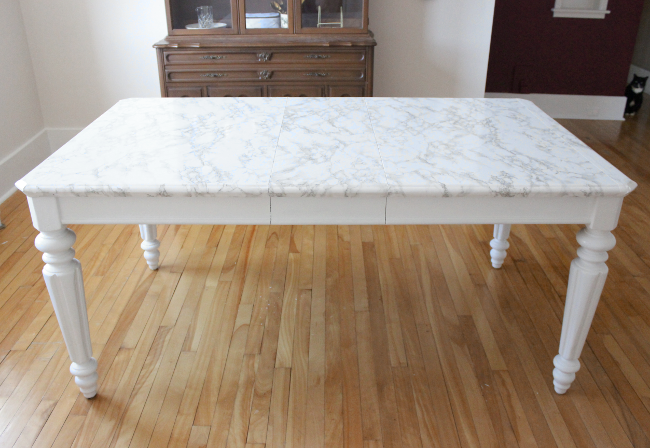
It was time consuming but easy to cover the table. I took the leaves apart and applied the contact paper one section at a time. I used the same technique I used a few years ago to cover our then coffee table – you can see the full step-by-step tutorial here! [p.s. I was about 2 weeks pregnant with Cora in those photos, but didn’t know it 💕]. I also lightly sanded the legs and applied two coats of white paint [I used some leftover Behr’s eggshell paint for baseboards and doors as it was wipe-able and held up really well throughout the dining room].
I will be the first to admit it is not a perfect update. When you stand at the end of the table you can see the wood pattern in the reflection, but only if you’re really concentrating. The end leaves of the table are much wider than the width of the contact paper so there’s a random 2-inch strip of contact paper at either end. But for us right now, this table is perfect. It fits the three of us for dinner plus the hot mess of garbage that gets dumped on it. It’s very sturdy. But above all else, it is a dream to clean. No matter what you spill or drop on it, it wipes off immediately. And when you have a toddler that is an angel one minute and the 11th member of Suicide Squad the next, that’s a deal breaker. Function > form.
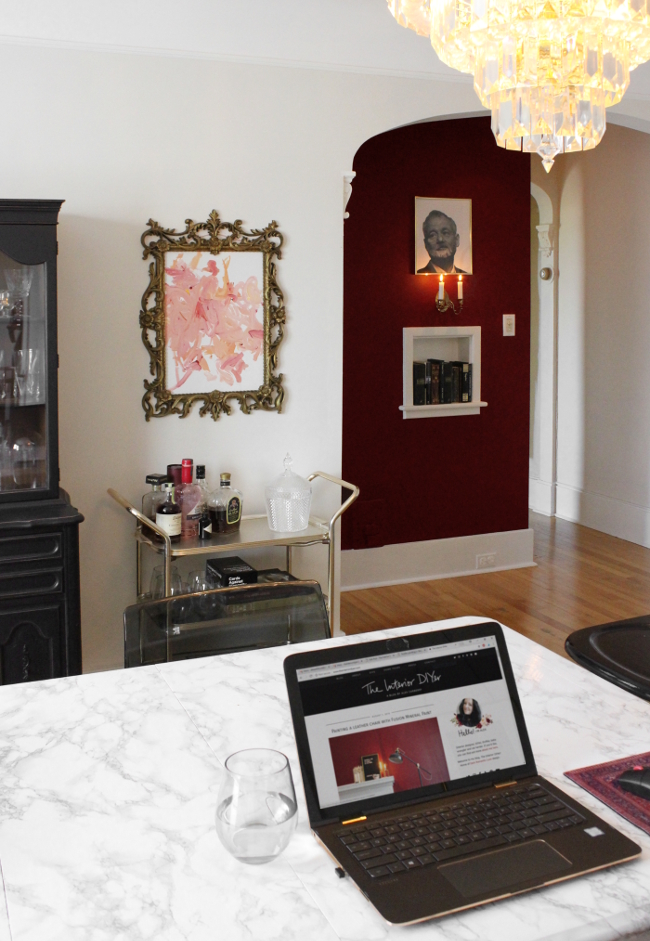
For anyone curious, I ordered my contact paper directly from the manufacturer. They said it’s available in Lowe’s here in Canada [but I couldn’t find it on their shop online], and back in Dublin I bought this exact same contact paper in B&Q.
