One Room Challenge Spring 2020 – Week Eight!

It’s here! I’m finished! Holy shit. On one hand I don’t think I’ve fully realized I’m finished my One Room Challenge, but on the other hand, I’m looking forward to being horizontal on a couch / lawnchair / bed / under the dining room table / random sidewalk / literally anywhere and not working on any projects in my spare time … for at least a week.

I really am almost overwhelmed at trying to put into words how much this project has meant. At the end of March I miscarried at 12 weeks pregnant. I took 4.5 days off work and then threw myself back into things and wanted to work on something big. Maybe to prove to myself I can finish something and that I’m not entirely useless. For anyone who has been following along with my project will know, I really tore up from the floor up this room as I demolished four layers of ceiling, almost three layers of wall [in places], ripped everything back to the beams, built two stud walls, drywalled, painted, crafted cabinets and finished it off with a thin layer of tears. By myself. No trades people were hired and Robert only helped me drywall the ceiling.
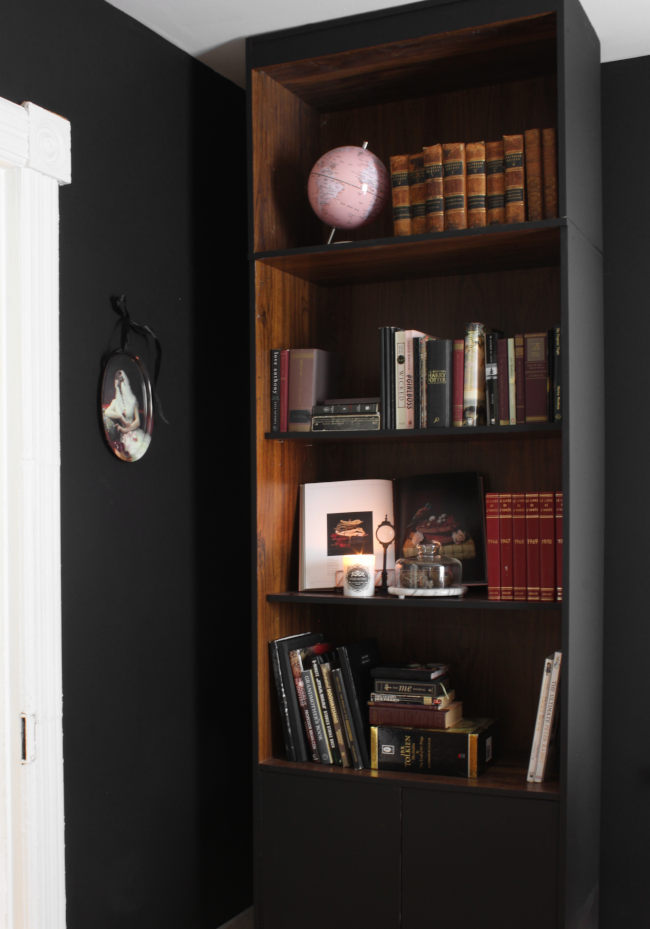
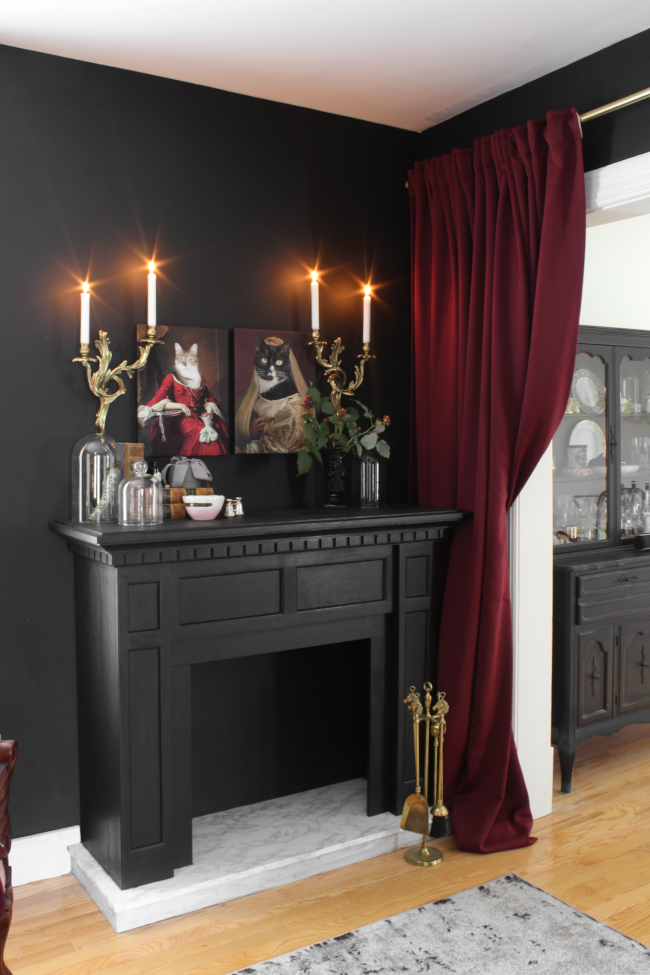
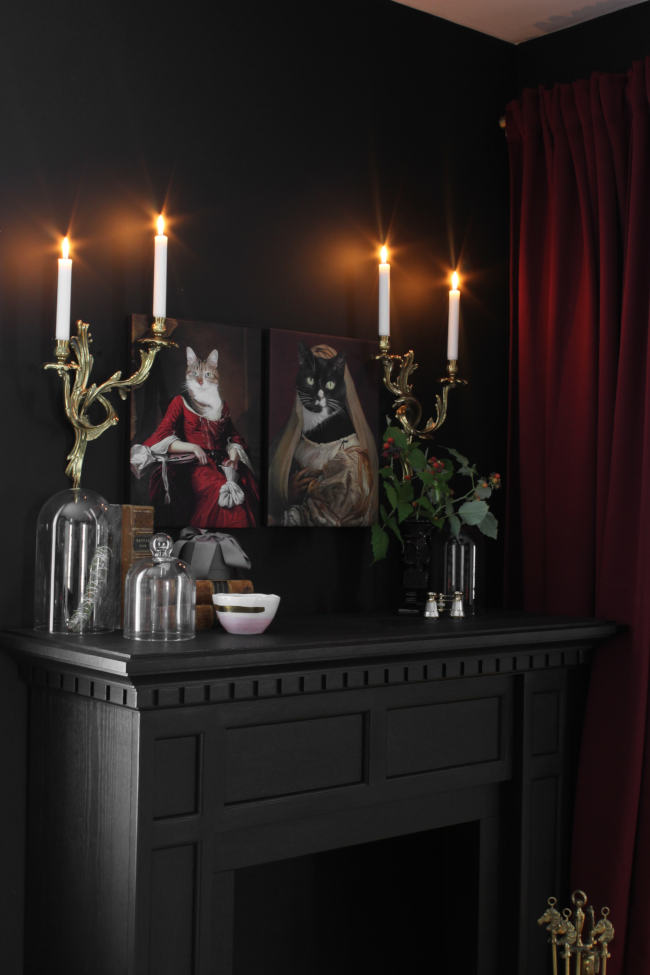
I have really enjoyed sourcing about 90% of this room secondhand. It’s much more of a challenge to find exactly what you have in mind secondhand online, in the colour you want, within a sane budget, during a pandemic, but I tend to like making things exponentially more difficult for myself so why not?

I cannot believe this is what this room looked like just 4 weeks ago:
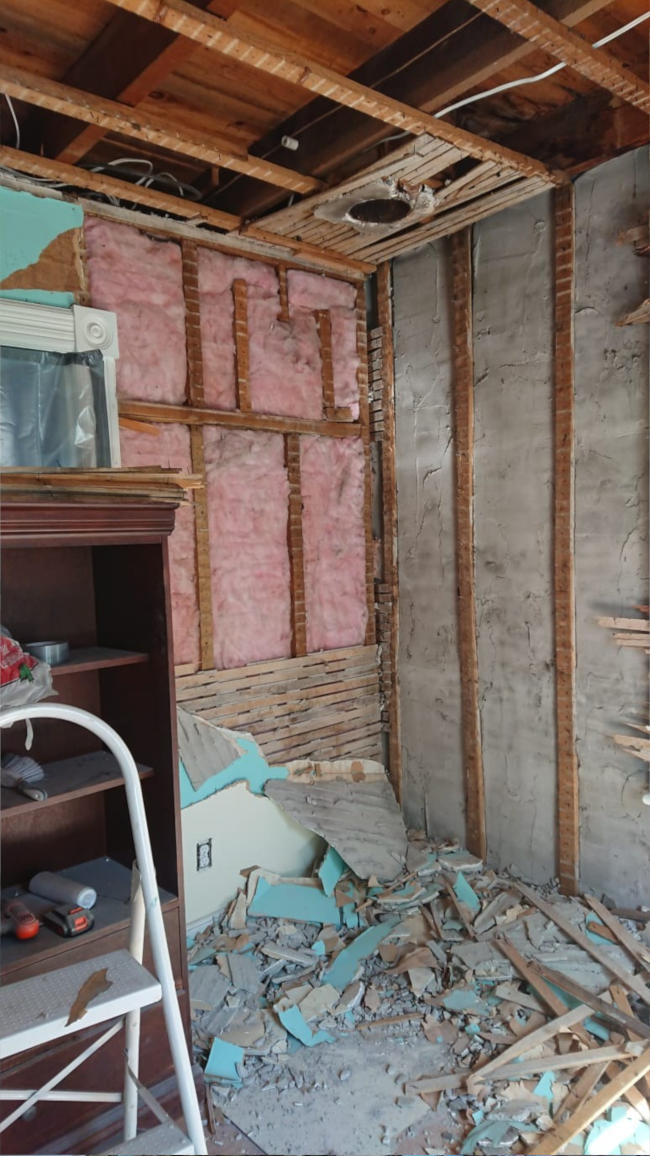
I’m going to skip immediately back to sharing the now photos as that picture above is giving my anxiety as it reminds me of how much work it took to get to now.
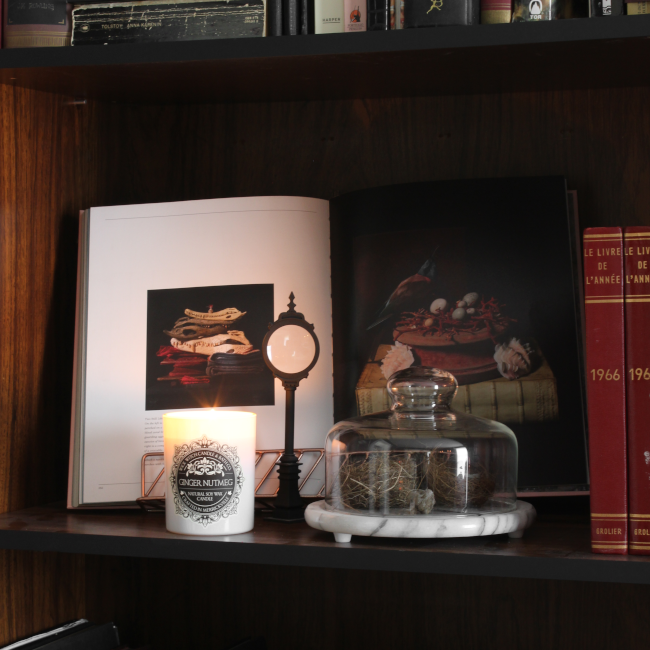
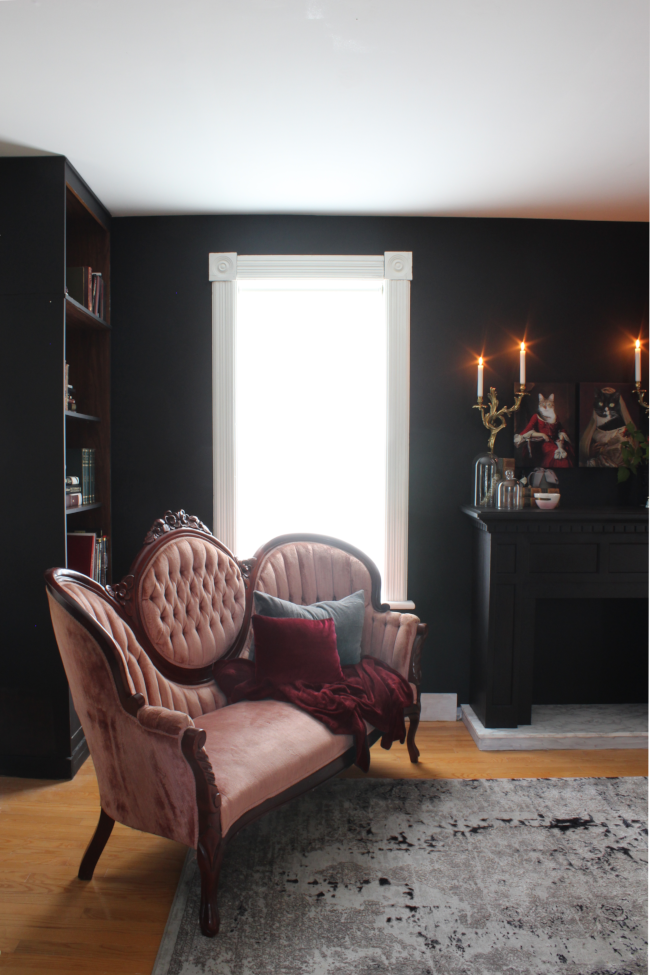
I would strongly encourage you to check all the final Guest Participant reveals here as it is a page exploding with amazing makeovers. We’ve all done incredible work over the past 8[+] weeks from all around the world.

I also want to sneak in one more huge thank you to Bin There Dump That and for their dumpster for my ORC. I 100% would not have taken on such a project if it wasn’t for being able to throw all the demolition drama into a dumpster and completely forget about it.

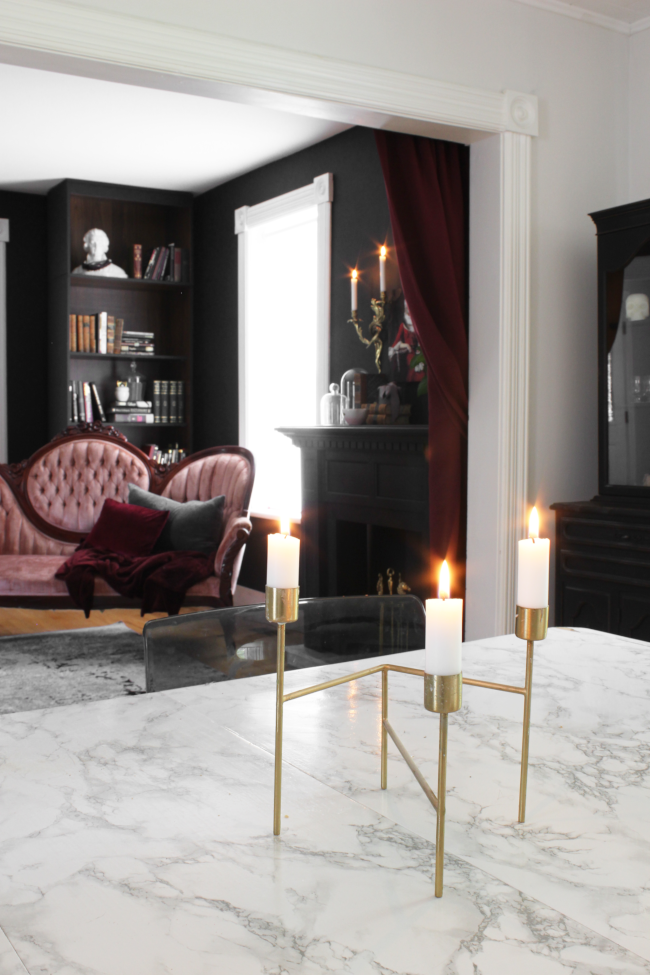
I ended up going much darker than I had originally planned for my ORC [seen below in my Week One mock-up], but I knew I wanted to have a dark room so I think it’s more of a case that I wasn’t as bold as I’d like to have been in my mock-up vs. the room not turning out how I had planned.


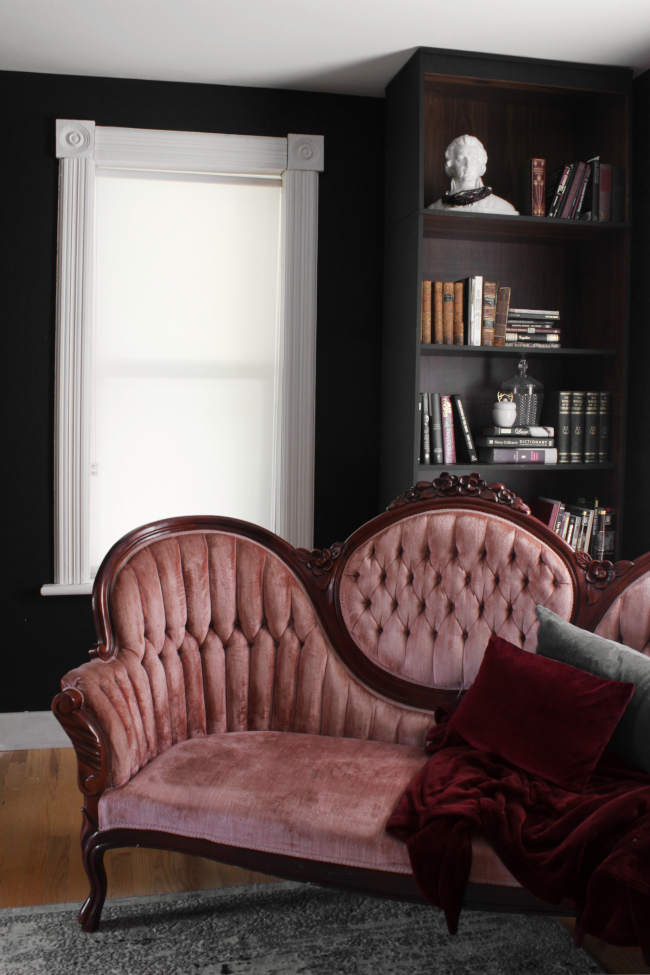
The couch / rug combination very much fed off of each other so depending on the colour of couch I chose, I would either get a pink rug [above] or a gray one [as seen in the final room]. How can you not know what couch you were going to get? That is one of the many joys of sourcing things secondhand! It is unpredictable and you never know what you’re going to get. You plan for things to look a certain way and then the Thrifting Gods laugh in the face of your plans.

My final thoughts on this project; yes, it will be a while before I take on another project of this caliber but I’ve enjoyed pushing myself and proving to myself that I can do it. I also enjoy that this project is now behind me and I don’t have to work on it tonight after dinner until I collapse from exhaustion.

Until the next One Room Challenge.

S O U R C E L I S T :
Wall paint – Onyx, Benjamin Moore
Fireplace – secondhand via Kijiji
Fireplace paint – Coal Black, Fusion Mineral Paint
Gold candle sconces – thrifted by a friend 🖤
Cat portraits – DIY by me, blog post coming soon
Pink Victorian-style couch – secondhand via Kijiji
Gray velvet pillowHay Design
Rug – Dark gray Graham rug, Rugs.ca
Large built-in cabinets – DIYed, blog post coming soon
Pink globeChapters Indigo
Burgundy curtain – discontinued IKEA
Literally everything else – thrifted, secondhand, found etc.

Week One â€“ Week Two â€“ Week Three â€“ Week Four â€“ Week Five â€“ Week Six
Week Seven â€“ Week Eight

DIY Friday – painted cabinet using Fusion Mineral Paint

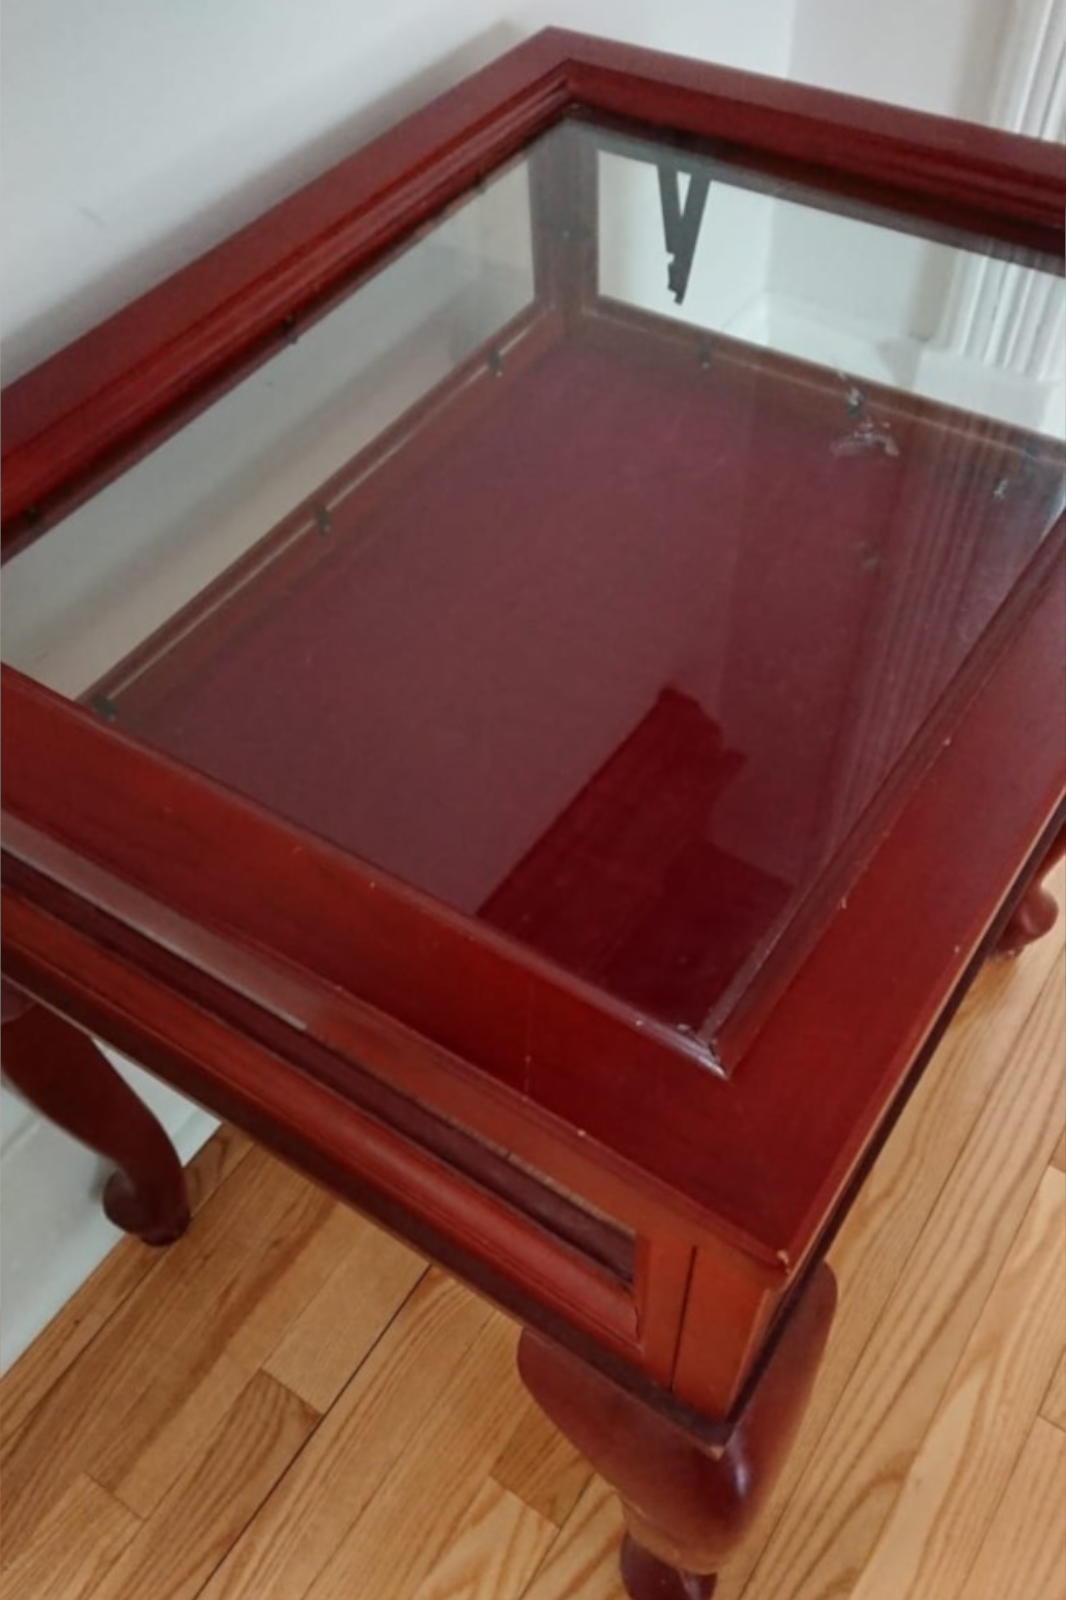
A few weeks ago, while still in our current state of isolation, we went for a drive to get out of the house as we were beginning to feel more and more trapped in. While we were mid-way down a country road I saw a sweet little piece of furniture ruthlessly abandoned on the side of the road …

If you could hear the photo above it would sound like Robert grinding his teeth as he did a u-turn and popped the trunk so I could take yet another wayward piece of furniture home. To add insult to injury, the cabinet didn’t fit in the trunk so we had to secure it [safely] in the seat next to Cora in the back of the car. Robert was thrilled.

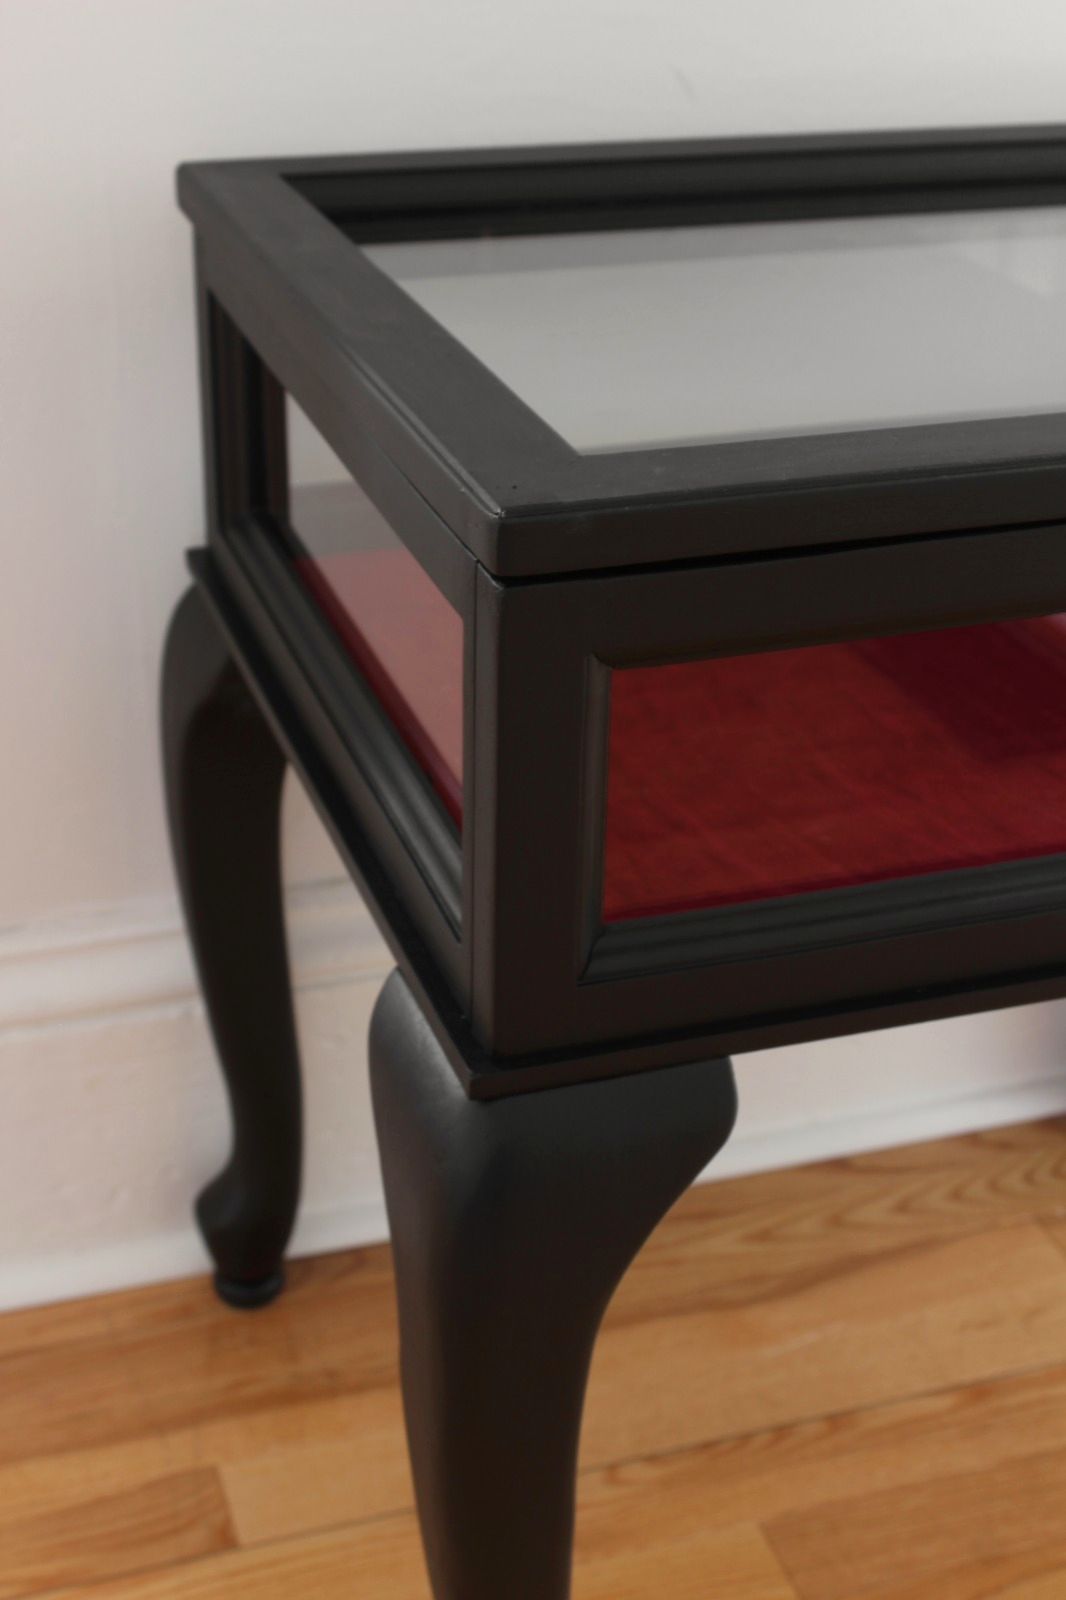
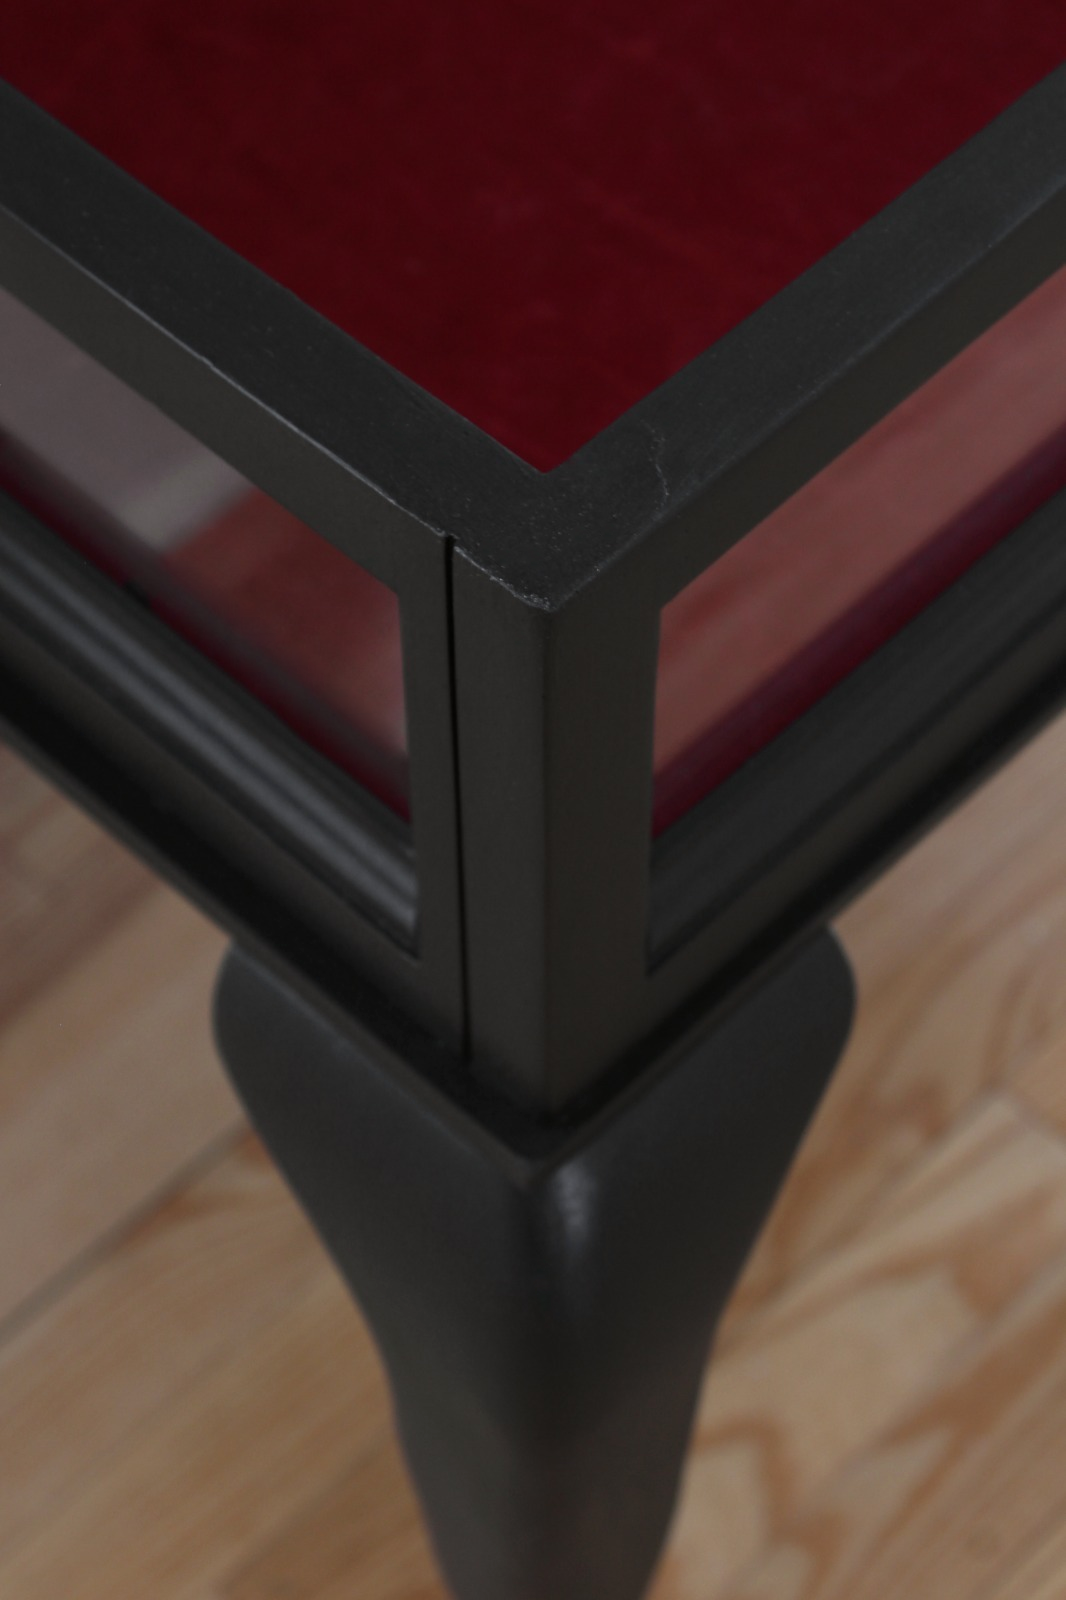
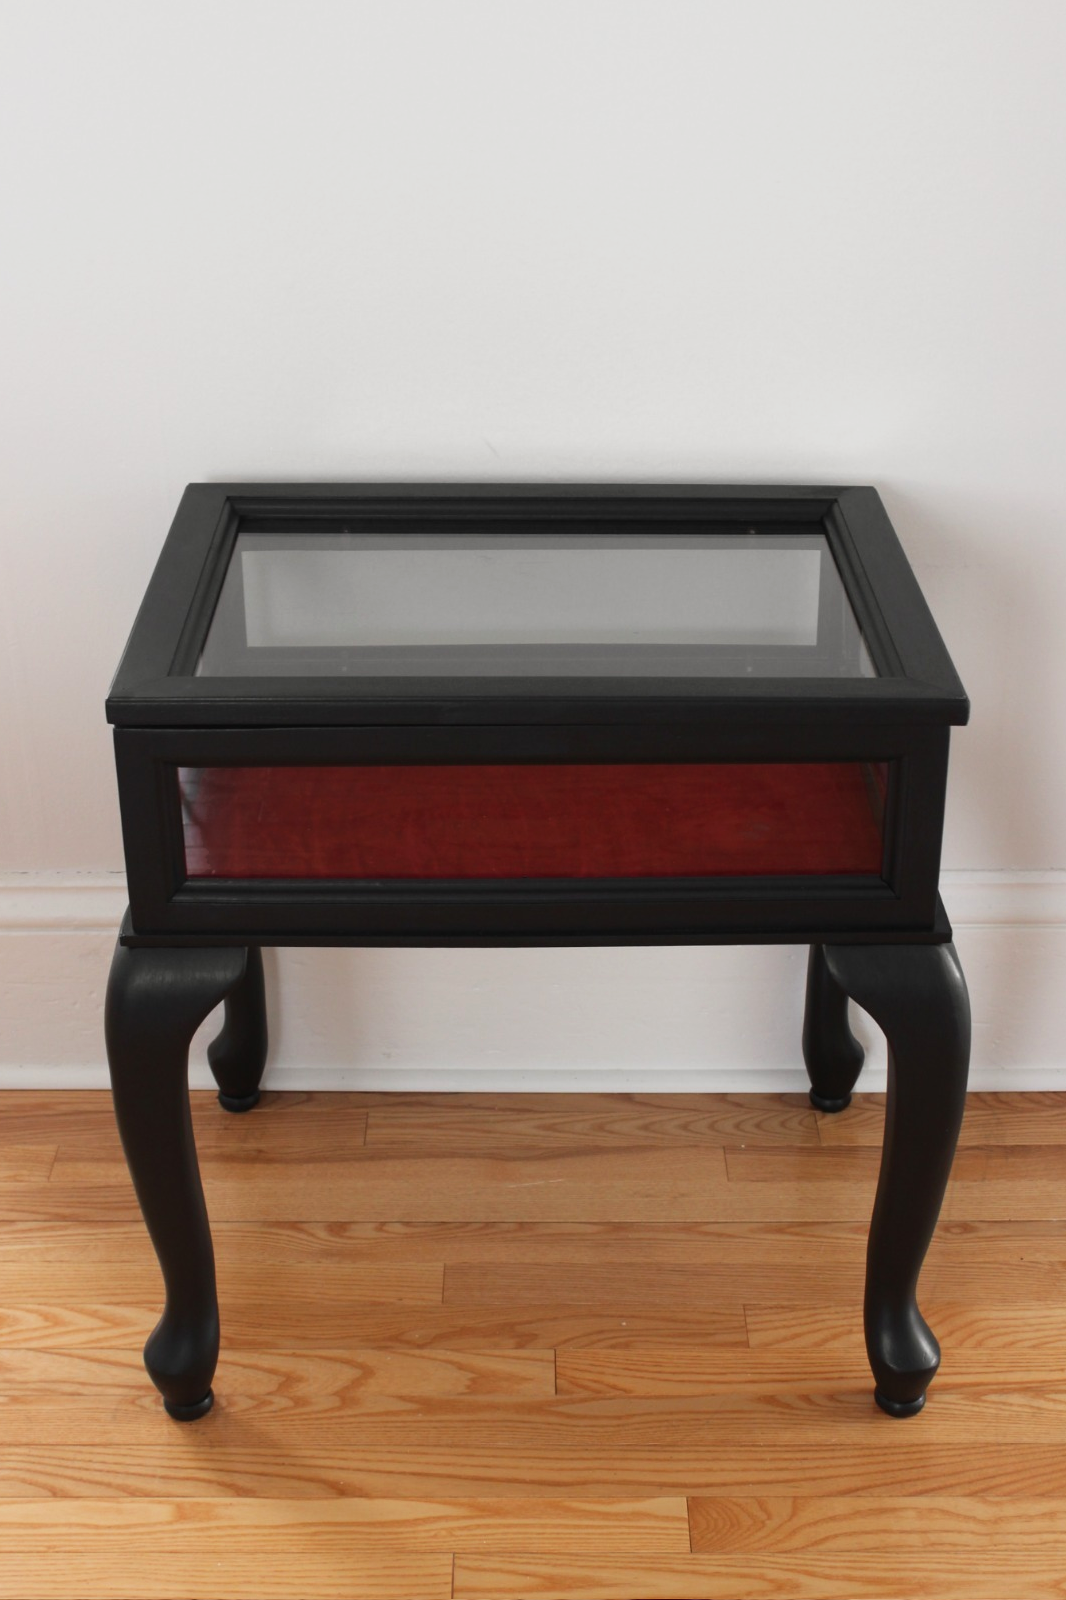
This was a piece I knew exactly how I wanted to update and needed to do little-to-no planning. I wanted to paint it with Fusion Mineral Paint‘s shade of Coal Black. No wonder this poor thing was abandoned as the finish of the wood wasn’t exactly complimentary to the velvet inside and the two clashed quite a bit [I thought. To each their own].

The first thing I did when I brought this little display cabinet home was wipe it down with antibacterial wipes because coronavirus. I removed all the little hinges holding the glass in place [you can see the black hinges in the photo above], carefully removed all the glass and got to work.

It was really straight forward project after that; using a small brush I smoothly applied 3 layers of Coal Black paint. I waited a minimum of 3 hours between coats of paint to ensure each coat was dry, but it will be a few more days before the paint is cured [want to know the difference between dry and cured? Fusion Mineral Paint has a great post all about it here].

This was such a straight forward project and thanks to the incredible finish with Fusion Paint, the completed look is so perfect. I was debating sanding the edges of the display case after applying the paint [to give a similar distressed look like our Coal Black dining room hutch], but I decided against it since the “wood” finish / stain was such a strange colour, it is what would come through. I think that shade needs to stay under 3 coats of paint.

DISCLOSURE - while this post is not sponsored, I did receive this paint free of charge from Fusion Mineral Paint in exchange for a blog post. I only work with brands that I like and of course, think you will too. Thank you for supporting the companies that support The Interior DIYer.

Fusion Mineral Paint Faux Marble Fireplace

This blog post is a Partnered Project.

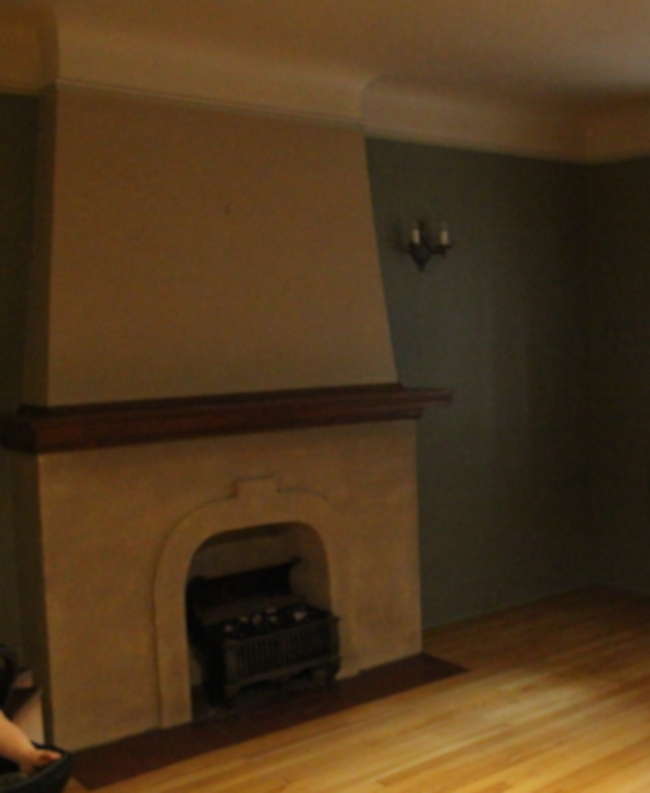
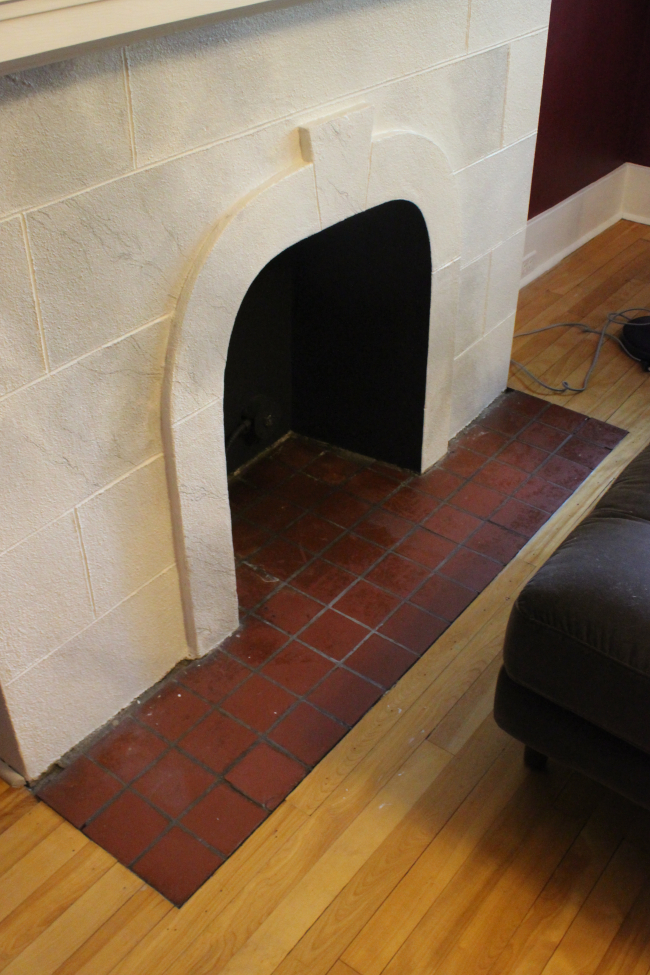
I don’t want to admit how long I’ve been working on updating our fireplace but it’s getting close to 2 years at this point. I painted the fireplace white when I painted our living room burgundy in November 2017. When we first moved in the walls in our living room were a blueish shade of grey, the picture rail was a second shade of grey, the fireplace was two shades of beige and the ceiling was a lighter shade of beige. It’s a horrible before photo below, but this is the best one I have …

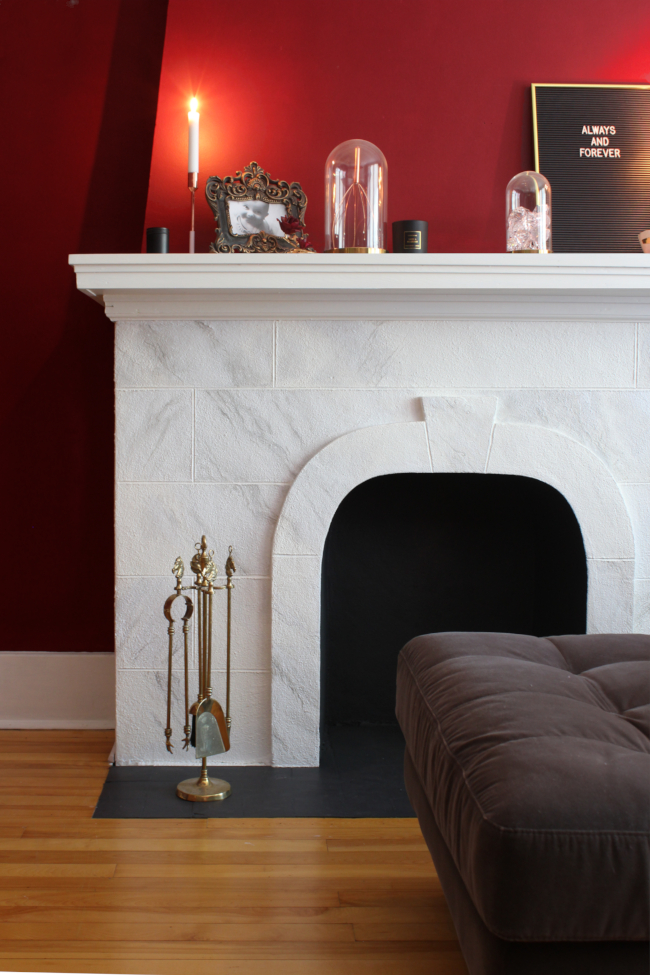
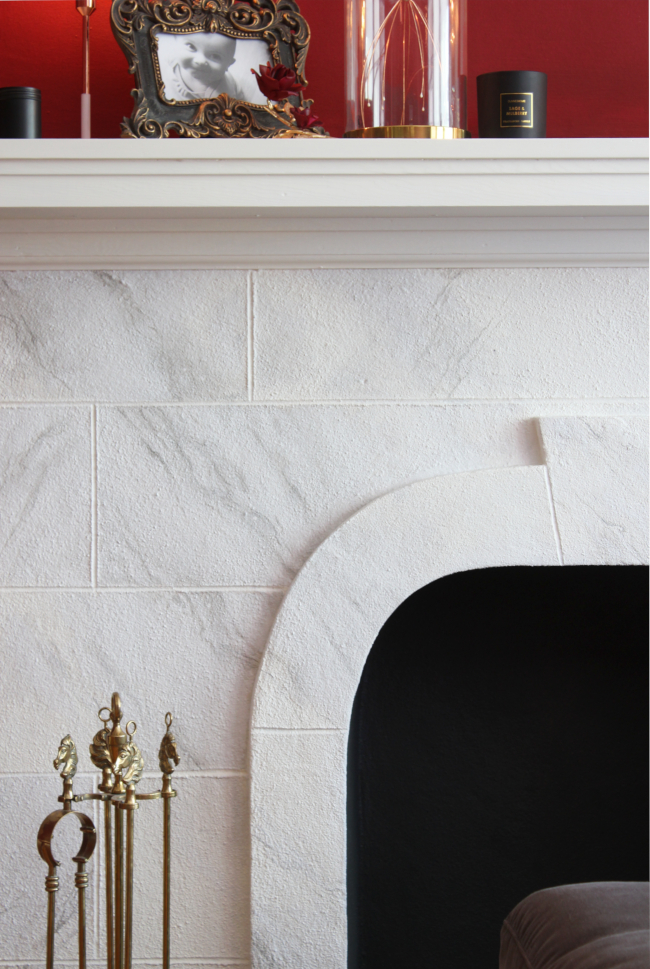
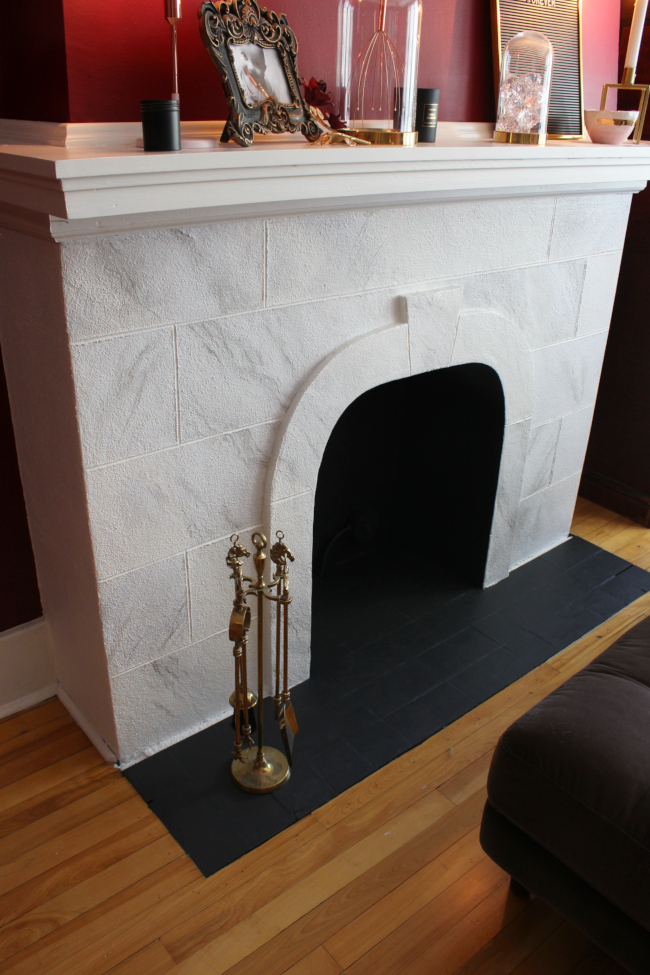
Considering the unusual shape of our fireplace, I thought the best way to highlight it would be to paint the fireplace and the mantle white against the rest of the burgundy walls. It was around the same time I painted our dining room hutch makeover in ‘Coal Black’ that I thought about painting the inside of the fireplace a dark colour. Along with Coal Black paint, Fusion Mineral Paint sent me their dark grey shade of Ash. It would be perfect for the inside of the fireplace as it was beautifully dark without being straight up black. Fusion Mineral Paint also sent the sweet shade Little Lamb grey which I immediately knew would be perfect in faux marbleizing the fireplace.

For a long time I didn’t know exactly how I should paint it so I got stuck [anyone else get stuck thinking for so long that they get more and more overwhelmed by a project?]. For about 6 months our fireplace sat half-painted, until only recently when I finished marbleizing the fireplace [overwhelming work schedule + a toddler transitioning into a threenager], but I’m really happy with how it turned out!

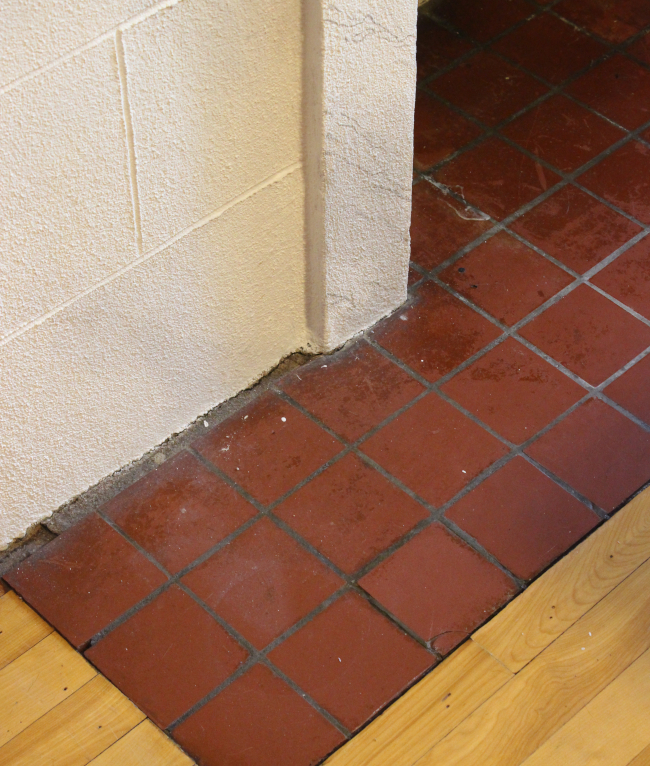
A very last minute decision I made that really brought the fireplace together was to paint the tiles in the same Ash paint as the inside of the fireplace. Fusion Mineral Paint adhere’s perfectly to tiles, especially in this situation as it’s not a high-traffic area. The tiles weren’t in great condition to begin with and weren’t historic to the property, so I took a chance and painted them. It really pulled the fireplace together and made it look like a complete unit. I think so at least!

It was quite a surprisingly easy process faux-marbleizing our fireplace with Fusion Mineral Paint. Despite it being quite a bumpy surface, I think it still looks relatively convincing. At the very least, it looks better than it did before. I also took some step-by-step photos of the process and I’m hoping to be able to put together a tutorial for exactly how I did it. There are a lot of photos and I figured it would be overwhelming to have them all in one blog post.

I’m hoping to share a tutorial in the coming weeks about exactly how I faux marbled our Fusion Mineral Paint fireplace. A huge thank you again to Fusion Mineral Paint for partnering with me on another makeover project and for sincerely having such incredible and versatile paint.

DISCLOSURE – while this post is not sponsored, I did receive this paint free of charge from Fusion Mineral Paint in exchange for a blog post. I only work with brands that I like and of course, think you will too. Thank you for supporting the companies that support The Interior DIYer.