Edible ornaments – revisited

Last week I hinted towards an upcoming Christmas feature [which will be out on Sunday!], so I decorated our apartment for Christmas a week early. I repainted our living room [again], fought with the Christmas tree and put it up, decorated for the season and as is now tradition, I made this years’ batch of edible ornaments, just in time for the photo shoot … 

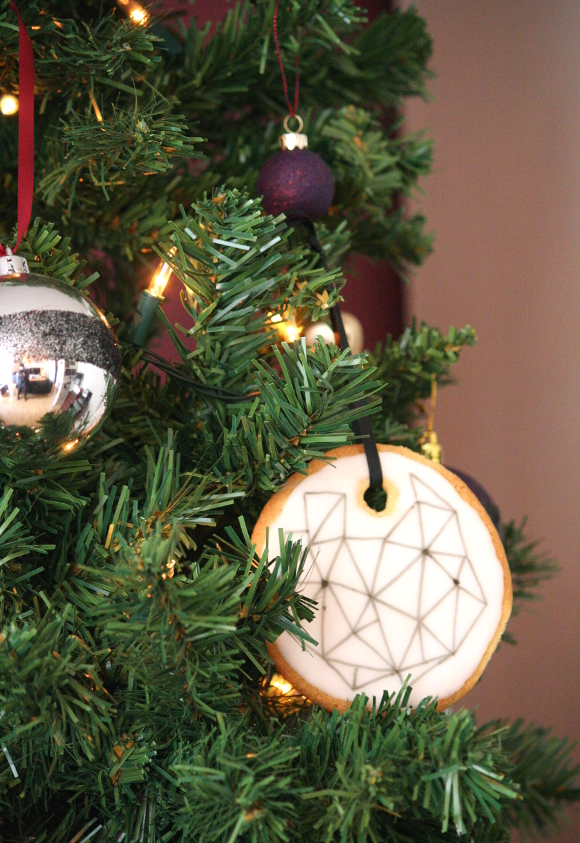
This year I made our edible ornaments a bit simpler. I used a tumbler glass from our cupboard as a cookie-cutter to make all the cookies uniform and I cut the holes out of the raw dough with a plastic drinking straw.

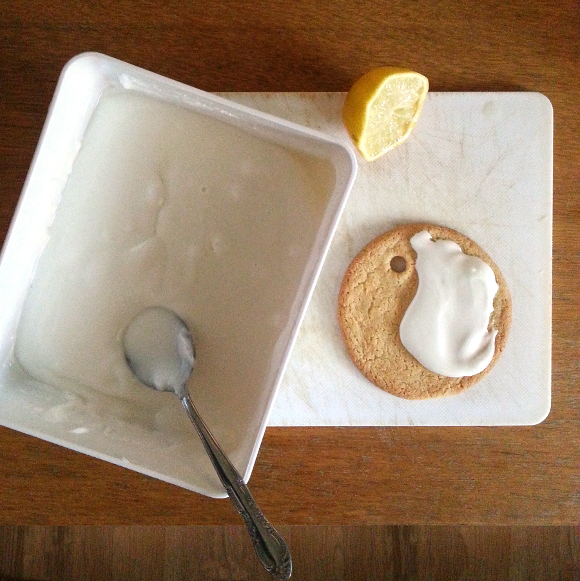
I baked the cookies, let them cool and added the lemon icing using the back of a spoon [full edible ornaments recipe and instructions here].

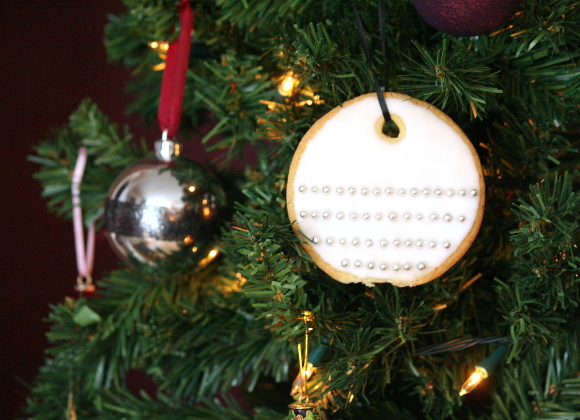
For some of the cookies, before the icing set I added edible silver cake decorations. To get them to in a straight line, I used the back of a knife to gently indent the icing and the silver decorations fell into place more easily. 

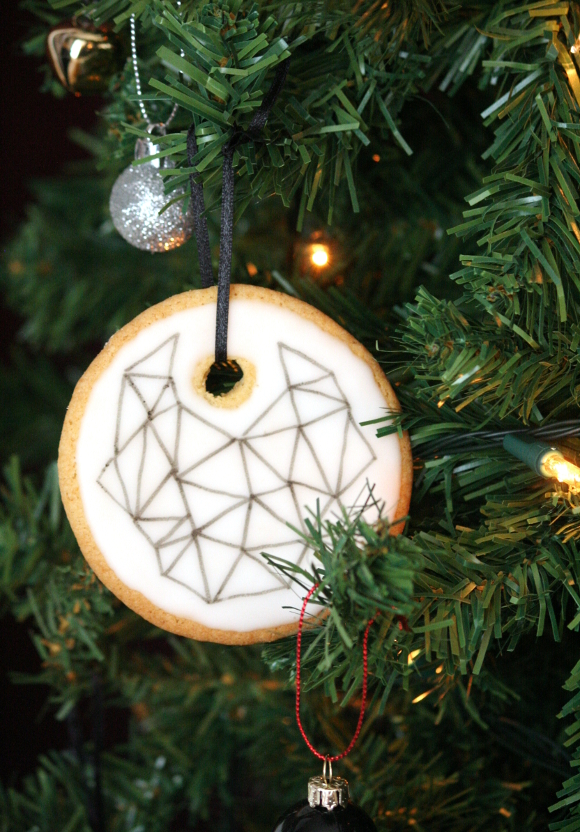
But for the majority of the cookies, I let them sit for 24 hours and allowed the icing to dry completely. In order to draw on your cookies with an edible marker, you must let the icing dry for at least 24 hours. As you can see in places on the cookie below, because the icing wasn’t completely set, when I drew on it the icing cracked and the marker bled [dark spots].

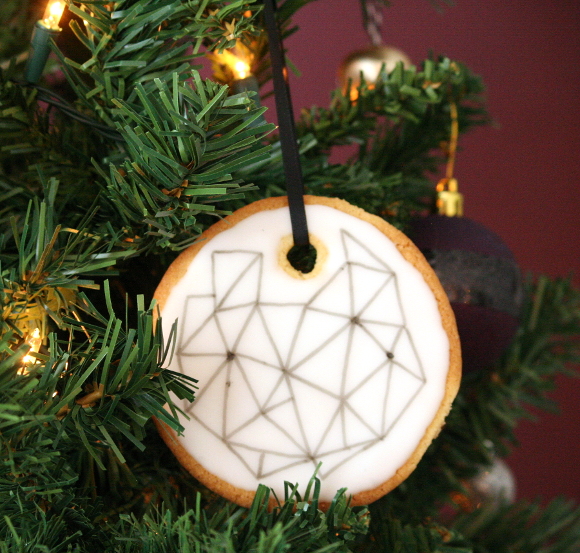
This year I made our edible ornaments a bit more on trend. Completely by accident. I initially wanted to draw constellations on them, but I mucked up the first one so I kept drawing triangles and it turned into a neat looking geometric design. Which just so happens to be very trendy this year. And by drawing without a plan like this, there is a very small margin for error and you can’t go wrong. 

This could be a great Christmas project for kids of all ages and will keep them entertained for maybe 15 minutes. I can’t promise anything. But the best part of these ornaments is eating them straight off the tree. For example, our Christmas tree is within arms reach from my desk. I just devoured one. OM NOM NOM. 

I’ll be sharing my sneaky Christmas feature on Sunday, so keep your eyes peeled. I can’t wait! Happy Friday, homies. And best of luck with your decorating xx A

Master bedroom makeover – the plans

Our bedroom is in need of a face-lift. It’s long overdue at this point and I find the best way to get a job done quickly these days is to shame myself on the internet by posting gratuitous pictures online of said sad project. 

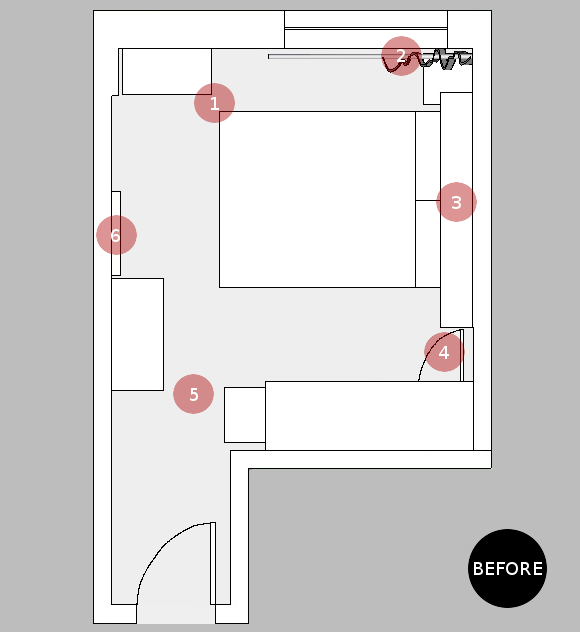
I should say our room isn’t that bad, it’s just been patiently waiting its turn. I’m on a roll these days since updating our bathroom [which was far worse], so our bedroom is next in line. Here is a rough plan of the room to give you an idea of how our room is laid out … 

And here is what’s wrong with it – 

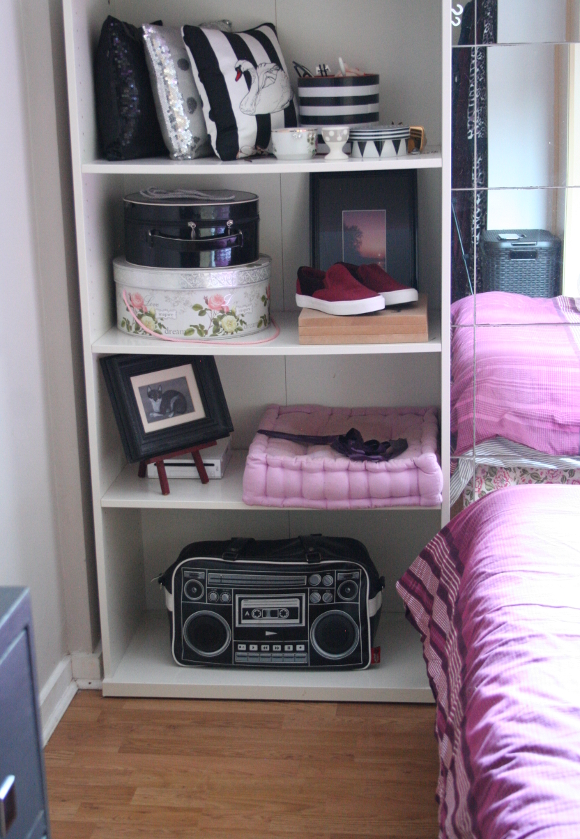
1. The shelving unit is way too close to the bed so I have to basically jump over the bed to get onto my side of it. 
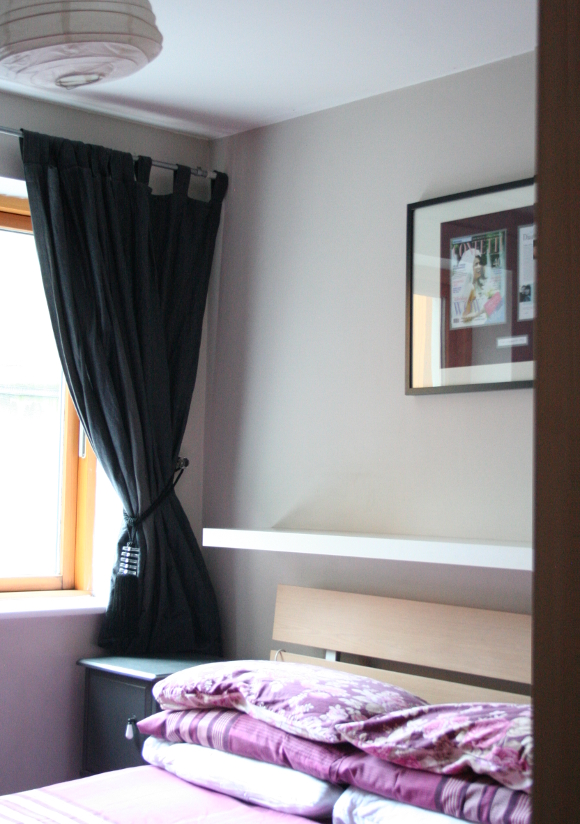
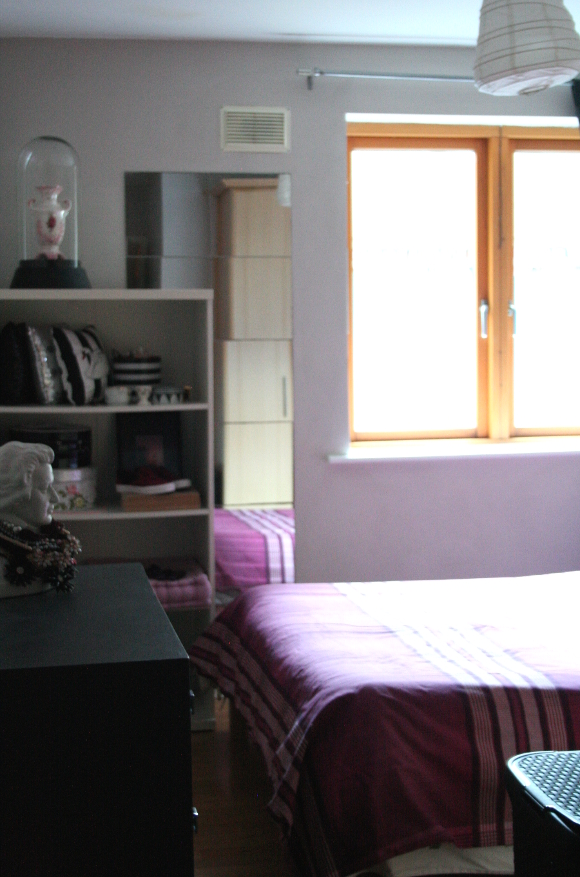
2. Our bedroom gets next to no natural light and it’s damp. I’m hoping to move the heater underneath the window to nip this in the bud. Also, the curtains are old as hell and serve no purpose. 
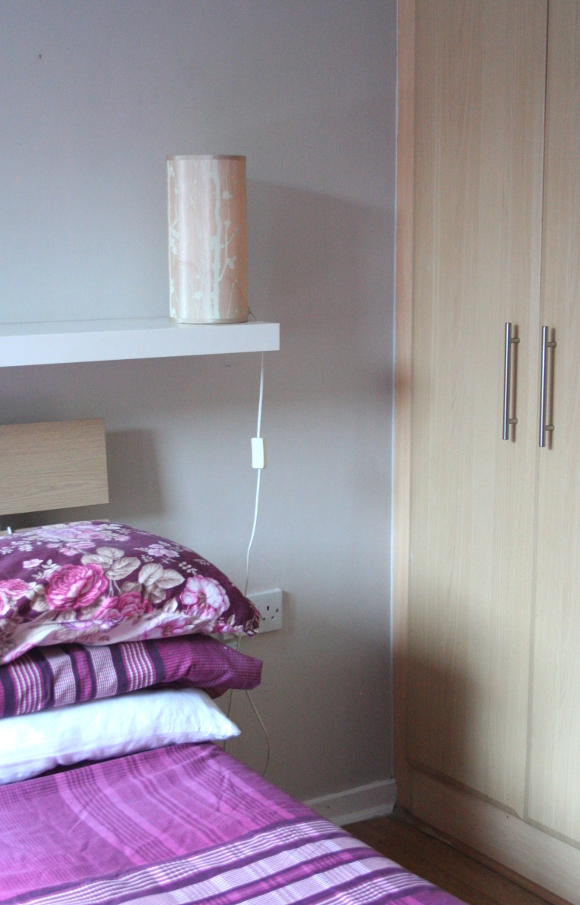
3. The shelf over our bed is at such an awkwardly low angle that we can’t sit up and read in bed. I should state that we did not install the shelf here. 
4. Because of the placement of the bed so close to the cupboard door, husband can’t have a bedside table. So we have only one. 
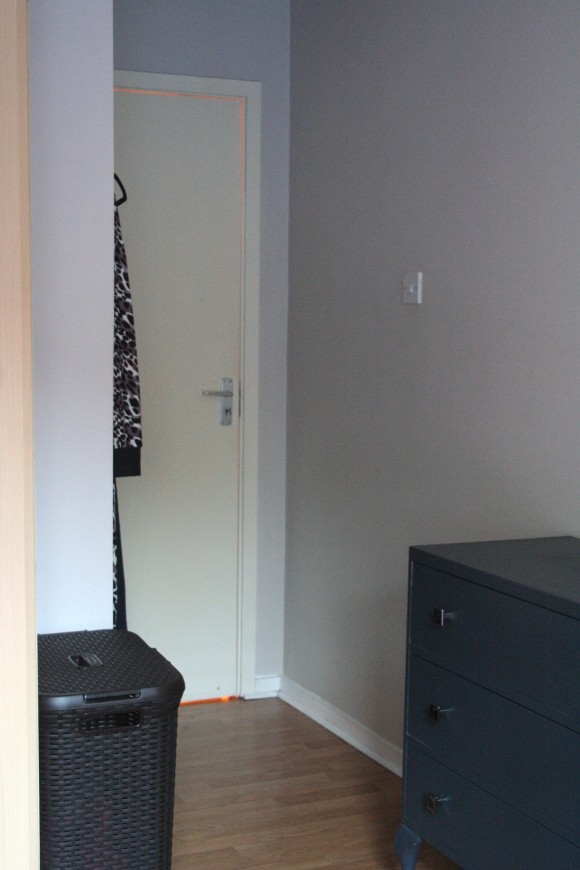
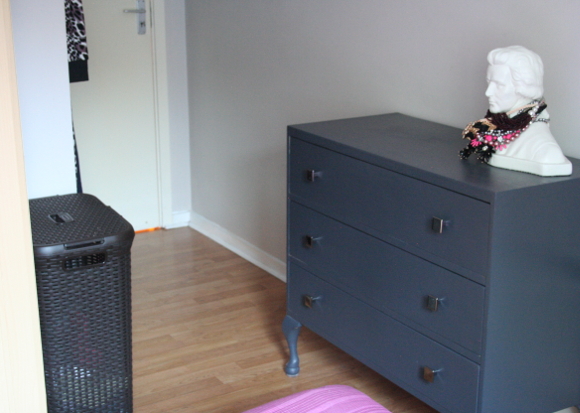
5. Our grey dresser is necessary, but at the moment we can’t put it anywhere else than here. It and the laundry basket are cramping my style. 
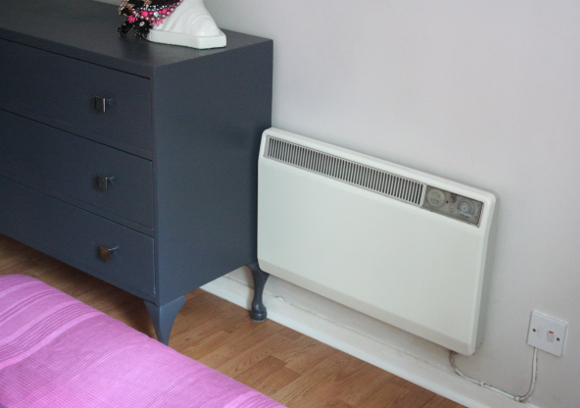
6. The cause of most of the chaos in our room – the heater. I’d like to meet whoever decided to put the heater here, and I’d like to wrap it around their face. It makes no sense being here. It’s going under the window. 

To get your head around it, here are some before pictures I took of our bedroom a couple of months ago … 

Ugh, YELLOW DOOR.

I know. It’s hard to look directly at because the romance levels are so high right now. But if you can believe it, I’m hoping to make it even more romantic. If that’s possible. 

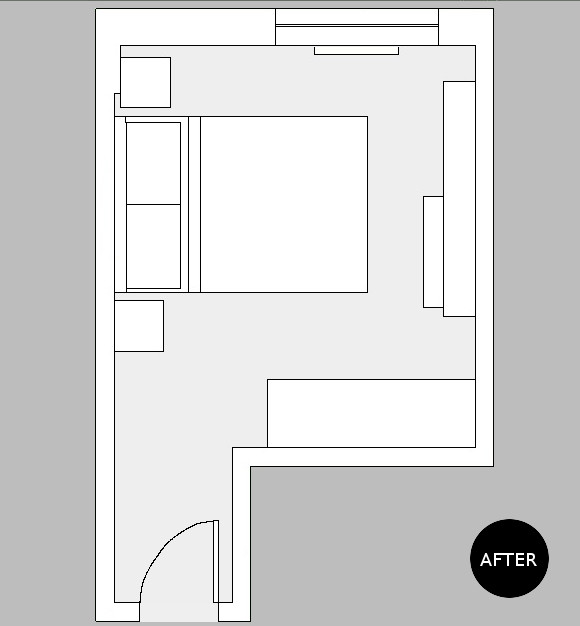
And here’s my proposed layout …

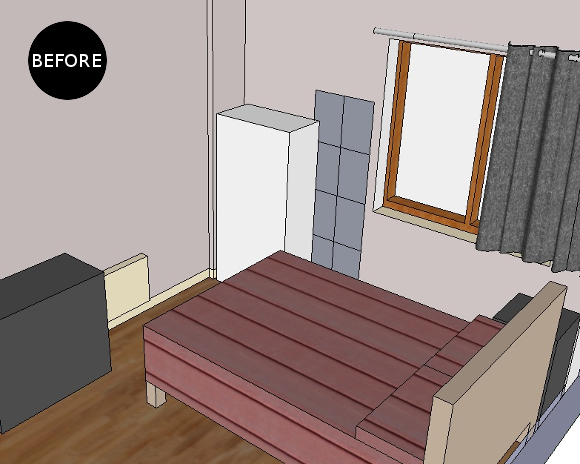
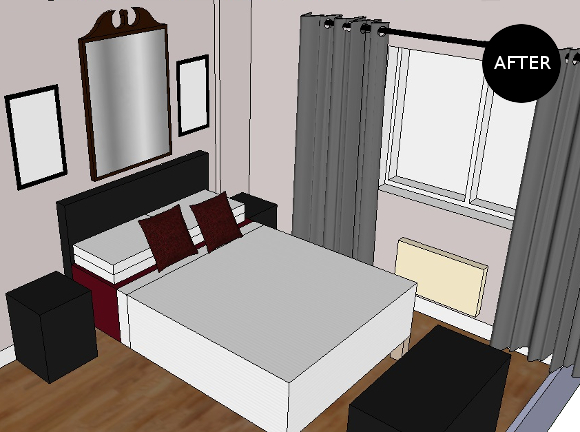
I’m resorting to my Google SketchUp skills here to give you a better idea of the before and afters that I’m aiming for … 

To get me from before to after, I’ll need to –  

Repaint the trim, window sill and door WHITE.
Replace the curtain and curtain rod [with curtains not necessarily this long]
Move the heater to under the window, where it makes sense.
– Move the bed to the other side of the room.
– Make a cover to cover the current wooden headboard.  
Find two matching bedside tables. Preferably upcycle a pair
– Hang up our new-ish mahogany mirror
– Add some artwork or pictures or something to the walls.
Get new bed linen
– Repaint our dresser to match potential bedside tables. 
– Put the laundry basket somewhere else where I can’t see it, and run the risk that husband looses the ability to put his laundry directly into it. 
Our room may of course vary from the image above, but I find Google SketchUp a great way to get my head around a space without having to physically ruin an afternoon by doing it in real life, and then finding out it won’t work. 
The only disadvantage to moving the bed to the other side of the room is that we’ll loose use of the electrical sockets that are under the white shelf. But I’m willing to invest in an extension cord. What is it Spock says? The needs of the many outweight the needs of the few

Sneak peek – new living room hue

When do you consider too early for Christmas decorations? I have a couple of exciting things lined up next week, one of which will require me to prematurely decorate for Christmas for a photo shoot [eeeek!] and I’m wondering if I should keep our decorations up for the season, or do it all over again in a couple of weeks? I know. First world problem.  

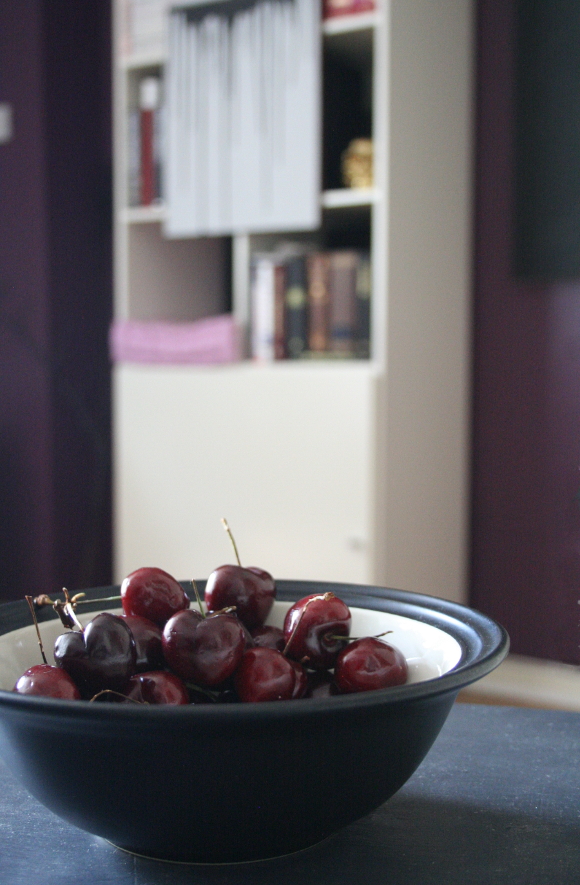
One thing I can give you a sneak peek of is our new living room hue. I’ve wanted to paint the wall behind our shelves a bold colour for a while so on Wednesday night I bit the bullet and bought some dark berry paint. However, the paint has a ‘silk’ effect so it’s shinier than I’d like and I can’t help but stink-eye it. I’ll be repainting it in the next couple of days [in time for a festive little feature! Eeep!] and once I’m happier with it I’ll take some better pictures. 

From rainy and pissy Dublin, I hope you have a happy Friday, homies, and enjoy the weekend ahead xx A