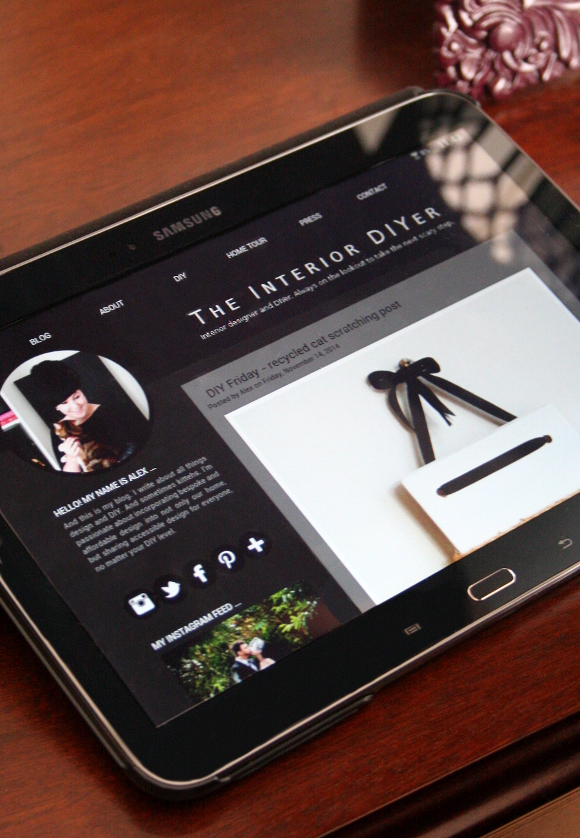
Hydrangea Girl has changed to The Interior DIYer!

I shared on Facebook over the weekend that I’ve wanted to change the name of my blog, Hydrangea Girl, for some time. It all began back when the lovely Maria and I attended Blogtacular earlier this year and one of the speakers asked, “does the name of your blog describe what you do?” and crap. No, it doesn’t. Like, at all. Maria and I both turned to each other and nearly cried. 

Over 4 years ago when I first created my blog under the name ‘Hydrangea Girl’, it wasn’t anything other than a ridiculous blog I wrote that my mom occasionally read maybe twice a month. I didn’t expect anything to actually happen here. 

In more recent months, I’ve been doing a lot of reading and taking e-courses about how to make more out of your blog; in a bid to make what I do a bit more legit. So for me, the most obvious and first step was to rebrand / upcycle my blog. And here is my thought process, in case you’re curious … 
Hydrangea Girl has absolutely nothing to do with interior design or DIY. No arguing there. 
– The amount of people arriving at my site looking for gardening tips was worrying.
– On the rare occasion that anyone would ask me in person what my blog was called, I was too embarrassed to say Hydrangea Girl.
– I’m almost 30, so I can’t really get away with Girl anymore. As much as I’d like it to, Photoshop does not work in real life. 
– I couldn’t get a consistent handle on all my social media sites. It was messy. For example, on Twitter I was @HydrangeaGirI – ending in a capital ‘i’, because the original was already taken. On Instagram I was alex_hydrangeagirl. And for someone who likes order and for things to match, this was chaos. I was one step away from foaming at the mouth. 
And most importantly of all … 

– If I’m to take myself seriously and approach companies and people for work, how are they going to take me seriously under the name Hydrangea Girl, when I can’t even say it out loud. 

And that’s when I got serious and eventually brain-stormed The Interior DIYer. It marries the two things I’m most passionate about, is pretty self explanatory, might boost my SEO, and [to me] it’s a bit of a play on the words ‘interior designer’. 
There was a tough 5 hours yesterday when husband and I were working on changing the URL and I was close to tears and we nearly lost everything. But don’t worry, it was nothing a couple of G&T’s couldn’t fix. I’m still working on some final tweaking, so please excuse my site over the next while if it looks a bit hairy. 

Thank you guys for all your support, and I hope you like the new name. It’s still me 🙂 xx A

DIY Friday – recycled cat scratching post

Roughly this time last year I spotted this pin from Design*Sponge on Pinterest and I knew I had to recreate it in our home. Their pin was all about their stylish cat scratching post tutorial which showed you how to make a pretty cat scratching post to hang on your wall. 
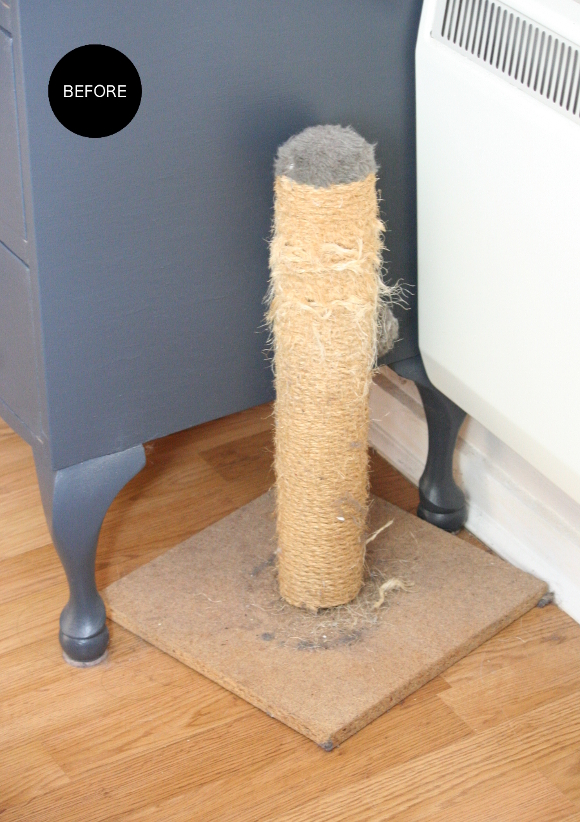
I thought of that pin every time I saw our current haggard cat scratching post. Just look at it, cowering behind the dresser in our bedroom … 

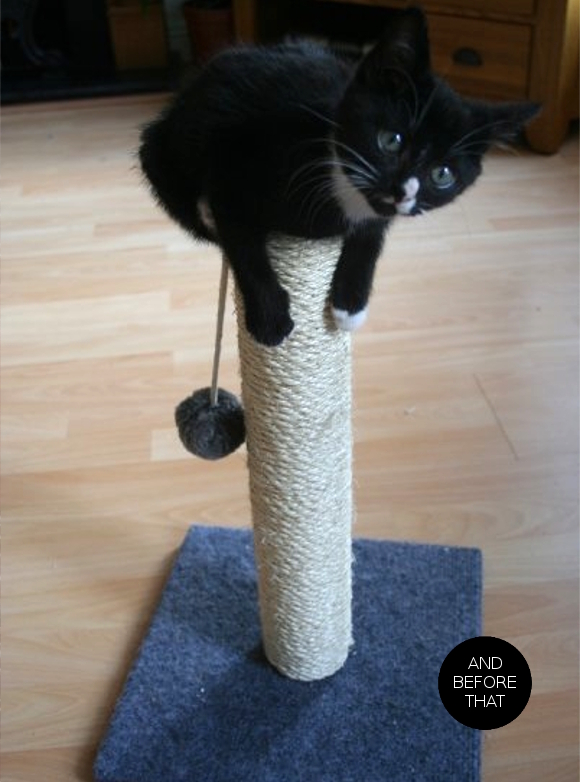
I bought this scratching post close to 7 years ago when Toshi was a kitten. And if you’re curious + I want to share a picture of how painfully cute Toshi was as a kitten, whether you like it or not, here’s what our cat scratching post looked like way back then …

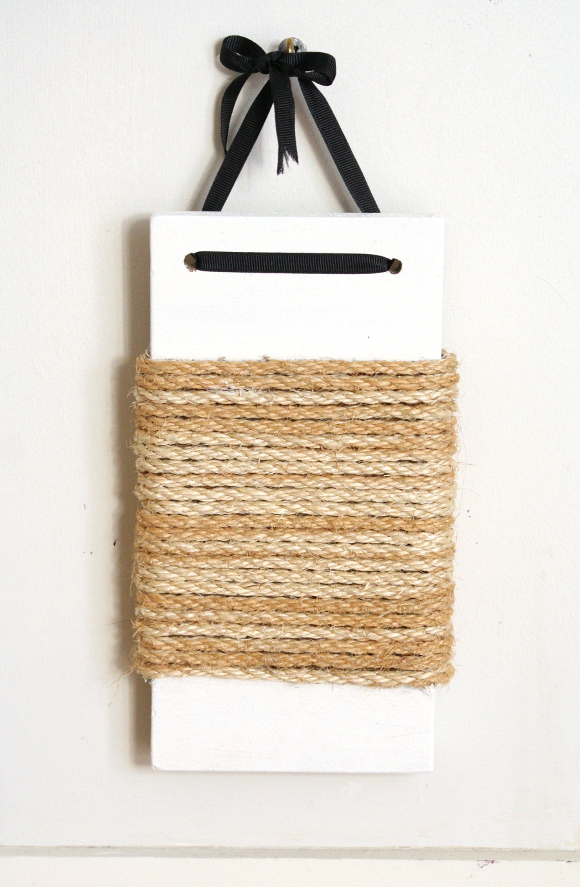
Squee! Our scratching post hasn’t aged very well thanks to two sharp cats, but that’s what it’s supposed to do, right? I kept remembering Design*Sponge’s tutorial and thanks to my recent nearly new wood challenge, I thought hey – I could just recycle our scratching post by reusing all its pieces in a new way! And so I did. And here’s how I did it … 

What you’ll need – an old cat scratching post, a saw and a drill, a staple gun, a screwdriver [for removing staples, if needs be], paint and some ribbon, but these aren’t necessary. You could leave the board au naturale and use extra twine at the top in stead. 

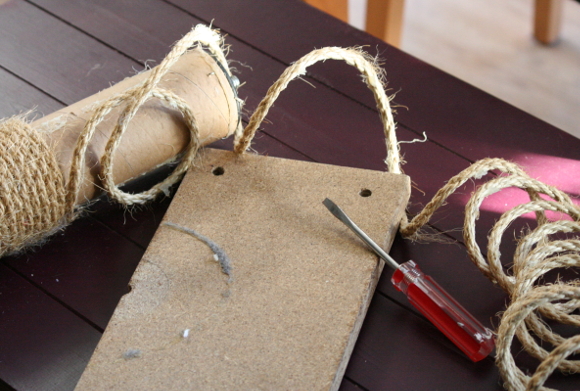
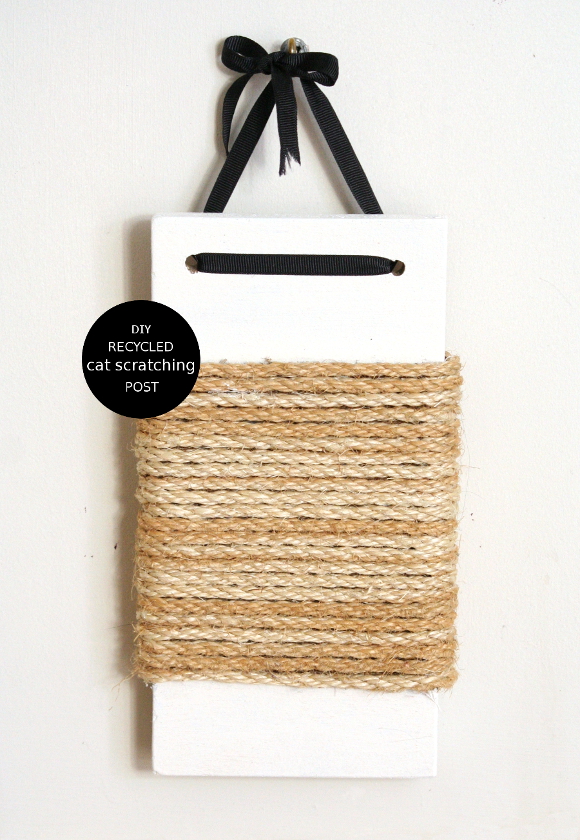
Method – I unscrewed the original scratching post from its base, enlisted in some DIY-expert-dad help and asked him to saw the base in half then drill two holes in the top; in order to hang it up [thanks again, dad!]. I unravelled the twine from the original scratching post and added it directly to the ‘new’ base.

TIP: if you want to paint the base, do that now. I only decided to paint it at the very end, and it would have been easier if I painted it at this point. 

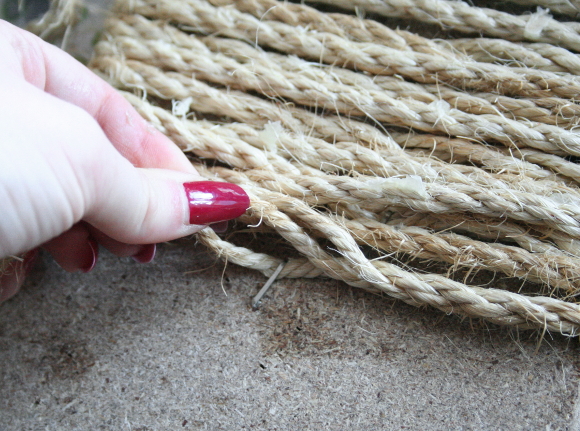
I stapled the twine on the back of the board and started winding it around. Every second row I un-twisted the twine and stapled it to the back of the board [as seen above], to ensure the rope was extra secure. After all, there were going to be two cats picking at it. 

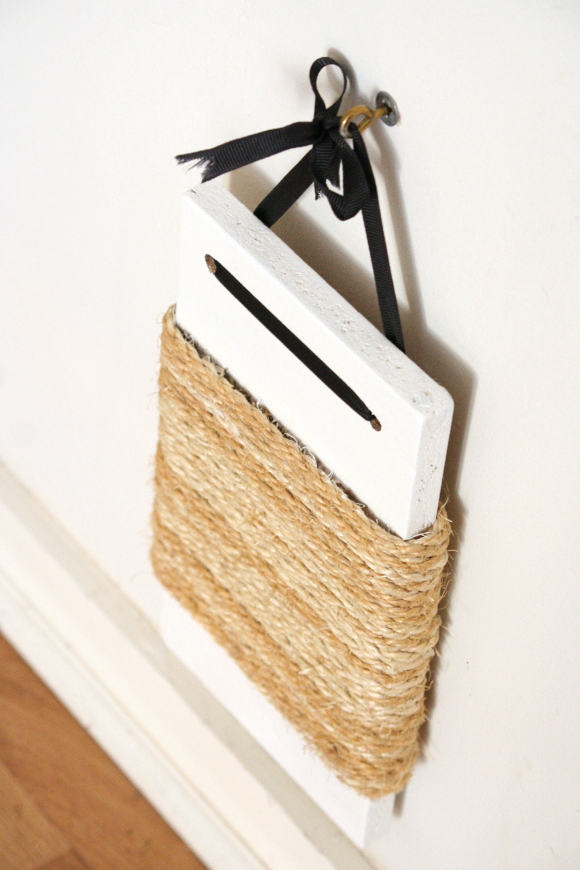
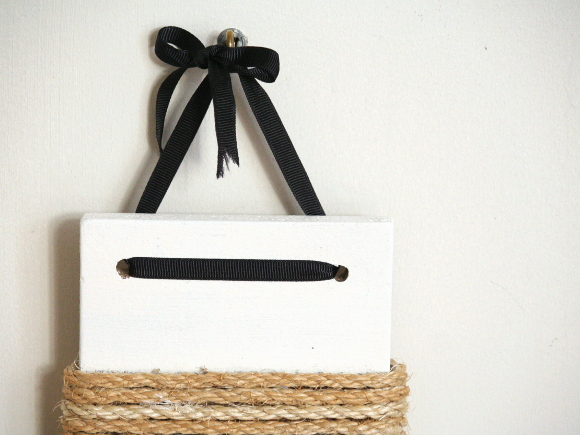
I wound the twine around until I was happy with the amount, and then stapled the twine a couple of times at the back to finish it off. I threaded a spare piece of black ribbon through the two holes and tied it tightly in a knot, then made it pretty by tying it into a bow.

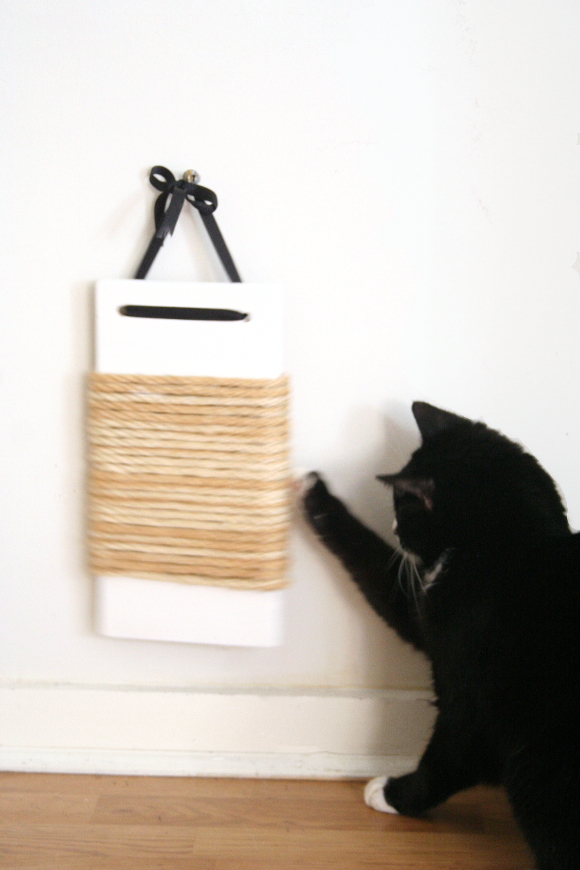
Since there would be two cats hanging out of the new scratching post, I needed something tough that would hold up so I used a wall anchor. I measured the previous height of the scratching post and the height that our cats prefer to scratch at, and hung the new scratching post at this height. I threaded the ribbon through an eye hook and wound the eye hook into the wall anchor. Snug as a bug. 

So if you have an old eye-sore of a cat scratching post and want to have something a bit more chic for your feline friends, fear not for you already have the materials at hand.

And there you have it! I just hung up the new scratching post the other day and I have yet to see either Juniper or Toshi properly use it. Just yet. I had to trick Toshi to get that picture of her playing with it, but I know you won’t tell anyone. Us Bloggers are just a bunch of liars. 

 xx A

Mahogany mirror

This week we inherited a behemoth mirror. My parents moved homes a couple of months ago and since they don’t have as much space in their new home, they asked us if we would mind storing their mirror in our place. Well I mean, if we really have to. Insert heart-eye emoji here. 
I’m in the process of revamping the design in our bedroom. It’s a sad room, which is why you won’t see many photos of it here. I’m slowly chipping away at it and next week I’ll be sharing some before photos and ideas of what I’d like to do with the space. Including our new loaned mahogany mirror. It’s a very cold room both physically and visually [cold natural light], so I’m hoping to add lots of layers of warmth to cheer it up and make it more inviting. I think a bit of mahogany will do the trick …