New project – entertainment room makeover

A few weeks ago VELUX contacted me about collaborating on a blog post. Like with any posts I work on with a company, I wait to see if a project will arise for me to include them in something I’m working on. A few weeks passed and our patience paid off when Camilla, a long time reader, got in contact with me about updating her entertainment room. And would you believe, she had two VELUX skylights that were a key part of the brief. Perfect!

I visited Camilla’s house two weeks ago to talk with her and her fiance Wayne about what they were looking for. They weren’t looking to undergo a huge change; a few updates to turn the current bright space into a cosy entertainment room. Both Wayne and Camilla are homebodies, so it’s a room that will get a lot of use. They’ve ordered a projector for the room, but in order to be able to use it, they need to install blackout blinds to their two existing VELUX skylights [which is a pretty vital part of the design, and segues nicely into our collaboration!]. 

In keeping with darkening the entertainment room, they were considering going dark with the design and I actually managed to convince them to go nearly-black on the walls [like in our bedroom]. I assured them that with the right accessories and accent pieces, a dark room won’t seem as overwhelming as they may think. It’s a room that gets a lot of sun during the day thanks to the skylights, but with the press of a button, the room can be transformed into a cosy Netflix snug thanks to electronic blackout blinds.

We talked about their design likes and dislikes, textures and finishes they preferred, and even about the more abstract things they like. I went away, compiled an entertainment room mock-up with lots of dark green, wood and hints of dusty pink and [to my very nervous surprise] they loved what I came back with …

Products clockwise from top [then spiraling inward] …
– Blackout blinds from VELUX
– 1830 Rue Chapal nearly-black paint from Fleetwood
– 4 seater VIMLE sofa from IKEA
– Green vintage rug – still on the hunt for one!
– Seno mid century sideboard from Article
– Bonsai tree from IKEA
– Rose gold and dusty pink candle sticks from Article

Both Camilla and Wayne like unexpected twists in design [a couple after my own heart], so after sneakily learning about their favourite movies and TV series, I found some Labyrinth and Rick and Morty themed parody prints that at first glance give a strong level of sophistication to the room. They like mid-century modern, natural and nature inspired fabrics and finishes, as well as a hint of gold. It’ll be a few weeks before we can start updating the room and ordering products, but once the work does start, I don’t see it taking long to finish. I particularly can’t wait to live vicariously through their purchasing the likes of that green couch. Anybody? No? Just me? I’m fine with that. 

DISCLOSURE – this is a sponsored blog post from VELUX. As always, all words and opinions are my own. I only work with companies I like and of course, think that you will too. Thank you for supporting the companies that support The Interior DIYer. 

Renting tips – how to store your landlord’s stuff

If you’ve ever rented in Dublin [or Ireland], chances are, you moved into a furnished apartment or house. This will sound strange if you live somewhere where apartments and houses come unfurnished as standard, but here in Ireland, when you move into an apartment you acquire a lot more than just a lease. An apartment can come with furniture, accessories, knick-knacks, and depending on your landlord, a spectrum of interesting things.

Our current apartment came with a lot, most of which we found we wouldn’t need. Knowing what to do with our landlord’s things took some planning, so I figured if I had this problem, there might be other people out there in the same situation. There were things like vases, framed prints, photographs, pottery sets, curtains, objet d’ art and kitchen accessories that either weren’t to our taste or we didn’t need, so I carefully packed them away for storing. As the years went on, there were larger things we didn’t need either [a shelving unit and a double bed], so I spent some time planning how to store it all. Our apartment has very limited storage, so I looked to the unused areas of our home to store our landlord’s stuff …
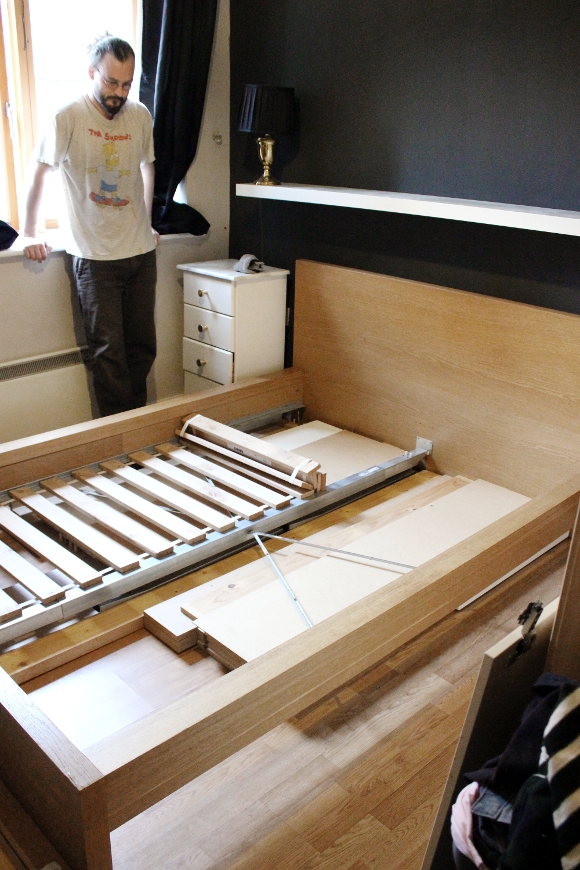
The larger pieces like the double bed that was in Cora’s room before it became a nursery and the unused middle shelving unit in our living room were both disassembled and carefully placed under our bed. It was the perfect space to store both disassembled pieces. 

TIP! If you don’t have instructions for a piece of furniture, photograph each step as you disassemble it so later when you reassemble the piece, you can look back at your photos and can be put it back together in the right order. 

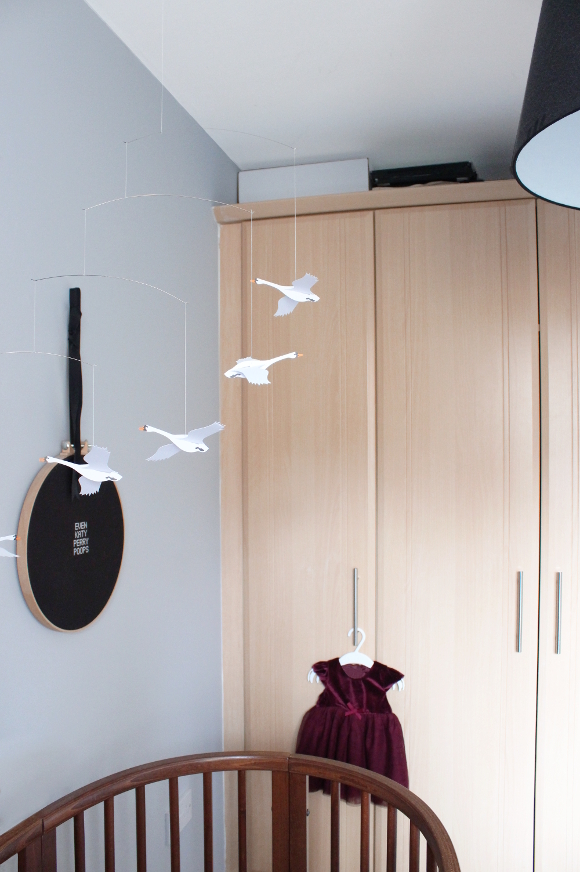
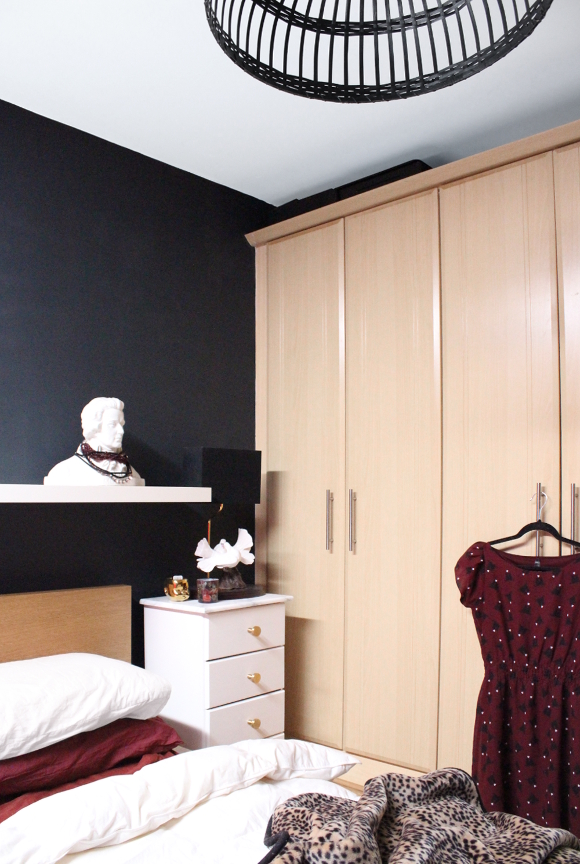
The top of the wardrobes in our bedroom and in Cora’s nursery took a lot of secret storage. It’s only when you stand at the far side of each room and look directly at them that you can see there’s stuff up there. I managed to hide quite a lot above each cupboard. There’s everything from pots and pans to mirrors carefully wrapped in newspaper to a samurai sword.

TIP! Make a list of what is in each box so if you need to find something quickly, you know exactly where it is.

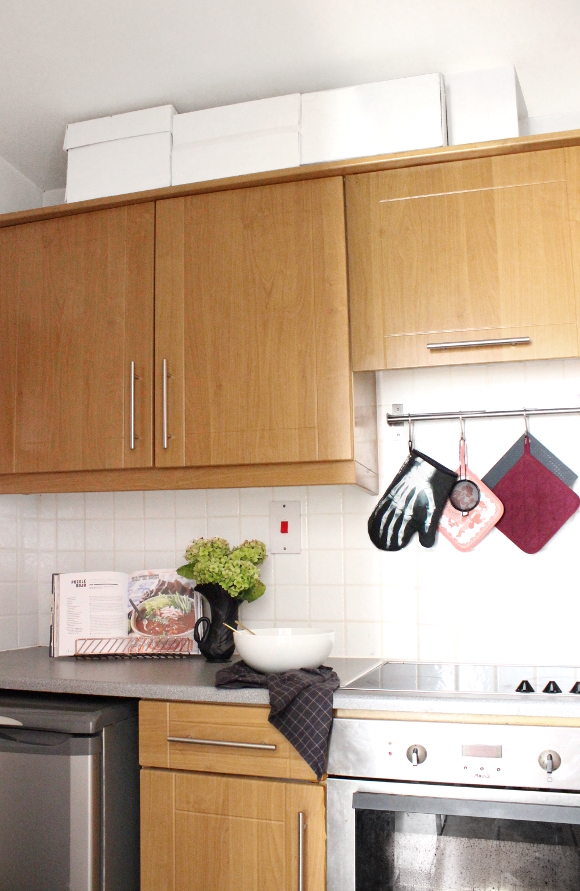
Above the cabinets in the kitchen was another great place to store things. I took empty printer paper boxes, painted them white [this was during my nesting period], and was able to carefully store quite a lot. The boxes seem pretty obvious in these pictures, but our kitchen is very small [and DARK and impossible to photograph], so from the living room you don’t see these boxes as there’s a wall between the kitchen and living room, except for the door opening.

This has been another one of those blog posts where I’ve thought, people are going to think I’ve lost my mind because this is boring as hell, but I always find if I have a problem like this, there are other people too with it. Knowing what to do with your landlord’s extra stuff can be overwhelming, but all it takes is planning and a bit of creativity!

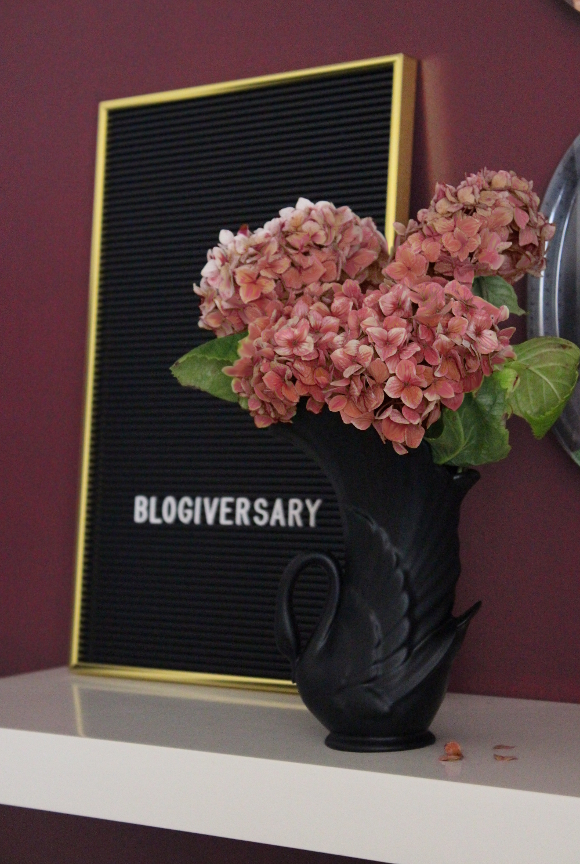
7 Year Blogiversary

We’ve been so busy over the last few weeks that I completely forgot my 7 year blogiversary. I’ll be honest and say that it doesn’t feel as big of a deal this year [since I’m being kept very busy by our baby boss], but it still is an important date for me. So many projects an opportunities arose thanks to my blog, and I’ve met so many amazing people through it. It’s weird to think where I would be now and how different things would be if I hadn’t sat down that afternoon and decided to start a blog.

Last year I didn’t write about my blogiversary because I was heavily pregnant, and thanks to illegal levels of hormones, I didn’t have the energy or want to write about it. This year though, even though I’m late writing about it, I still remembered. And more importantly, I’ll be celebrating with our own little Hydrangea Girl this time around.
Thank you for reading over the past weeks, months or years. Even if it’s just been every once in a while.