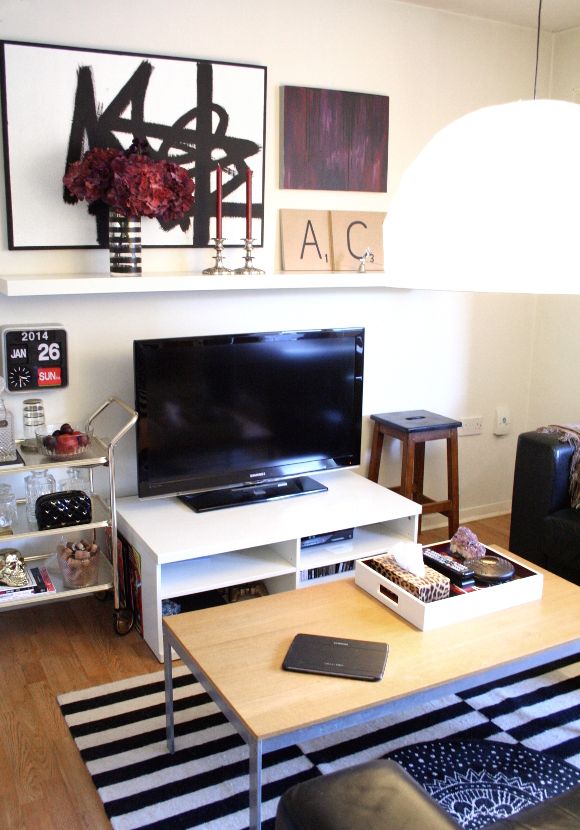
DIY Friday – chalkboard clipboard

Before I dive into today’s DIY, I want to thank you guys for your words and support regarding Wednesday’s post. I stare at my blog every day, so sometimes I need a kick in the hole to remember how much I have managed to achieve here. At the same time, I’m attempting to step out of my comfort zone and start contacting people about projects. I’m happy at the rate I’m going, but I want to kick it all up a notch. I’d love to get into doing upcycling for reals, one piece at a time. And now I’m rambling. Onto the DIY! 


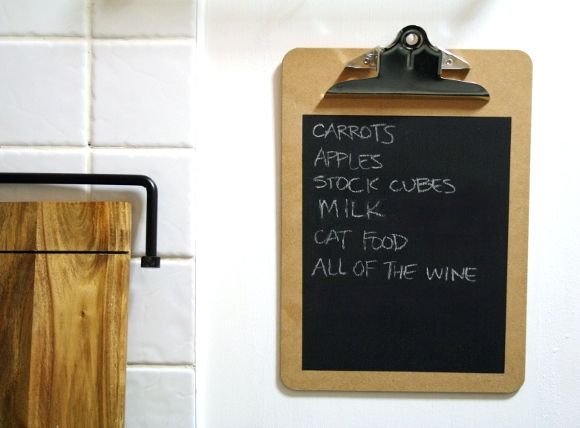
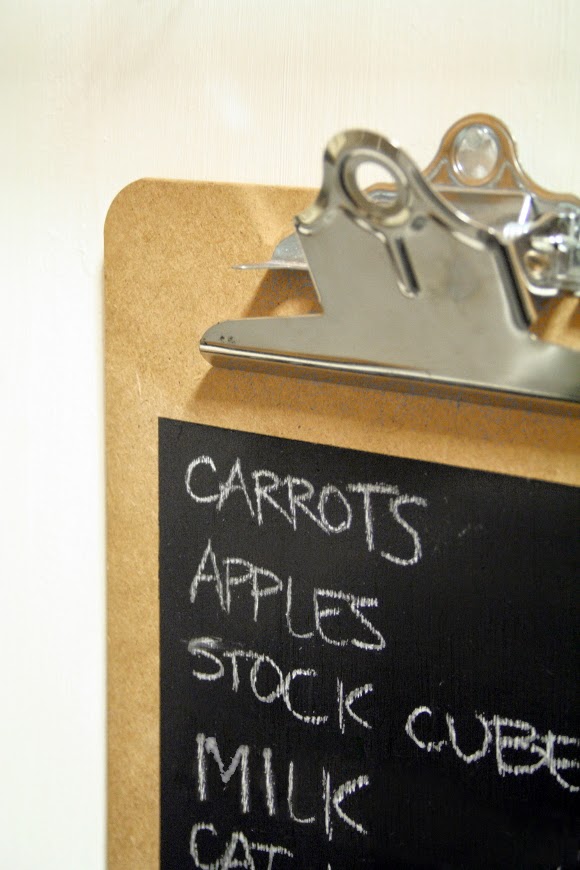
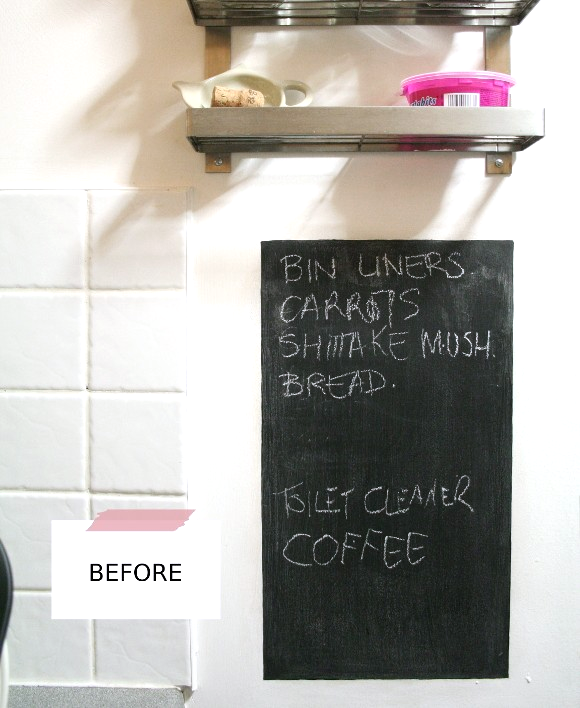
In June of last year I painted a blackboard shopping list in our kitchen. It was great, served its purpose well, and we get tons of use out of it but I always looked at it and thought it could do with being pimped out just a bit. I had a light bulb moment when I happened to bring my clipboard into the kitchen one day, and thought the marriage of the two would be a perfect focal point in our kitchen. And I will say, a painfully simple DIY … 

I took the above ‘before’ picture yesterday morning before work. It was only when I began editing the photos I realized I hadn’t erased what was on the chalkboard. Great. Toilet cleaner. Don’t panic, you can edit that out on Photoshop. But then I thought no, keep it real. Yes, we need toilet cleaner. If I edit it out, I might forget to get it when we go shopping. Maybe you need to get toilet cleaner this week too? Okay, enough about toilets. Onto the DIY.

What you’ll need – a clipboard, some masking tape, a paint brush, some blackboard paint, a hammer and a nail.

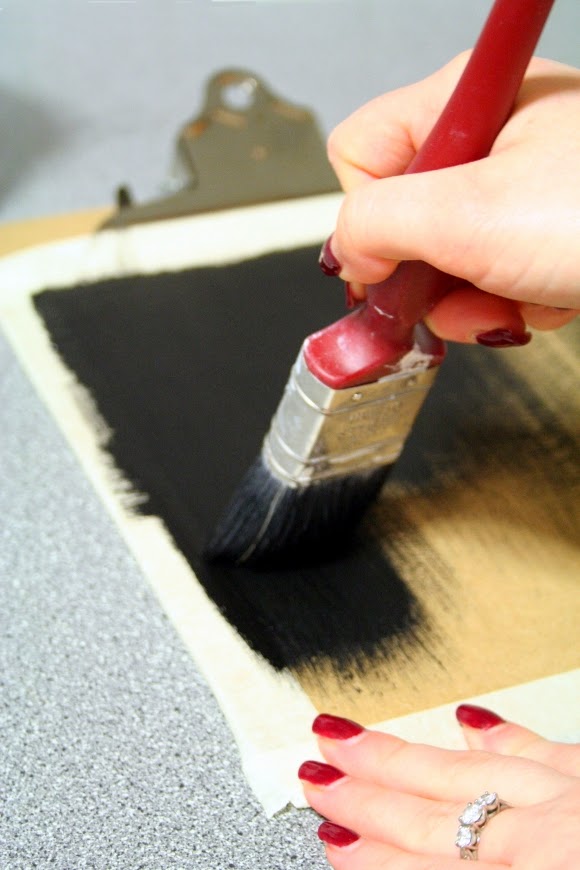
Step 1 – using some masking tape, mark the border for the area you’d like to paint on your clipboard. You can of course throw caution to the wind and paint the whole thing if you’d like. Step 2 – paint that baby good. I applied two light coats of chalkboard paint. Step 3 – before the paint dries, peel off the masking tape. Step 4 – set it aside and allow it to dry, then hang that baby up wherever you like.

Voila, c’est fini! And that is my super simple DIY this week. For the week that it is, I hope you have a safe and eventful St. Patrick’s Day weekend! Monday is a national holiday here in Ireland, and I tell you, I cannot wait to sleep in 3 days in a row. xx A

Upcycle for Oxfam

I’m tore-up-from-the-floor up excited to finally share my Upcycle for Oxfam project with you guys! Yes, it’s not technically upcycling, but ‘upcycling’ along side ‘Oxfam’ had such a nice ring to it.

As I hinted at the end of January, I was asked by Oxfam Ireland to partake in their Heroes campaign; to celebrate the women in our lives through various mediums, and help raise funds for heroic women around the world living in poverty. 

Oxfam approached me to revamp a piece of second-hand furniture for their Heroes campaign and at the end of March, the revamped piece would go for auction. Um, WOAH. I of course said yes and I couldn’t wait to get on board. Soon I was in my element in second-hand heaven at Oxfam Home, where I came across these lonely bedside tables and I immediately knew I could give them a new lease of life. So much potential, and I loved their shape. 

Right, so what am I going to do with them? Good question. Well they should be feminine since they’re for the Heroes campaign. Unfortunately, my first thought was “they would look absolute perfection in high gloss black with modern hardware” I had to quickly remind myself this is a project for Oxfam, not for me. It has to be something that would appeal to other people, not just me. It took me about a week, but I came up with a light, modern and chic {at least I hope so} design proposal and sent it Oxfam’s way …

And luckily, they loved it! I didn’t waste any time and dove straight in that evening after work. Here are the steps I took to redecorate them …

Step 1 – I first removed the doors and hardware from both bedside tables, sanded them thoroughly, and cleaned them of all remaining dust and debris with a damp rag. Step 2 – I primed both bedside tables. After the primer dried overnight, I applied my first coat of Dulux Easycare Satinwood paint, followed by a second coat the following day. 

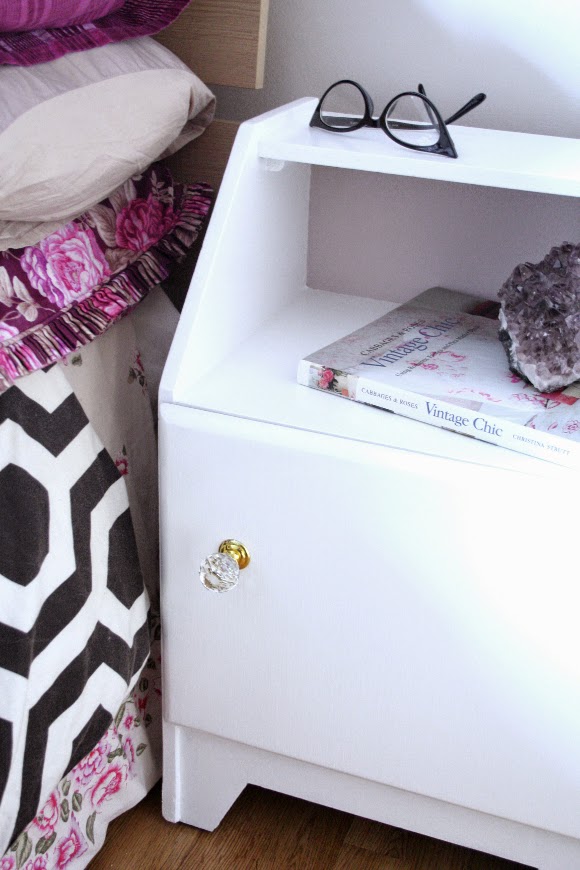
Step 3 – I painted the interior and back panel of the bedside tables in Ashbury Easycare pink from Dulux. I used 2 sample pots which cost about €3 altogether, in stead of buying a tin. I should say the pink paint is a lot pinker in real life. You can thank the overcast Irish weather for my muddled photos, but you get the basic idea. Step 4 – after two layers of pink paint, I started working on the decoupage. I bought some Annie Sloan decoupage glue / varnish from Rua, who were immensely helpful and suggested I check out The Graphics Fairy for pretty vintage images. I chose my favourite floral images and printed them out {in work – shhhh}. I cut out each flower and using the decoupage glue, I added each flower to the base of the bedside tables and added a thin layer of decoupage glue to seal them. In total I added 5 coats of the decoupage glue – this sounds excessive, but it really blended the edge of the paper into the base. It doesn’t take long for each coat to dry so it was done in no time. 

Step 5 – last but not least, I added new hardware onto the bedside tables. The previous hardware was incredibly rusted. It was tough to open the doors, and once they were open, it was near impossible to close them again, so I replaced everything. Since both of the doors opened in the same direction {see ‘before’ picture above}, I added one of the doors to open in the opposite direction to suit the left side of the bed, to make them a perfect pair. 

And there you have it! I’m quite sad to see these bedside tables go as I gave them my all, but at the same time I’m so very chuffed I could contribute some of my DIY and redecorating skillz to such a worthy cause. This project really made me aware of how much I adore transforming stuff, and it’s something I’d really like to get into. The cogs are turning.

To find out more details and ways to celebrate the heroic women in your life, check out the Oxfam website. What lady in your life is your hero? Your sister, mom, aunt or daughter? My hero is my mom. You name it, we’ve been through it over the years, and my mom has always put everyone else’s needs before hers. She’s so incredibly selfless and doesn’t have a bad bone in her body. Mom, you really are my hero. Oh god – who’s chopping onions at my desk?!

xx A
Raising the bar

On my way home from work two weeks ago, as I cycled into the underground car park, what did my peripheral vision see – only the lonliest of bar stools, dumped in a bin. My heart jumped. It was lovely, but clearly in need of some TLC. It was filthy and the seat was cracked in two. I took a quick photo {below}, and in one fowl swoop, stool came upstairs and I made him a cup of hot chocolate. 
Stool sat in the hallway that Friday night and on Saturday morning, I woke up nice and early to clean it. However, in the light of day, I saw just how truly filthy it was; the stool was black and very tacky to the touch – I assume from years of being in an old, greasy pub. Black. You see the picture above and don’t think much of it, but in no way could you see wood. I put on my rubber gloves and got to work. As I began to scrub, I was quite surprised to find under all that sticky blackness, some really lovely wood. I annihilated 2 brillo pads in the process, but 2 hours later, stool was spotless. I followed up by sanding it and scraping it with a pallet knife to give it a smooth finish. 

My next question was what to actually do with it – paint the legs? Paint the seat? Varnish or paint the whole thing? Gold? Black? White? I didn’t want to rush into a bad decision, so I let some ideas ferment. 

I really loved the shade of wood it was, so I decided to keep some of it natural. I wanted to paint one aspect of it, and since the seat was broken in two and needed to be repaired, it became obvious to paint the seat. “Don’t worry stool“, I whispered. “We all have a crack in our seat“. 

Inspiration struck one day when I was doing the dishes and in particular, cleaning the new cheese board my parents got husband for his birthday. I really liked its clean lines, natural wood finish and black handle. Hey, perfect combination! I’m always amazed when inspiration strikes, and what causes it. Sometimes it’s the silliest things that have almost no connection. 

Since my dad has a work bench, he kindly volunteered to glue the seat, clamp it for 24 hours as well as add two connector / mending plates to keep the seat together {as seen on the underside of the seat below}. I sanded it down until it was smooth and painted the seat with Shock Black spray paint from Montana.

Not a huge transformation, I know, but the pictures really don’t do justice to how lovely the wood is. At the moment it’s au naturale and doesn’t have a stain on it. I might add a stain at a later date. Nonetheless, it’s a lovely little addition to our living room. It might move, but I can’t be sure where to just yet. I’m not going to loose sleep over it though. 
Welcome home, little stool. xx A

UPDATE: you can check out bar stool’s new look here