Mini makeover – coffee table tray, round 3. No … 4

Me and coffee table tray have been through a lot these past years. Coffee table tray was originally au naturel. Wood-on-wood was too much meh for one table, so I first painted it light greyish blue. That changed quickly to all Winegum, but since we also had blackboard walls at the time it was all a bit dark, so I spray painted the tray all white
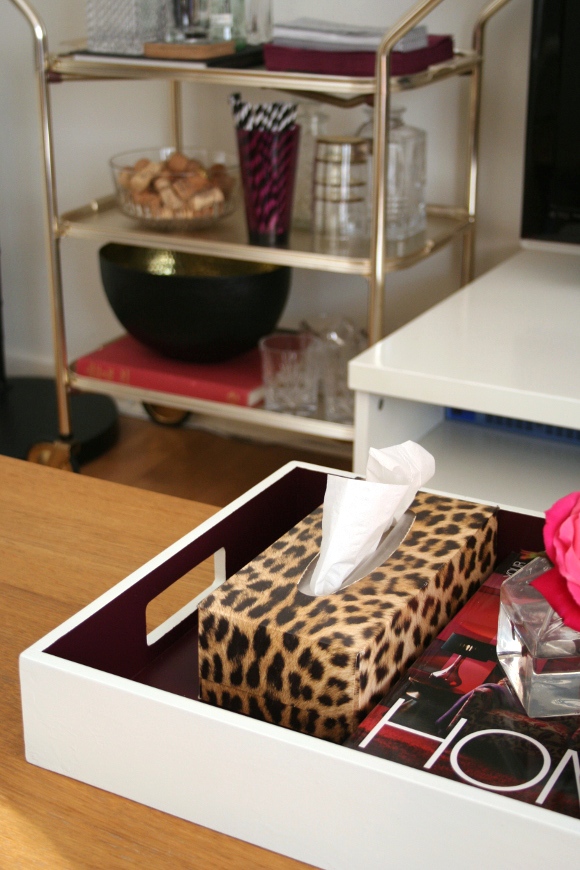
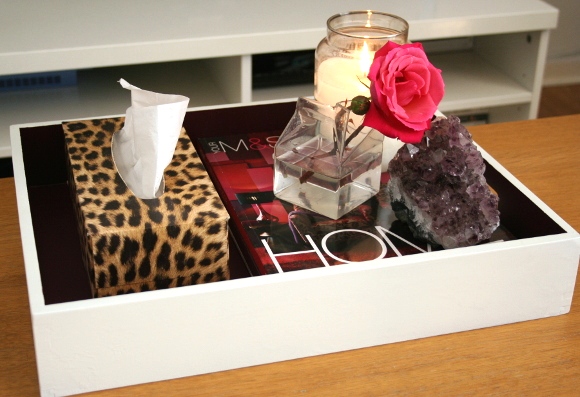
Coffee table tray served us well in white. It was cheery, but if I’m honest, boring as hell. I wanted Winegum back in my life, so this week I thought why not have the best of both? I added Winegum back into the mix, but just to the inside of the tray. And I must say, I think it looks well swank and sophisticated. I simply used masking tape along the top and handles then sprayed the inside. 

I’m quite happy with this combo so I don’t foresee me attacking poor coffee table tray again for a good while. So what about you guys – do you have a particular thing in your home you’re constantly changing? 
Before I forget, happy Saturday friends! It’s sunny here in Dublin which = BBQ and beverages. I hope your weekend is full of char-grilled delights and a tall glass of beer / wine / G&T / all of the above. xx A

Deceptive dust covers – revisited

This week I’ve been spending some quality time with an old DIY of mine; I had some books that I’ve been meaning to re-cover for ages, and there was no better time than the present to cover them. Especially when one has a head cold and is house bound. 
I first thought of this idea years ago for some of my favourite books which were a bit too colourful or unsightly for my liking, so I came up with a cheap, cheerful and crafty solution – deceptive dust covers. An oldie, but a goodie.

Below – you can see the new covers in action on some of the more colourful books in our ammunition, along with the ‘before’ pic for comparison … 

You of course don’t need to go dark with your dust covers – that’s just my preference. It would be just as easy to do the opposite and cheer up otherwise bland and dark books by using bright construction paper. I’m just partial to old looking books. 

I will be the first to admit my deceptive dust covers idea partly came about to temporarily suppress my dream to have a library full of old books when I grow up. The smell of rich mahogany, leather bound books, ladders, long hours reading on couches and twirling. Basically just becoming Belle from Beauty and the Beast. 

I had to finish with this picture of Toshi – there was a book laying open on the table, the windows were open and the wind was flipping the pages. She looked caught between terrified and amazed. Silly kitty. And of course, you can check out my full dust cover tutorial here if you’re curious. xx A

DIY Friday – seam wars

Friday you sexy beast, we meet again. And it couldn’t have come sooner as it means I can finally show you what I’ve been up to this week! 
But before I jump into today’s DIY, I will first say sewing is not my forte. My most sincere apologies in advance as I did not include progress pictures for today’s tutorial. I normally don’t sew beyond the basics of repairing clothes, but I managed to successfully sew up this little number for today’s DIY Friday, and it ended up being a fairly straight forward job. Which literally translates to – if I can do it, anyone can. 

It all started with a Star Wars t-shirt I saw it in H&M and had to have. More so for husband’s benefit than my own since he is the fan, and my eyes start to glaze over if someone talks about Star Wars for more than 4 minutes. Unfortunately, after one wash said t-shirt warped and is now too short in the torso for my liking {do not want muffin tops hanging out}. I didn’t have the heart to give it away, so I immediately thought of transforming it into a pillow {I’ve done something similar before with a skirt}. 

Luckily, I had a pillow insert that was the perfect size. Keeping the image centred, I drew the dimensions of the pillow. I cut it out including an additional inch border along all four sides. Since the t-shirt fabric was thin and a bit too stretchy, I used some fun, flowery fabric of my own as the pillow backing to give a bit of structure. I sewed the two pieces together and voilà! 

It was a pretty straight forward and I channelled my elementary school quilting techniques {drawing a line with a ruler, sew along said line}. And to further trick people into thinking it’s a real pillow, the t-shirt had its own little authenticated Star Wars label sewn in so I seam-ripped that baby out and incorporated it into the finishing pillow seam. Legit. 
Happy Friday, friends! I hope this week treated you well, and you have a totes awesome weekend lined up. xx A