Hallway tour + update

I’ve been in the process of overhaul updating our apartment. The biggest task to date was updating our hallway, and for the most part, it’s finished! Yay! But there are minor aspects of our hallway that are very much unfinished [light fixtures, artwork etc]. It’s still a work in progress, but the bones of the work are done.

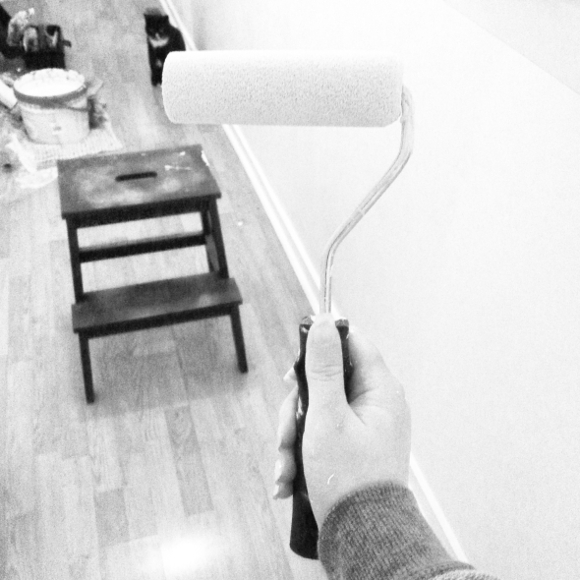
I’ve never shared detailed pictures of our hallway before because it was a hot, embarrassing mess of high gloss yellow paint for 4 years. Over the past few months I’ve sanded and repainted [95% of] the skirting boards and doors in our apartment, with the biggest impact being in our hallway. It’s definitely been a labour of love; slowly updating each door, room and detail at a time. 
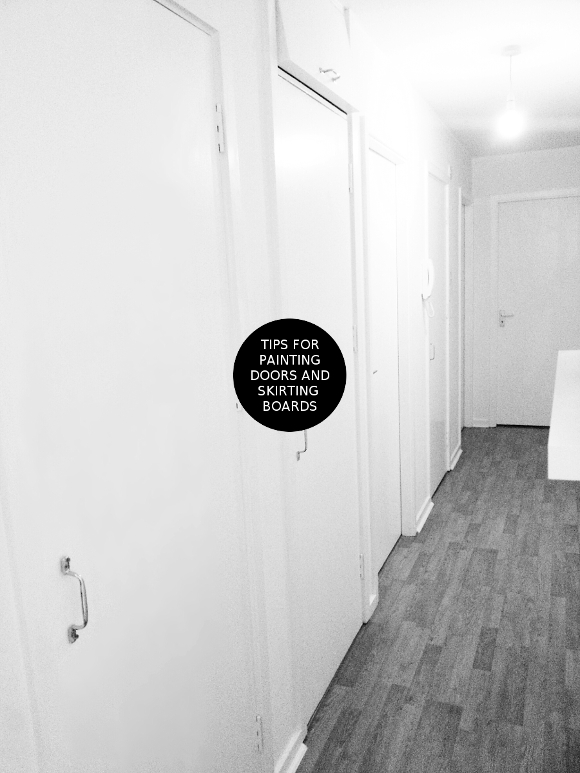
To start the tour, our hallway is a reversed ‘L’ shape with our front door located at the heel of the ‘L’. Here’s how it used to look and what I did to bring it up to date … 

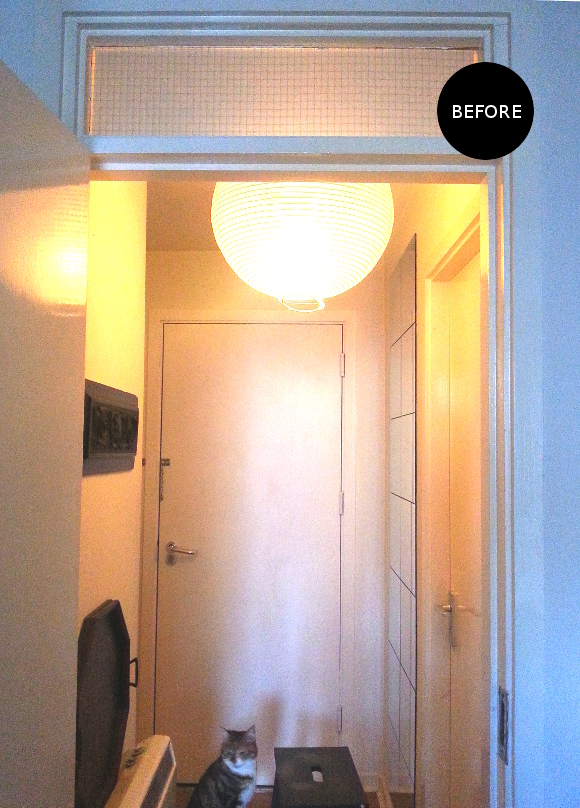
In the picture above, I had already painted the front door so you can’t see the glory that was how reflective and yellowed high gloss it was, but trust me, it was awful. 

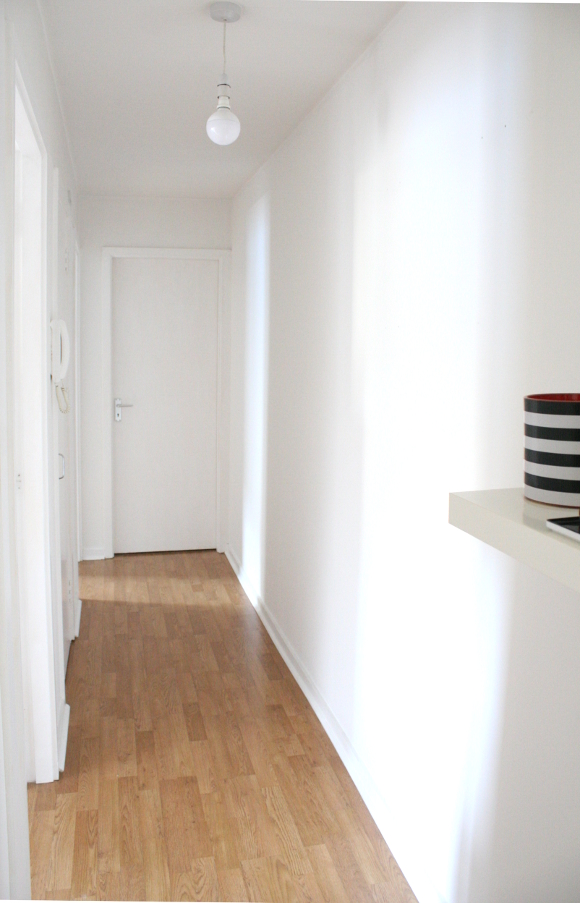
We were gifted some tattered collapsible paper lantern fixtures in the hallway from the previous tenants. I’m guilty of leaving those up until very recently. The combination of the warm hued bulbs and the lanterns yellowed the hallway even more. At the moment, I’d rather bare bulbs until I find something better. 

The transom window over the living room door had privacy paper stuck to both sides of it, rendering its purpose to provide natural light to the hallway almost completely obsolete. I got sick of it and removed it. The hallway side came off easily enough, but the living room side was a lot more work. It was brittle and was impossible to peel off so I marched to the fridge, grabbed the mayonnaise, brushed a healthy layer onto the window and left it for about a week. It was gross, but the high oil content in the mayonnaise softened the paper and I was able to peel it off. Lady-rage has its benefits. 

As you can see on the right side of the photo above, I still have one door left to paint – the kitchen door. We’ve actually never used this door as there’s another entrance to the kitchen from the living room. In fact, I have shelves against the door as our kitchen is teeny and we need the extra space. I’ll need to take the shelves down to repaint the door, so that will need to wait for a rainy day. And trust me when I say this door was the least yellow of the doors. 

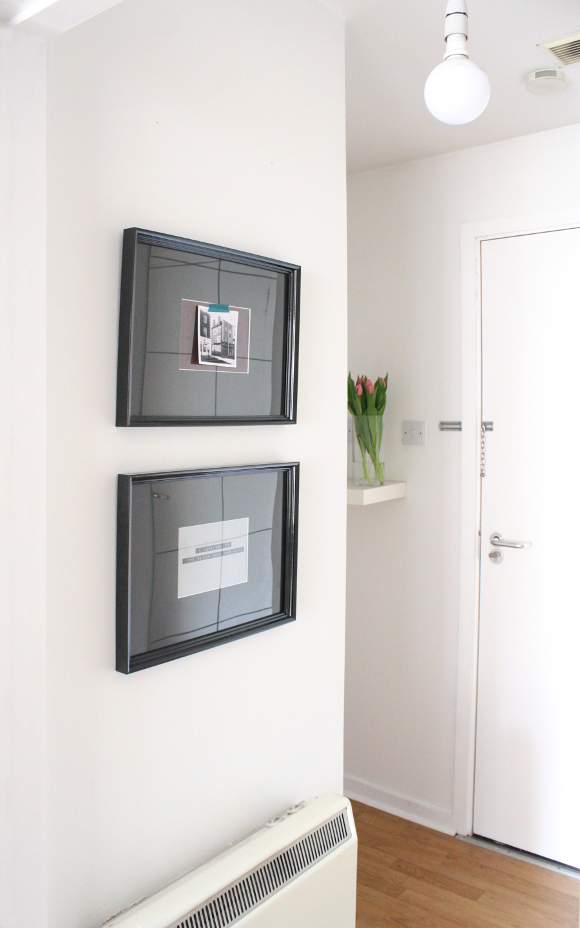
My efforts to de-IKEA our place has been pointless as of late, especially since I discovered IKEA’s new eketanga frames. And planera glasses while I’m at it. I just can’t not. I hung up two frames over the storage heater in the hallway and I’m quite happy with how well this little nook looks. 

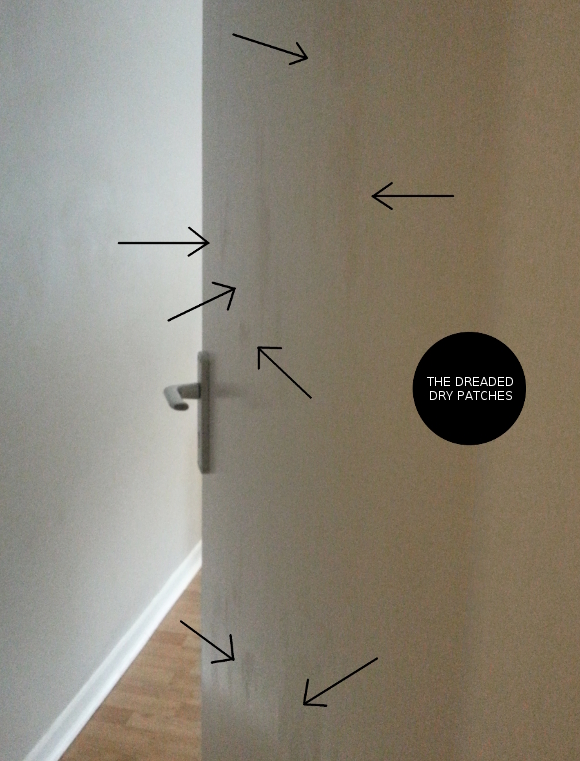
Oh I do like our front door before and after. It makes me feel all warm and fuzzy inside and makes all the hours of sanding worth it. I took all the hardware off of each door in our apartment while repainting it and gave it a good clean. And when a simple clean wasn’t enough, I had to sandpaper the old paint off. 
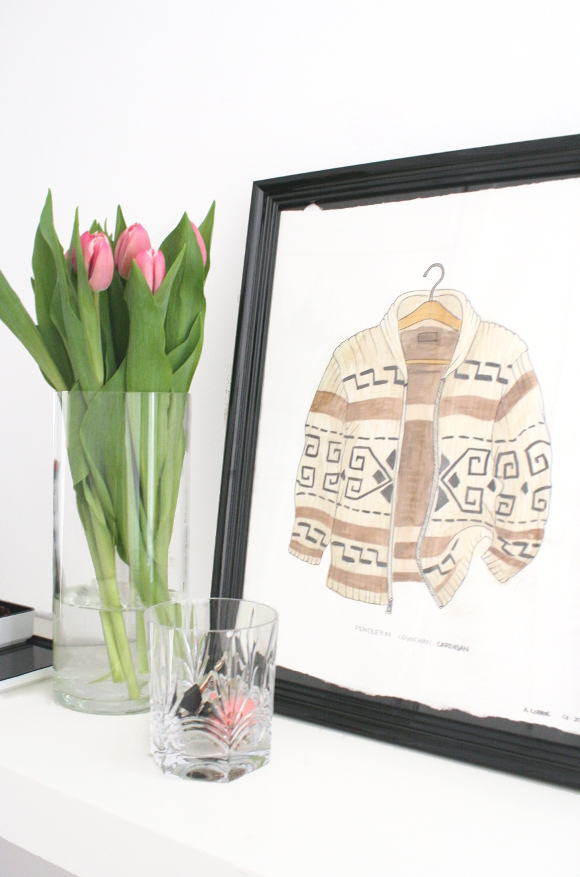
The Pendleton Cowichan [aka, The Dude’s] Cardigan I painted a couple of years ago is still going strong. It has also found home in an IKEA eketanga frame. It rests on the small floating shelf in our hallway, which is home to our change jar, a couple of trays for sunglasses and I thought it only too appropriate to use a tumbler glass to store our keys, taking pride of place within reach of The Dude’s cardigan.  

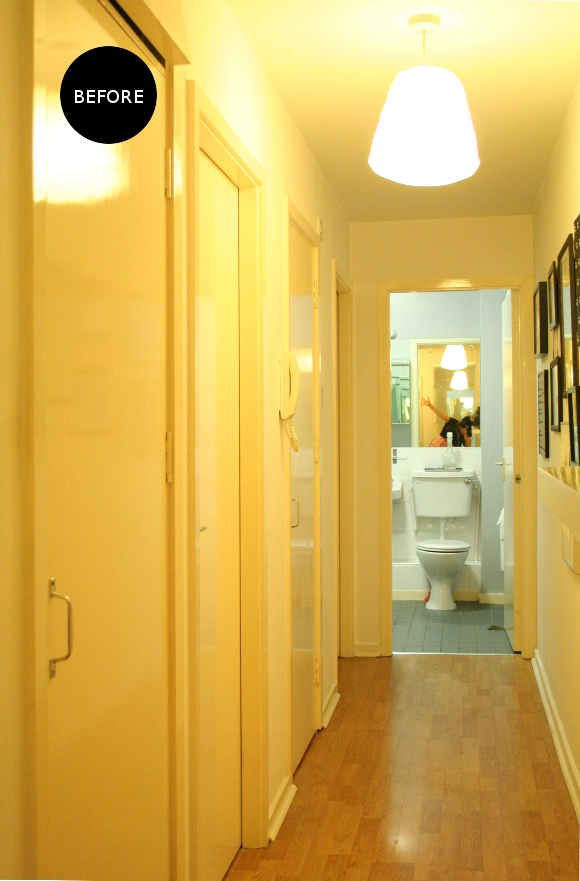
I took these before pictures in March of 2014, so it only took me a year to get my act together and tackle the hallway. C’est la vie. Here you can see just how delightfully glossy the hallway was. It was like having your very own distorted hall of mirrors, except on 9 doors. It was a bit overwhelming to say the least. 

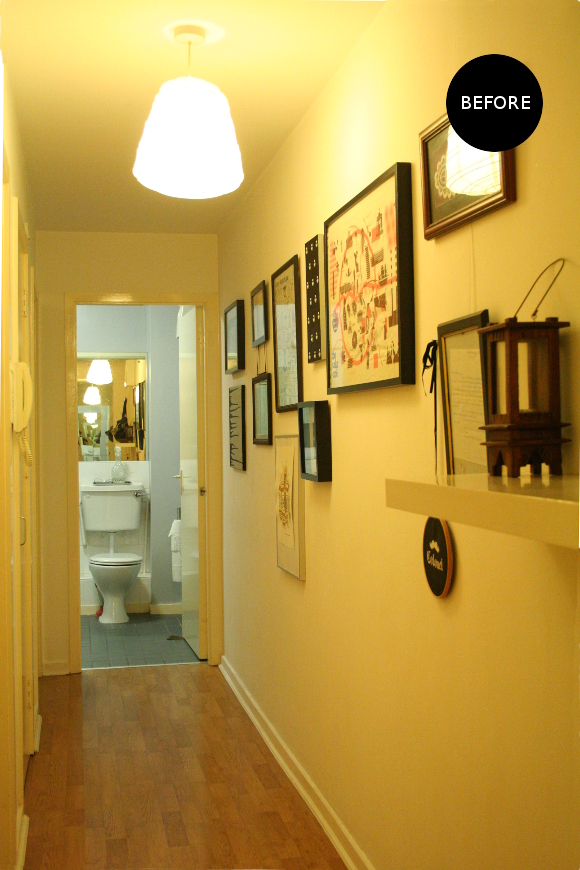
I am completely and utterly guilty of conforming to what I like to call ‘landlord walls‘; hanging your pictures on your landlords existing hooks in stead of starting over. Our hallway looked like the above for about 4 years. I really wasn’t pleased with it, but it was better than nothing, right? Actually, no, it wasn’t. Nothing would be a lot better. 

It was a sad attempt at a gallery wall. When I repainted the hallway I stripped everything back so I could start over. I’d prefer to have 2 or 3 bigger pieces of art along the main wall to make it feel less cluttered. I’m just really indecicive these days as to what to hang. I quickly added a few things for our visiting guests, but have since taken them down.

I swapped the existing bulbs to IKEA’s opal globe ledare bulbs to add a neutral and less-yellow light to the hallway. I am however really stuck with what light fixtures to use. I tried tumbler shades, but I’m thinking wire shades spray painted in Montana ‘winegum’ would be more punchy while not too restrictive on light. 

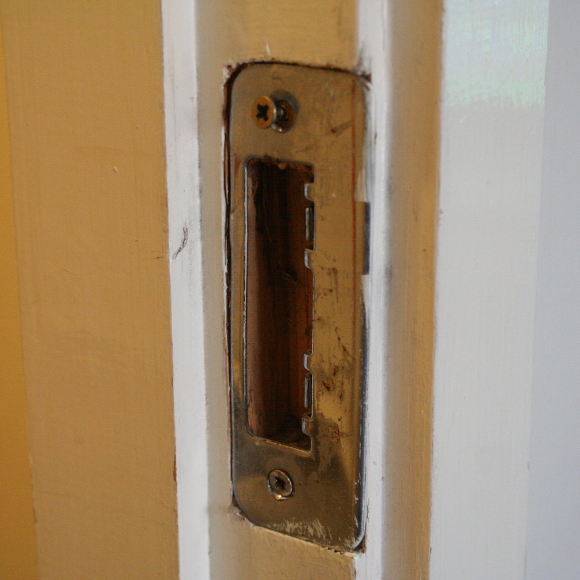
A final little cheeky and unexpected update I made to our hallway was painting the haggard wood behind each strike plate. While the hardware was removed, being cleaned, and the door frame repainted, I decided hey, you know what would look neat? If I painted that butchered bit of wood! So I did. I originally was going to paint the strike plate innards red, but I thought that might look a bit morbid; like it was the guts of the door frame or something. So black it was.

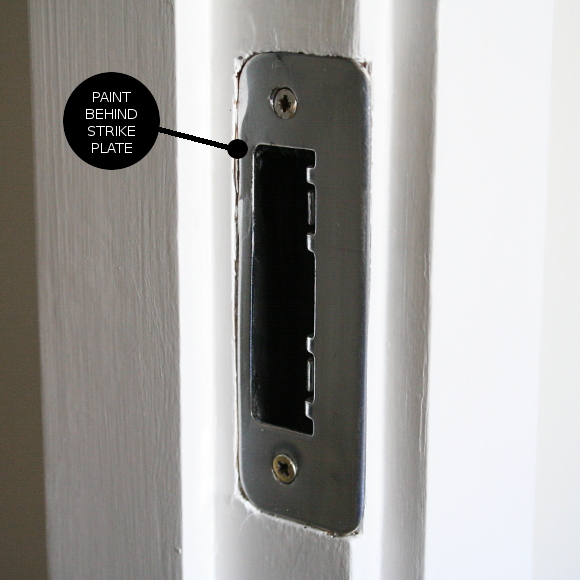
It’s not a change that people stop and notice, but I think it really streamlines the doorways and makes them seem a little more modern, personal and less ‘rental’. It cost me next to nothing to do as I used a small tube of black acrylic paint I’ve had laying around for years.

Well I hope that little tour wasn’t too tedious for you! Once I have some form of shades for the hall lights and a bit of artwork up, I’ll share some proper finished hallway pictures. But for the moment, albeit the changes are small, our hallway feels more mature and dare I say sophisticated! If you’ve cracked the code on good [and affordable] hallway lighting, I’d love to hear more. Or artwork! I am clueless. 

In case you missed it – you can read my tips for painting doors and skirting boards here!

Home Improvements

I’ve had a variety of projects going on over the past few weeks, all of which are / will be finishing up shortly. Some have been minor yet long overdue [and sometimes giant] updates to our apartment. Nothing particularly exciting as they’re mostly paint related. 
I repainted all the skirting boards and doors in our apartment, and this morning at 04:00 I repainted our hallway [husband had to be in work really early, so I was awake and figured I’d strike while the iron was hot]. All the boring painting jobs have needed to be done for 4+ years now, so while it’s not a big change to the actual design, to us it’s a huge difference. Even husband commented last night “it feels like we just moved in again!” In a good way. 

This week in particular I have the perfect excuse to spruce up our spare bedroom a little bit as we’ll have 2 very important guests. But first, I need to change the battery in that tiny clock. It ran out before I met husband … Nine years ago. It’s been stuck at 07:13:43 for long enough.
I picked up some second hand furniture and fittings for our master bedroom makeover, hemmed a pair of giant curtains, removed the awkward radiator from the middle of our bedroom wall, and souped up our chest of drawers to house our TV accessories [the latter two were completed by Dad DIYer]. I’ve also started rearranging and hanging more artwork in our apartment, which is something I’m terrible at doing. I have about 50 picture frames, all of which are in a cupboard gathering dust. 

I’ve also had a chance to sit down and do some small projects I’ve had in mind for a long time. I sewed a cute bauble trim onto our bathmat [as seen in the first picture] and I’m in the process of cross stitching a cheeky number for the bathroom. It’s a bit risque, which is fine in person, but I’m not sure about how well it would translate online. We’ll see. I might share it as it’s a bit of fun. 

It’s another cracking day here in Dublin so when you’re finished a day of work, you feel like there’s still time to go out and enjoy yourself. I’ll be trying my hand at foraging later this evening. Hopefully I pick the right stuff! xx A

Tips for painting doors and skirting boards

I agree, while today’s blog post is not the most riveting of posts, I was asked by a couple of people if I would share some of the tips and tricks I gathered while repainting all of the doors and skirting boards in our apartment. As I did have more than a handful of lessons I learned along the way, I thought hey, I might be able to help someone else who’s daunted by the idea of repainting doors and skirting boards.

To give a recap, the doors and skirting boards throughout our apartment were painted in high gloss paint 15+ years ago when our block was built. Needless to say, the paint did not take to the idea of aging well. Worse than Meg Ryan and Madonna in fact. The high gloss paint aged to an eye watering ‘chicken fat’ yellow throughout our entire apartment [I’ll be doing a complete hallway reveal soon so you can witness all it’s original yellowedness].

I had enough one day and approached our landlord about repainting the aged paint. He agreed [YUS!] and I started in October by repainting the worst effected room; the bathroom. I started tackling the rest of our apartment after Christmas and as of this morning, I have only two doors left. Here’s what I learned along the way …

– Paint one door or one room of skirting boards at a time. Otherwise you’ll crash and burn and never finish the job.
– Remove the hardware [aka, door handle, escutcheon etc]. Do not attempt to paint around them. It will look really, really bad and be really obvious.
– Sand the doors / skirting boards with medium grade sandpaper then wipe them down with a rag very lightly dipped in turpentine.
– Store the turpentine rag in an old plastic lunch box [tightly sealed] as you’ll need it again for the next door.
– Be careful while sanding. I accidentally sanded my knuckles off a couple days before I had to be a hand model. Don’t do that. It’s really painful if you plan on bending your fingers at all during the following week.

– I used 2 cans of Dulux’s Stay White with Aquawash Satinwood paint to repaint all the skirting boards and doors in our apartment. It’s water based and I wildly prefer water based paint.
– I added a little bit of water to the paint so it was less thick. This will only work with water based paint.
– I used a wide brush for painting the doors and a thin brush for the skirting boards.
– Don’t overload your brush with paint. Thin coats win.
– When applying the first coat, start from the top. Remember, thin coats. Otherwise gravity will point out your cakey flaws and drips will form.
– Allow the first coat of paint to dry for at least 5 hours. Preferably leave it for the day.
– When adding your second / final coat of paint, ADD IT QUICKLY AND EVENLY. I cannot stress how important this is. You MUST add the paint EVENLY in one uniform go otherwise the paint will dry unevenly and you’ll be left with dry patches and you’ll have to start over. If you do end up with dry patches, it’s okay. It happened to 3 of the 9 doors I painted until I realised what I was doing wrong, then started painting them quicker and evenly. Once I did this, the doors were perfect. If you have mistakes[see below], just wait and start a fresh coat the next day. Remember it’s better to do it right then leave it half-assed.

– Got paint on your wood floor? Don’t worry, so did I. I used a palette and scraped it off once it was dry and swept it away. Easy peasy.
– To save having to wash your paint brushes each time, simply wrap your brushes in clingfilm and leave in the cupboard and unwrap for when you paint the next door / skirting board. I stored mine for up to 2 weeks.
– Painting the skirting boards was MUCH easier. I still sanded and wiped them with turps, but I didn’t have to wait as long between coats of paint. I actually found it quite relaxing and the most rewarding as I think discoloured skirting boards are much like a guy in a suit wearing wildly innapproriate shoes; it’s fine until you look all the way down and once you catch that tiny detail, your eyes want to fall out.

I’m not an expert at painting doors and skirting boards, but I learned a lot while painting the 9 doors, front and back, throughout our apartment. I did learn some tricks and how to recover gracefully from the mistakes I made, so I hope the above was at the very least helpful to those of you looking to update a door or two and now know what to look out for.

Happy Friday, homies and I hope you enjoy your long weekend this weekend, laden with chocolate xx A