Step stool saga

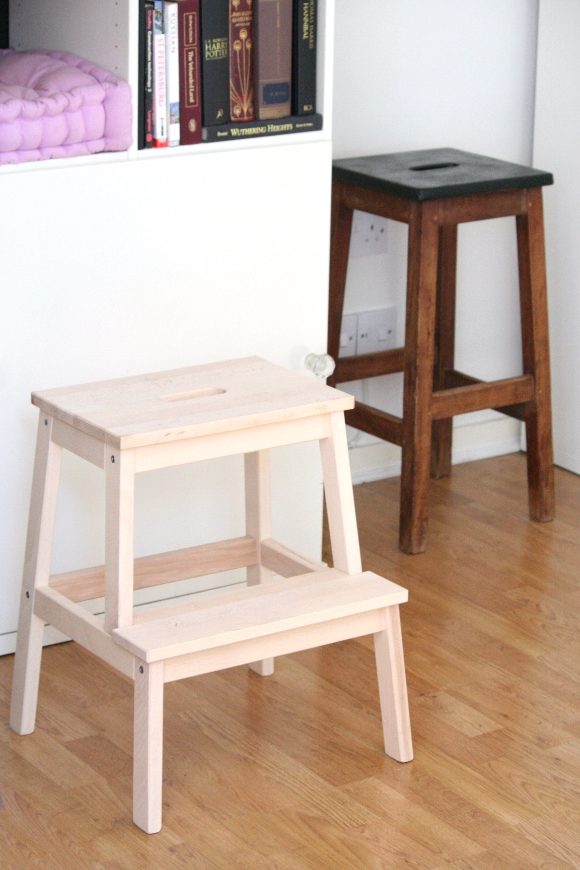
Last week I wrote about my new step stool combo and how I wanted to coordinate my BEKVAM stool with my salvaged skip stool in a way that would fit in with our living room a little better. To give you some history, long ago I found this broken bar stool in a skip, cleaned it up and repainted the top black. When I bought our new BEKVAM stool a couple of weeks ago, I saw their potential and was prompted to give them both a little makeover. 

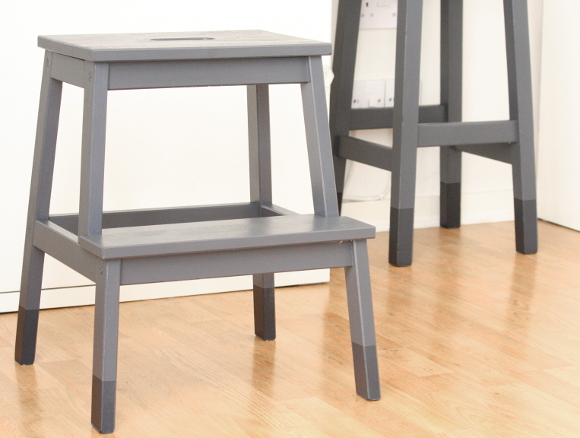
I did a lot of head scratching and googleing of IKEA hacks and I eventually decided to paint them light grey with black dip-dye legs. I like the dip-dye trend that all the cool people are trying out these days so I thought I’d try it for myself. And it looked meh. 
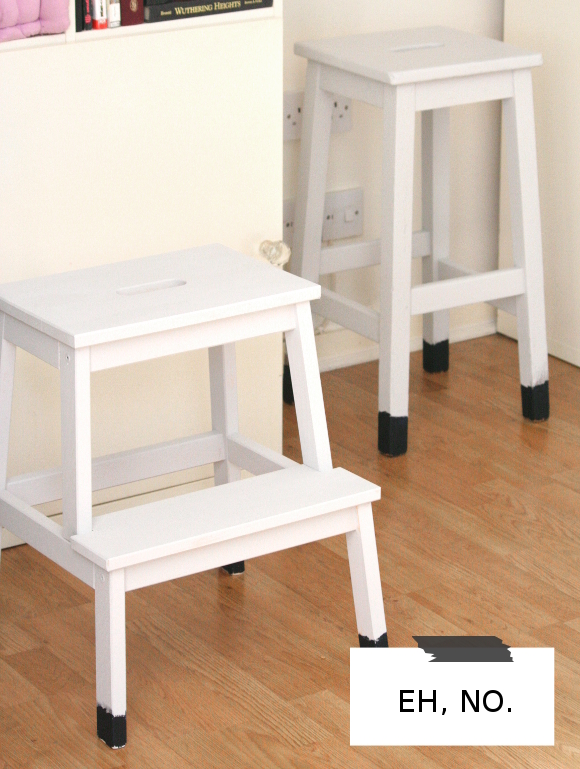
There are a couple of factors to consider here –

  • You can’t really tell from the above picture, but our / our landlords 10-year-old IKEA shelving is what I like to call IKEA ‘white‘. Which in fact is not white. Hence the italics and quotation marks. The shelves are a light shade of cream. So anything that isn’t progressively more yellow than them looks blue. Meaning, the light grey paint on the stools looks blue in front of the yellow, I mean white, shelves. 
  • The grey just wasn’t dark enough so while clashing with the shelves, the stools also blended into the background as well. Do you remember those eye puzzle posters that were huge in the 90’s? You’d stare at them and then all of a sudden a 3D image would pop out? That’s what happened to my stools when they were this colour. You didn’t really see them but once you do, you feel like reality has been altered ever so slightly. Not what I was going for. 
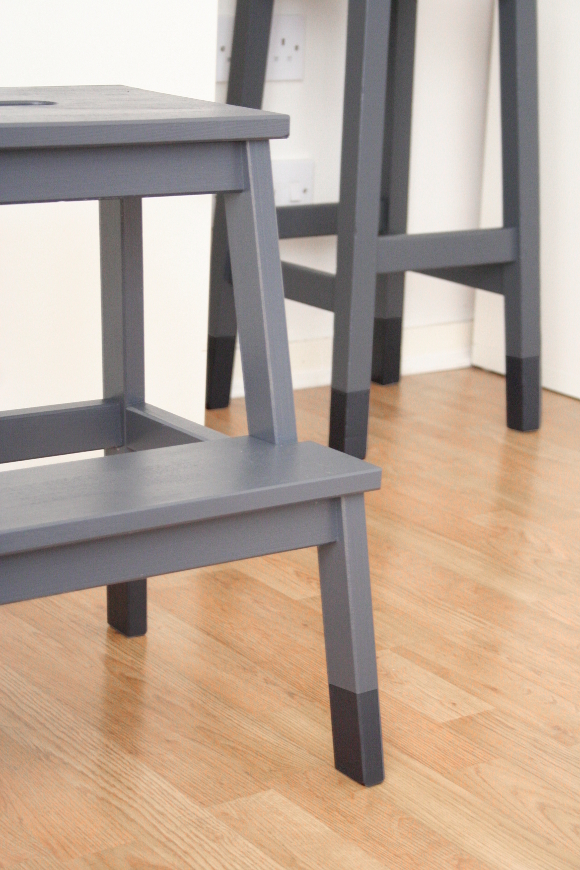
So back to the drawing board. I knew I wanted to go darker, but I didn’t want to go black. I went to my local hardware store, saw the Dulux Exterior SatinWood paint in ‘iron clad’ [sorry, no direct linkage available], and I couldn’t resist trying it out. Yes, it’s paint meant for front doors and the likes but I’ve got to say, this paint is kind of amazing. 

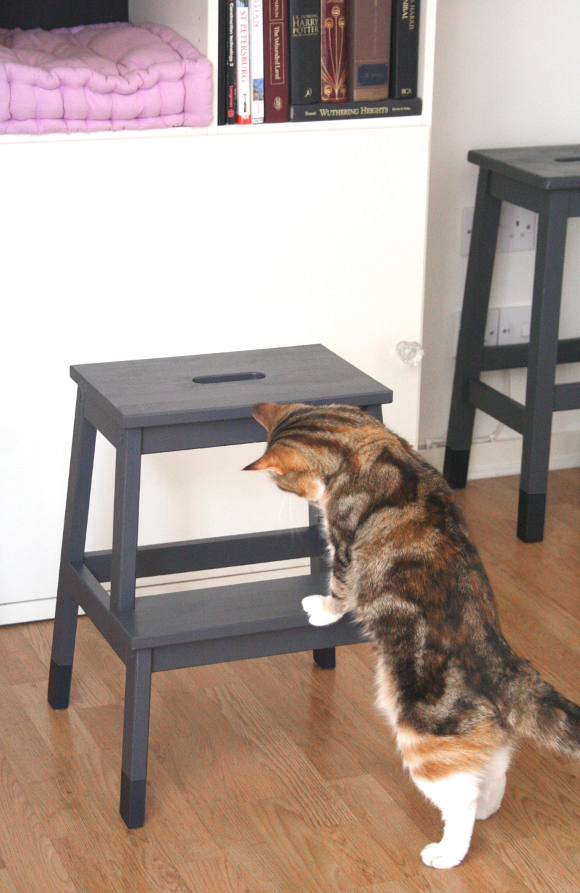
A couple of you had asked what I was hoping to use our new BEKVAM stool for. It’s really just to replace something else. I used to have a miniature chest in that spot [which you can see here] which as a secondary function housed all my extra yarn. I was getting tired of it and wanted something fresher, so I upgraded to the BEKVAM stool. “What an odd place to have a stool / miniature chest“, I hear you say. Well I haven’t let you in on its primary function as it’s there for one reason. Well, for two furry reasons. See that pinkish-lilac cushion up in our shelves? That’s one of Juniper and Toshi’s favourite cubbies and in order for them to climb into it, they need some assistance …  

Yep. I have a stool for our cats. I of course actually use the step stool, but while it’s not being used by humans, our cats get full use of it. p.s. I can’t handle how cute and curious Juniper looks in this picture. It’s like she’s inspecting my painting skills.

I’m so glad I used this paint as it dries so fast. I was able to paint two coats on both stools in an hour and that’s including drying time. They have a lovely satin finish and aren’t tacky to the touch like some paint can be. In fact, I was so enthusiastic that I repainted our entire bedroom dresser in it this morning. From start to finish with two coats of paint and dry within an hour. That’s what I’m talkin’ ’bout.

I know this makeover isn’t a monumental change to our living room, but it’s a little step. xx A

Bedside table makeover {it only took 4 years}

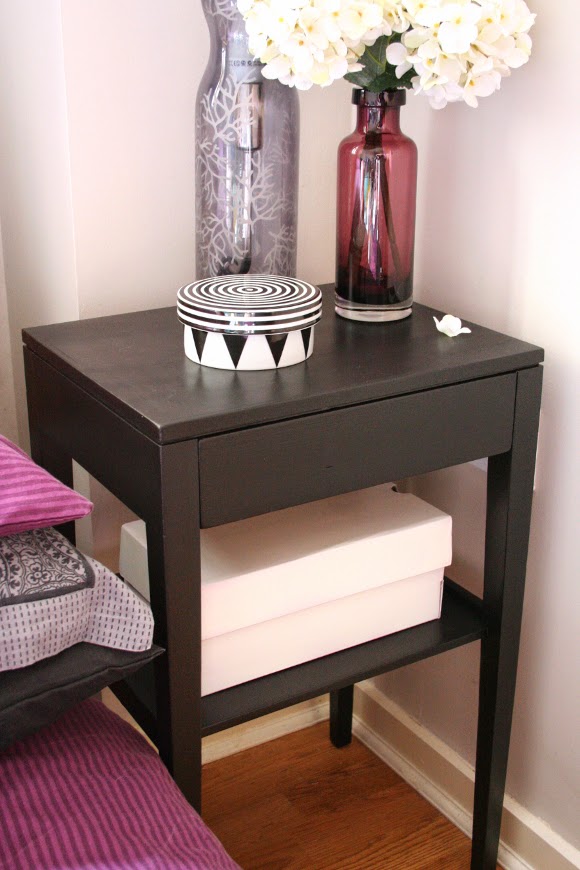
When we first moved into our apartment I was on the lookout for a bedside table for our spare bedroom. It didn’t take too long as I struck gold one day when I spied this little gem on Freecycle. It was cute, had nice lines and was mostly wooden with the exception for the top which had a weird plastic-y layered Frankenstein top {so technical} which you can see a bit better here. I had big plans for this little bedside table. And then 4 years happened. 
Last week while I was taking pictures for my rescue kit for the unexpected guests blog post, I had had enough of looking at Franken-table, so I made it my priority to send some long overdue attention its way. 

From the start I wanted to paint it black, but also have some contrast and a little dose of whimsy. Black, white, and kinda pink.
I first primed the entire thing, let it dry for 24 hours and then started working on the black. I had bought a can of black furniture paint, but once I applied it {to half of the bedside table – there wasn’t enough to cover the whole thing}, it looked awful. It made me feel crap. I left it to dry in the spare bedroom and ignored it until the next morning. 
Luckily, my Montana black acrylic spray paint came to the rescue. I resprayed the whole thing and it looked the business. And I still have half a can left.

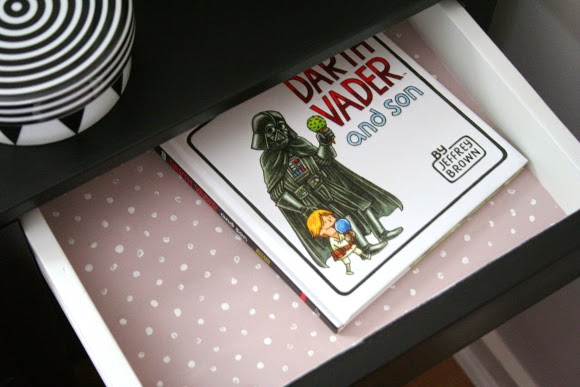
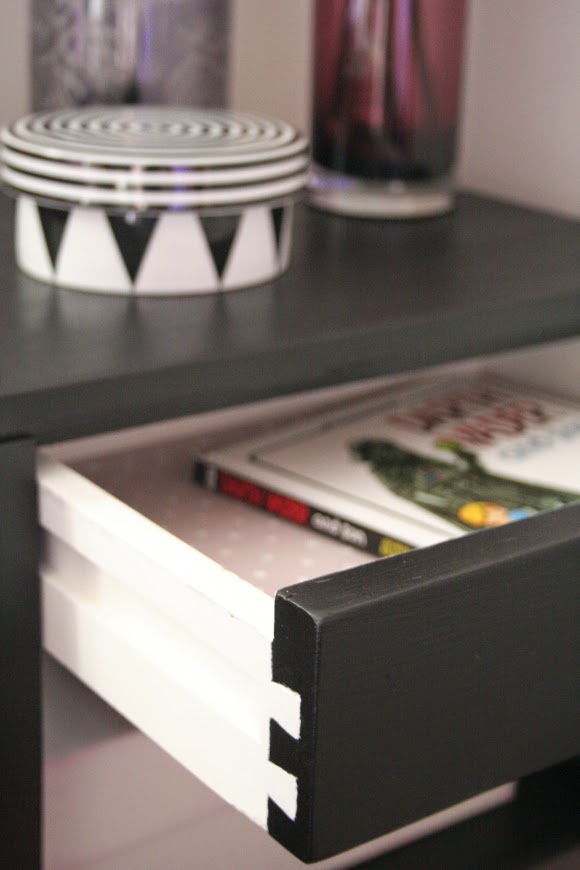
I then painted the inside of the drawer white. I wanted to line the inside with some pretty paper, but then I figued, why not just paint it? I had a smidge of Dulux Ashbury Easycare pink paint leftover from the bedside tables I upcycled for Oxfam, so I painted the bottom of the drawer dusty pink and added a polka-dot pattern by dipping the end of a pencil into white paint and used it as a stamp. I free-handed the pattern which kind of makes it feel a bit less strict. 
I am exponentially happier with how the bedside table looks now. It really anchors the corner of the room and is a strong focal point when you walk into the room. I just wish I had repainted it sooner. 
Black, white and kinda pink. I think I met the brief. 

DIY Friday – rescue kit for the unexpected guest

It has happened on occasion where a friend or family member would come over for dinner, wine would happen, we’d chat about all sorts of rubbish into the wee hours, then husband and I would offer our guests to stay in our spare bedroom if they’d like. Since they didn’t bring anything with them with the intention of staying over, on most occasions they’ve had to head home. So in preparation for next time, I came up with a little emergency guest kit to keep in our spare bedroom, should we have some unexpected {but not unwelcome} guests. 

I should say that I didn’t buy anything especially for this kit. I didn’t even buy a new box – I just painted one we already had. Since husband and I do a fair amount of travelling, we usually come home with travel sized stuff {pretty hotel shampoo and shower caps we’ll never use, amirite?}, so it just made sense to put my hoard of tiny hotel stuff to good use … 

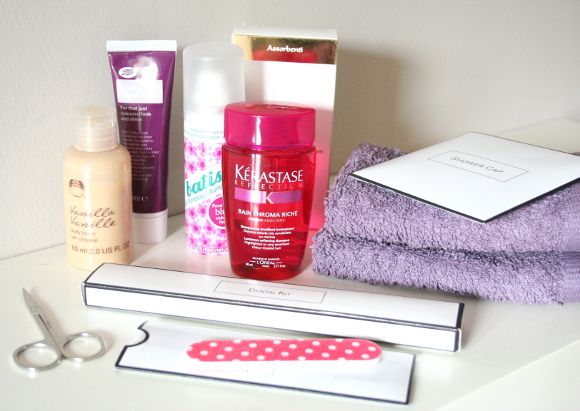
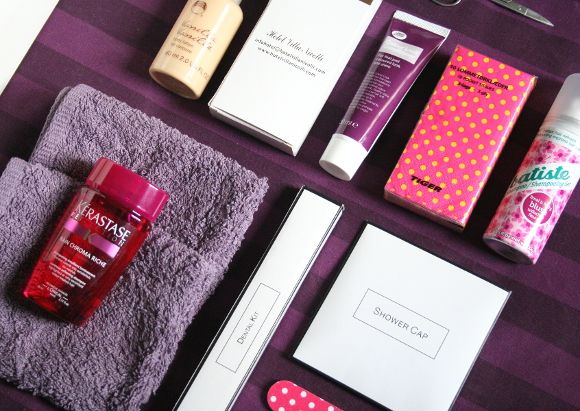
What’s in our rescue kit for the unexpected guest:

– a facecloth {or two}
– mini shampoo
– mini conditioner
– mini dry shampoo {god bless dry shampoo. Just sayin’}
– moisturiser
– travel pack of tissues
– a lady item {we’re all grown ups here. Yes. Things happen to ladies.}
– shower cap
– toothbrush and teeny tube of toothpaste {in the long white box}
– nail file
– a small pair of scissors {you never know}

This is just a rough guideline of what to include in an unexpected guest kit. Again, most of the items are things we picked up while travelling. The black and white boxes are from the hotel we stayed on our honeymoon in St. Petersburg. It’s nice to know they’re finally being put to good use. Or at least they’re ready to be, should the time come. 
So this weekend invite your friends around for a couple of drinks, and tell them you’re prepared. Just in case. 😉 xx A

p.s. That bedside table is getting it and soon. I’ve been meaning to give it a makeover for about 4 years now. Its time has come.