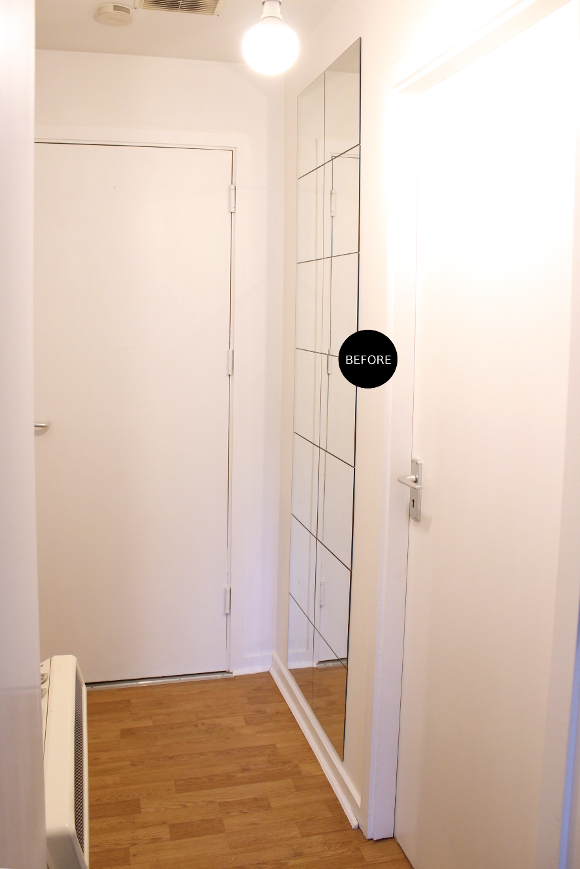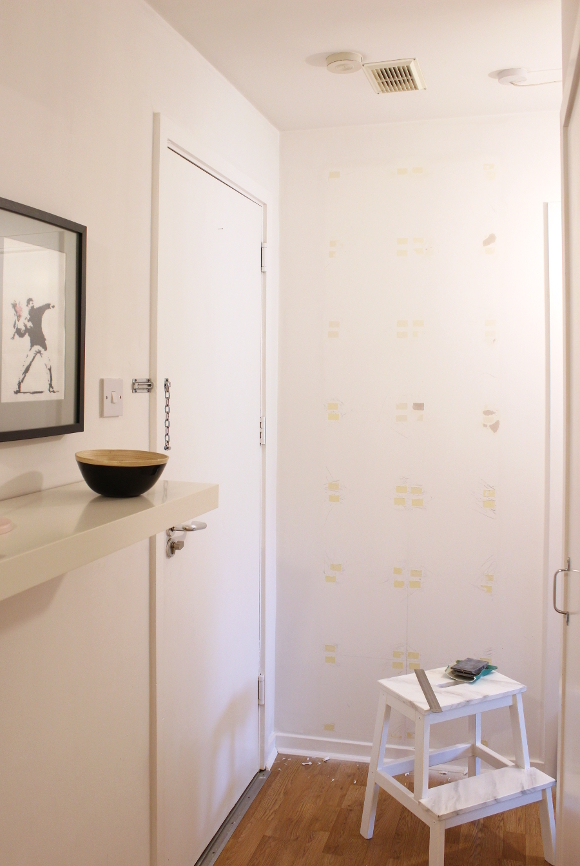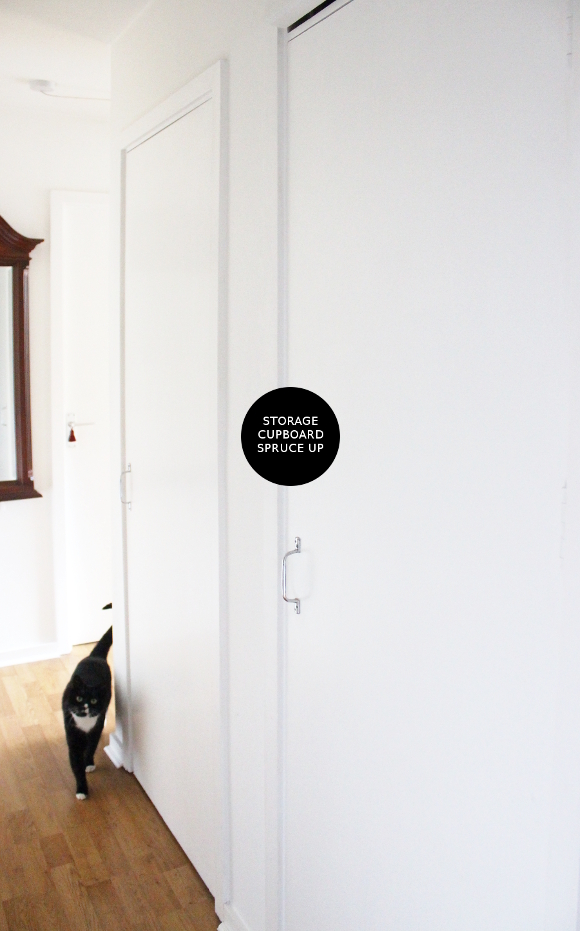
If a good storage or organisational before and after blog post doesn’t float your boat, I totally understand you scrolling past this one because this is going to do nothing for you. It is however something I’ve gotten ridiculous levels of enjoyment from, so I really wanted to share it. As of yesterday I finished giving our hallway storage an upgrade and so felt inclined to share. It didn’t cost me anything extra to update our cupboards [as I used leftover paint and supplies I already had] – it just took some time and considered planning. And ridiculous levels of nesting hormones.
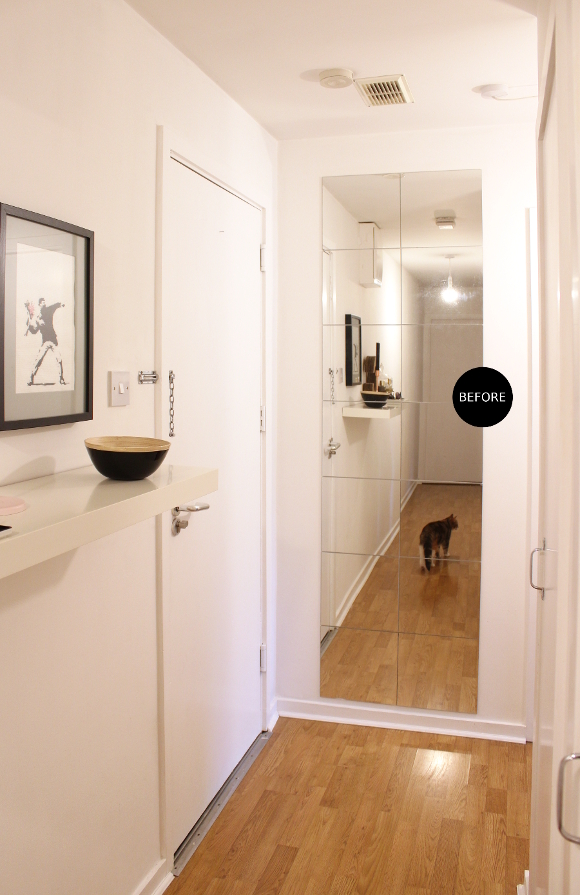
We have a number of storage cupboards in the hallway of our rental. Over the past two months I’ve slowly updated our coat and immersion cupboards [we have a third cupboard, but I’m saving updating that for a rainy maternity day]. Yes, they’re storage cupboards and no one really cares what they look like on the inside, but I do. I do. And I know. I know the horror of what lies behind those doors every time I walked past them. Those cupboards caused my nesting hormones to be personified [or animalised?] as a wild bear trying to get out of a shirt and tie. It was time. I wanted pretty storage cupboards so I got down and made them happen.
COAT CUPBOARD
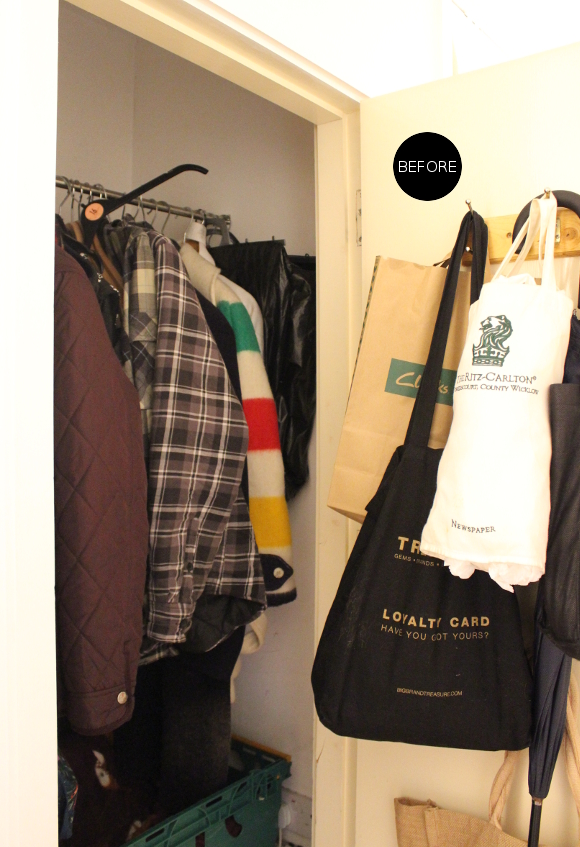
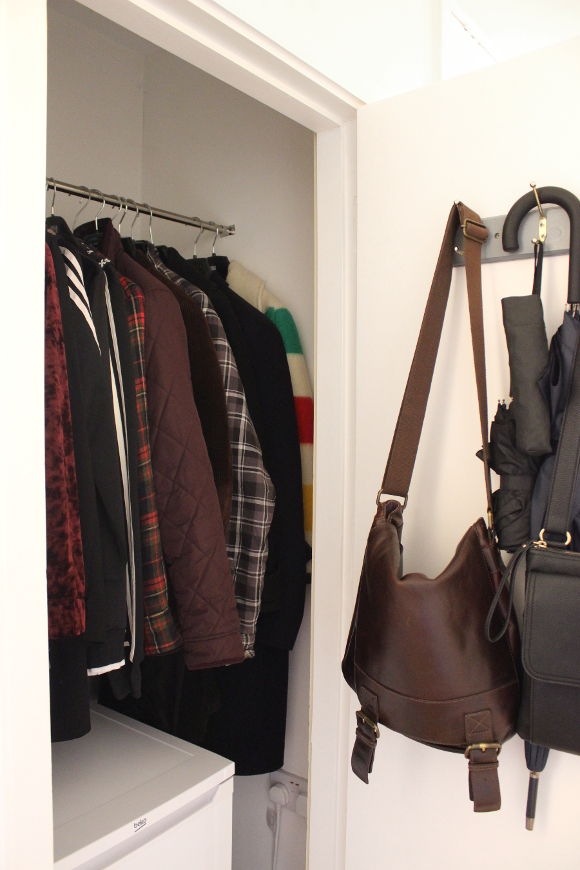
Early last year when I repainted the doors and skirting boards in our hallway, the only place I didn’t paint was the inside of cupboard doors [because they aren’t immediately seen]. De-yellowing and repainting the inside of the door and trim was at the top of my list. I then repainted the inside of the cupboard with leftover basic white paint, I tidied and donated some coats as well tackled the storage on the back of the door. At the time, everything was hanging from those three hooks on the back of the door – our bags, my bike bag, shopping bags, a bag of canvas bags and a plastic bag chute thingy. I decided to cut down and use the few hooks we had for things we use every day [umbrellas and bags]. We also added a medium sized freezer to the cupboard which will be perfect for lots of emergency / pre-made meals for over the next few months. And years. Until baby is 18, basically.
p.s. See that Hudson’s Bay Company coat? I found it in our local charity shop for €5 last year [for those not familiar with HBC, their point (aka, stripe) blankets and coats are serious triple figures]. I’ve never worn it but I’m never, ever getting rid of it. Ever. Even if there’s a fire.
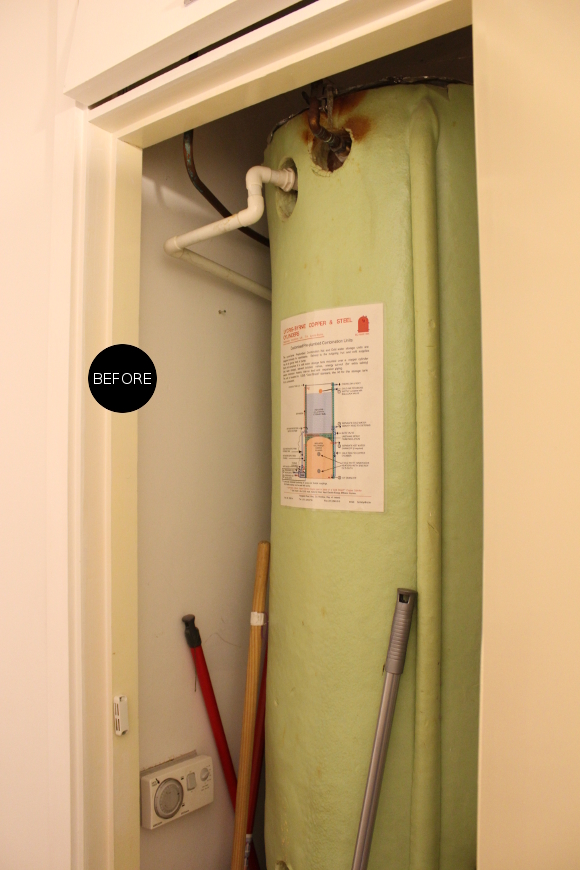
IMMERSION CUPBOARD
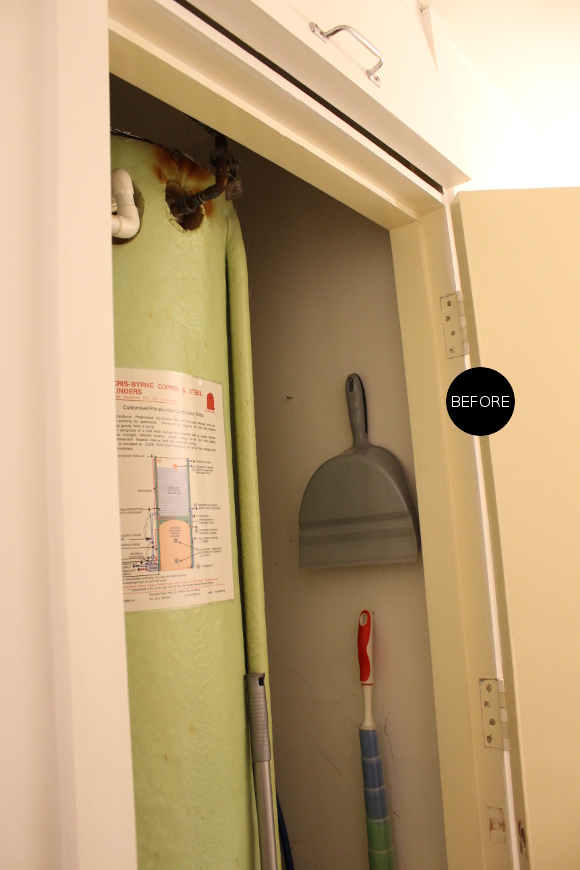
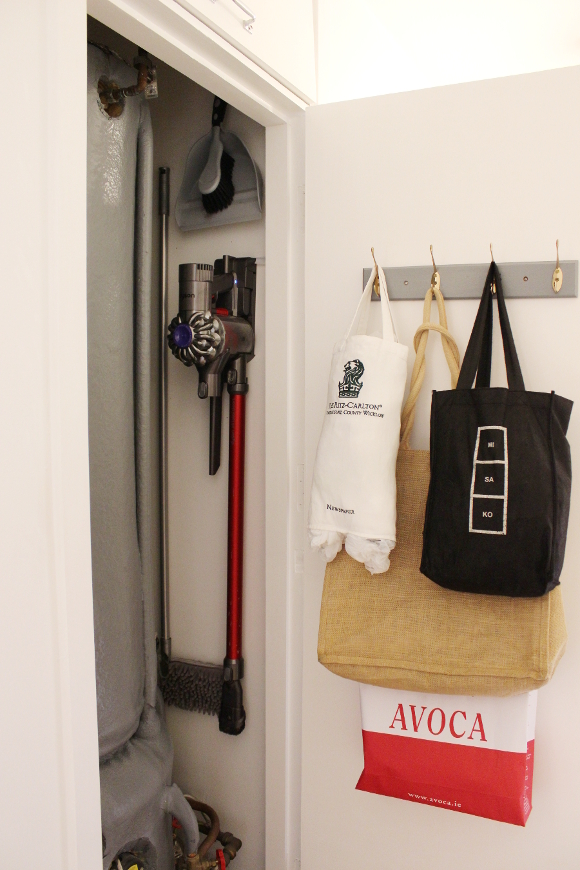
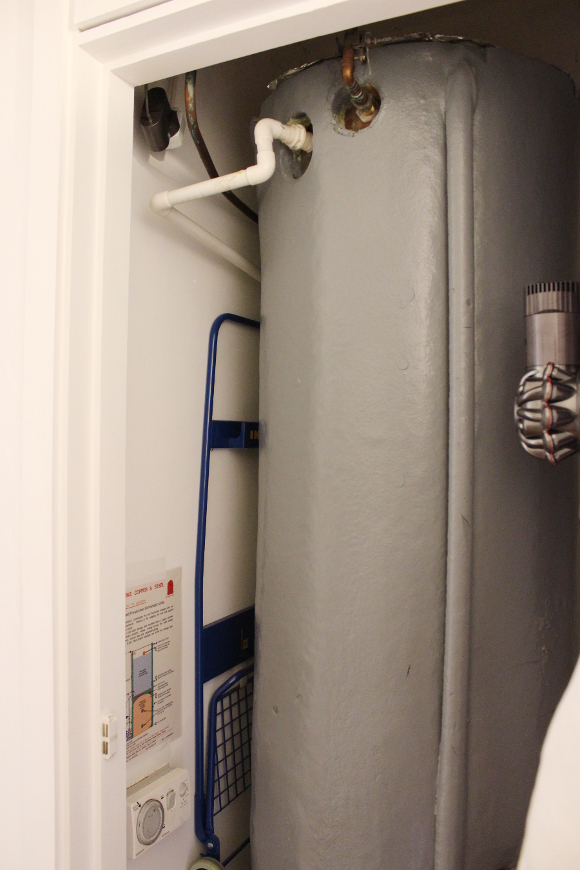
The original puke-green [actual technical Pantone shade] of the immersion foam alongside the yellowed door and trim really appealed to my eyeballs. I Googled it and Google said it was fine to paint this type of hardened insulation foam, so I grabbed a tub of leftover grey paint and added two coats. I also repainted the door and surrounding trim white, the door hook grey, inside the cupboard basic white and finally got around to hanging everything up properly. Our plastic and canvas bag storage was demoted to the immersion door along with a bag of Dyson attachments.
I know this is barely pretty enough to be blogging about, but there’s something my sick mind finds therapeutic about making a neglected storage area pretty, functional and as much a part of our home as the rest of it.

