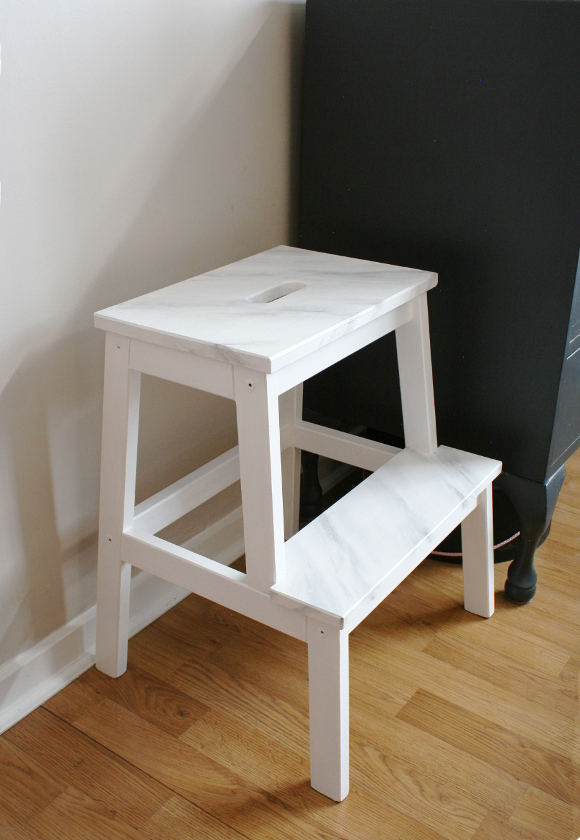
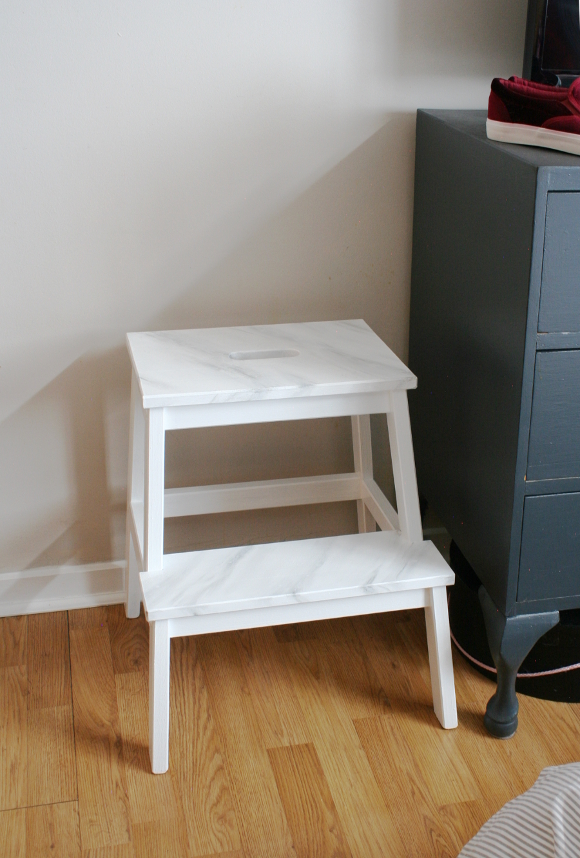
IKEA Bekvam step stool gets a faux marble makeover

After a very welcome few days with no agenda other than eating, remembering to occasionally change position so I don’t get DVT, more eating, drinking and throwing my sleep routine into complete chaos, I decided it was time to actually do something. Something not too challenging that could be done whilst watching endless seasonal movies and Top Gear. Queue the need to repaint something.

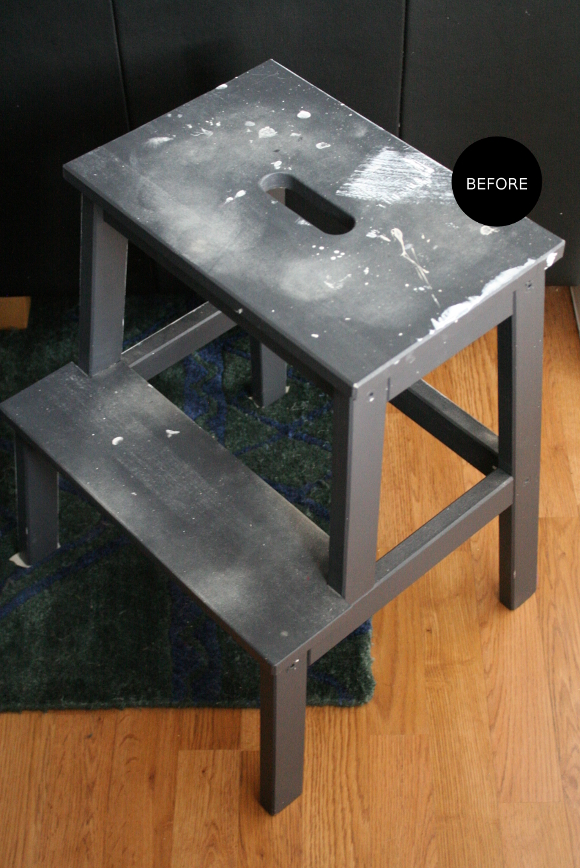
After updating our bedside tables, I had plenty of Rust-Oleum paint left over. Our IKEA bekvam step stool was looking mighty haggard after I used it while sanding and repainting all the doors and skirting boards in our hallway last spring, so I had the idea to give it the same treatment as our bedside tables. Marble-ise it. It’ll be marbleous! [sorry / not sorry].

I took it through the same steps as our bedside tables with the exception of using more coats of white paint to cover the dark grey. Ideally I would have disassembled the stool, except that long ago I painted over the hardware the first time I painted it [now 3 colours ago]. I know, bad DIYer. But that was in my hasty youth and I have since learned. 

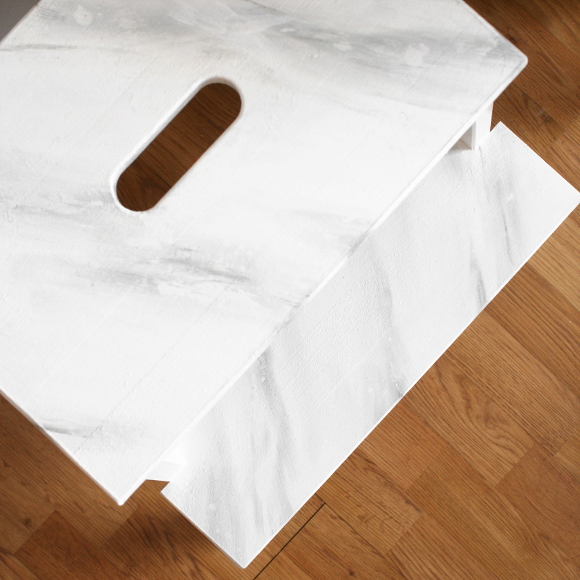
Once I had enough layers of white paint all over, I used a really subtle marble effect on both steps. It shows up incredibly subtle, so I may paint the rest of the stool black to really make the steps pop, but I’ve yet to decide on that. For now, it’s miles better than before. And if the steps get scuffled, I think it’ll only just add to the marble effect.

So what about you? Have you made use of your time off this season? Or are you still hiding under the duvet? I actually didn’t realise today was Monday until about 13:00, soooo … 😀

Disclosure – while this blog post is not sponsored, the paint I used for this update was leftover from paint I received free of charge from Rust-Oleum. Just FYI-ing you so you’re in the loop. I only work with companies I like and of course, think you will too. Thank you for supporting the companies that support The Interior DIYer. 

From me and mine to you and yours …

… I hope you have a lovely few days lined up full friends, family, food, pyjamas, movies, sweet treats, as little squabbling as possible and nothing too inappropriate is said after a drink or two. Happiest of holidays friends, and I hope you enjoy it whatever way you spend it xx

It’s beginning to look a lot like Christmas

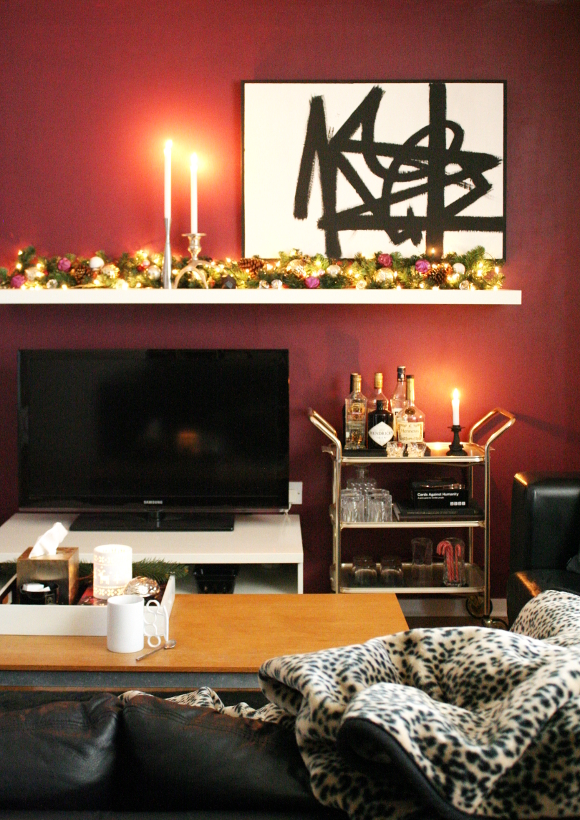
Christmas was a bit slow to arrive in our apartment. I don’t know about where you are, but we’ve had an incredibly mild winter so far this year [I still cycle to work in a tshirt every morning] and I’ve found it less than festive. Growing up in Canada I’m used to at least 4 feet of snow at Christmas, so if it’s warm at all, I ain’t in the mood. 

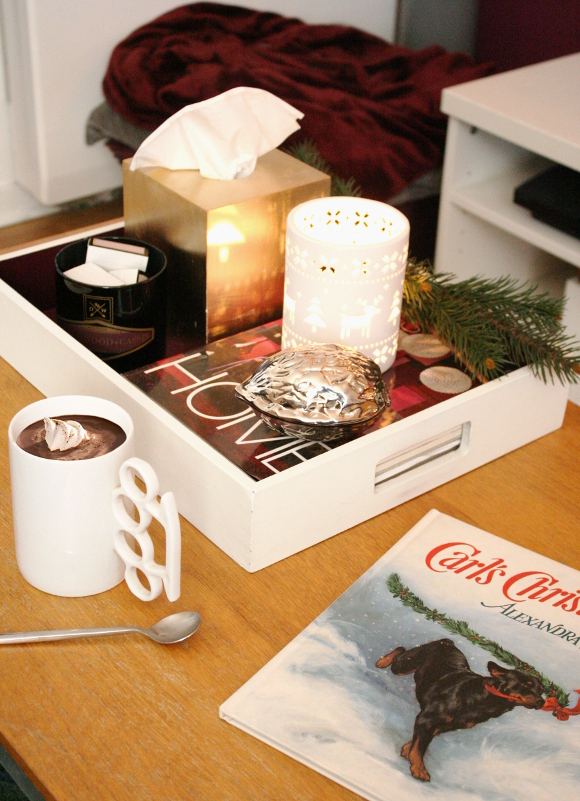
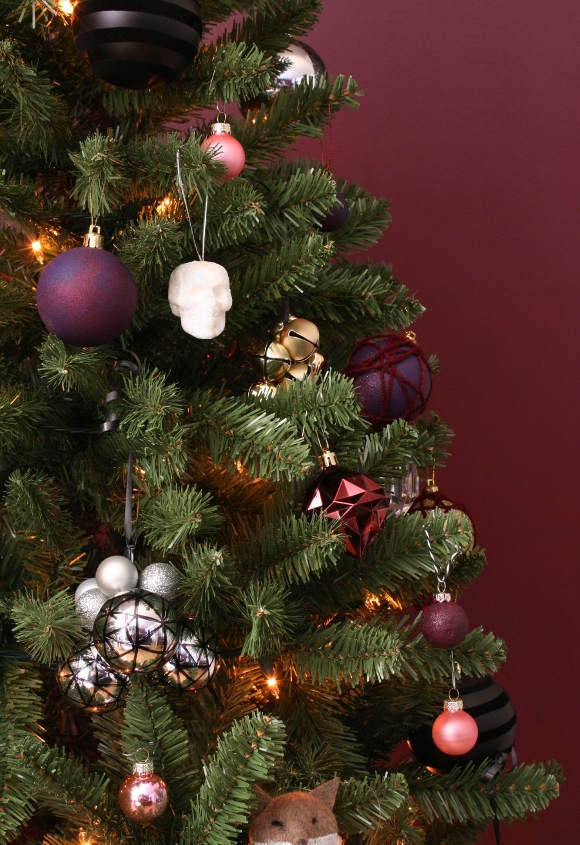
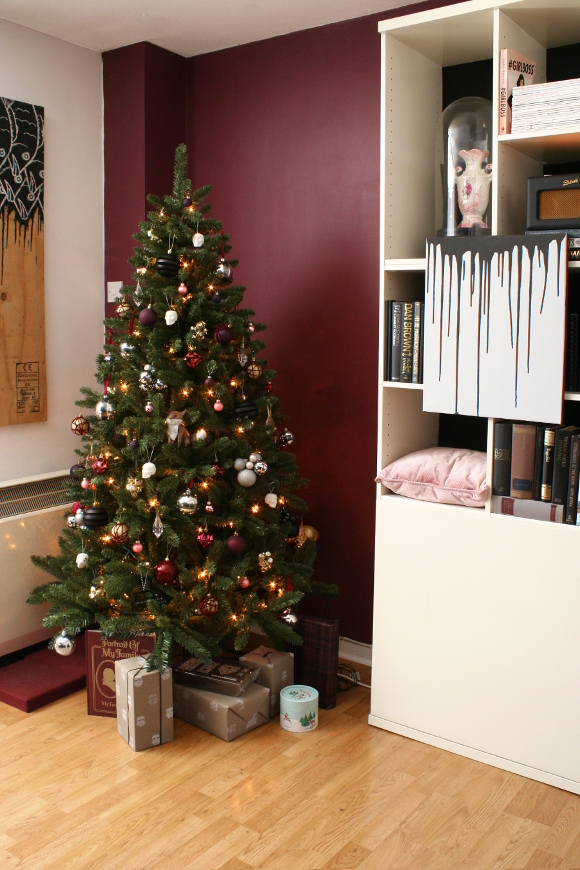
Slowly but surely over the course of this week, I finished decorating for Christmas. Woo! o/ I was very good this year and only bought 3 new decorations – the festive ceramic candle holder from Harvey Norman on our coffee table, a set of tiny pink baubles I spied in Lidl for next to nothing for our tree, and a giant nut shaped nutcracker I saw in Deborah Charity Shop during the summer which is also home on our coffee table. Note to self; buy nuts

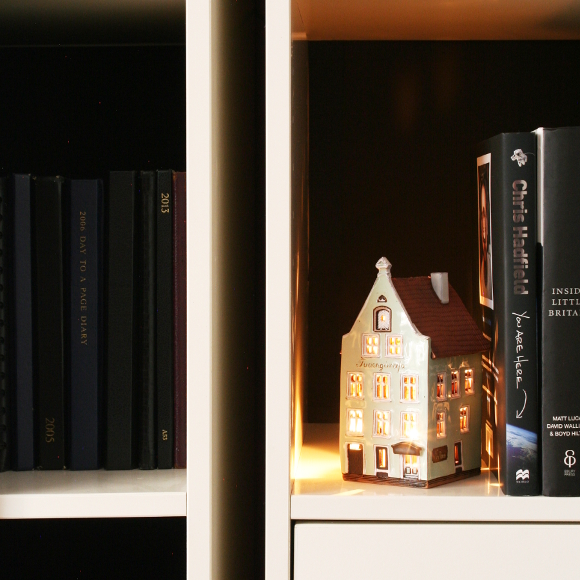
Last year when we cruised around the Baltic Sea [pretentious wanker sentence alert], I picked up this bigature house in Tallinn, Estonia for my parents and got 4 miniature houses for us [as seen here]. My mom and I funnily enough came to the conclusion that we both preferred what the other had, so I swapped my teeny houses for their less tiny house. It’s the perfect size for a tealight and looks sooo festive on our shelves. 
I didn’t buy new decorations [except the teeny pink baubles] this year, so to mix up my old decorations I strung loads of similar baubles together with ribbon and hung them up in groups. I was going to repaint a load of our old decorations too but I never got around to it and they’re perfectly fine thanks to my previous updates. A couple of years ago I updated our baubles with paint and yarn, and last year updated some more with a Sharpie and a label maker, showing that you don’t need to buy new ornaments every year to change the look of your holiday decor. 

And if you’re extra cheeky this year, you could try making your own edible ornaments like I did the past 2 years, but didn’t this year because I got lazy. Make them and hold them over me, please. 

xx