DIY Friday – copper blanket hanger

It seems like forever since I blogged a DIY project so I thought why not ease myself back into the swing of things with the most simplest of DIYs. Seriously simple, guys.  
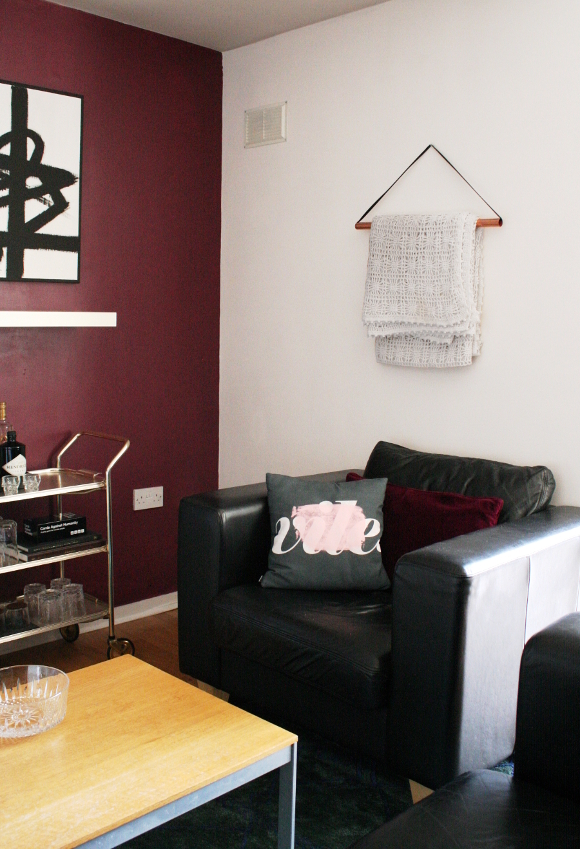
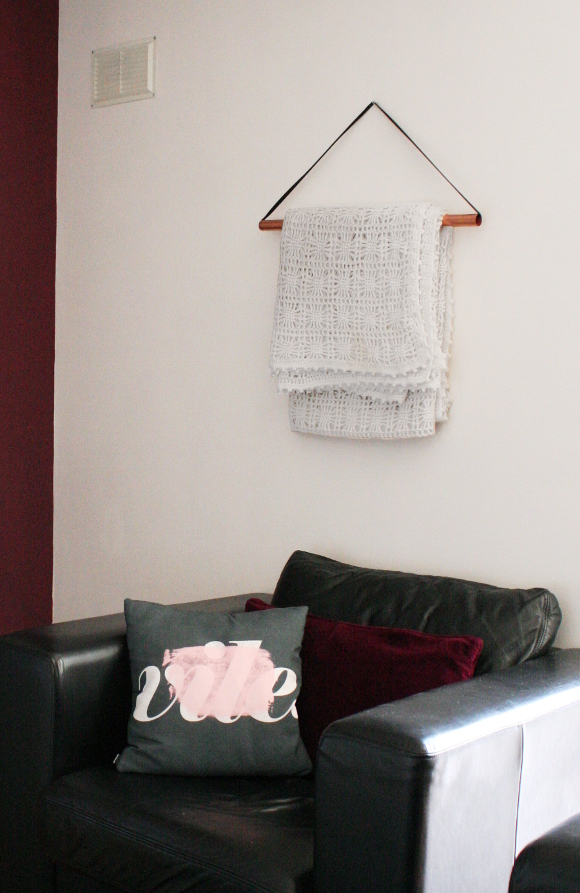
The inspiration behind this project came from a blanket my grandmother crocheted for me. For the past couple of years I’ve unfortunately been storing it in a cupboard. I wanted to display it in some way, and here’s the kicker, in a way that would KEEP KITTENS OFF OF IT [as it’s white, their fur shows up to no end on it. Kitties have plenty of their own blankets so they’re not deprived]. A lot of thinking went into it, and I eventually thought “why not hang it up?

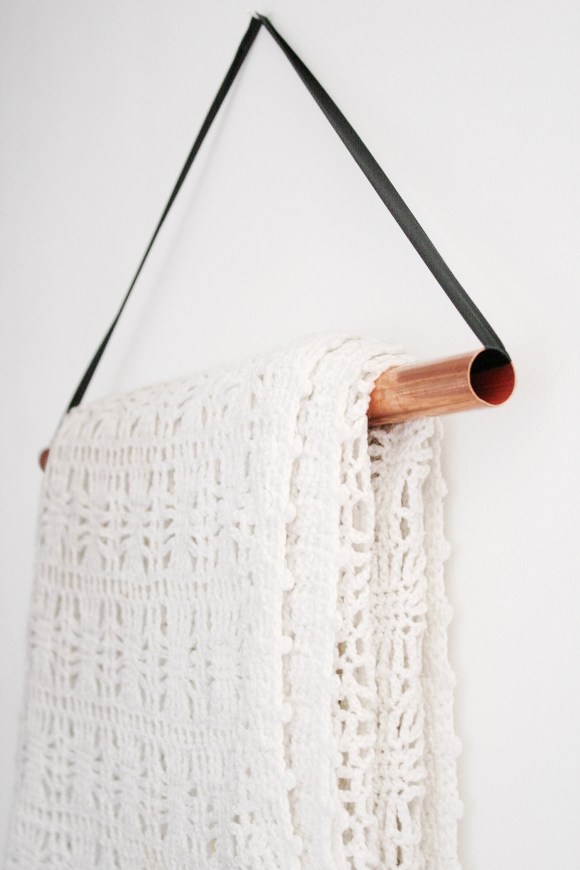
I wanted to keep this hanger idea very simple. Copper is very big this year so I quickly came to the conclusion of using a copper pipe and some rope to create an incredibly basic yet pretty hanger. I did a quick mock-up using some thick black ribbon I had laying around, and I think I actually prefer it. I think it works better with and compliments the blanket vs. using a piece of rope that might be competing in texture and attention. 

FUNNY STORY – I kinda managed to blag this piece of copper pipe. As I was leaving a restaurant I noticed a gentleman working outside with quite a lot of copper pipes. I plucked up enough courage to ask if he had any leftover when he was finished, would he mind keeping a piece aside for me. We got talking and it turns out his other half also is forever collecting random pieces for projects, so he was well used to such requests o/ We were discussing sizes of pipe etc. when he found a piece about 2ft / 60cm long. “Here, just take this piece. Maybe hide it in your bag …“, so off I went with 2ft of copper pipe sticking out of my handbag and headed home! [thank you again so much, Donnacha!]
It’s a pretty self-explainatory DIY so I figured there was zero point in photographing steps. But just in case, here’s what to do … 
– get copper pipe
– get some heavy ribbon or twine
– thread through and knot securely
– hang up blanket
– the end

So there you have it! Really simple, but [I think] gives a big impact. Happy Friday, homies! Hope you have a lovely weekend lined up.

Rebrandiversary – what’s in a name

It’s kinda hard to believe one year ago I made the leap to rebrand my blog. I say rebrand as if my website is an actual thing that’s taken seriously, but nevertheless it’s been a year since that little change and I can say it was possibly the best change I made around here. Before ‘The Interior DIYer’ my blog was called ‘Hydrangea Girl’. I know it was the right decision to change it because that last sentence makes me cringe to no end [if you’re particularly bored you can read why I changed the name here].

In the year since changing the name of my blog I’ve been offered some amazing opportunities. I’m not saying it’s down to the name change, but within the past year I became Woodie’s DIY guest blogger, was asked to jump on board as Image Interiors & Living’s DIY Expert, conducted interviews at the spring and autumn Colourtrend Interior Design Forum and wrote for a number of bloggers and brands; with Harvey Norman’s blog being one of the more recent. It’s mad! It could be coincidence and I’m not saying such brands wouldn’t have worked with me beforehand, but I mean come awn. I think having the name ‘The Interior DIYer’ helped a little. It’s what it says on the tin.

Hydrangea Girl will always be how I started and I’m not turning my back on the name I picked quickly one morning when I first started this blog. Robert recently wrote on a card to me “you’ll always be my Hydrangea Girl” [insert ugly crying here]. I don’t think I could forget it if I wanted! 
So if you’re thinking of changing the name of your brand or your site, my advice? … 

It really tied the room together

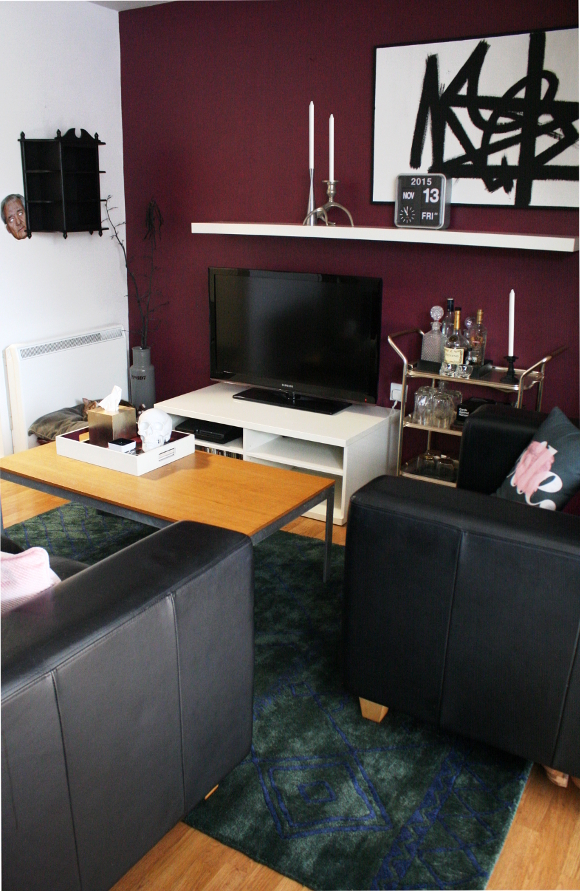
Me and rugs don’t have had a great history. First, there was the ethereal IKEA Stockholm rug I lusted after for so long. Being in a high traffic area and having two cats meant the rug went downhill rather spectacularly fast so I repaired it and sold it as it was not a rug suitable for our home [the rug was definitely the issue, Dude].
Then there was the dainty pink rug. I got it cheap. Real cheap. Second hand. From an online site where you advertise stuff you want to sell. Especially dirt cheap if you want to get rid of it fast. Yes, it was a bit small for our space, but it was cute! At first. Then it gave up on life and fell apart. It was cheap. I learned from my mistake. That rug went straight into the bin as it would have been of benefit to no one.

With the most excellent of timing, Wayfair.co.uk got in contact to work on another project this year [I worked with them last year on my lumberjack pillow tutorial that was featured in my broseph’s Canadian man cave office]. In return for my upcoming tutorial, I got to shop on the Wayfair.co.uk site and low and behold, their rug range is immense. 

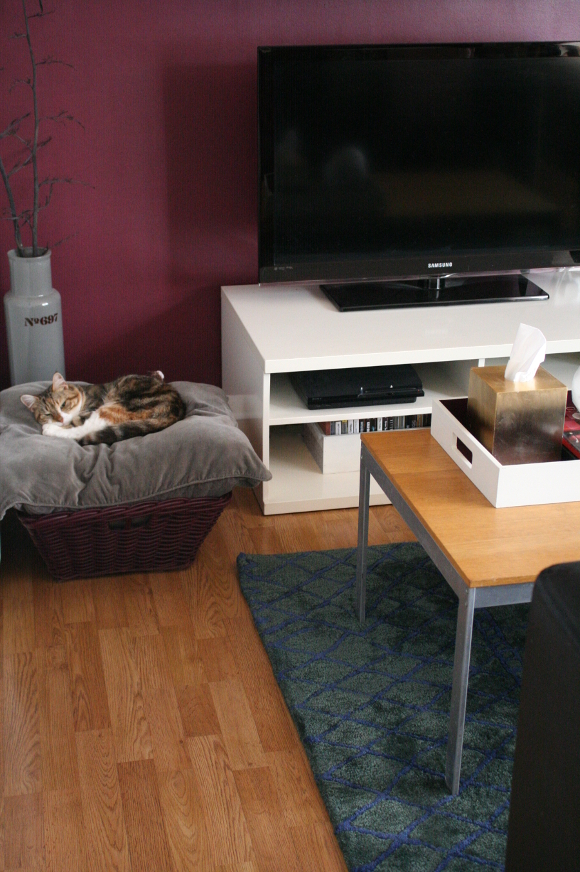
Since I already have a lot of burgundy in our apartment and I’ve had a [failed] black and white rug, I wanted to go for something different yet would work with our apartment. I spied the Fusion Green Rug and thought about it for a couple of weeks. It was an incredible green with an imperfect navy pattern on it. It was a bit of a leap as I wasn’t sure exactly what colour it would be sans a sample, but my fingers were crossed on a deep viridian. It arrived yesterday, and boy did I luck out …

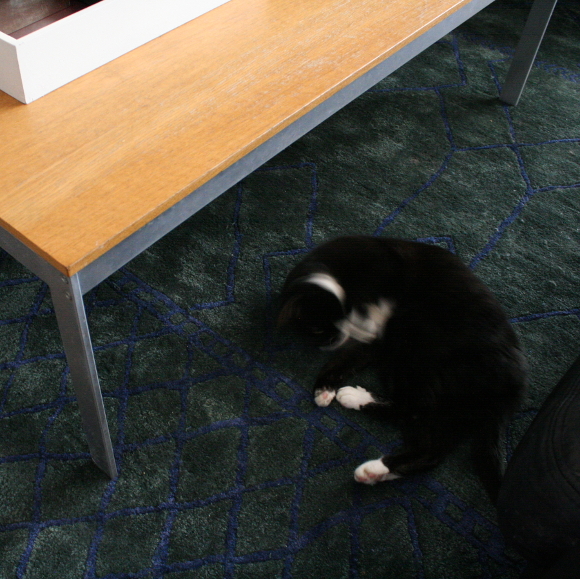
I am not just saying this because I am now the proud owner of it, but it’s an exquisite rug. It’s painfully luxurious and soft under foot. It’s also a very solid rug so it won’t warp like the IKEA Stockholm rug did. It passed the cat test and doesn’t shed or pull or distort like our disaster of a pink rug either. MASSIVE. SIGH. OF. RELIEF. I’m still up in the air as to flipping the rug 90 degrees so it’s running the other direction, but for now, it’ll more than do. 

Disclosure – Wayfair.co.uk sent me this rug free of charge in return for an upcoming project I’m working on for them [keep your eyes peeled as it’s a good one and involves a certain new movie being released next month!]. As always, all words and opinions are my own. I only work with companies I like and of course, think that you will too. Thank you for supporting the companies that support The Interior DIYer.