Kitsch up your kitchen
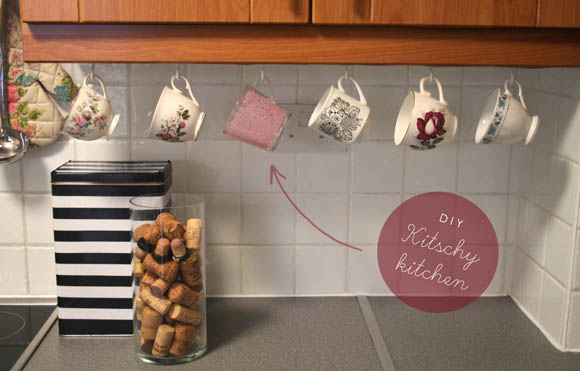
This is a project I’ve had on my to-do list for ages. I have a healthy tea cup collection, and I’ve wanted to display all of them in all their glory in our kitchen. This is a really straight forward project, and will instantly add a kick of kitsch to your kitchen. Additional note: I will say this is a project for a low traffic area. If you’re thinking of pimping out the area just above your kettle or above your sink, seriously consider how much you move around in those areas.
p.s. This is a project I know Janine will like!
What you’ll need : a hammer, a screwdriver {which I cleverly didn’t include in this photo … }, a measuring tape or ruler, 1″ cup hooks, a piece of wood, screws {longer than the piece of wood, but not too long to go through the cupboard overhang}, a set of pliers, and some dainty tea cups.
Step 1 : lay out your teacups against the piece of wood. With yur ruler/tape, measure the average distance between the cups, and accurately mark out the distance with a pencil on your wood. I had 12cm between each cup, with the first cup set 5cm from the end.
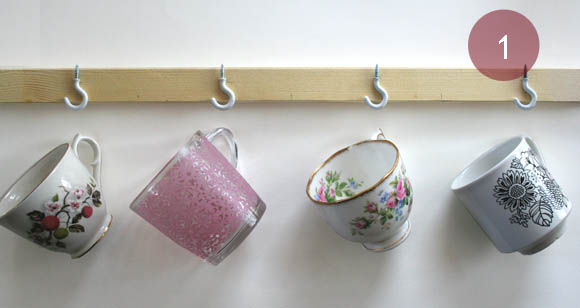
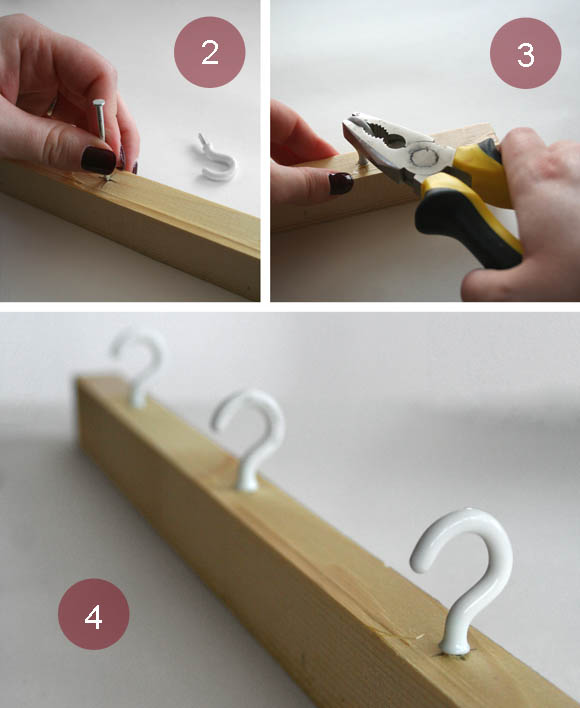
Step 2 : with a spare nail, gently hammer it into the wood to create an indent to start off your cup hook – it’s quite tough to start one off otherwise. Step 3 : it will begin to get difficult to screw in the cup hook, so here is where I find a pair of pliers very helpful. A couple of extra turns with the pliers will ensure your cup hooks are secure and strong. Step 4 : make sure all your cup hooks are facing the same direction. “Bitch please, I’m not that stupid”is what you’re thinking, but it’s amazing what little details one can forget. And no, I’m not calling you stupid. You’re the smartest bitch I know.
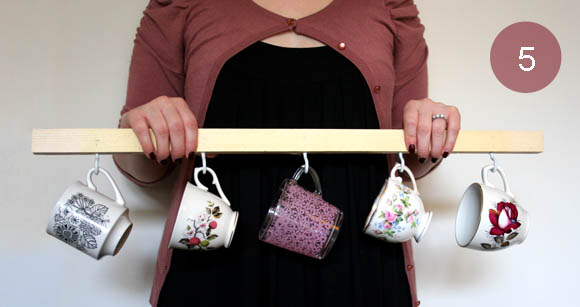
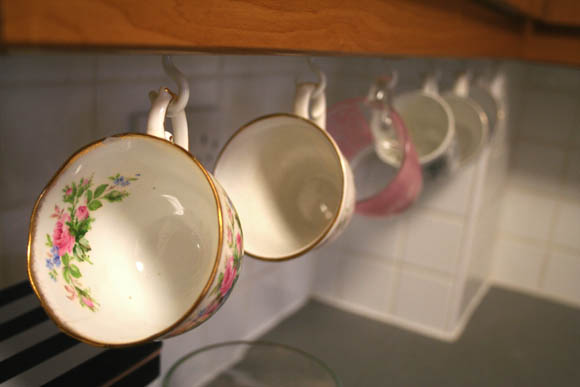
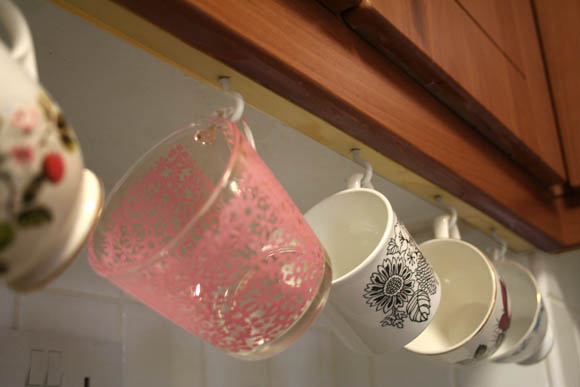
Step 5 : once all your hooks are in a row, give your cups a test spin to make sure they look okay before you affix them to your cupboard. On a side note, I assure you I didn’t match my number-circles to my cardigan. That is a complete fluke. I swear. Step 6 : in my haste and excitement to get this mother up in my kitchen, I forgot to take any pictures of the assembly process. It’s up to yourself which way you would like the hooks to face – towards you, or away from you. To me, facing away seemed the safest way, but you may feel otherwise. Affix your hook rail {minus the dainty tea cups} using a good number of screws and your screwdriver {an extra pair of hands will come in handy}. Make sure the hook rail is sturdily in place before you hang up any of your cups.
And that’s it! Sit back and enjoy your cute collection waiting to be oo-ed and aw-ed at 🙂
I’ve been waiting a week to post this sweet little number. As it happens, we haven’t been home {except to sleep} since last Thursday, so I haven’t had time to blog it. Plus it took me ages to Photoshop the details into this mother. I’m very indecisive these days.
House of the rising furniture
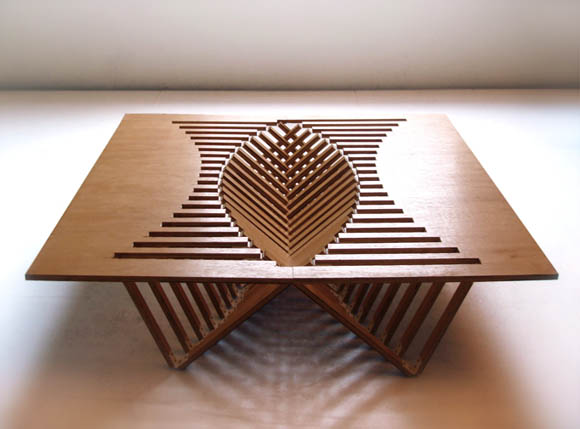
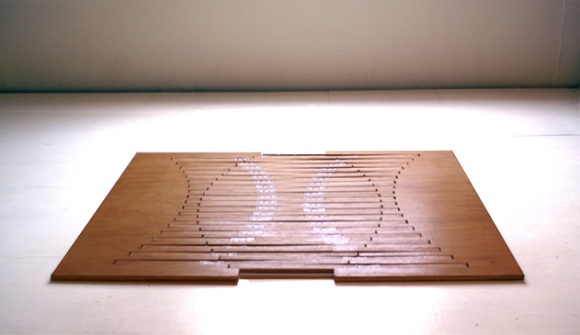
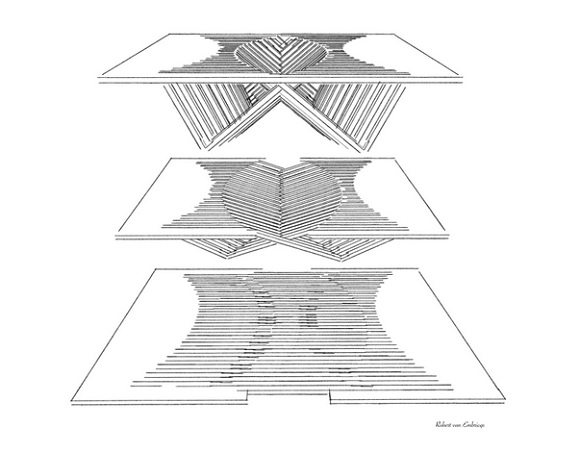
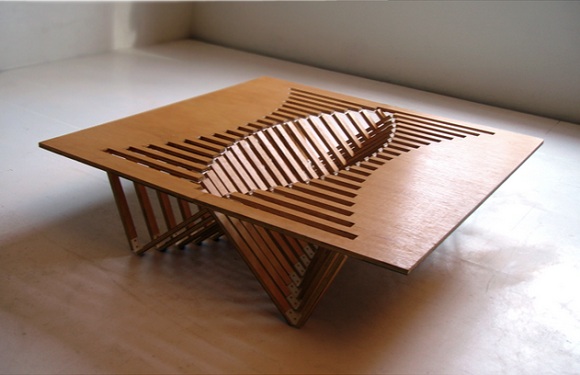
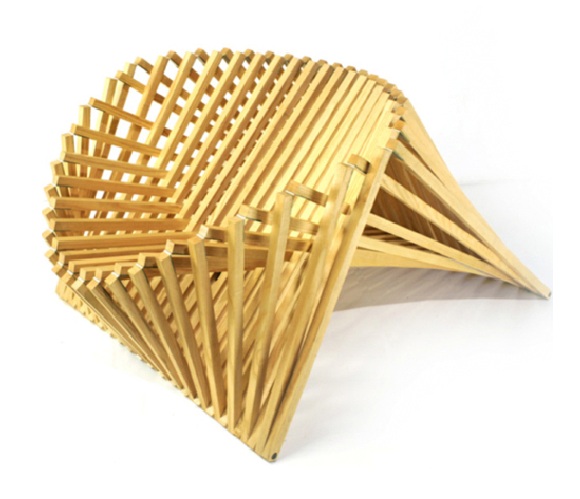
This is The Rising Table and Rising Chair by Robert van Embricqs. A friend hooked me up with some linkage to this table and chair duo, and I had to share them both. Both pieces were developed through the rather simple idea of designing furniture from a flat surface, with the capability of transforming into an innovative and incredibly stylish piece of furniture.
“During the design process, I made a point of sticking as close to nature as possible. Using natural design concepts for inspiration, I studied the various in which transformations take place in nature without the cumbersome involvement of man. This inspired the incision pattern in the flat surface of the wood that resulted into the creation of the latticework of ‘woven’ wooden beams …“
– Robert van Embricqs
- Newer Posts
- 1
- …
- 145
- 146
- 147
- 148
- 149
- 150
- 151
- …
- 201
- Older Posts

