Canadian man cave – man pillow

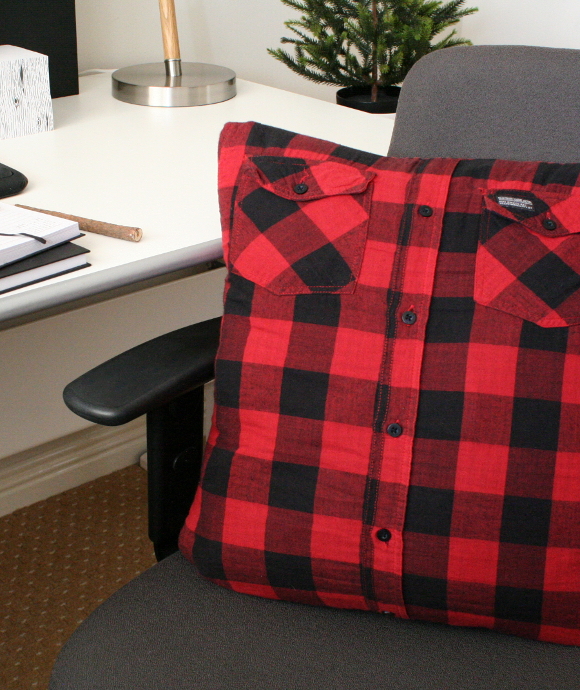
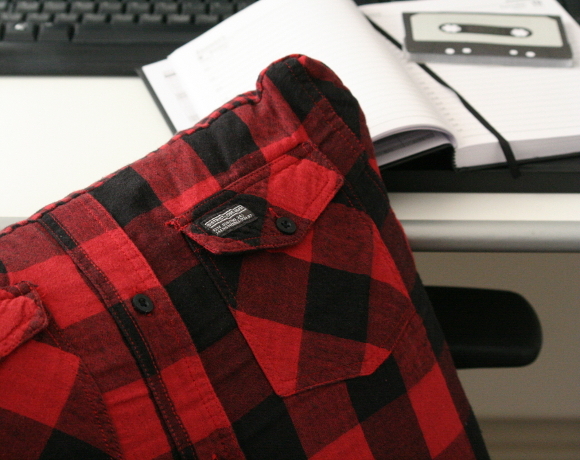
Hey, remember the lumberjack man pillow I made for my broseph’s Canadian man cave last month? I’m not a particularly good sewer, so that should speak volumes about how straight forward this project was. I didn’t even use a machine and sewed it all by hand, old school style. Wayfair.co.uk graciously provided the perfect pillow for my project and in return you can check out my full project today on their site HERE
Just like New Kids on the Block, you can follow the tutorial step by step, oooooh baby. Good luck getting that out of your head. I’m not even sorry. 

xx A

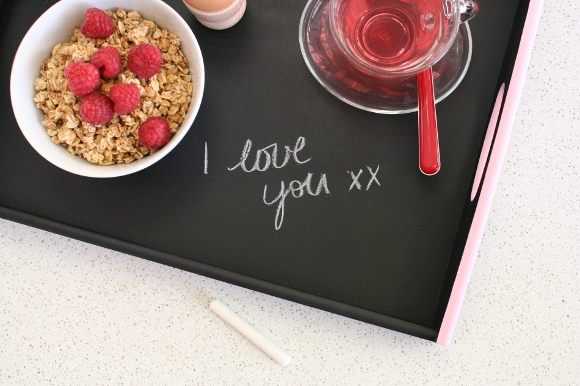
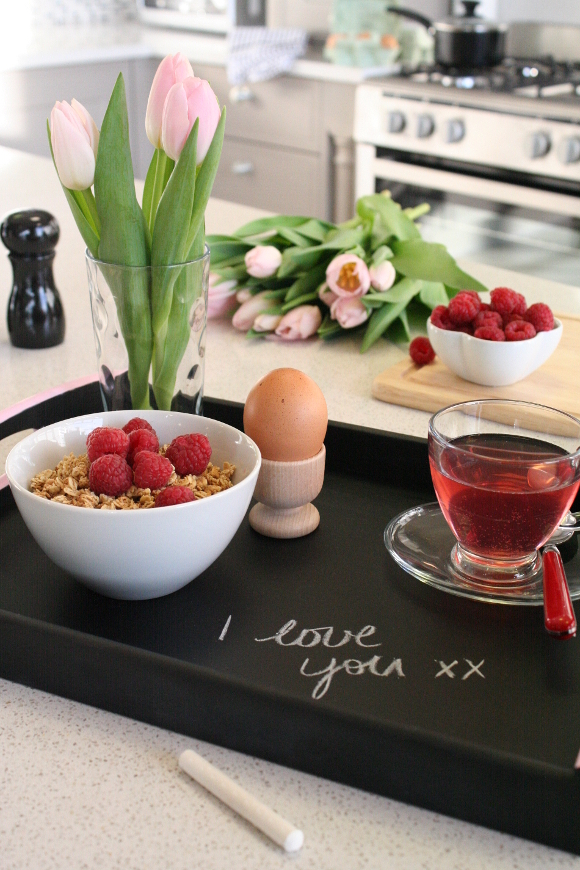
Valentine’s Day chalkboard tray

Last month the lovely / incredibly cool Laura gave me a tour of the Woodie’s Tallaght branch to help brainstorm some ideas for my first project with them. We excitedly agreed the first project should be Valentine’s based, and thought of all that could be DIYed for the big day. Most importantly, we wanted it to be an easy project that really made an impact. We checked our calendars and when we realized Valentine’s Day landed on a Saturday this year, we knew something for breakfast in bed would be perfect. 

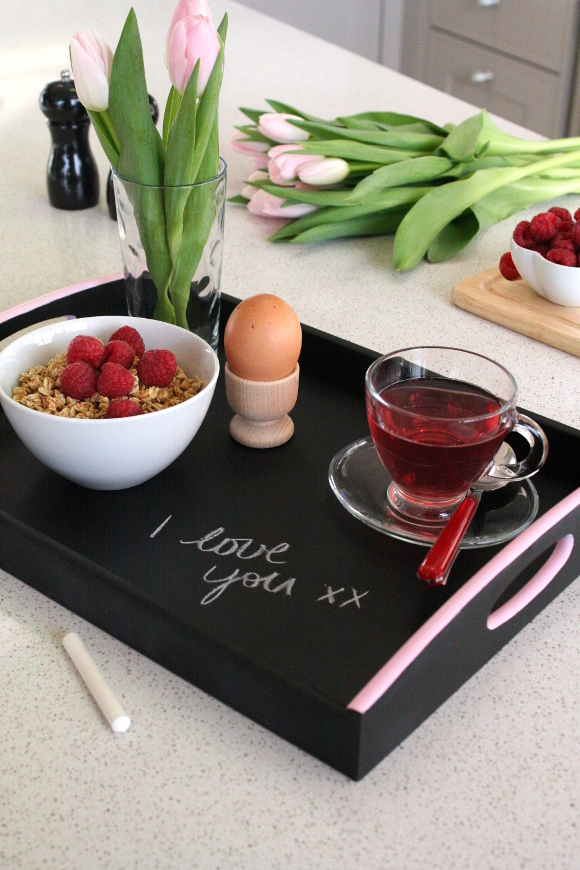
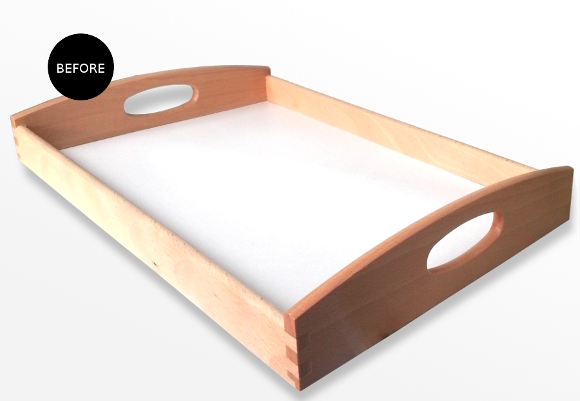
Woodie’s wooden tray was a perfect canvas for the project. I did a lot of head scratching and finally thought – why not paint it in chalkboard paint so sweet nothings could be scribbled all over it; perfect for a romantic breakfast in bed! BOOM. A simple DIY that makes a statement. Literally. 

What you’ll need
– A wooden tray from Woodie’s
Rust-Oleum’s spray chalkboard paint, available at Woodie’s
– Dulux tester pot of your choice for the handles, available at Woodie’s
– Paper towel or cloth
– A pair of protective gloves [I reuse the gloves that come included in hair dye kits] – Newspaper to protect surfaces from paint
– A small paint brush
– And chalk for cheeky messages

Step 1

Give your tray a thorough clean with a damp cloth or paper towel. Allow your tray to dry before you continue onto the next step. 

Step 2

In a well ventilated area, lay down plenty of newspaper to cover and protect any surfaces. Following the instructions on the can, shake the can thoroughly and with your gloves on, holding the tray upright with the can roughly 30cm away, begin spraying in a steady back and forth motion, overlapping with each line. Take your time and spray the paint thinly. Allow to dry for 30 minutes before applying a second coat. 

Step 3

If you’d like to add colour detail to the handles, do this after the second coat of paint has dried. I used a small paint brush to add detail, but this isn’t necessary. 

Step 4
When adding any chalky messages, don’t write too heavily and make sure the chalk isn’t too sharp; if you use a sharp piece of chalk it may etch into the paint.

After breakfast is served and devoured, to remove your message, simply use a damp paper towel or cloth to wipe it clean.

It took me around an hour to do this project, from start to finish. A simple project, but a statement nonetheless. And I should say everything you see in the photo shoot was sourced from Woodie’s. Especially that kitchen.

This project was especially memorable as it was DIYed, styled, photographed, edited and written by yours truly. But more so, working with a company like Woodie’s and with people like Laura who are equally excited and nerdy about home improvement and all things DIY, really is inspiring and so exciting. 

You can check out my full tutorial on Woodie’s website as and from now! Go check it out. Get painting. Get inspired. Get cheesy, lovey and creative. It’s tray chic [you’re welcome]. xx A

DIY Friday – you’re the Obi Wan for me

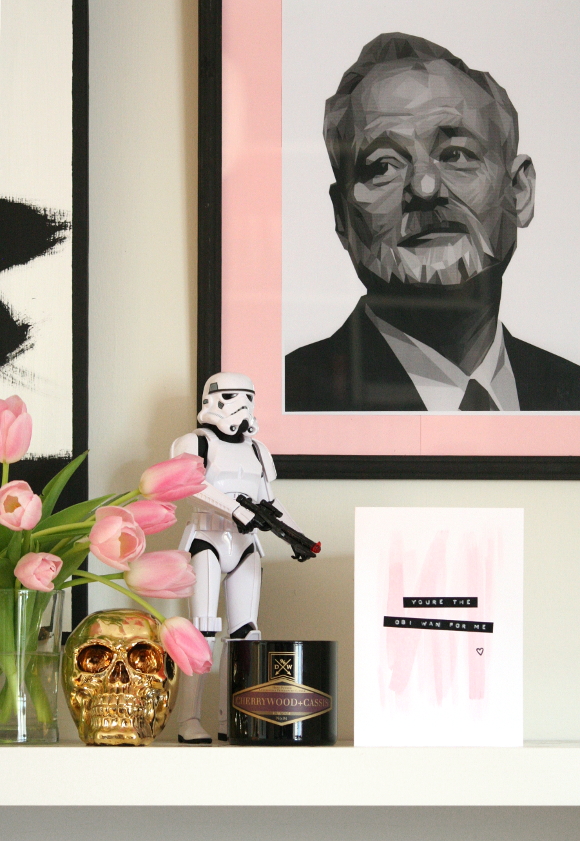
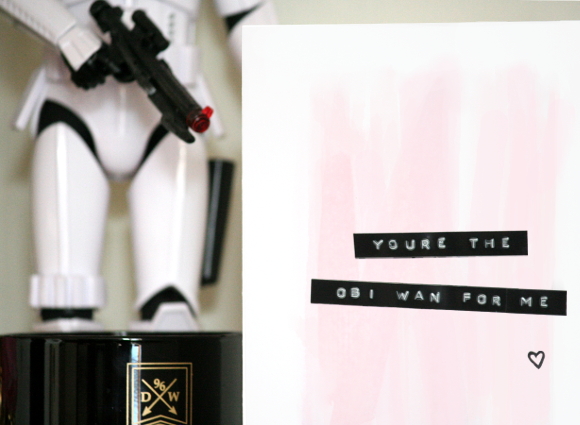
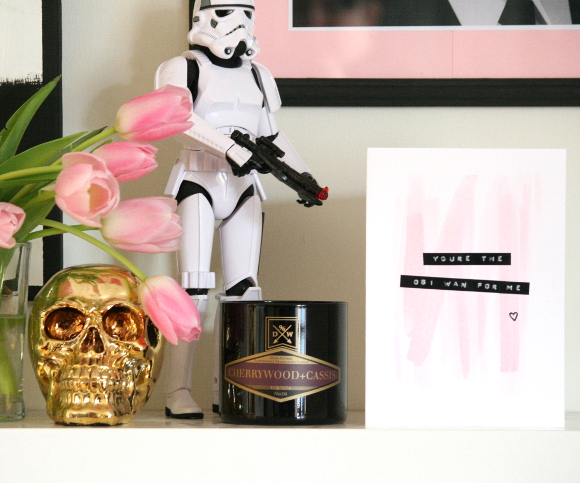
It’s no secret my husband is a Star Wars fan. As is evident by our apartment. So a couple of months ago I saw a really cute meme on Instagram [I’ve tried to back track and find it, but I can’t UGH] stating you’re the Obi Wan for me and BOOM. I knew my Valentine’s Day card for husband was sorted. It was perfect. 

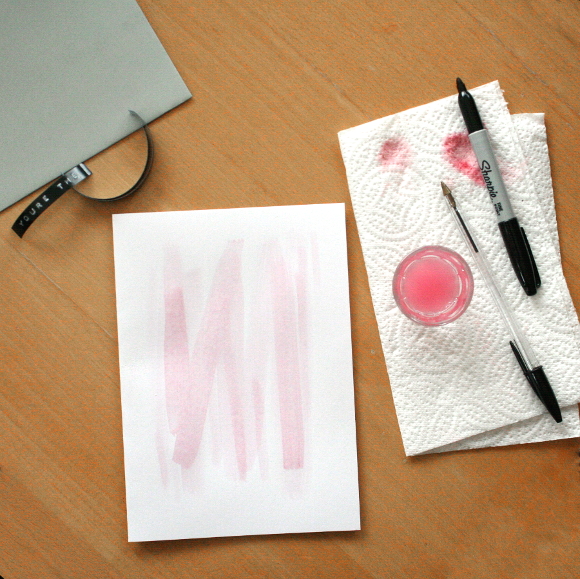
I sat down the other day and planned it out. I used an A4 piece of 220gsm card, folded it in half and painted some abstract water colour on the front [I practiced on some scrap paper first until I was happy with the right amount of random]. While that was drying, I stamped out the key phrase using our Dymo Omega label writer. There is nothing that thing can’t improve. Including Valentine’s Day cards. Of course if you don’t have a label writer, you could write directly on the card. 

I finished it by drawing a little heart on the outside and wrote ‘always and forever’ on the inside; part of our geeky Napoleon Dynamite inspired wedding vows. I’m obv. going to write more than that on the inside, I just wanted to mimic the sentimental message that usually comes on the inside of store bought cards. 
A really simple card idea I thought I’d share for anyone who may be stuck for a card next week. Pretty simple and dare I say fool-proof. Not that I think any of you are fools. xx A

Also featured – Bill Murray print – living room artwork [warning: shoddy early blogging photography etc.]