Nannie’s knock-off Baileys

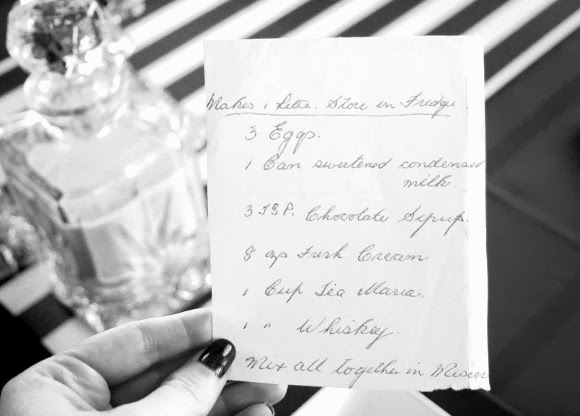
I’ve wanted to try this recipe of my grandmother’s for many years. It sat in my mom’s recipe book in the kitchen and whenever I came across it I’d always say to myself “I gotta make that one Christmas“. But then like, 10 years happened and still nothing.
This year I mentioned to my parents I’d like to give it a go and blog it. While we were in the kitchen stuffing our faces one day, my mom happened upon my Nannie Ada’s recipe and the next day I was buying the ingredients. I was a bit hesitant though because it didn’t seem like the ingredients would get along, but that didn’t stop me.

Ingredients
3 eggs
1 can sweetened condensed milk {
3 tsp chocolate syrup
8 oz fresh cream {roughly 230ml}
1 cup Tia Maria 
1 cup whiskey {we used Tullamore Dew}
Makes 1 litre
Method
Add all ingredients to a large jug and blend with a hand blender until mixed well. Just make sure you add the whiskey last. If you were to add it before the Tia Maria, it may cause the cream to split. Other than that, it’s painfully straight forward recipe. It took me all of about 3 minutes to make.
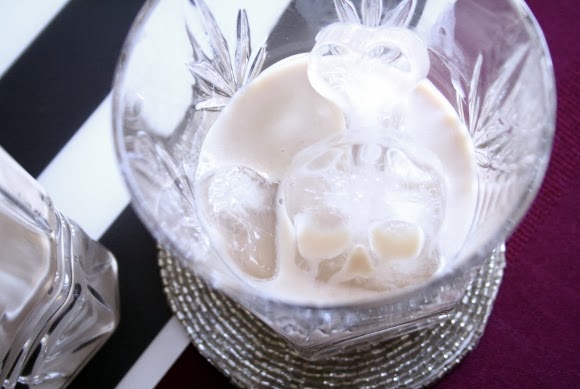
I think it is an absolute dead ringer for Baileys. Husband says it’s very close, but I think it’s because he knows I made it that there’s that bit of doubt there. It didn’t stop him from having 3 glasses of it last night … I’ve been keeping ours in a small decanter in the fridge to be on the safe side, and because it looks fancy too. You could of course pour it into an empty and clean Baileys bottle if you’d like to be extra crafty. Practice your sinister laugh as you hand your guests a glass. 
Best served over ice, ice, baby.

Being the persnickety shrewd that I am, I cracked out Excel and did the figures. Was it worth it? Will it be cheaper? Well, for 1 litre of knock-off Baileys it cost us €16.07. I was full of doubt. Until I found out the current price for 1 litre of Baileys is €26.83. A saving of €10+. Not bad … Bottoms up. 
And of course, an early happy new year to you! Husband and I will be kicking it at home this year with le chats and up to our eyes in knock-off Baileys, sparklers, bubbly and MOAR food it seems. See you on the other side xx A

From me and mine to you and yours …

I still can’t believe Christmas is only days away. I’m happy to say all our Christmas shopping is done – well, with the exception of some last minute ingredients for treats I’ll be making over the holidays {like this peppermint chocolate bark by Ketty of French Foodie in Dublin. DROOL}. I got all our shopping done on my lunch hours last week, which means I only had to endure an hour of wading through the retail madness each day. It’s been all go, go, go the last couple of weeks, so I can’t wait to chillax and slow down for a few days.
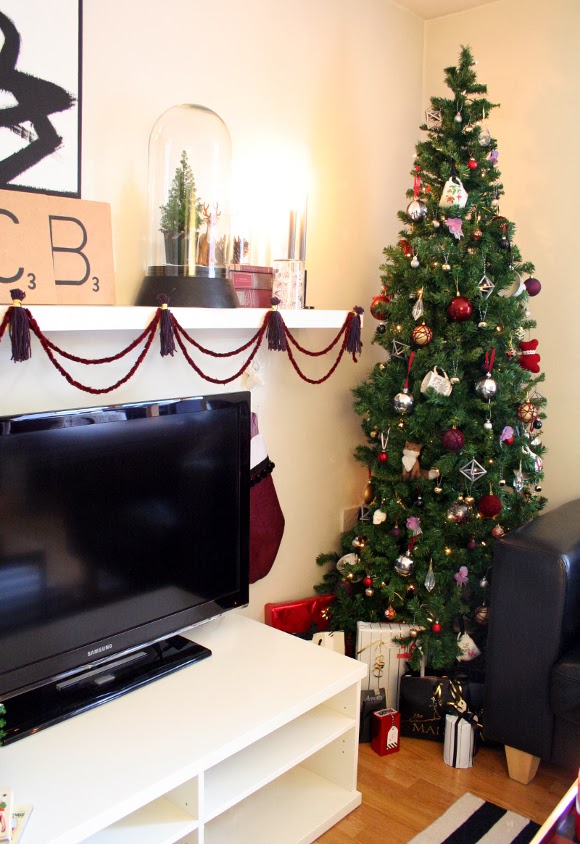
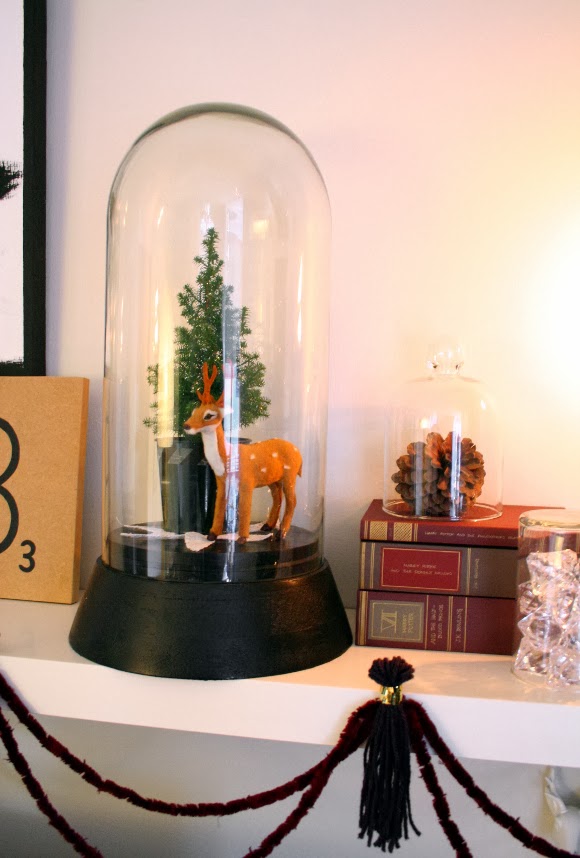
I only got to take pictures of our Christmassy bits over the weekend. I didn’t go as overboard as I had hoped this year. I did however fancy up some mantle swag by using yarn in my favourite colours, made some tassels and taped them up with clear tape. As you can see, there are no more edible ornaments on the tree. Those suckers were devoured weeks ago. 
And below – we don’t have a fireplace in our apartment {massive sad face}, so husband simply downloaded one for me this year …

So from me and mine to you and yours – I hope you have the happiest of holidays. Don those onesies, get comfortable, and turn on the movie marathons with a box {or six} of chocolates within reach. ‘Tis the season  🙂 xx A

Five steps to a festive table

Last weekend we had some dear friends over for dinner. As per the usual, the table was one of the last things sorted. I’m the kind of person who over-cleans for guests; I end up cleaning areas of our apartment that I’ve never even seen, never mind our guests. Because you know, in case they find themselves on top of the cupboards in our bathroom, I’d like it to be presentable. You never know.
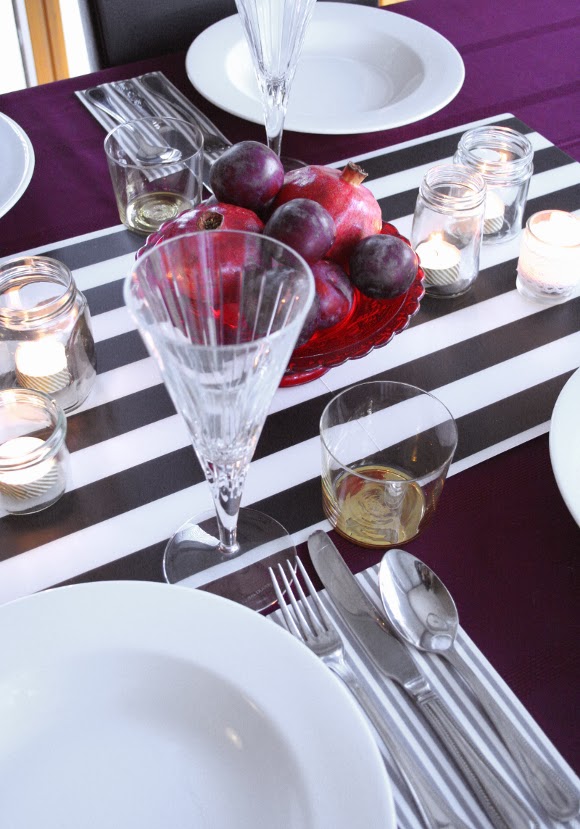
When I finally tackled the table, I kept it relatively simple, but I wanted some impact so I went with some bold colours. With Christmas fast approaching, the decor for this table doesn’t necessarily scream Christmas, but it can easily be adapted and customized to whatever time of year you want – birthdays, Easter, Thanksgiving or set for two for Valentines Day. So here’s what I did … 

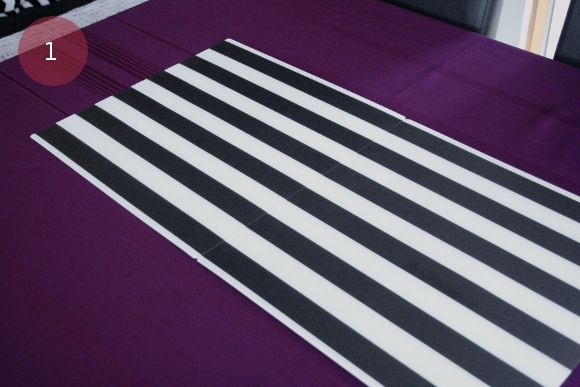
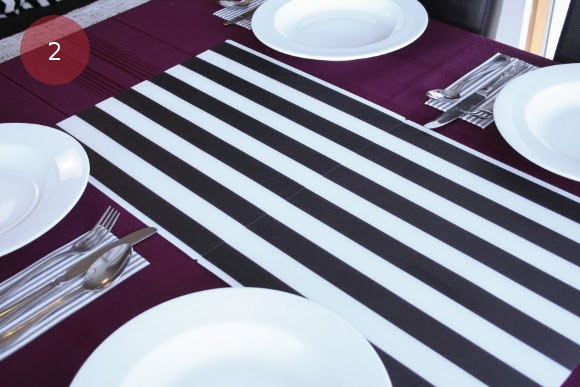
^ Step 1 – keep it basic with a table cloth and runner. I have a plum table cloth I stole borrowed from my parents years ago because it’s my favourite colour. I didn’t have a runner so I cheated and put two IKEA LJUDA placemats together and added them to the centre of the table. If you don’t have a table cloth – no need to panic. The same goes for a runner – just use what you have – some unfolded napkins, a scarf or even a section of wrapping paper will do the trick. Think outside the box.

^ Step 2 – napkins, cutlery and plates. Keep it simple. I went with plain white plates, some LAGLIG grey and white stripe napkins we already had {which tie in with the striped ‘runner’}, and I used our really standard cutlery. No need to faff about with the good cutlery.

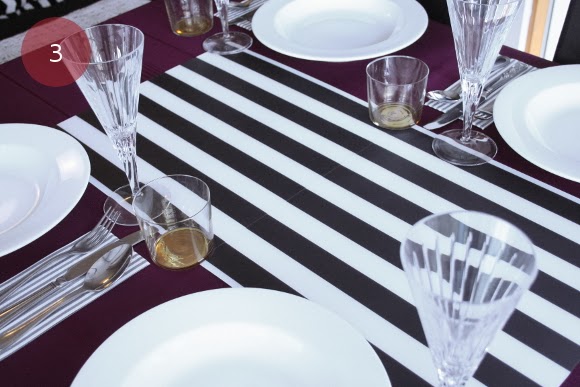
^ Step 3 – glassware! Normally I wouldn’t add tumbler glasses to a table, but I couldn’t resist bringing out my gold tumblers while I was taking these pics {they usually lay dormant on our bar cart}. Otherwise we’d just have wine glasses. Because just, well … wine. No explanation necessary.

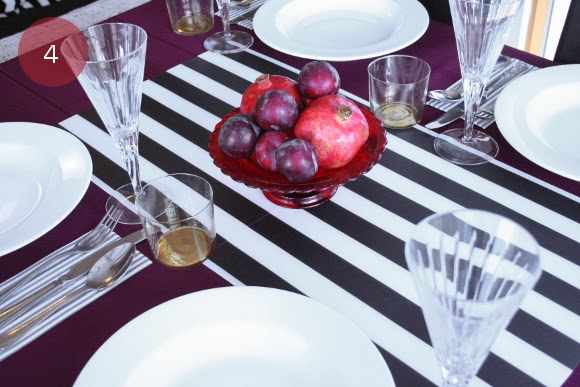
^ Step 4 – a centre piece. I kept it really easy and used what I had at my disposal. I had a little red cake stand and some fruit in the kitchen that matched the table. I bought these pomegranates the other day as they were reduced to clear {€0.60 each}, I loved their colour, and to be honest I bought them ’cause they’re pretty. I piled on some plums and there’s a centre piece for under €3. You like my plums?

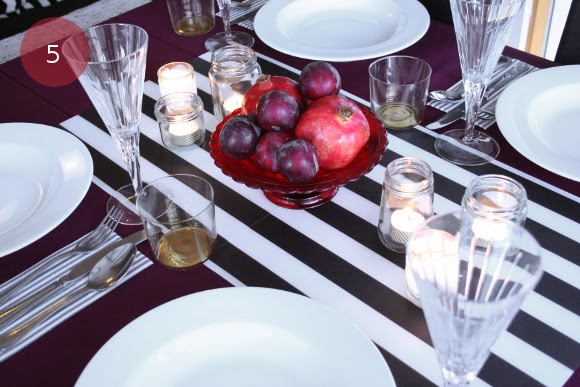
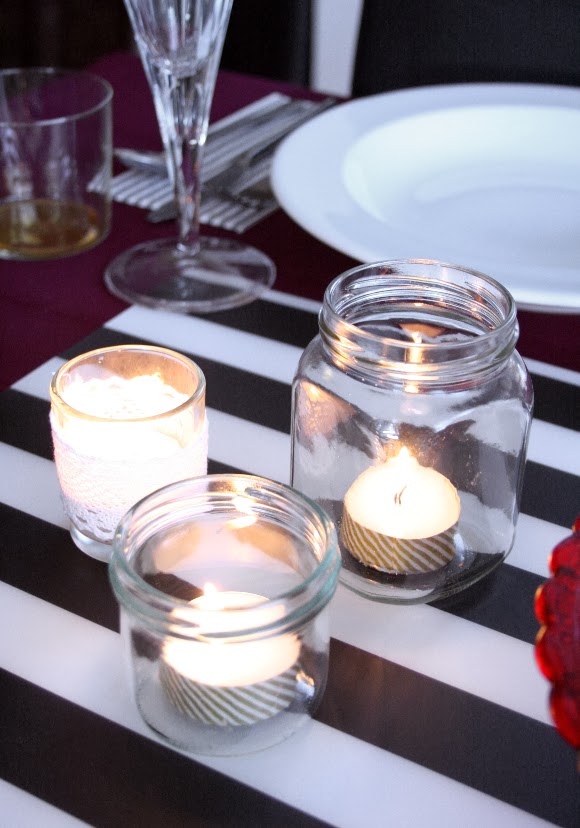
^ Step 5 – tealights. Confession: I’ve hated tea lights for years. They’re so tiny. What’s the point? But recently I’ve started rooting for them and they’re especially handy for decorating tables. What I did with my tea lights was add some gold striped washi tape to each tea light {thanks Pinterest} and popped them into clean jam jars. I think it’s a perfectly quirky and a bit of a rustic addition to the table.
You of course can add as much or as little stuff as you want, but I found sticking to these basic five steps really handy when I was decorating our table. So there you have it. Happy entertaining! xx A