Giving an IKEA Ribba picture ledge a faux marble update

Hands up who’s tired of me faux marbling things? I’m afraid today I’m sharing a few pictures and the process of the latest unfortunate piece to be overcome by my mediocre marbling skills.

Going back quite a while, perhaps even before Cora was born, someone left a 6ft long IKEA Ribba picture ledge in our communal underground garage ‘free to a good home‘ refuse area. I used [albeit smaller] Ribba ledge’s in my brothers office update a few years ago and I really enjoyed how useful they are for styling [and restyling] a space without having to put a dozen holes in a wall. I brought the new to me ledge up to our apartment and there it sat, in the corner of our bedroom, for a very long time.

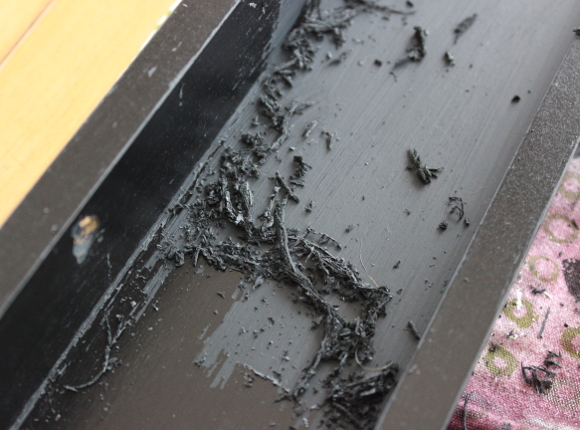
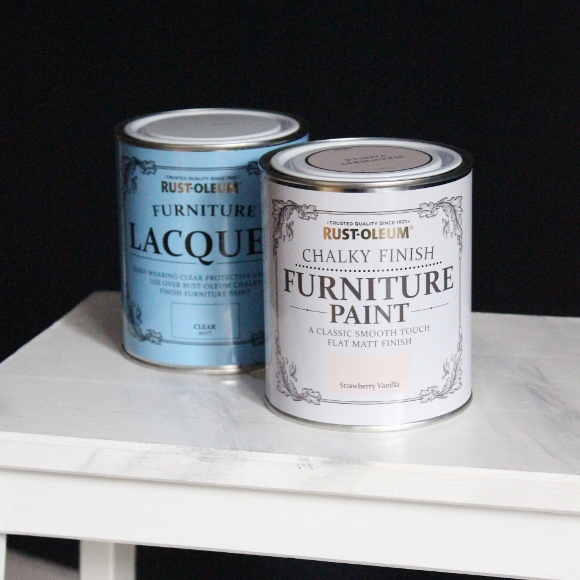
Someone had painted the picture ledge in a dark grey wall paint [ie – a paint in no way suitable for furniture], so I found it quite satisfying scraping off all the paint with an old library card. Once the picture ledge was clean, I painted it in four coats of white furniture paint. I knew for along time that I wouldn’t keep it as it’s original black as it was too close to the colour of our bedroom walls. I wanted the ledge to stand out from the wall and I figured, seeing as I faux marbled our bedside tables, I might as well see if I could do the same to the picture ledge. Matchy can sometimes be good [while also not being too matchy].

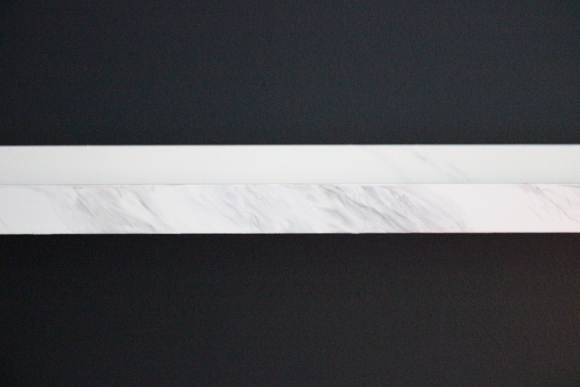
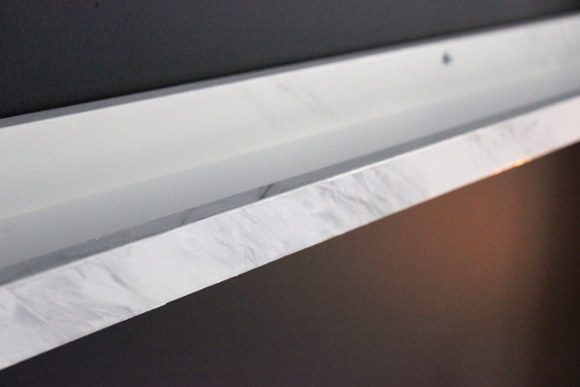
I used the same technique that I used when painting our bedside tables [see my tutorial here!] but in smaller amounts. The truth is that I didn’t have time to give it the same amount of detail as our bedside tables since I wanted it done during one of Cora’s naps. There’s nothing that will make you paint faster than the threat of a hungry baby. 
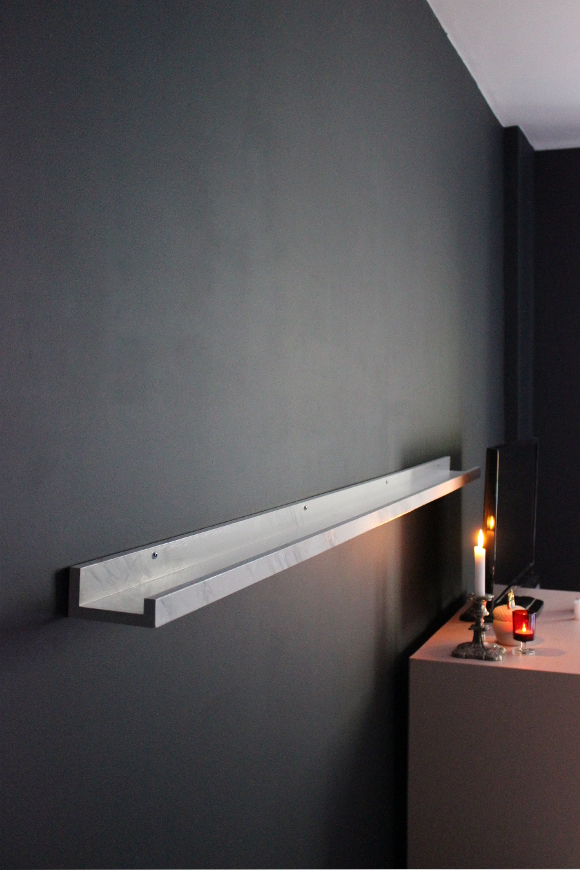
I honestly didn’t know how it would turn out, but I’m really pleased with it. It doesn’t look like much now until I style it out a bit. It looks quite boring for, but it’s already done so much for the wall in our bedroom that is so awkward to hang things on. Not too bad for a free project! 
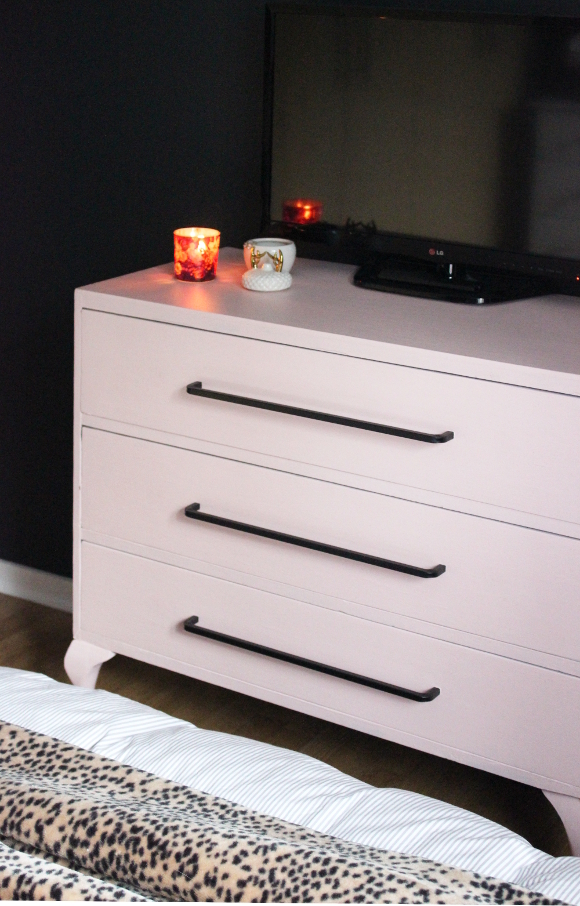
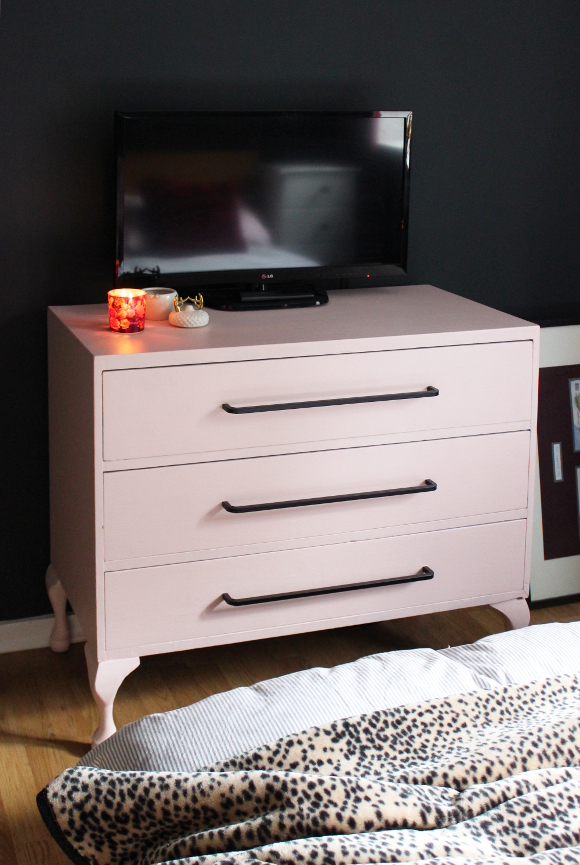
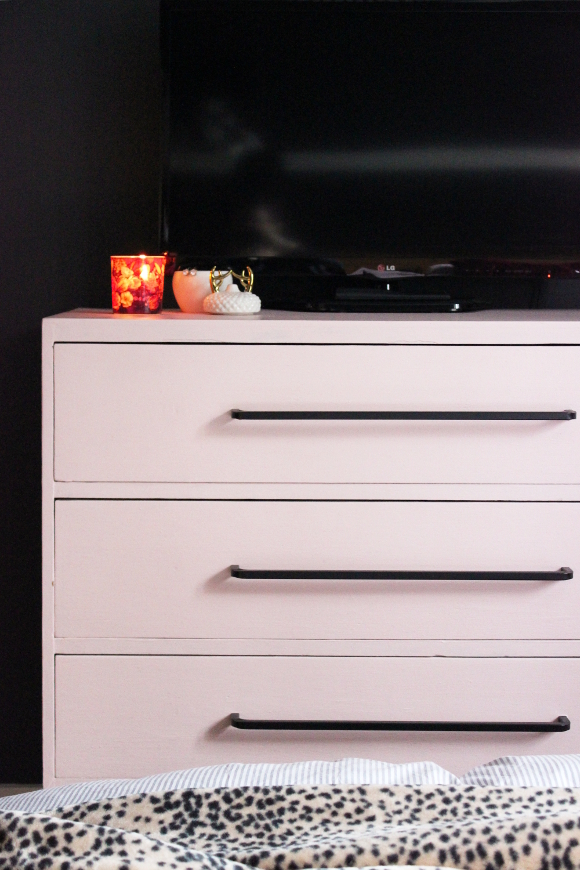
The Irish Independent, Weekend Magazine

Last Saturday’s Irish Independent Weekend Magazine featured a piece written by Emily Westbrooks all about how DIY needn’t be so daunting. And to prove just that it featured our coffee table contact paper makeover [along with the ever creative Linda of Make Do and DIY!].

I had every intention of sharing the piece on Saturday, but we spotted a man laying on the side of the road with a gash on his forehead on our way home [very long story short; we tended to him, called an ambulance and he was taken care of], so I completely forgot to share my mention that evening as we were a bit distracted, to say the least!
Thanks again Emily for the mention and for including our slightly-less-gaudy-rental-coffee-table thanks to a roll of contact paper and some elbow grease. And if you’re curious, you can see my full coffee table tutorial here

Bedroom dresser update – reveal!

It may have taken me close to two months to do it, but I’m very excited to at long last be able to share our updated bedroom dresser! 

Around this time in December Rust-Oleum got in contact about working on another project. Our bedroom dresser was in serious need of being updated so I chose to repaint our dresser with Rust-Oleum’s Chalky Finish Furniture Paint in ‘Strawberry Vanilla’ and topped it off with some of their mat Furniture Lacquer [you can read my full design decision making process here]. It took much longer than expected to update our dresser [a handle order that went wrong + having a newish baby = things now take 42 times longer than I’d like], but despite the delay, I’m more than delighted with how it turned out. 

Because our dresser was so dark, it took 3 coats of ‘Strawberry Vanilla’ to cover the previous paint. I let the dresser dry for about 6 hours between each coat before adding the lacquer finish. I added two layers of lacquer as our dresser gets a lot of use and is also in a high traffic area in our room. I thoroughly mixed the lacquer, applied the first coat and waited 24 hours before applying the second coat as per the instructions on the tin. My one mistake was I didn’t thoroughly mix the lacquer before I applied the second coat and the second coat came out streaky. This was simply because the lacquer had settled in the tin between coats. I mixed it really well and applied a third layer of lacquer and it turned out perfectly. Because I added 3 layers of lacquer altogether, I let the dresser dry fully for about 2-3 days before putting the drawers back in and placing anything on top. 

Something I found really handy was applying the paint and lacquer with a small sponge roller. Using a sponge roller meant each layer was applied to the dresser and drawers from start to finish within 20 minutes. Whereas if I had used a brush, I’d say I’d still be working on it. 

The black Ikea borghamn handles really finish the dresser and work perfectly with the antique pink. I’m all about strong contrasts and juxtapositions, so the strong black handles balance the lightness of the dresser and tie it in with the rest of our room. They make it – dare I say – a bit sexy? 

I don’t want to sound overly dramatic, but I’m really in love with our dresser now. The reason I love interior design so much is because of the mental health benefits that come from updating a space. How one change to a room can make such a huge difference to a space and how you feel about that space. Our room was feeling a little bit dreadful these past few months, but a few coats of paint have really made such a difference. 

DISCLOSURE – while this blog post is not sponsored, I did receive this paint and lacquer free of charge from Rust-Oleum. As always, all words and opinions are my own. I only work with companies I like and of course, think that you will too. Thank you for supporting the companies that support The Interior DIYer. 

Also featured – faux marble bedside tablesfaux marble step stool – our engagement story [in the large picture frame]