Updated curio cabinet

This past weekend we were gifted with some truly horrific weather here in Ireland. However, sometimes it’s nice to have such a solid excuse to stay indoors in your pj’s all day and contemplate striking one item off your never ending list of things to do. I was in such a mood this weekend so I finally rolled up my sleeves and repainted my little curio cabinet the blackest of black. As a reminder, here’s what it looked like up until this weekend … 

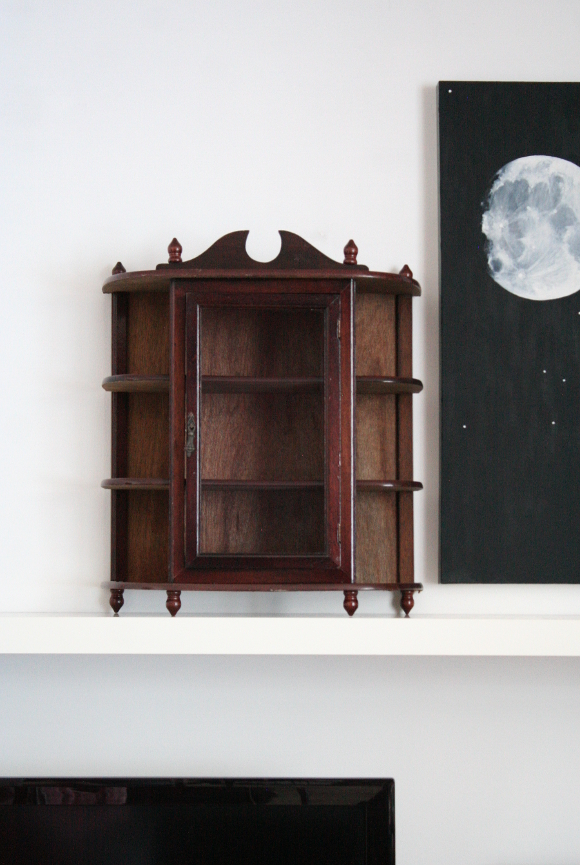
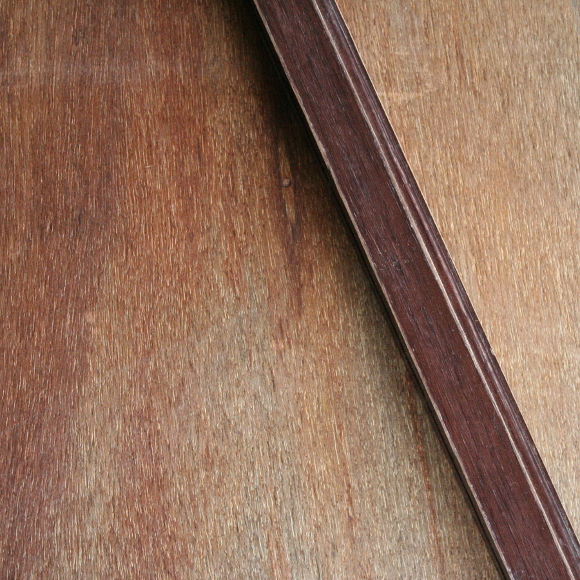
Not bad, but not great either. The finish was chipped all over, not to mention most of the panelling had no finish at all [as seen two photos down]. I began by disassembling the entire cabinet. As my dad showed me when it was gifted it to me for my 30th [and suggested in the first place that it be painted], you simply unscrew all the knobs along the top and bottom and that allows the entire piece to be taken apart, and fairly easily.

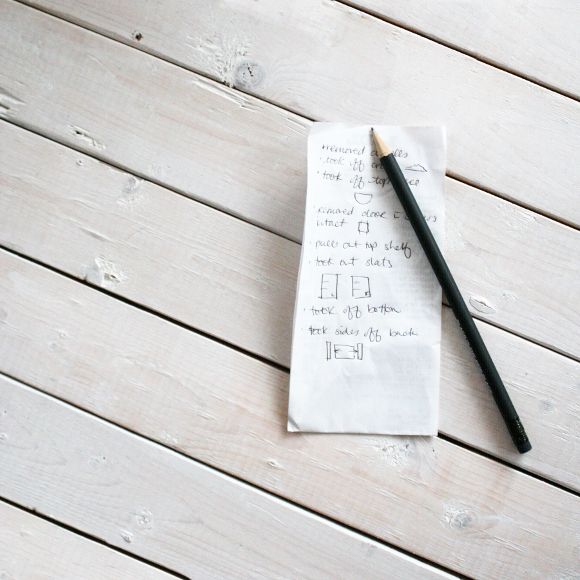
I laid the cabinet flat on a drop cloth on our dining table and began disassembling it. As I was taking the cabinet apart, I made a quick note of the order in which I took it apart [accompanied by a couple of rough sketches for the fancier pieces whose name I didn’t know. ie – the very top piece I called the tiara bit]. This note came in immensely handy when it came to reassembling the cabinet at the very end as it turned out to be trickier than I thought, even with the list. 

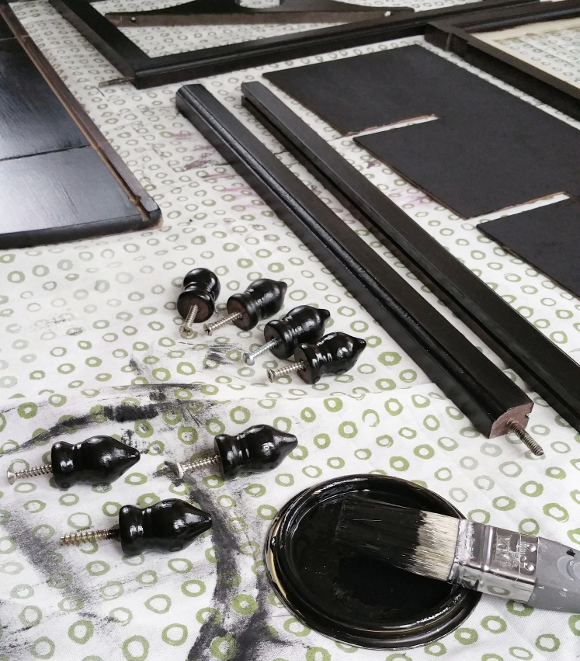
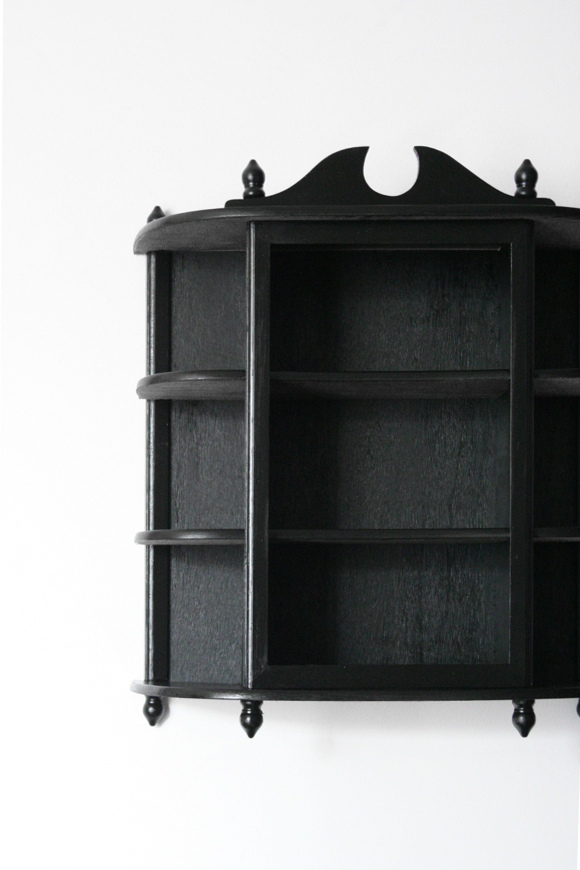
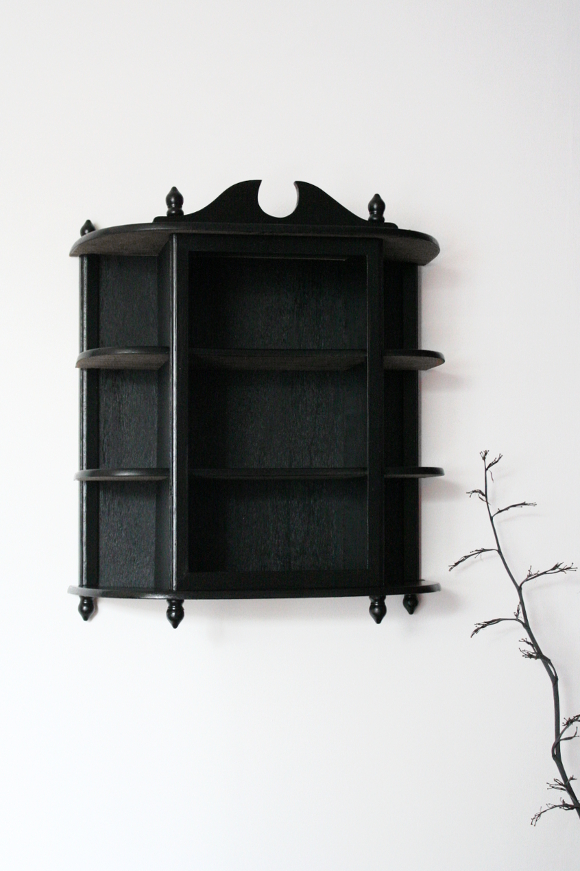
I took the cabinet apart, lightly sanded [in the direction of the grain] each piece, cleaned it with a damp rag and lightly painted two coats of black paint [again, in the direction of the grain]. Since removing it, I have yet to put the glass door back on as I’m in the process of replacing the hinges [I steeped them in coke to remove the rust, but alas, they were beyond repair]. Now that there’s no door, I’m actually kind of liking it. It doesn’t look too out of place sans door either …
Now that it’s painted, my exciting [for me] decision is that I’m hoping to fill it with succulents! Yes! Living things! I was originally going to fill it with my Sylvanian Families cat collection, but I’ve managed to keep a certain succulent alive since I brought it home from Dublin Design Night, so one day I thought how lovely it would look filled with little succulents in glass jars? It would look lovely, past self! And it would make the cabinet seem a bit less … daunting, too. 

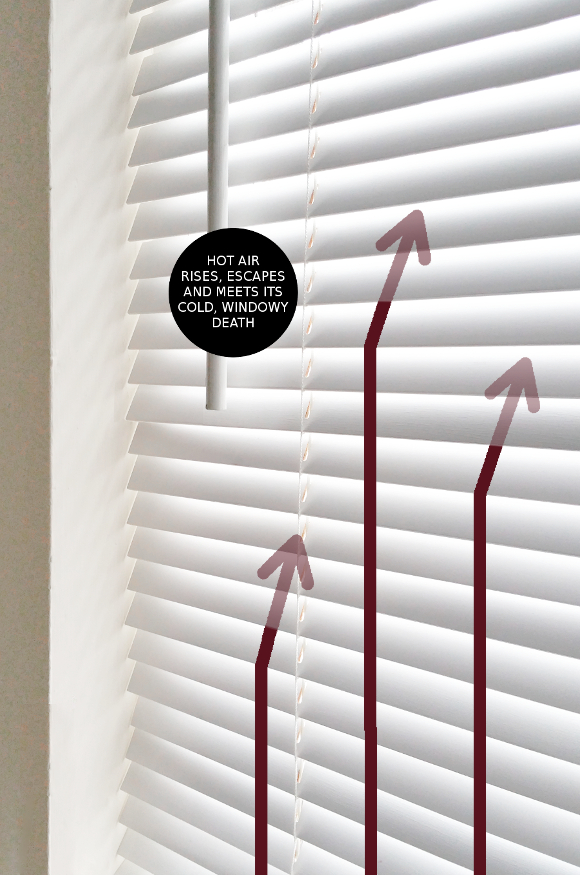
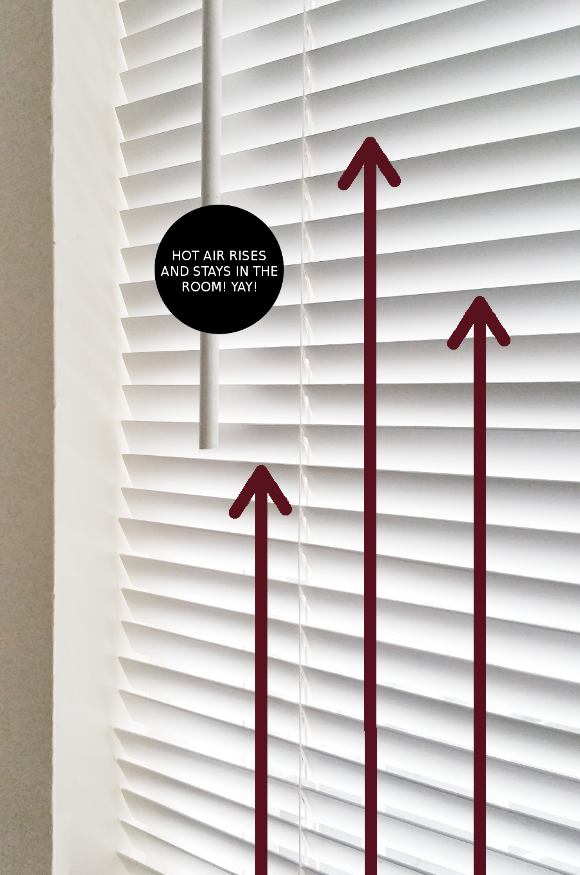
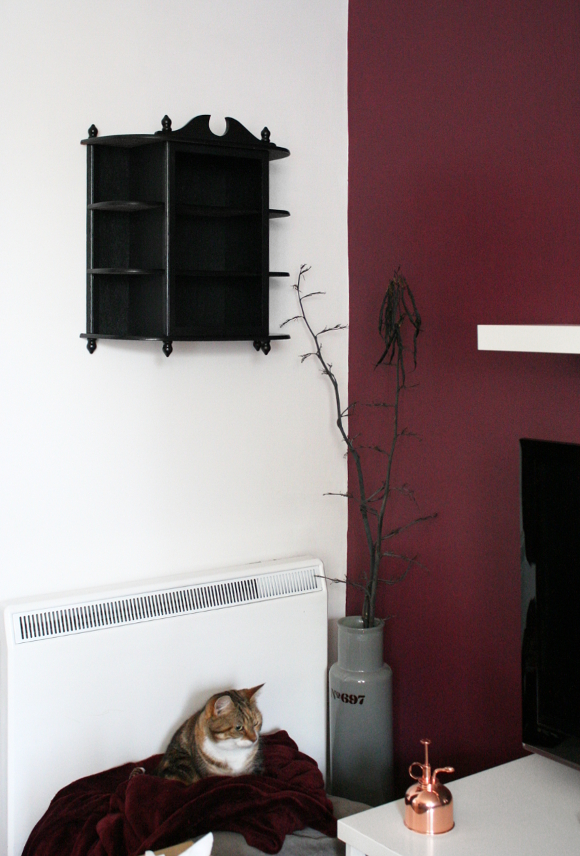
I’m not however sold on where the cabinet is now hanging. If I’m to fill it with succulents, hanging it over a storage heater probably isn’t the best start. The cabinet’s also kind of fighting with the white shelf over our TV. It looks not too bad in the above photo, but in real life they look like two grumpy old men having to sit next to one another for the duration of a long bus ride. For now, I’m thinking maybe over my desk would look nice? We’ll see. Chances are, it’ll take another two months for me to make my mind up. 

and Juniper looking rather confused

Winter is coming; the right way to tilt your blinds

It may be a distant memory for some [ahem, me], but some of you may remember that in day one of science class in primary school we are all taught that hot air rises. This may seem like a passing thought, but when it comes to keeping your home warm in the winter this is an important thing to remember. Believe it or not, the direction that your blinds are tilted will either help keep your home warm or act like a giant wampa and steal all the hot air and life from a room.

It’s a very simple trick – one that we’ve been doing for years. And while I cannot guarantee a substantial increase in the temperature of your home or a difference in the cost of your heating bill, I can say that it’s a small step you can take to keep your home warm this winter … 

BLINDS TILTED DOWN = BAD

If you tilt your blinds down, as hot air rises from your heaters it will be drawn to and encouraged to escape through the gaps in your blinds. From here, it will meet a fast and painful death as it hits your cold windows and will never be remembered. Ain’t nobody wants that. To somewhat better explain what I mean, see my badly executed diagram below … 

BLINDS TITLED UP = GOOD! 

However, should you tilt your blinds up as shown below, as the hot air rises from your heaters [or if you’re a lucky bastard, from your underfloor heating], and having your blinds tilted in this direction will continue to direct the hot air up and keep it circulating within your home. Yay! o/

I know it’s not a groundbreaking tip, but it’s one of those things I think of far too much and when I see people’s blinds tilted the wrong way, especially leading into the colder months, I scream internally and want to knock on their door and help them. We then have a nice hot drink by the fire and share stories about our cats. We then become lifelong friends and go on skiing trips together

So there you have it! A minuscule change you can make to help keep the hot air in your home this year. I hope it helps in some little way. Happy heating 🙂 

True story

A funny thing happened a few weeks ago. We were visiting my parents one weekend and when I first arrived I spied something unsual in my mom’s art room. I went in to inspect. There, hanging in the corner of the room was a branch suspended by two pieces of twine*. 

Oh I really like what you have going on here, mom“, I called out to her. 

Oh. OH! I HAVE TO SHOW YOU THIS!” my mom said, running for a magazine. “I was flicking through the last Image Interiors & Living when on page 69 I saw a room that had a branch hanging from the ceiling. I really liked it and thought it would look great to hang my paintings from. I kept flicking through the magazine and there on page 135 was a tutorial for how to hang a branch of your own. Oh! I thought, how lucky am I! It was only after I hung up my own branch that I noticed that the tutorial was written by an ‘Alex’ … Then I realised IT WAS YOUR TUTORIAL IN THE MAGAZINE“.

My mom is hilarious and was so excited, we were literally holding our faces because our minds were so blown. My mom DIYed a project she found in a magazine and later realised it was written by me. True story. 

You can now find my ‘Branch Out’ tutorial from the July / August issue available online on Image.ie!

*As it’s in their conservatory, it’s not suspended from the ceiling like in my tutorial because, well, there is no ceiling so my mom improvised.