Renting tips – how to store your landlord’s stuff

If you’ve ever rented in Dublin [or Ireland], chances are, you moved into a furnished apartment or house. This will sound strange if you live somewhere where apartments and houses come unfurnished as standard, but here in Ireland, when you move into an apartment you acquire a lot more than just a lease. An apartment can come with furniture, accessories, knick-knacks, and depending on your landlord, a spectrum of interesting things.

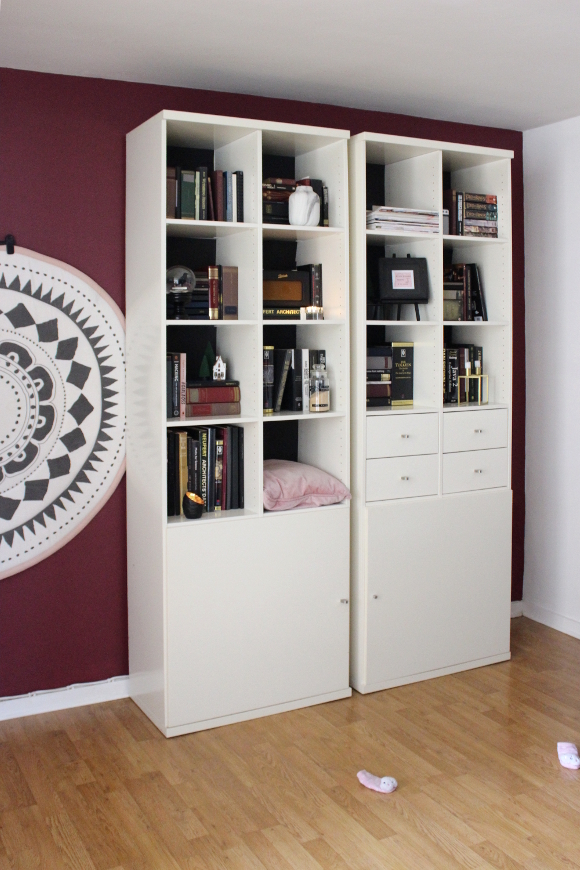
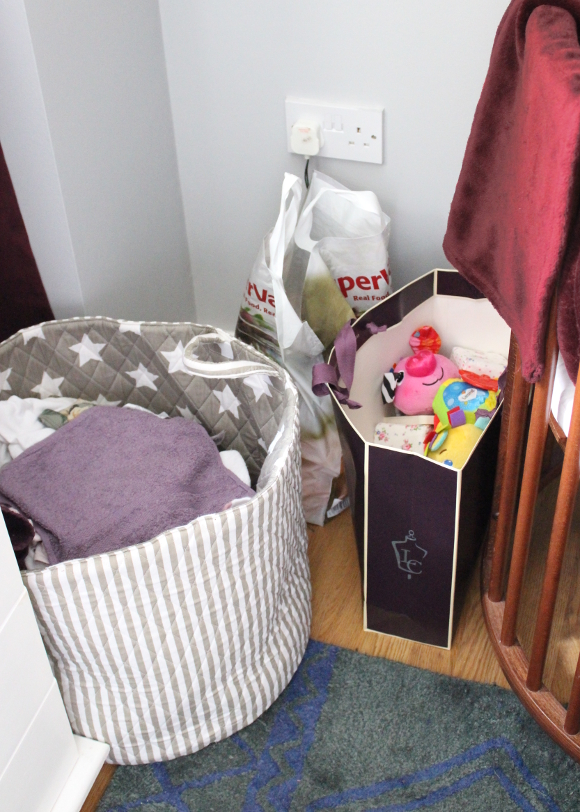
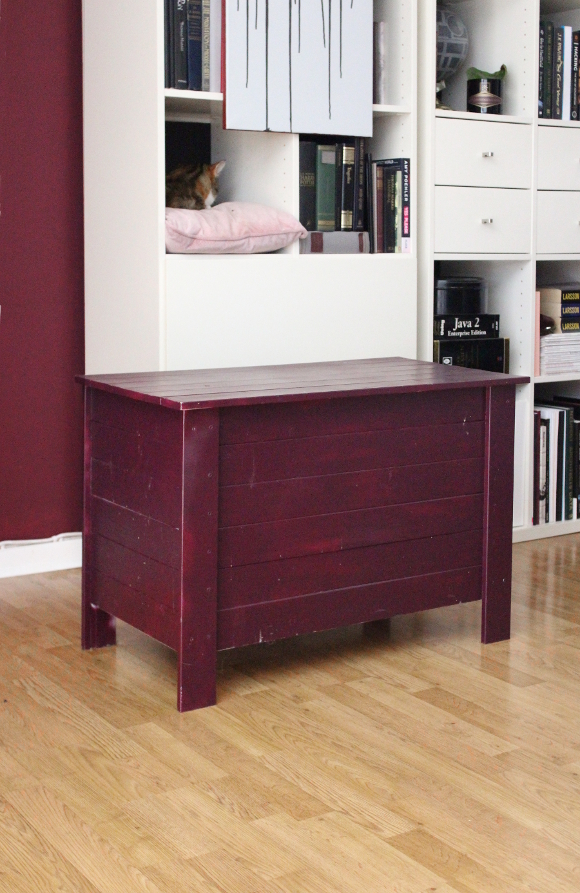
Our current apartment came with a lot, most of which we found we wouldn’t need. Knowing what to do with our landlord’s things took some planning, so I figured if I had this problem, there might be other people out there in the same situation. There were things like vases, framed prints, photographs, pottery sets, curtains, objet d’ art and kitchen accessories that either weren’t to our taste or we didn’t need, so I carefully packed them away for storing. As the years went on, there were larger things we didn’t need either [a shelving unit and a double bed], so I spent some time planning how to store it all. Our apartment has very limited storage, so I looked to the unused areas of our home to store our landlord’s stuff …

The larger pieces like the double bed that was in Cora’s room before it became a nursery and the unused middle shelving unit in our living room were both disassembled and carefully placed under our bed. It was the perfect space to store both disassembled pieces. 

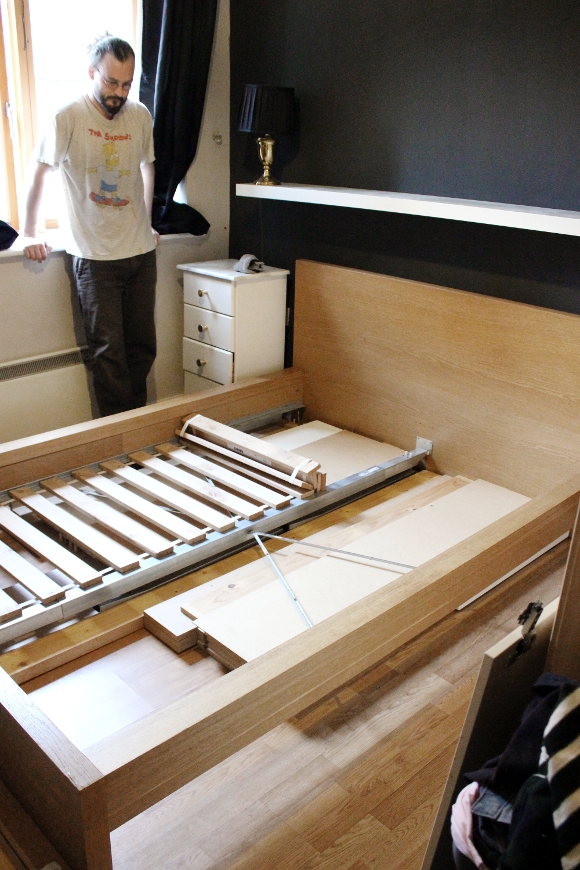
TIP! If you don’t have instructions for a piece of furniture, photograph each step as you disassemble it so later when you reassemble the piece, you can look back at your photos and can be put it back together in the right order. 

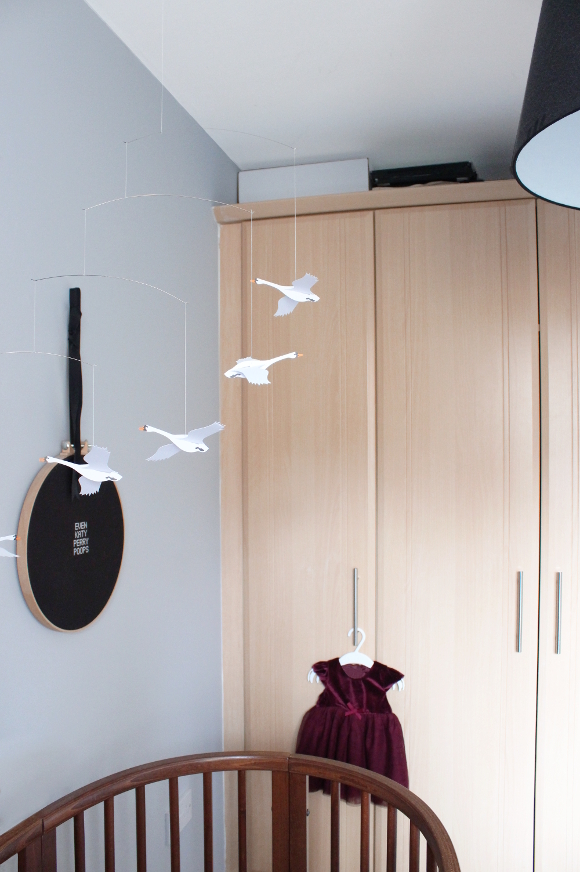
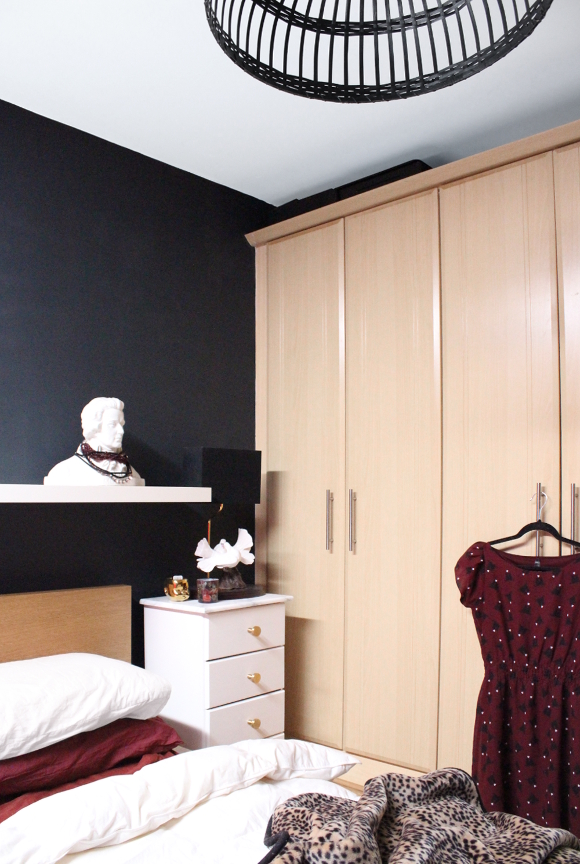
The top of the wardrobes in our bedroom and in Cora’s nursery took a lot of secret storage. It’s only when you stand at the far side of each room and look directly at them that you can see there’s stuff up there. I managed to hide quite a lot above each cupboard. There’s everything from pots and pans to mirrors carefully wrapped in newspaper to a samurai sword.

TIP! Make a list of what is in each box so if you need to find something quickly, you know exactly where it is.

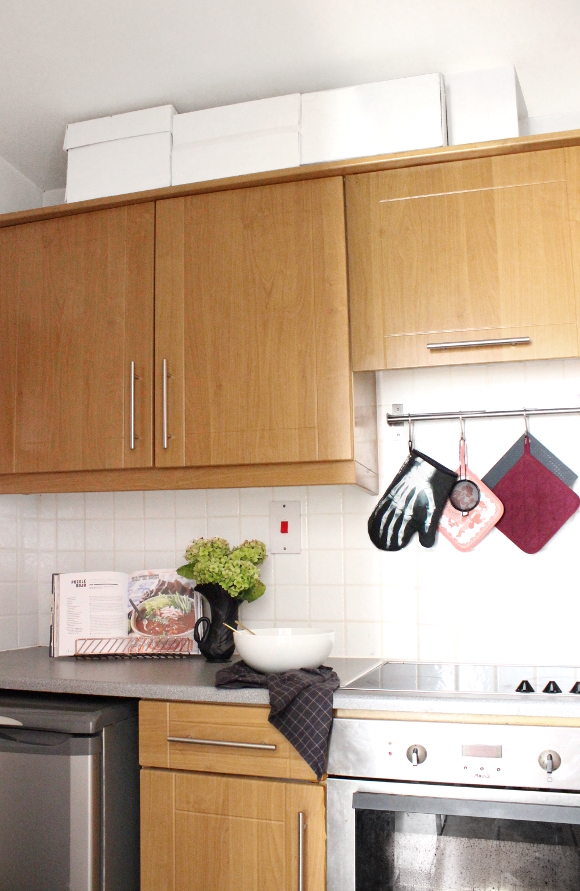
Above the cabinets in the kitchen was another great place to store things. I took empty printer paper boxes, painted them white [this was during my nesting period], and was able to carefully store quite a lot. The boxes seem pretty obvious in these pictures, but our kitchen is very small [and DARK and impossible to photograph], so from the living room you don’t see these boxes as there’s a wall between the kitchen and living room, except for the door opening.

This has been another one of those blog posts where I’ve thought, people are going to think I’ve lost my mind because this is boring as hell, but I always find if I have a problem like this, there are other people too with it. Knowing what to do with your landlord’s extra stuff can be overwhelming, but all it takes is planning and a bit of creativity!

Updating our [landlord’s] Ikea shelves

This isn’t a particularly striking nor interesting blog post, but over the past few weeks I’ve been reorganising and updating the stuff on our [landlord’s] IKEA shelves. I styled our shelves like this close to 2 years ago and they’ve barely changed since. Recently, I spent a few minutes each day while Cora isn’t making unrelenting monotonous teething sounds content, so I had a chance to move things around.

I added the second large door back onto our shelves, and it seems I did just in time as 2 days later [on Father’s Day], Cora started crawling. All she wants to do now is crawl and it’s the sweetest and most exhausting thing ever [for both of us].
I also hung up Cora’s Elodie Details playmat. It spends most of the time on the floor in our living room, but when Cora’s asleep, we hang it up on the wall so we’re not walking on it and so the cats don’t get [extra] fur all over it. 

I’m finding it more and more difficult to photograph these shelves [7 years living with them and their yellowedness is making me want to ram them into a wood chipper]. I tried to photograph them over 3 different days, and each time I uploaded my photos onto my laptop, I was underwhelmed. You’ll have to trust me when I say the shelves look half-decent now, but they’re just so tough to photograph. Am I the only one with a tricky part of their home like that? It looks good in real life, but completely impossible to photograph? For now, they look about as good as I can get our landlord’s shelves to look.

p.s. When I was looking at my posts on these shelves over their lifetime, I found this haggard blog post and I take back anything negative I said about these photos today. Woof

Our (temporary) baby toy storage solution

For a long time, I’ve hoped to use an old coal chest to store Cora’s toys and an old coal bucket to store her diapers. They’re not what most people would think or want to use in their home, but they’re what I’ve wanted. 

I found a really well kept coal chest in an Oxfam a few weeks ago, but I was tired and wasn’t in the mood to lug it home [plus, I had Cora and the pram]. I went back a few weeks later and as you can guess, it was gone. 

Until now, we’ve been using a rather elite plastic bag to hold Cora’s diapers. As for her toys, they tend to stay on the living room floor or end up in a paper bag next to her crib. I can’t see either her diaper or toy bags from the hallway, but I know they’re there. Lurking. And they bother me. I know the mess is only going to get worse, so until I find an unobtainably pristine child-friendly secondhand coal chest, we can use my old storage trunk. I bought it years ago from Argos and it’s served us well, but the current colour is too close to the colour of our walls. I’ve kept it for sentimental reasons, but I’d like to update it and make it look a bit more sophisticated – if possible. It’s a basic wooden chest, but I have no idea what to do with it. I was thinking of turning the top into a padded seat [and even adding a buttoned chesterfield-style top], but the rest; clueless. 

I’m still on the lookout for a secondhand chest and bucket, but in the mean time, I really don’t know what to do with this one. The only colour I’m vetoing is WHITE. It can’t be painted white because of those god forsaken dicoloured Ikea shelves. White only magnifies how yellow our landlord’s shelves are [I’ve considered painting them, but that would be more hassle than it’s worth].

I’m kind of thinking painting it black and adding a chesterfield buttoned top, but I really don’t know. Any and all ideas would really be greatly appreciated. What would you do with it if it was yours?