Repainting a high chair black

One of the first things we bought when we moved to Ottawa at the end of September was a high chair for Cora. We bought it secondhand on Kijiji [the equivalent to Adverts in Ireland] for $40. I really liked the old-school shape and style of it and the table flipped the table to the back so when Cora is a little older it would allow her to eat at the table with us. It had so much charm that I couldn’t resist it. And yeah, one of the back spindles broke and had been replaced some years ago, but I didn’t mind at all. It was in good shape and was clean and safe [I wouldn’t have put Cora in it otherwise], but I had every intention of updating it. 

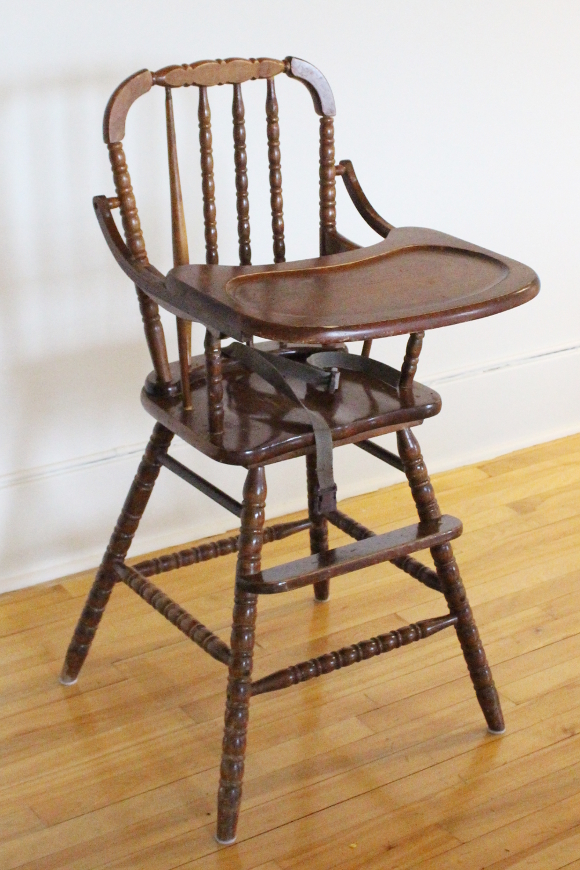
For a long time I wanted to restain it. It had a dark wood stain but 16 years of use had worn through it so there would be a lot of sanding ahead of me. Sure! I’m up for it! But then I actually thought about the work involved. All those spindly bits. Such spindles. So many damn beautiful, intricate spindles. I’d have to sand the entire thing back to the original wood to get an even coat of stain across the whole piece. So much spindly sanding. And to be honest, I didn’t have enough mental energy to do it. 

I thought about painting the entire thing a solid colour. I thought for a few weeks before deciding on anything [if I’m ever indecisive, that usually means I need more time to think]. In the mean time we bought a dining room set secondhand [also through Kijiji], and its black dining chairs were the reason I went for the set so I figured, why not paint Cora’s high chair black to match?

I headed to our local Canadian Tire and spoke to their paint experts about what I was looking to do. They suggested Rust-Oleum‘s line of Tremclad paint for the likes of outdoor furniture and toys. We decided on their Rust Paint in black as it was high gloss and I’d need something easy to clean for Cora’s high chair. 

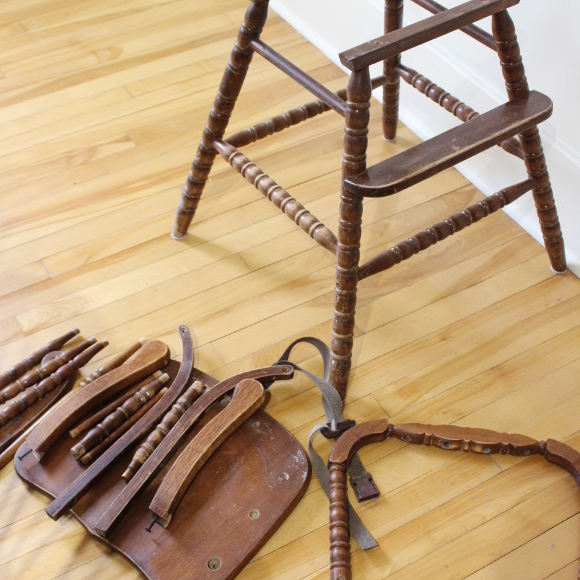
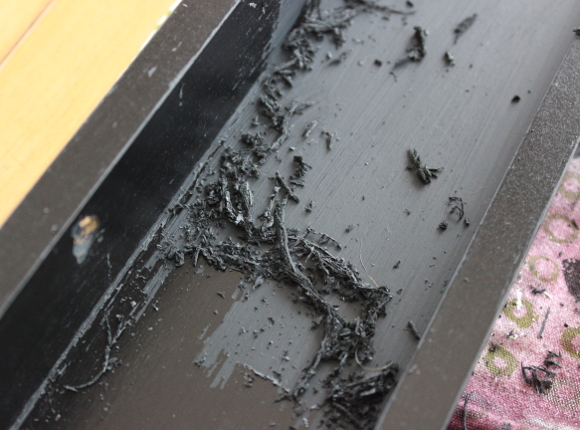
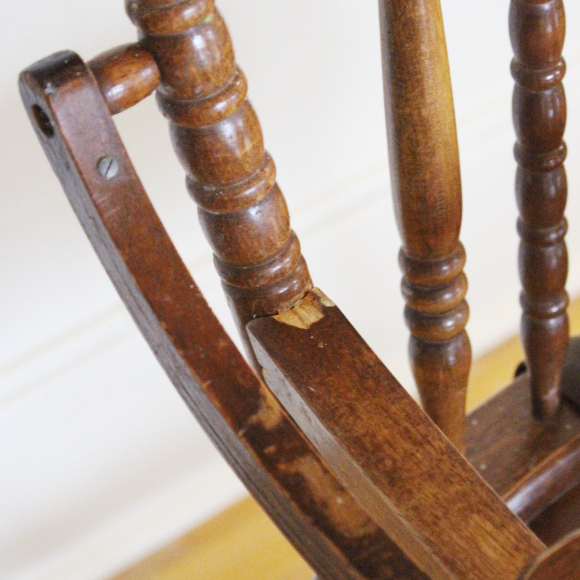
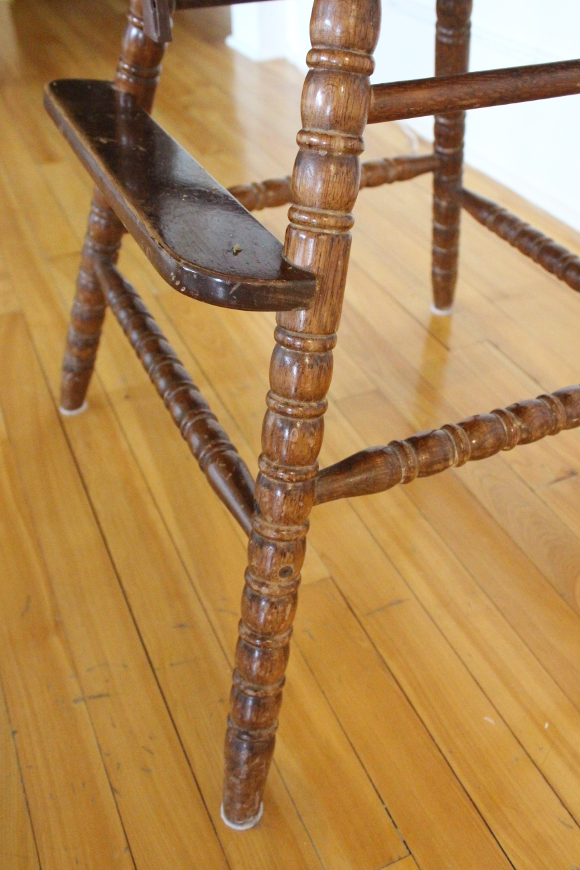
Before I got to work, I disassembled the entire top half of the high chair as the black frame wobbled from side to side – not to the point that is was dangerous, just loose from years of use. I wanted to do a proper job of fixing it and I couldn’t tighten the spindles without taking it apart. 

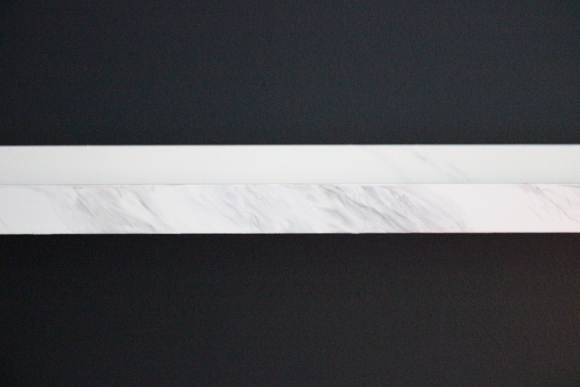
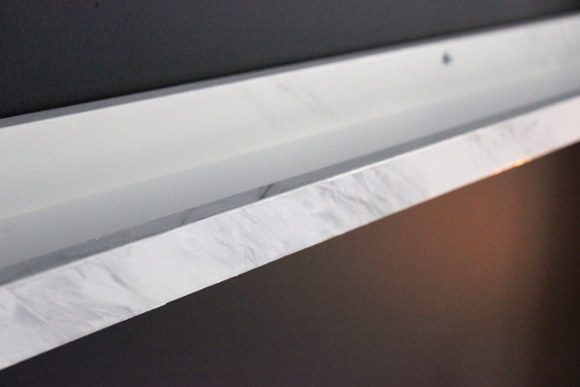
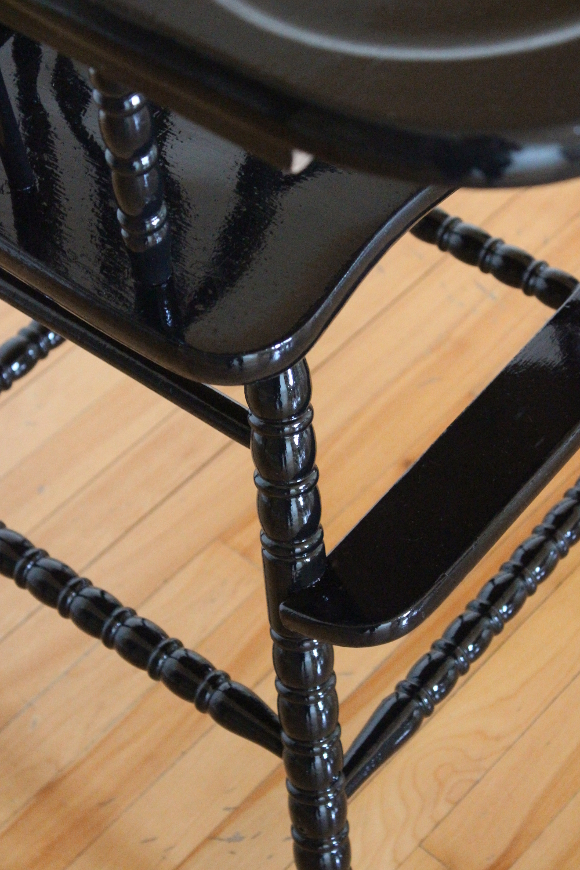
I painted each piece in a light coat of paint and waited around 6 hours before applying the second coat [I waited so long because it was drying on our cold porch. If it had dried at room temperature, it would have taken less time]. I waited a further 12+ hours before reassembling it. I glued all the loose spindles back in place with Gorilla Glue and let it dry another half of a day before letting Cora use it. 

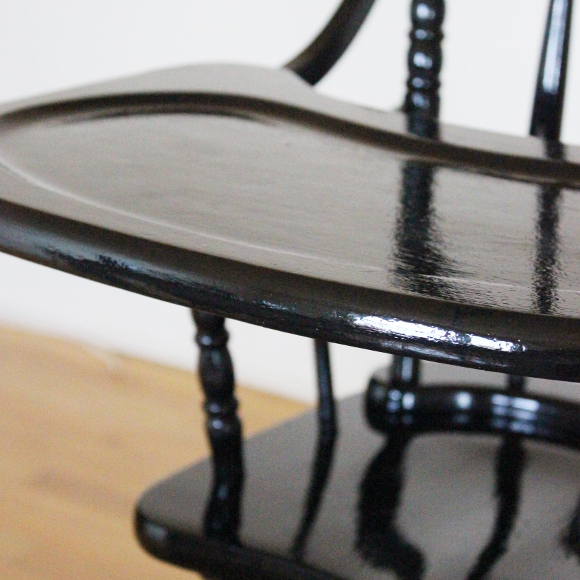
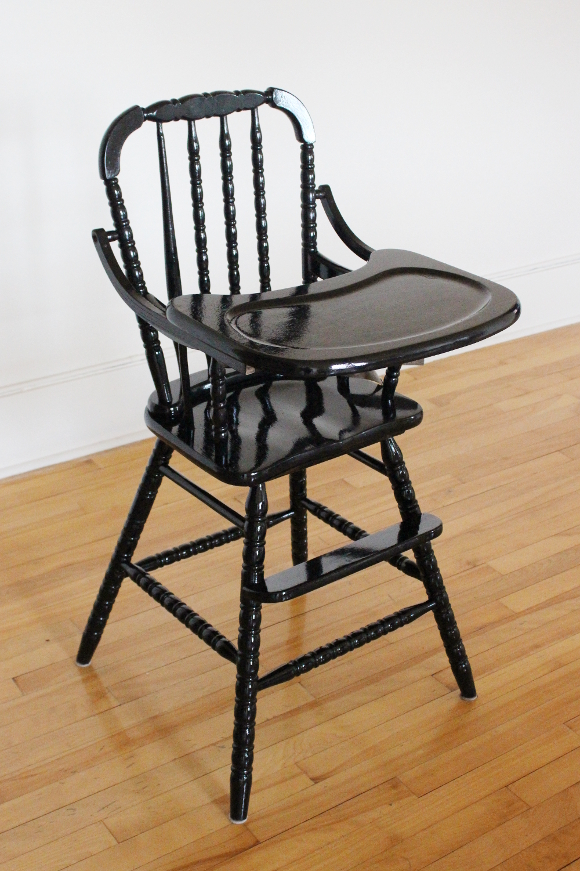
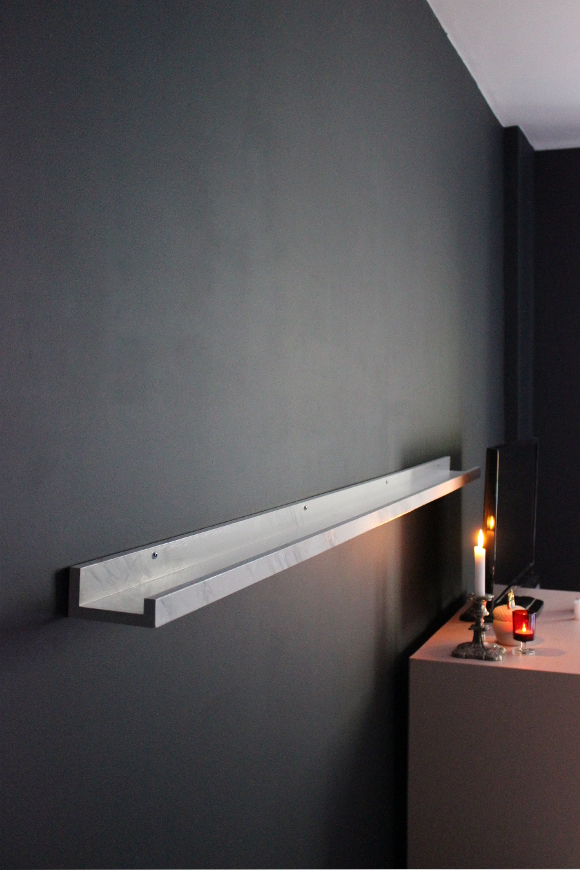
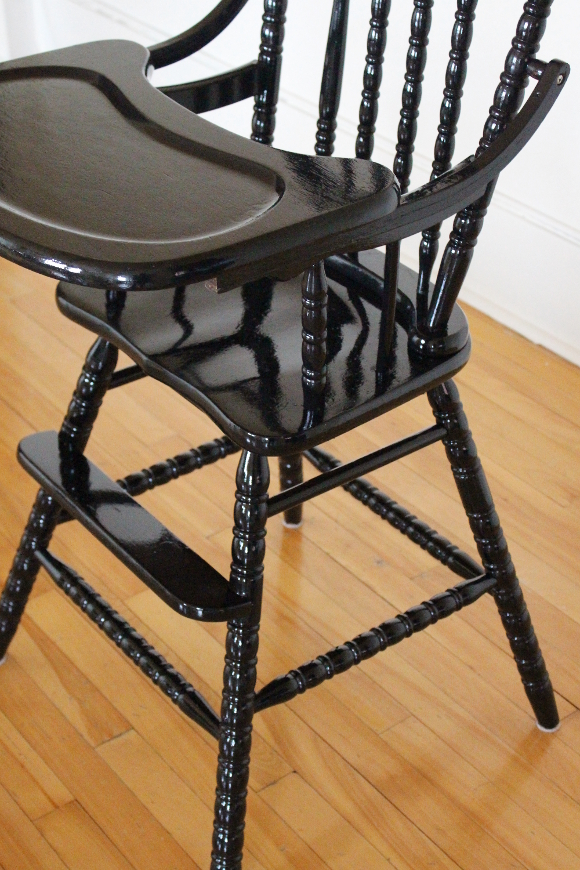
It looks SO MUCH BETTER as one uniform colour and it’s so easy to wipe smeared avocado or peanut butter off of it [it was tough to clean it properly before if any food got into a part of wood that was untreated]. I think it looks quite posh actually! Yes, I totally spent $250 on our child’s high chair …

I doubt black would be a colour many people would think to paint a high chair, but it looks really smart alongside our new dining set; all of which are black [sans the table]. The woman I bought the set from had ‘upcycled’ [her words, not mine] the set by spray painting the chairs black and painted the seats with grey chalk paint [which makes zero sense], so I’ll be repainting each of our chairs in the same [more suitable] paint as Cora’s high chair so they’ll all match. They already look really well together now that they’re the same colour and I can’t wait to share more of our dining set soon. SOON!  

Giving an IKEA Ribba picture ledge a faux marble update

Hands up who’s tired of me faux marbling things? I’m afraid today I’m sharing a few pictures and the process of the latest unfortunate piece to be overcome by my mediocre marbling skills.

Going back quite a while, perhaps even before Cora was born, someone left a 6ft long IKEA Ribba picture ledge in our communal underground garage ‘free to a good home‘ refuse area. I used [albeit smaller] Ribba ledge’s in my brothers office update a few years ago and I really enjoyed how useful they are for styling [and restyling] a space without having to put a dozen holes in a wall. I brought the new to me ledge up to our apartment and there it sat, in the corner of our bedroom, for a very long time.

Someone had painted the picture ledge in a dark grey wall paint [ie – a paint in no way suitable for furniture], so I found it quite satisfying scraping off all the paint with an old library card. Once the picture ledge was clean, I painted it in four coats of white furniture paint. I knew for along time that I wouldn’t keep it as it’s original black as it was too close to the colour of our bedroom walls. I wanted the ledge to stand out from the wall and I figured, seeing as I faux marbled our bedside tables, I might as well see if I could do the same to the picture ledge. Matchy can sometimes be good [while also not being too matchy].

I used the same technique that I used when painting our bedside tables [see my tutorial here!] but in smaller amounts. The truth is that I didn’t have time to give it the same amount of detail as our bedside tables since I wanted it done during one of Cora’s naps. There’s nothing that will make you paint faster than the threat of a hungry baby. 
I honestly didn’t know how it would turn out, but I’m really pleased with it. It doesn’t look like much now until I style it out a bit. It looks quite boring for, but it’s already done so much for the wall in our bedroom that is so awkward to hang things on. Not too bad for a free project! 

Updating a secondhand vase with paint

I’m not off to a great start with today’s post as I can’t find any ‘before’ photos despite having our swan vase for close to 6 years, it seems I’ve never taken a photo of it. I saw this swan vase in a charity shop years ago and bought it [probably for something like €5] because I’ve always liked swans and thought it had a really nice shape. Unfortunately, I only realised how aged and discoloured the vase was once I brought it home, but since I like swans so much, I kept it in our storage cupboard. For something like 6 years. 

Last weekend Robert bought me flowers and I went to our storage cupboard, picked up the swan vase, and as I was putting it back down as I’ve done so many times before, a thought popped into my head – what if I were to spray paint it black? Oh. Oh I like that idea.

I went for my can of Rust-Oleum’s chalkboard paint [this is not an ad – I’ve had this can for almost as long as my swan vase and I’m a genuine Rust-Oleum fan], put a plastic bag over my hand, held the vase upside down, put my hand in the vase and carefully spray painted thin layers onto the vase. I didn’t use a primer as I the paint adhered really well to the vase, but depending on the piece you’re painting, you may need to use a primer. I let the vase dry for at least an hour before using it to be sure the paint was completely dry.

I don’t know why it took me so long to paint it. I’ve always loved that vase, but the colour gave me such a stink-face every time I reached for it that I’m just glad I thought to paint it. There are many people who may say I’ve destroyed an old or vintage vase by painting it, and I’m okay with that, but I’m using it for the first time since I bought it so that’s a good decision in my books.