
In the beginning stages of brainstorming ideas for the Canadian man cave, I had spied a number of birch covered candle holders and vases on the high street. Some of which were a little steep on price. I was about to buy one when I had a moment and thought, “wait a second, I can DIY that“.
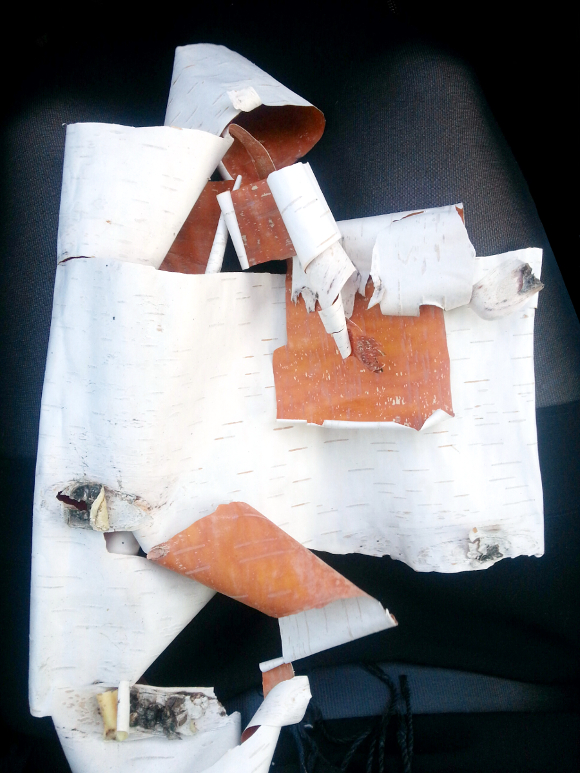
The next weekend husband and I were out driving and I spied a couple of birch trees that were shedding A LOT. Perfection. Now I’m not one to normally attack an unsuspecting birch tree, but this tree had massive pieces of bark hanging off. I couldn’t not peel it a bit. So I did …
What you’ll need
A piece of birch bark
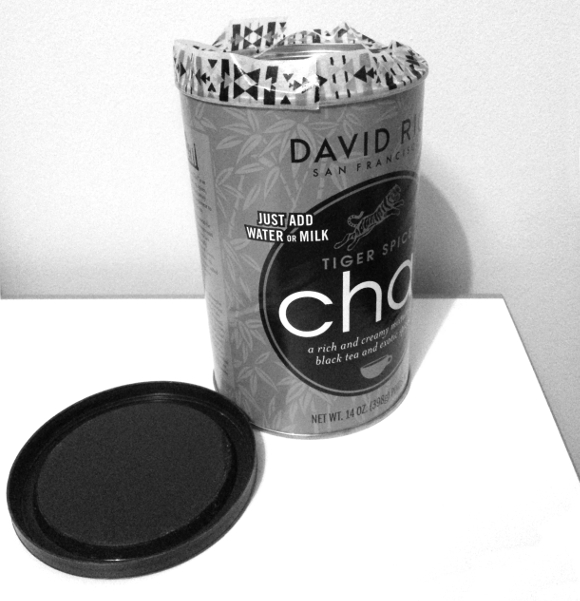
An empty container
A pencil, pair of scissors and a ruler
Spray adhesive [or any strong glue]
Dymo label maker [optional]
Step 1 – I first measured the height of the container. I roughly marked it on the piece of birch using a pencil and ruler, and then I simply cut it out. Now, be warned – birch bark will roll up and out of control, so maybe you’ll need a glass of wine near by to calm the nerves. Handle it gently. Remember, this is only a 5 minute project so you won’t have to put up with it for long.
If you can’t get a solid piece of birch, it would be just as easy to cover your container by alternatively building up strips of it.
WARNING: shoddy phone picture alert …
Step 2 – I next taped off the top lip of the container. I did this so the adhesive spray wouldn’t get all over it. If you don’t do this and should any glue get on it, the lid will stick to it. And we don’t really want that.
Step 3 – I sprayed the outside of the container with spray adhesive in a well ventilated area. Carefully add the piece of birch. Spray adhesive is usually quite forgiving, so if you need to move the birch, it should be no problem. You know what else is forgiving? That glass of wine.
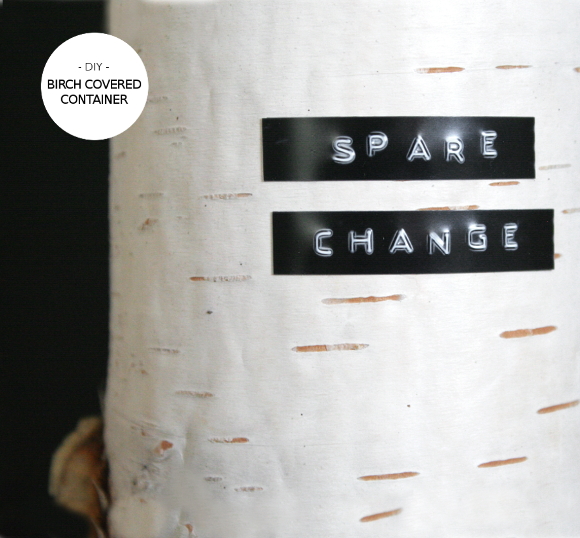
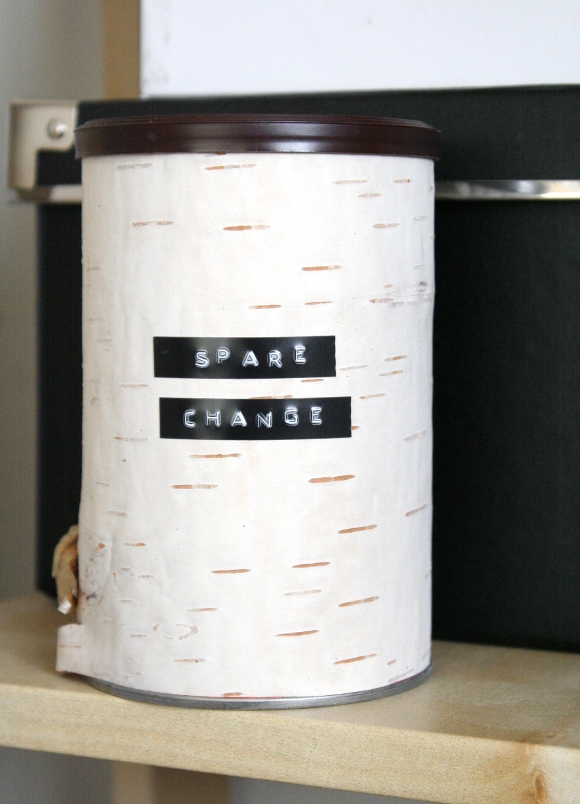
I finished off the container with a quick punch of my Dymo label writer to kick it up a notch. It was a really easy, and the best bit, it was FREE and in keeping with making the most out of what you already have.
Happy Friday, friends! I hope you have a good one lined up this weekend xx A
Now this is VERY cool! Your brother must love it – absolutely perfect for a Canadian man cave. I didn't realise that birch bark was so pliable (I probably should have know that, given my boyfriend!). Loving seeing your DIYs for this project.
Maria xx
I actually made two of these, but the other one turned out a bit wonky. I know it's not an amazing DIY, but I thought it might spark an idea for someone! Those are my favourite blog posts – a really simple idea that cause light bulb moments.
Now that I think of it, I'm quite surprised you don't have anything along the lines of a tree stump side table in your home Maria! Or ottoman. Or bench.