Our Victorian pantry – after!

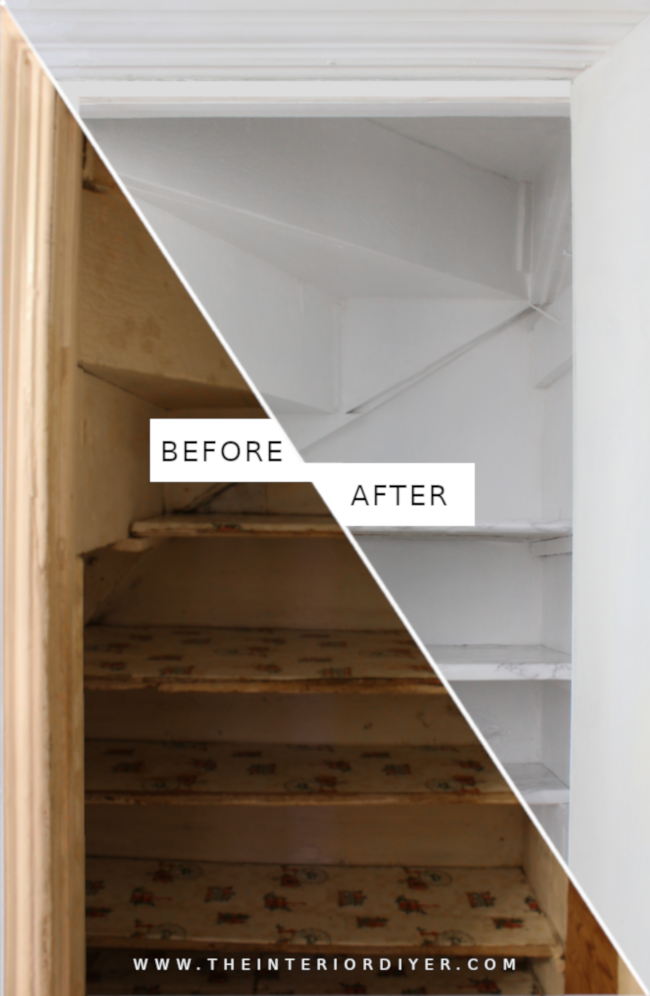
Updating our pantry was not only my first project this year, but the first project I worked on in our new home. It was the perfect small project to get me back in the swing of DIYing; it was a small space, it didn’t take long to complete, looked absolutely atrocious beforehand [which always ensures an excellent after] and cost me around $15 to update.

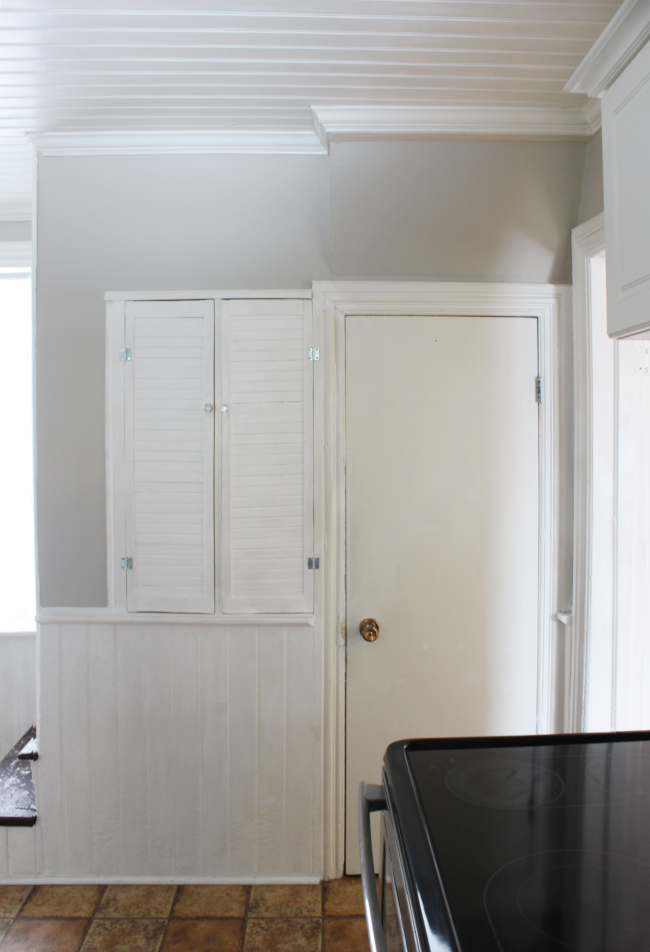
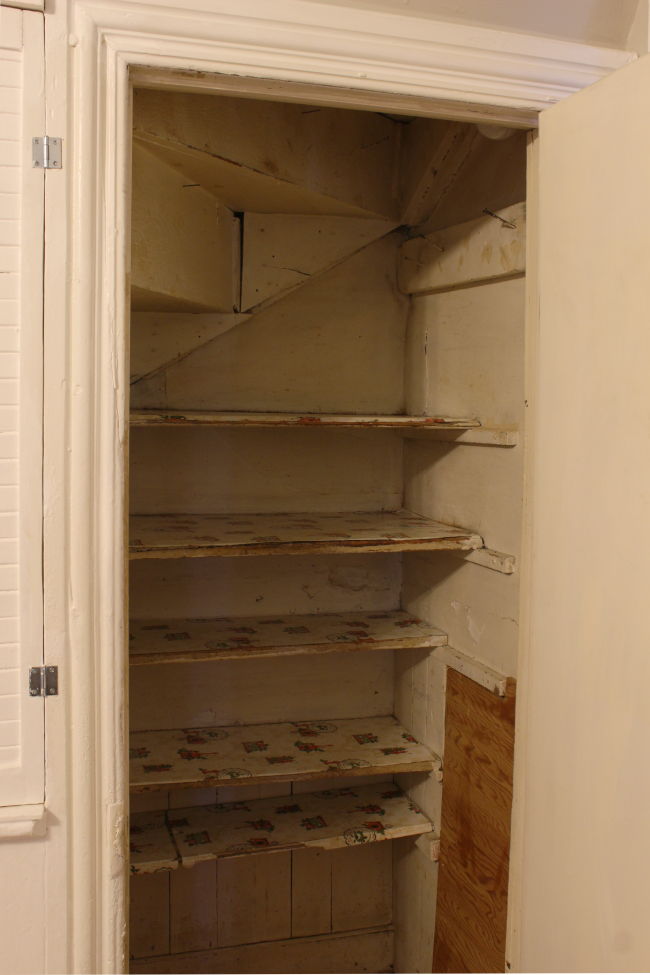
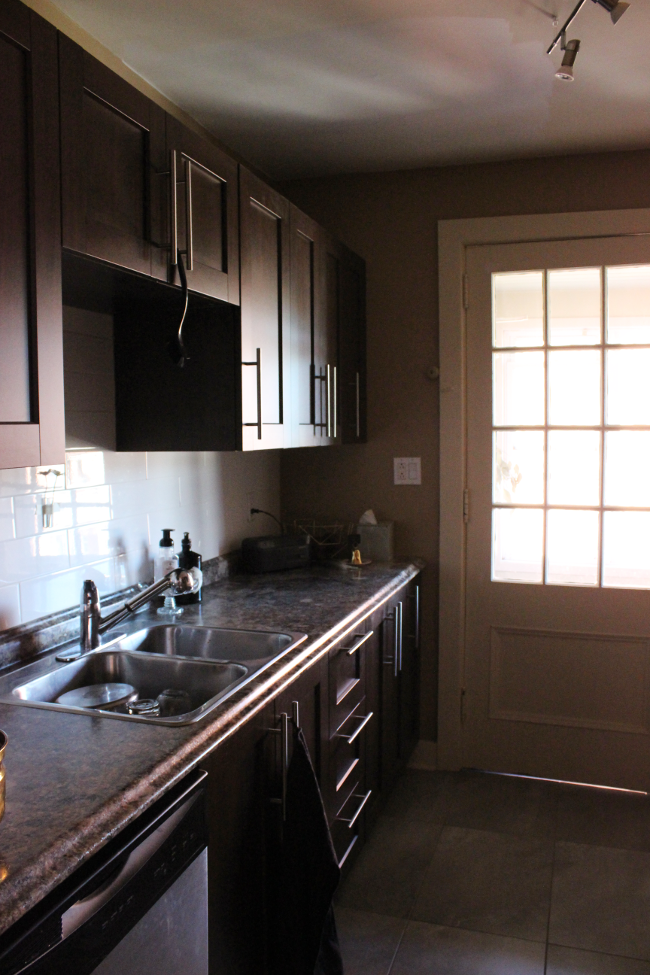
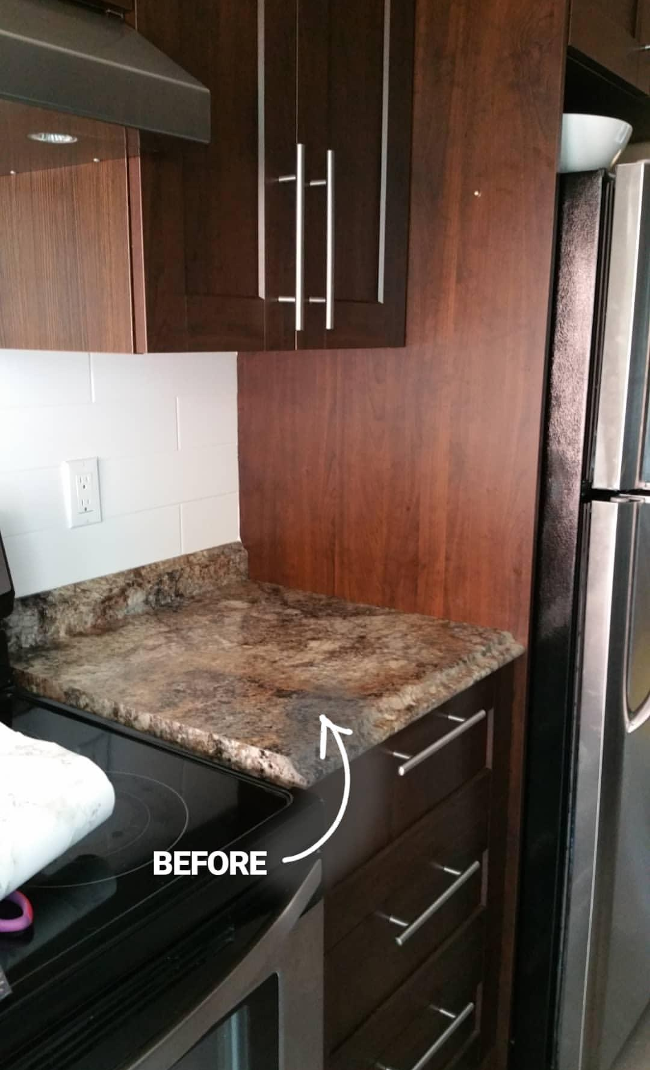
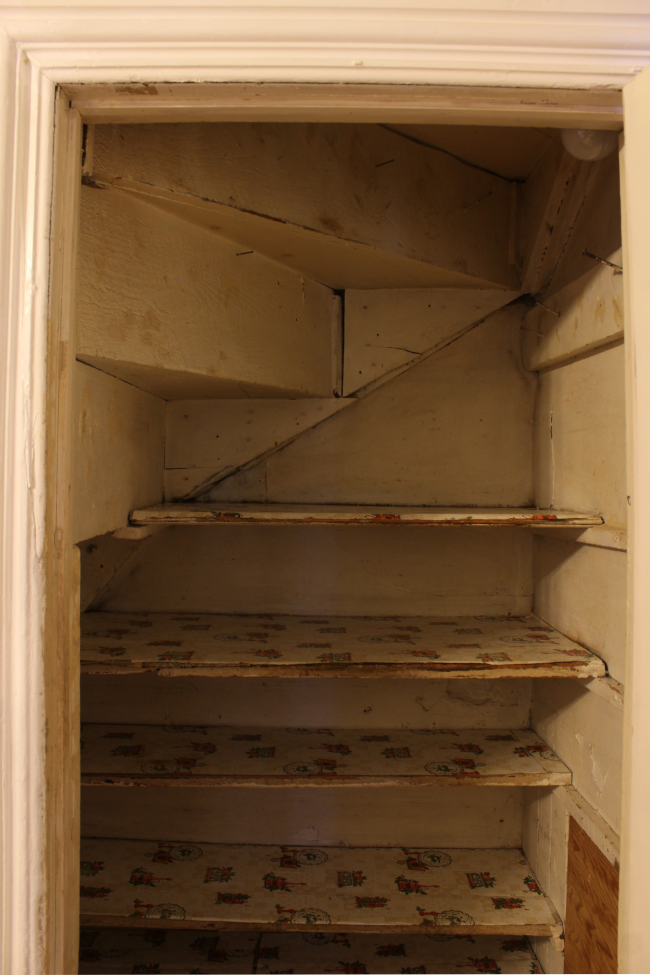
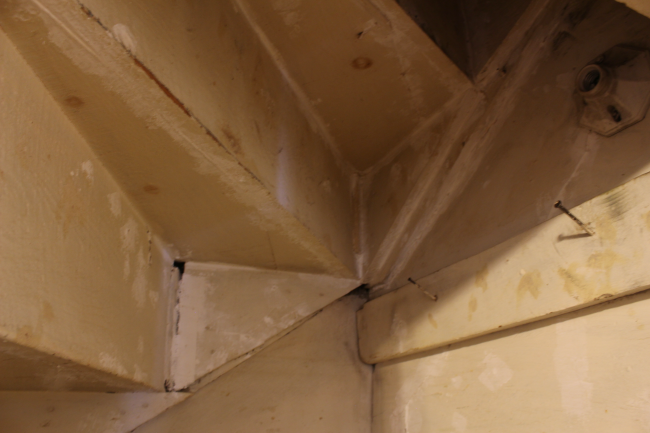
As a reminder and in case you haven’t seen any decent horror movies recently, this is what our pantry looked like before

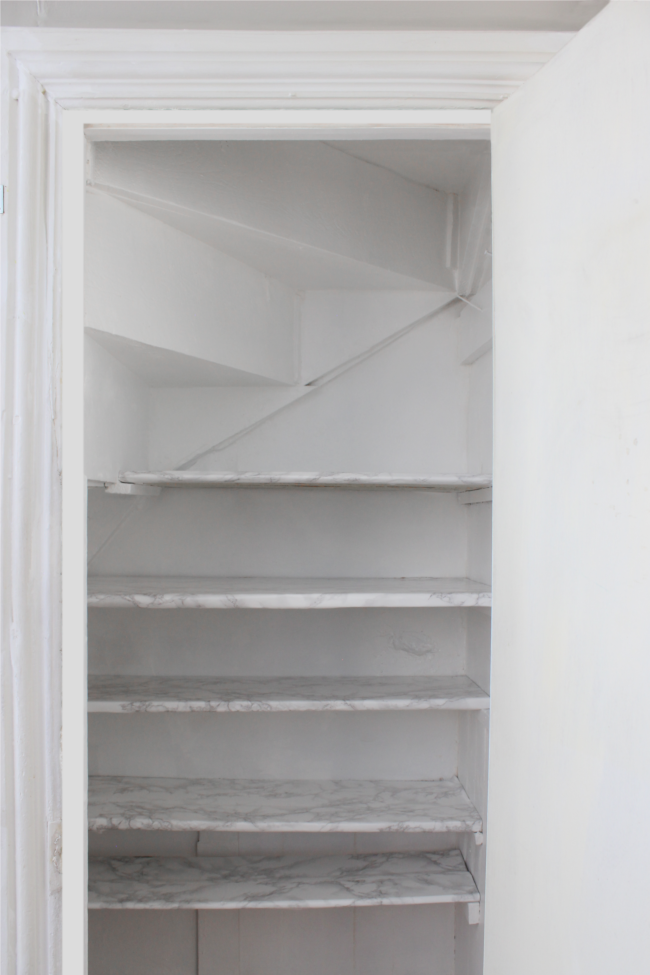
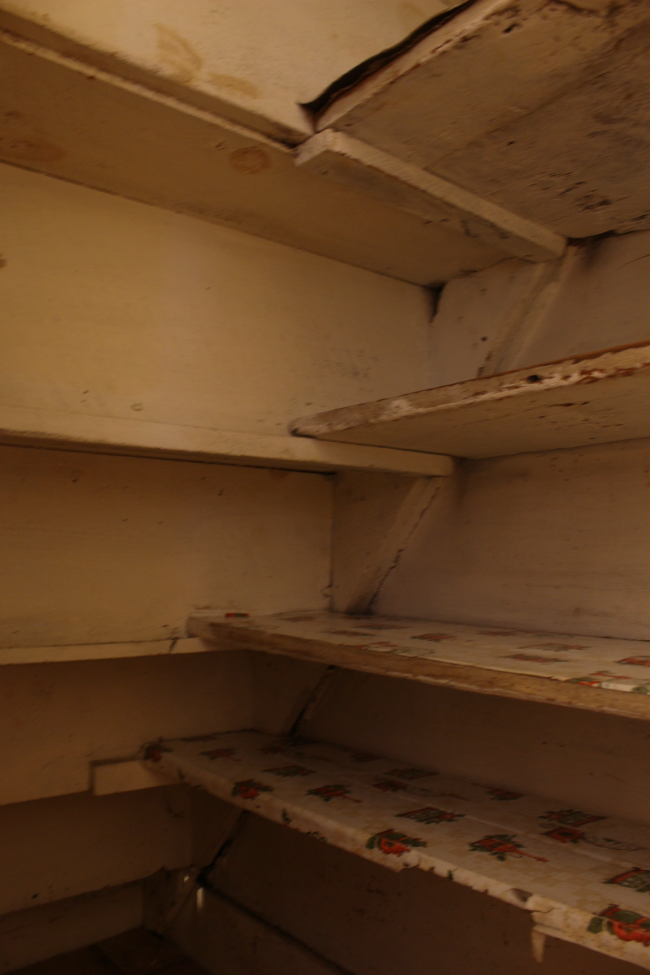
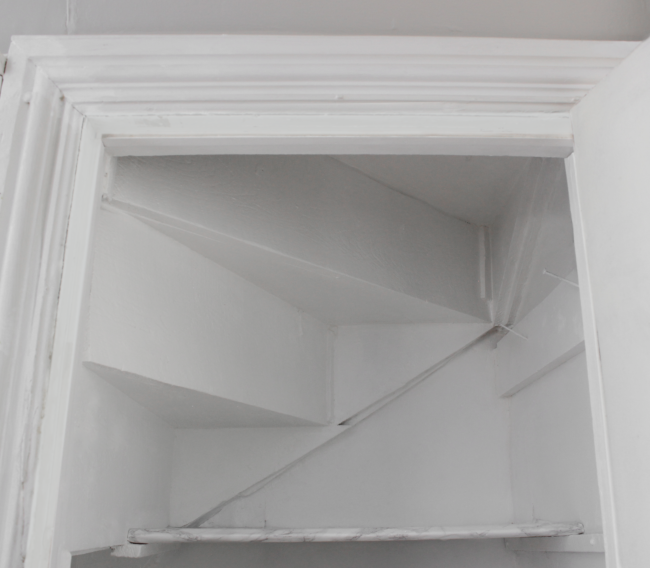
… Followed quickly by what it looks like now! I started updating our pantry by first of all, scrubbing it thoroughly. I used warm, soapy water with a bit of vinegar to clean the walls and underside of the stairs. When I removed the shelves, I found mouse droppings on the little shelf ledges – they most likely ended up there when the shelves were wiped over the years. I can confirm that as much as I love mice, we don’t actually have any in our home and the little poops are from some time ago. Still, as soon as I discovered said poop, I resorted to the bottle of Lysol wipes left by the previous owner and wiped the shelves, shelf ledges, stairs, walls and floors thoroughly. Because food.

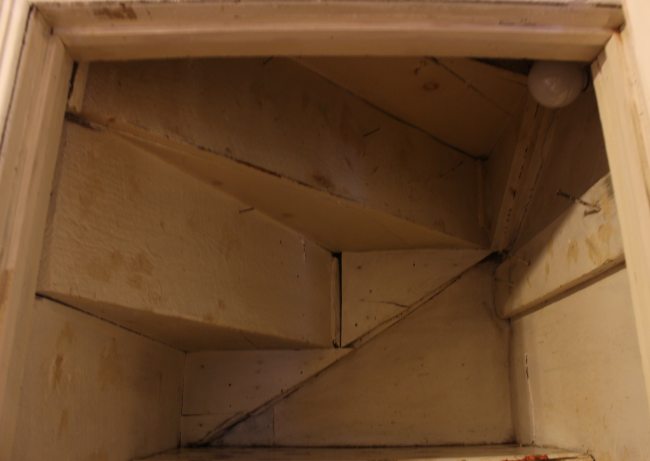
After a thorough clean, I removed the extra nails, filled the holes and the many gaps of all shapes and sizes. To show that my ‘before’ pictures are not entirely exaggeratedly yellow, above you can see my first round of filler [first round of many in some places], which itself is off-white. Our pantry really was a nondescript shade of children’s nightmares.

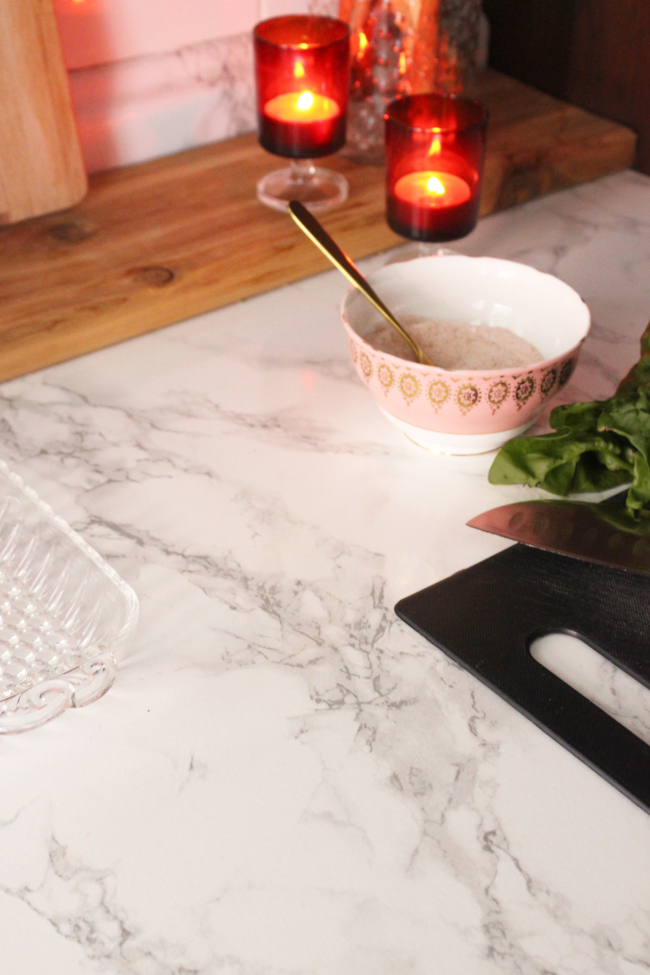
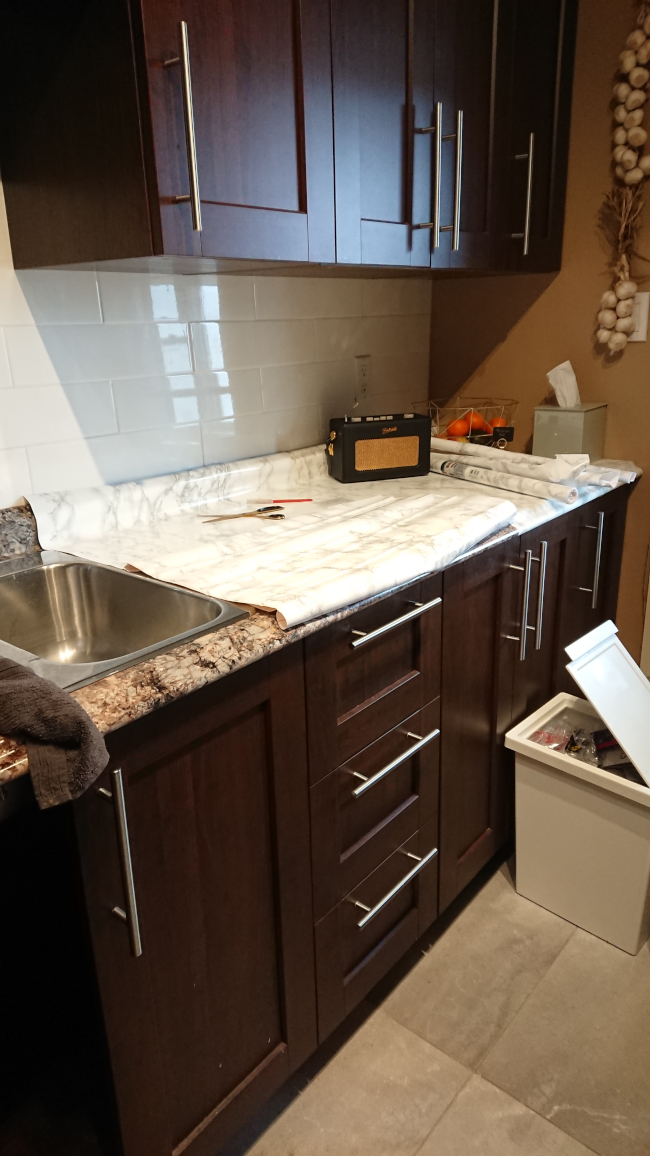
I ended up giving the pantry 3 coats of semi-gloss white paint. I decided to keep the original shelves as they were already the perfect size and I figured it would be wasteful to replace them. They already worked perfectly, so it would have been frivolous to replace them. I cleaned them via chemical warfare with Lysol then covered them in my go-to faux marble contact paper by d-c-fix [I’ve used contact paper on a lot of projects. If you’re curious, you can see them all here. From kitchen counters to coffee tables. Also, you can see my tutorial on how to easily apply contact paper here!].

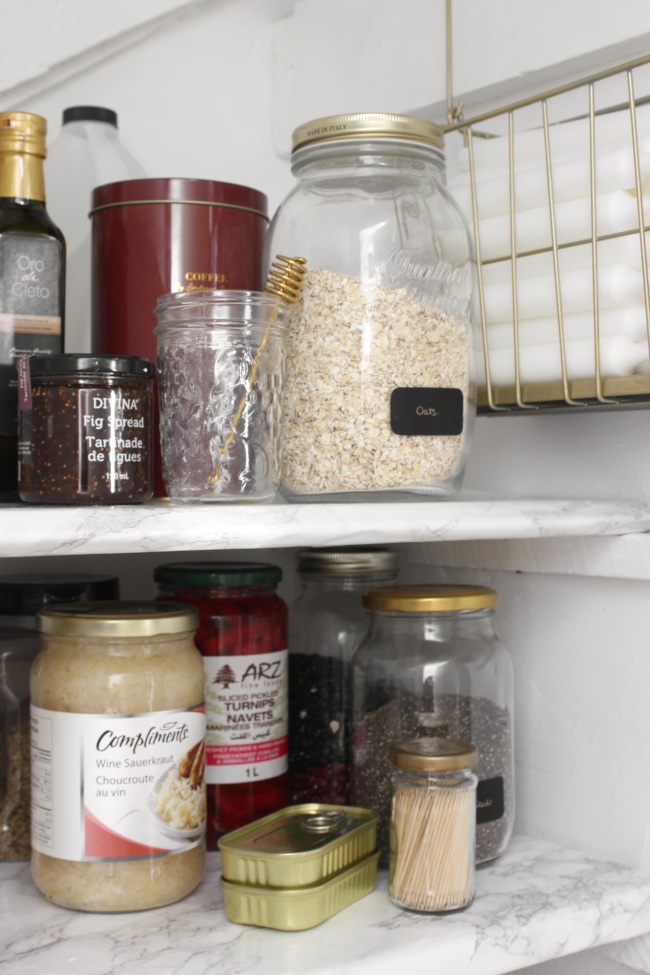
I am so pleased, and dare I say proud, with how my first project in our home turned out. However, I’m not completely finished with this space. I want to update the pantry door as well as get the sweet little pantry light working again [see more about me rescuing it from a life of paint on my Instagram here].

Our Victorian pantry – before

Despite our new home being a Victorian, there’s no area of our house that needs to be worked on or upgraded with any urgency. Our home is very livable in it’s current condition, which is what gave me some design paralysis since moving in in September [nothing was urgent but I have 100 ideas for small-to-medium projects but how do I prioritize them when none of them are urgent, okay I’ll just sit here and overthink everything until I spiral out of control]. Aside from the basement, the only space in our home that was questionable was our kitchen pantry.

I will now take you on the grand tour that is the most murdery pantry you’ve ever laid eyes on. In preparation of viewing our pantry, I suggest acclimatizing yourself by first watching The Blair Witch Project, then The Thing quickly followed by Hereditary and you will find yourself in the right mindset for our pantry.

I trust you have gone off and watched said suggested movies.

You are now acclimatized to view our pantry:

It’s the only section of our house that hasn’t been updated [or cleaned, it seems] since 1948. It is a very functional little space under the kitchen stairs and we used it right up until yesterday morning, when I woke up and decided that was the day I was going to update it.

The shelves are supported by the bottom of the back of each step. I have no intention of replacing the shelves as they’re perfectly functional and I think it would be wasteful to get rid of them. Each shelf is made out of old floorboards, which at some point were covered in contact paper. I’m hoping to update them by simply recovering them in a new layer of contact paper.

As for the rest of the pantry, I will work on filling in all the cracks and gaps, removing the horror-movie array of nails and giving everything a fresh coat of [washable] white paint. Or seven.

I’m hoping to finish updating [and scrubbing and cleaning] our pantry by Monday morning, when I return to work after the Christmas holidays. Because I have achieved absolutely nothing over the Christmas holidays other than eat my own weight in soft cheese and chocolate while entertaining friends and family. This is the equivalent of me starting an essay the night before it’s due. Look! I was productive! See!

DIY contact paper kitchen counters

Back in June of last year, in a renter-friendly attempt to update our kitchen, I added contact paper to a small section of our kitchen counter near our stove to test whether or not it would be a good idea to cover the rest of the kitchen counters. As you may have gathered from the title of this blog post, it worked out better than I had hoped, so a few weekends ago I committed to covering the rest of our counters! Cora, look after yourself. Mama has an idea and god help us all if it goes wrong.

I want to start by saying I love and appreciate dark spaces, don’t get me wrong [hello, dark romantic luxe]. But our galley kitchen was a little too dark at the best of times for a task-oriented space like a kitchen. There are dark cabinets [which I love], brown walls, grey tiles on the floor and dark brown mottled counter tops. It has a lot of really good elements, but there was a touch too much brown for one room [sorry, brown lovers]. Also, when I’m handling things like knives and preparing food, I prefer to be able to see my extremities and exactly what I am rhythmically chopping into.

I had the idea from the day we moved into our apartment to update the counters in a very renter-friendly way by using marble contact paper. I got the idea years ago from Linda of Make Do and DIY from her ultimate “new kitchen counter” cheat where she temporarily updated their kitchen using paint, gold duct tape and contact paper until they saved up to redo their kitchen. And it was legitimate beautiful. It worked for Linda, so it would work for us.

I started at the far end of our kitchen and using a card from my wallet, I peeled the back off the contact paper and slowly smoothed it across the counter [I wrote a detailed tutorial here on how to apply contact paper, should you be a bit nervous about applying it yourself. Contact paper is quite forgiving).

When it came to the sink, I wanted a really secure fit and didn’t want to simply cut the contact paper around the sink. I knew that in 6 months it would have crumbs and water and all sorts of things making it peel, so I loosened the sink fro, under the counter and asked Robert for help; Robert laid under the sink and carefully pushed the entire sink up to lift it about 3mm off the counter while I quickly used a card to smooth the small overhang of contact paper under the perimeter of the sink.

Despite how murdery this photo looks, I promise Robert is alive and safe.

I worked quickly and within 10 minutes, I had covered the awkward parts around the sink. I then tightened the joints under the sink and voila! The effort was 100% worth it.

You can see one of the seams above and a tiny air bubble along the side of the sink. No, it is not an overwhelmingly perfect job. I will be the first to admit that. But I will be the first to admit I am someone who is bothered by imperfections and I honestly say the very small few bubbles that are on the counter don’t bother me because they’re not as noticeable as the one above.

You can again see the original section I contact-papered above and below. This section of kitchen is the most used area and the place I wanted to test for at least 6 months before committing to covering all the counters. It has worked out so perfectly.

Occasionally, depending on what I’m cooking, things have stained the contact paper. Things like curry or tomato sauce. I at first freaked out, but surprisingly, after about a day or two of wiping counters [I don’t mean 48 hours of continual wiping … ], the stains completely dissappeared every time. So if you’re worried about stains in your kitchen, contact paper is very robust.

I am so happy with how our kitchen turned out and the best part is that when we move out of our apartment, I can undo it all in about 20 minutes. A perfect renter-friendly way to update any space, or if you’re like Linda, a great way to temporarily update your kitchen while you save to remodel it.

STATING THE OBVIOUS: contact paper is essentially plastic and is not resistant to high heat so should you decide to do the same, please use your judgement and do not place hot pots or pans directly on the contact paper because you will end up with what I can only imagine would be the after effects of when the Ghost Busters annihilated the Stay Puft Marshmallow Man. It’s not going to be pretty, but I know you’re smart and that you know better.

Other contact paper updates I’ve made:
updating [and childproofing] our secondhand dining room table
my agenda
updated faux marble coffee table
mini faux marble plinth