Custom Christmas colours – part 2

In keeping with my project ‘less 365‘ purging, this year I decided to revamp our existing Christmas decorations in stead of buying in new sets and adding to the overall shower of shite in our apartment. Also contributing to the greater good of ‘reduce, reuse, recycle‘. 
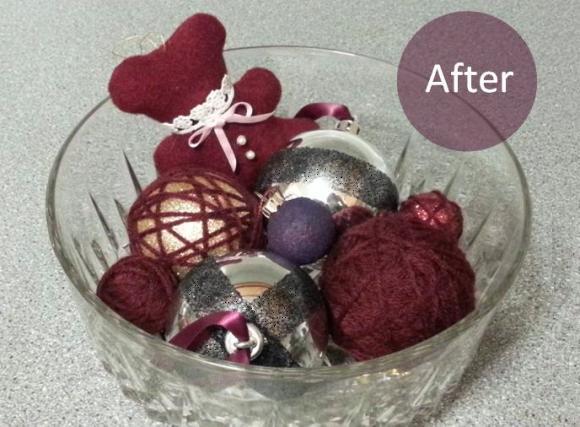
I however, will warn you in advance – the pictures are a bit crap. Have you ever tried taking pictures of Christmas decorations, sans Christmas tree? It took me three attempts to arrange them, before shoving them into a crystal bowl . Onwards to my shitty kitchen pictures!

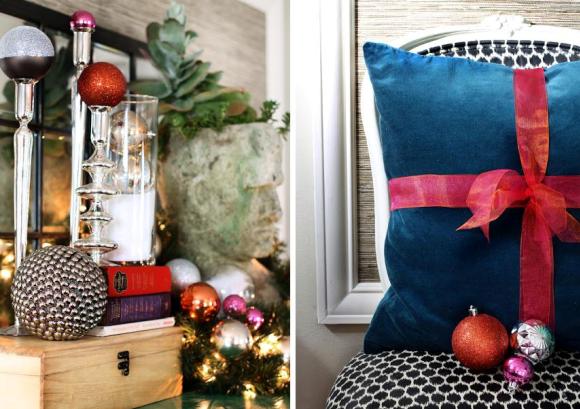
In keeping with our burgundy, aubergine and metallic decor, I wrapped, taped, sprayed and vajazzled our existing ornaments to give them a little holiday face lift. Nothing too strenuous. Something that could be tackled whilst in front of the TV and wine glass in hand. Well, I set it down at times.
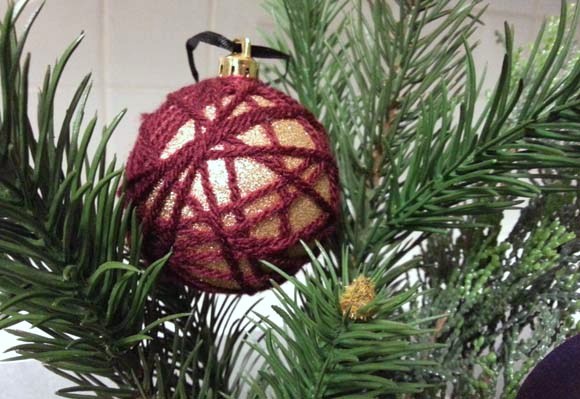
Since I have a plethora of yarn at hand, the above was the easiest approach I took to my baubles. It works great on glittered baubles, as they have a bit of a sandpaper-esque texture, and the yarn stays on with no fuss. I have varying degrees of yarned balls, from completely covered, to bits of gold peeking through. 
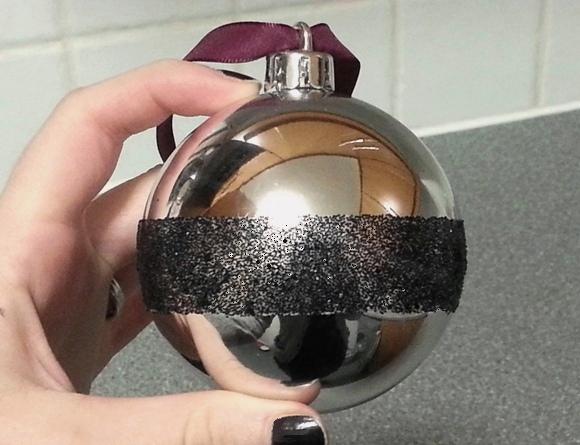
I’m quite proud of this one as it gives the most impact for least amount of effort. I took a plain silver bauble, secured a piece of double-sided tape around the middle, and smooshed black glitter onto the tape. And voila! Instant glam, and no glue involved. Top that baby with some lovely ribbon, and there you have it.
I have a couple more ideas for our decorations, but I didn’t get around to making them all just yet. 
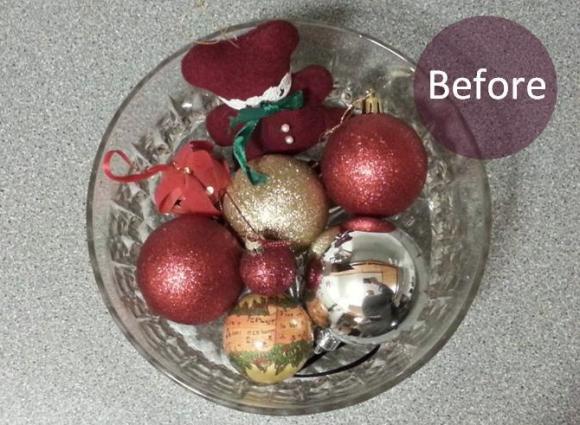
For the record, here’s what our decorations looked like before. Nothing wrong with them, and they’ve served us well for a number of years, but they’re your standard department store decorations and I wanted something new this year. Even old treasured Christmas teddy gets a new pink bow. 

More pictures and ideas to come once we decorate this weekend! Really looking forward to it as I heart Christmas so much. Classic tunes, National Lampoon’s Christmas Vacation, and a bit of mulled wine never hurt anyone. 
Happy Friday everyone! xx A

Custom Christmas – part 1, part 2, and part 3.

Mini makeover – coffee table tray, round deux

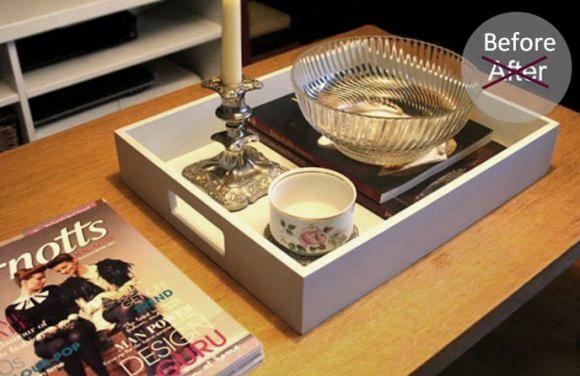
Around this time last year I did a teeny, tiny makeover on our coffee table tray. It was blah and wooden and whatnot so I painted it a light grey to cheer up our coffee table, but unfortunately it still looked shit hadn’t reached its full potential.

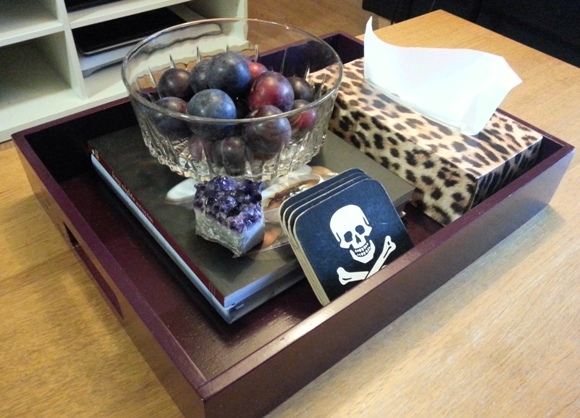
I attacked it a couple of weekends ago with my trusty can of ‘winegum’ paint from Montana and voila. Much better. Om, nom.

And here’s what it looked like before I painted it this time around – 

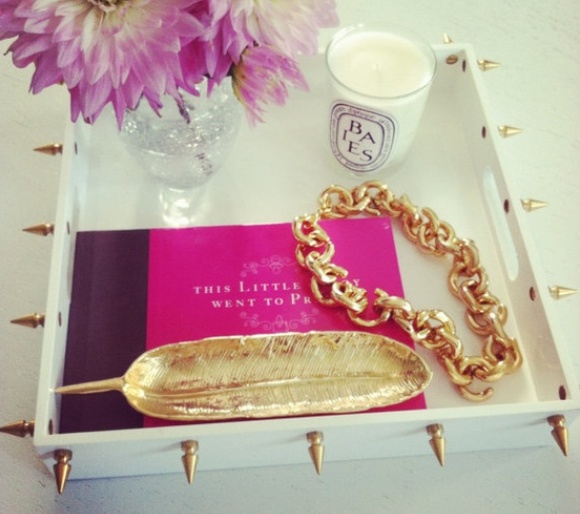
To pump up the volume, the below now NEEDS to happen to my tray. The moment I saw this picture {which the focus is meant to be on the jewelry, but my brains were immediately distracted by the spike candy} my heart actually stopped. Something along these lines has to happen in my living room. 

I showed photo to father this past weekend to pick his brains hoping he would know of some hardware piece that resembles these studs to some degree. BUT, the Practical Patty that I am is already thinking things like “it’s a high traffic area, and if someone’s clothes get caught on one of those spikes, a) someone/kitty might get hurt, b) contents of tray will morph into glamorous shrapnel and fly everywhere”. Well poo. Thanks, brain.

Has anyone out there in the blogosphere tried something similar to this? I’m thinking maybe gold thumb tacks  as a last resort, but it won’t have anywhere as near of an impact.

xx A

Custom Christmas colours – part 1

I’ve noticed a big theme this season where people are straying from the typical Christmas hues, and going more suited to their taste and existing decor. I adore Christmas, but I’m not a massive fan of green and fire-engine red combo in our apartment, and I’ve had an itch to try something new. Since I’m going down the aubergine, burgundy and black route with our decor, why not keep it up for the holidays?

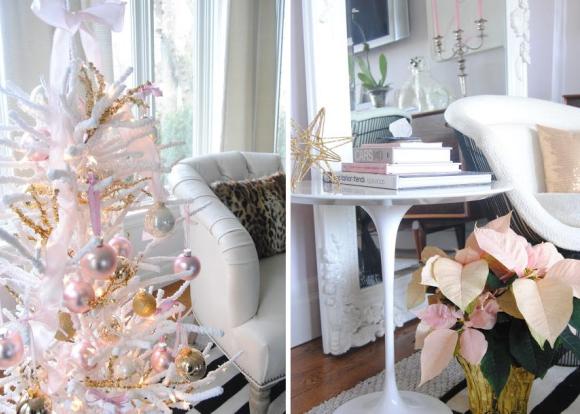
Starting off with whom I believe to be one of the most painfully talented ladies on the blogosphere, Christine from Bijou and Boheme. This is her home from last Christmas, but nonetheless, this shit is tore up from the floor up and I can’t wait to see what she concocts for Christmas this year. I want to eat her entire house. Serious design crush happening.

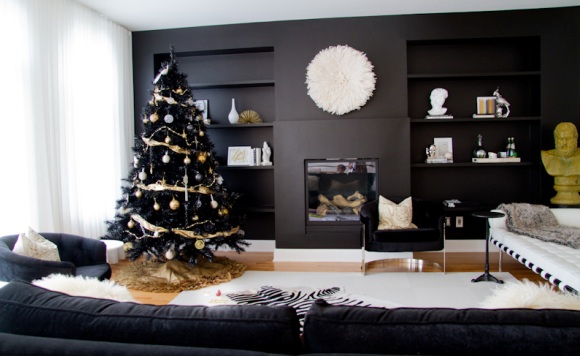
Sarah over on Two One Nine shared her black, gold and silver Christmas tree which works so well with her insanely bold and beautiful living room. It takes serious balls to carry off this black-on-black number. Scrum-didilly-umptious.

Kristin from The Hunted Interior wrote this week about how she’s organizing her Christmas colours this year based around one of her favourite prints hanging in her living room. Utilizing all that pink, green and orangeness for a super fresh Christmas twist.

Why not take a look at what you’ve got going on in your home and go with the flow? You can still maintain a Christmassy feel with an alternative colour palette. 
Over the weekend I’ll be jazzersizing my existing Christmas ornaments {reduce, reuse, recycle} to better suit our living space, and fingers crossed, if they don’t look shit, I’ll be blogging them next week. Super simple stuff like adding a bit of ribbon, mastering a few yarn pom-poms, a shit-tonne of glitter, and my favourite lazy go-to these days – spray paint.

Happy Friday homies! I hope you start your weekend well, after all, the festive seasons kicks off tomorrow.

xxA

Custom Christmas – part 1, part 2, and part 3.
Image cred 1 and 2, 3, 4 and 5.