New pop up shop – April and the Bear

I was invited to last nights exciting launch of April and the Bear‘s brand spanking new pop up shop at 5 Dame Lane, and it did not disappoint.

I’ve crept and followed Siobhan / April and the Bear online for a long while now, and if A&TB’s expert virtual taste was anything to go by, I had a fair idea of how fabulous the real-life shop was going to be. A truly curated collection full of the chicest, cutest, sweetest and quirkiest pieces.

I’m not what you would call a social butterfly, but luckily as the night went on I spied more and more people I knew stepping in to gawk at all the pretty. It ended up being quite the evening spent with MoyaRincyBenNathalie and Emily, praising all aspects of Siobhan and Jamie’s shop, fueled by Teelings Whiskey and the bespoke Gizmo gingerbread cocktails concocted especially for the evening. It was quite the line up.

I took approximately 200 photos of this T-Rex wall mount last night, which was designed and created by Siobhan’s dangerously talented brother Vincent. Creativity runs deep in the Lam family. 

A special mention to Rincy who has a print of her own on display in April and the Bear [you thought you’d escape unmentioned, Rincy? I don’t think so]. Framed, at the back. Special treatment for a special gal …

… Any photo I tried to take of her print turned out truly rubbish, so I daren’t try to get a closer picture. It’s a beautiful print full of care and consideration; much like the creator. 

The evening was a flurry of photos. The two walls full of delightfully clever prints to take home were a huge hit. I couldn’t resist this one, which I’m thinking of either hanging over my desk; to remind me when a tricky email comes in, or hanging it over the mirror in our bedroom; as a mini pep talk while I’m getting ready. 

The entire space was full of so many delectable and unique pieces. If there’s one thing you do this weekend, make sure to check out Dublin’s newest and hottest pop-up shop, April and the Bear. Get in there like swimwear. 

Flower terrorist revisited – Banksy cherry blossom

One of my first tutorials was my Banksy flower terrorist cross stitch. To this day, it’s one of my most popular blog posts and I get about an email a month asking for more details on it or for the Excel pattern. No word of a lie – another email just came in while I was typing this out. Ha! 

For a long time I’ve not been fond of the colours I originally cross stitched into the tightly gripped bouquet. Blue, yellow, red, pink, green, brown – too many colours for me. I had the idea years ago to pick out the stitches and redo it in a colour I’d much rather prefer, but in true form, I never got around to actually doing it. Until this morning. 

But what colour would I make the bouquet? A nice shade of dainty pink would look nice, afterall, it is cherry blossom season. That’s it! CHERRY BLOSSOMS. YES. Perfect! I picked out the previous colours and added dainty pink thread haphazardly to the pattern [as cherry blossoms are wonderfully floofy and out of control]. 

I love this pattern as I’ve had all kinds of people get in contact asking for the pattern. Rebel teens for their bedroom, a guy for his mancave, a lovely woman wanting to stitch it for her grandson, and many in between [Dev – if you’re reading this, power through the boring bits! You can do it!]. They always tell me what they hope to use it for and how much they love Banksy. The feeling is mutual. 

For me, changing the flowers to cherry blossoms has given my tired old cross stitch [it’s five years old this year] a new lease of life. When I was finished restitching it this morning I really got excited about it all over again. Yes, it’s no longer true to the original graffiti, but just like the rest of us, it’s had to adapt a little bit. 

DIY drip feature wall

Ever since I installed the drip wall for the Localise Youth Room at Sophia House, I’ve wanted to incorporate a drip feature into our apartment. And as is typical around here, a year+ went by. 

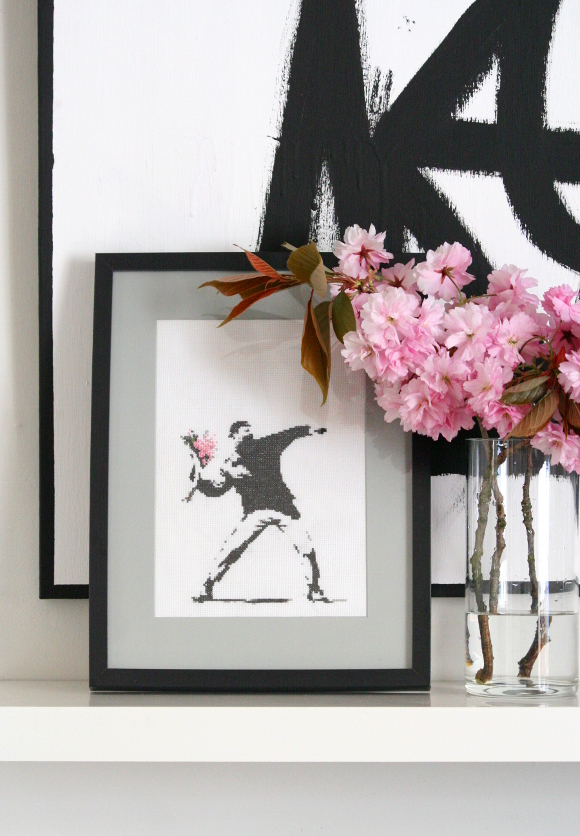
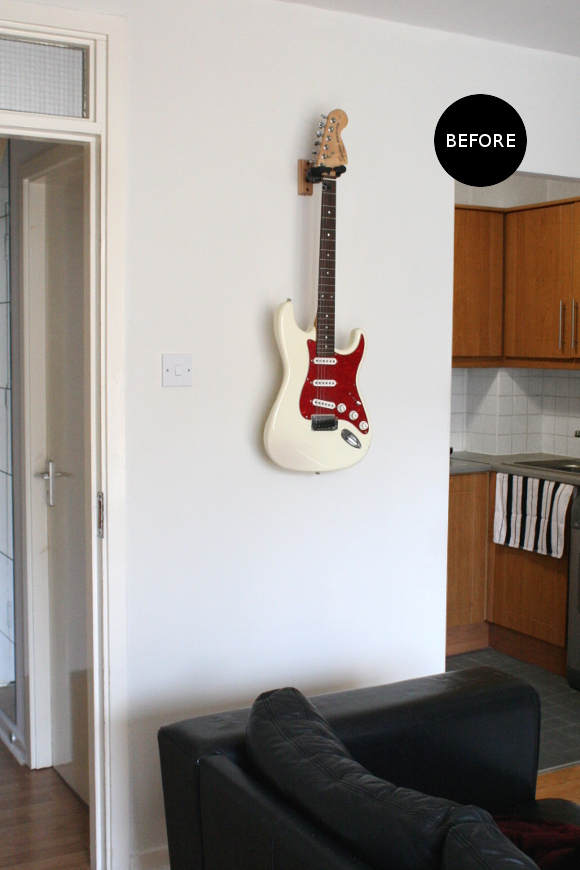
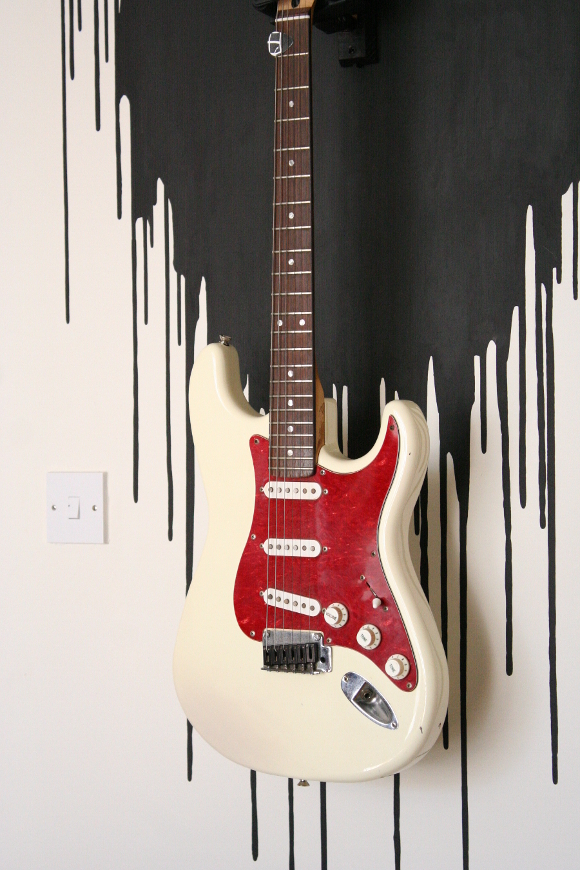
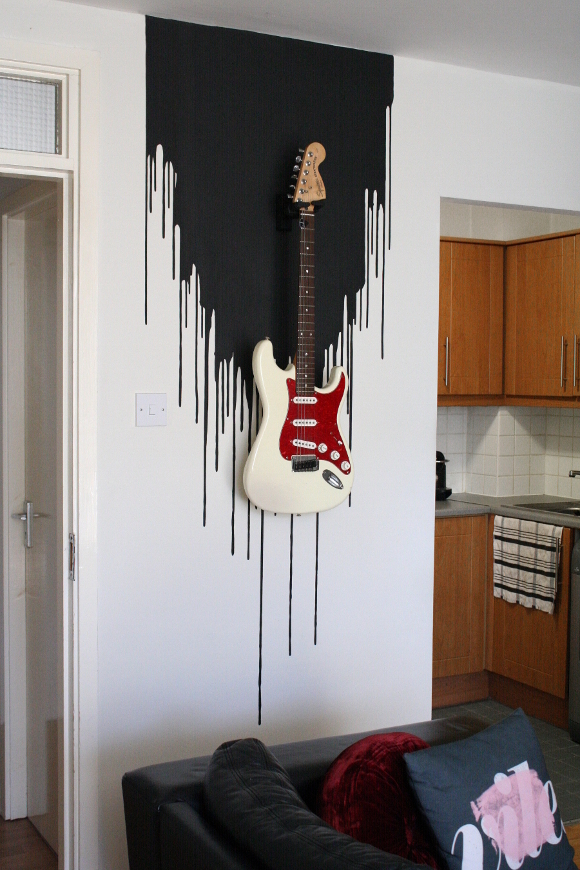
For husband’s birthday in January of this year, I got him a guitar hook thingy to display his Stratocaster. There it perched on our living room wall between the hall door and the kitchen all lovely for a couple of months, but I had wanted to add a little something else to the wall to make it pop. And that’s when I had my lightbulb moment.

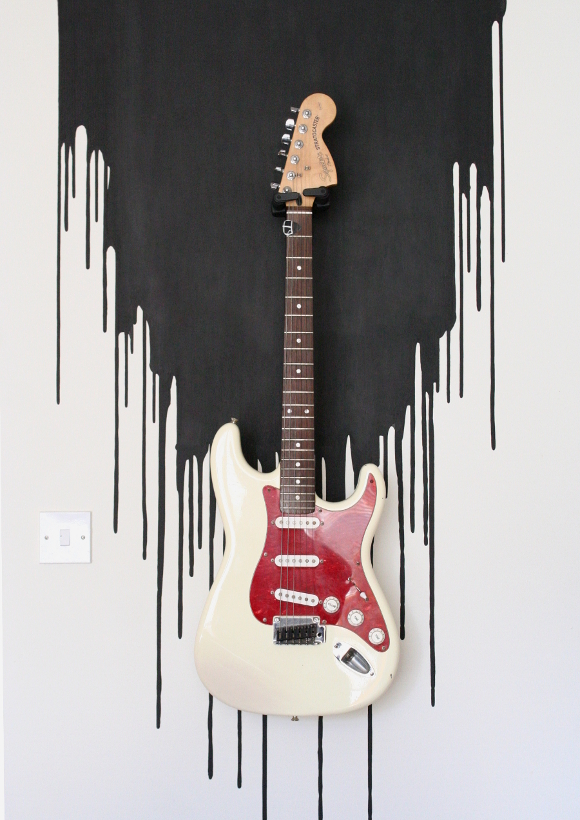
The guitar is in fact centred, but because it hangs about 5 inches away from the wall, it looks off-centre in some pictures. And it’s driving me a little bit insane. Especially in the first picture. The drip feature is centred! Please believe me!

What you’ll need … 
– paint, either wall paint or guache DO NOT USE GUACHE PAINT. See my revised post here about why you should use appropriate wall paint.
– water [I added about a tablespoon of water to every 100ml of paint, then shook it up]
– drop cloth to protect your floor, just in case
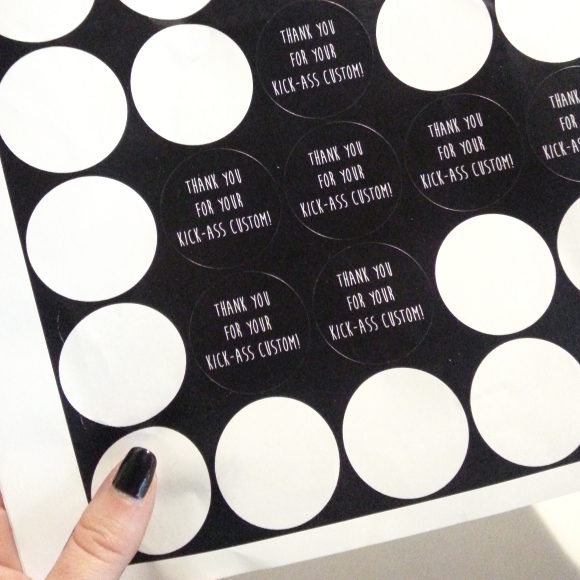
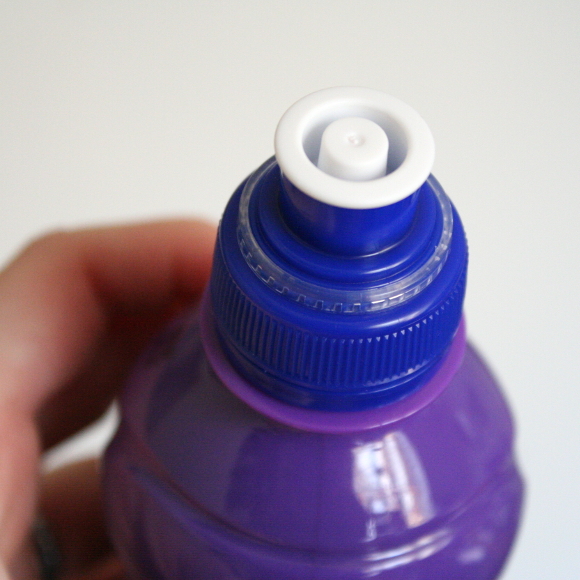
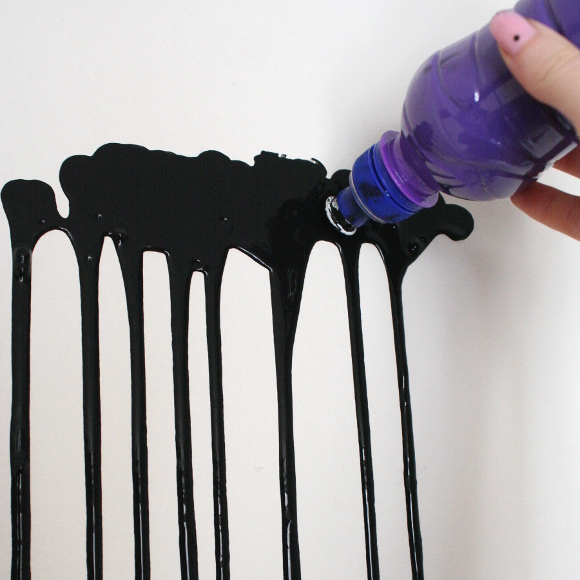
– a bottle with a resealable nozzle lid 

The most important item you’ll need [other than paint] is a bottle with a resealable nozzle lid, like the one above. You could use an empty washing-up liquid bottle, sports drink, water bottle or kids drink, as I did here. The reason the nozzle is so important is because it allows you to get right up to the wall to squish out the paint without spilling paint everywhere, and it also gives you control over the speed in which the paint is applied. It doesn’t seem like rocket science, but this technique took a lot of brain storming back when I made the multi-coloured wall

I used black guache paint for our wall. I originally was thinking of using one of my favourite red berry hues, but then I was all like, “hold up. You can’t do that. You can’t have red paint dripping down the wall. It’s going to look like the walls are bleeding. No one will ever want to visit your apartment or trust you with sharp objects ever again.” So I decided to skip my signature colour for this project. 

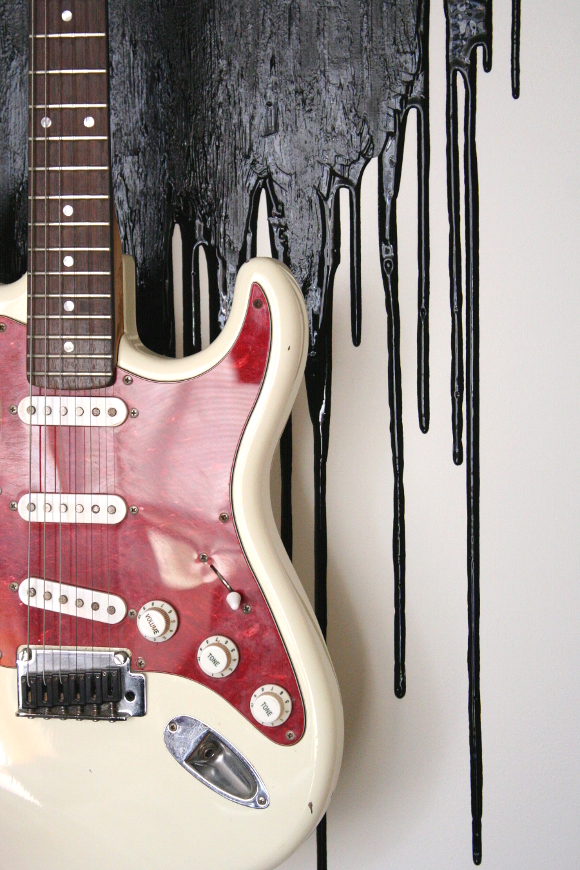
And here’s how to do it – first you’re going to need to decide where you want your drips to start. I wanted the drips to start appearing half way down the wall / behind the body of the hanging guitar. Holding the bottle carefully, start glooping the paint in spots on the wall. This is very much less is more until you get a feel for how runny the paint is. Remember – you can always add more paint; it’s not so easy to take it back.

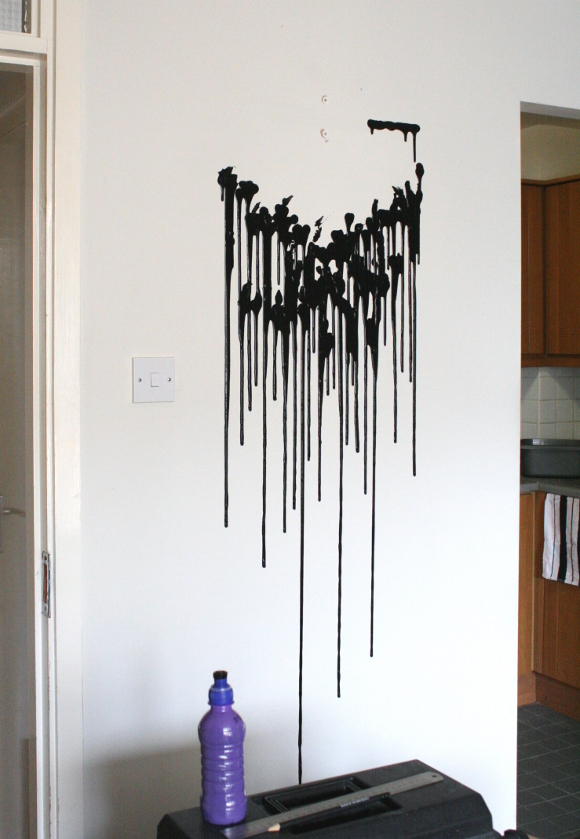
TIP: do some practice drips higher on your wall first, like you’ll see I did below. It’ll get covered in paint, so you won’t see it. 

When you’re happy with the amount of drips you have, your wall will more than likely look like the below; a bit ghetto. This is okay. Take a paint brush, and using the excess gloops of paint on the wall, start painting in a panel above the drips to collect it to the ceiling. I ended up adding a few more drips along the sides closer to the ceiling to make it look more random.

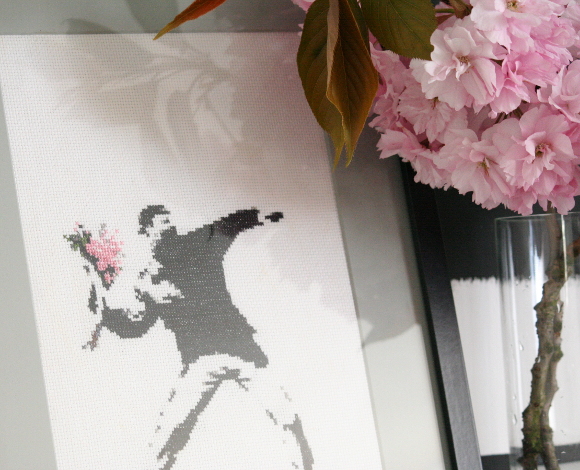
Your drips are going to look rank until they dry. You just have to accept this. But trust me, they’ll dry perfectly. It took around 18-20 hours for the paint to completely dry. 

I was quite happy with how it turned out, but I wanted to see husbands reaction [who, for the record, had no notion of my drippy plan]. He came home from work, walked around the living room a bit telling me about his day and all of a sudden he WOAH-ed when he saw it and sang its praise. He’s mentioned a good few times about how much he likes it since, so mission accomplished I’d say. 
Oh, and for anyone curious about removing it, I don’t see it being any more difficult than painting over a chalkboard wall; sand it in places then 3 coats of paint should do the trick.

But more importantly, if you can see past the fact that I did our drip wall in black, I can easily see a drip feature being done in a buttercup yellow or dainty pink for a kids room, or a strong navy blue for a quirky impact in a bathroom. And may I suggest adding ‘redrum’ to your doors if you’re going to go down the red route. 
Happy dripping!