DIY Friday – copper blanket hanger

It seems like forever since I blogged a DIY project so I thought why not ease myself back into the swing of things with the most simplest of DIYs. Seriously simple, guys.  
The inspiration behind this project came from a blanket my grandmother crocheted for me. For the past couple of years I’ve unfortunately been storing it in a cupboard. I wanted to display it in some way, and here’s the kicker, in a way that would KEEP KITTENS OFF OF IT [as it’s white, their fur shows up to no end on it. Kitties have plenty of their own blankets so they’re not deprived]. A lot of thinking went into it, and I eventually thought “why not hang it up?

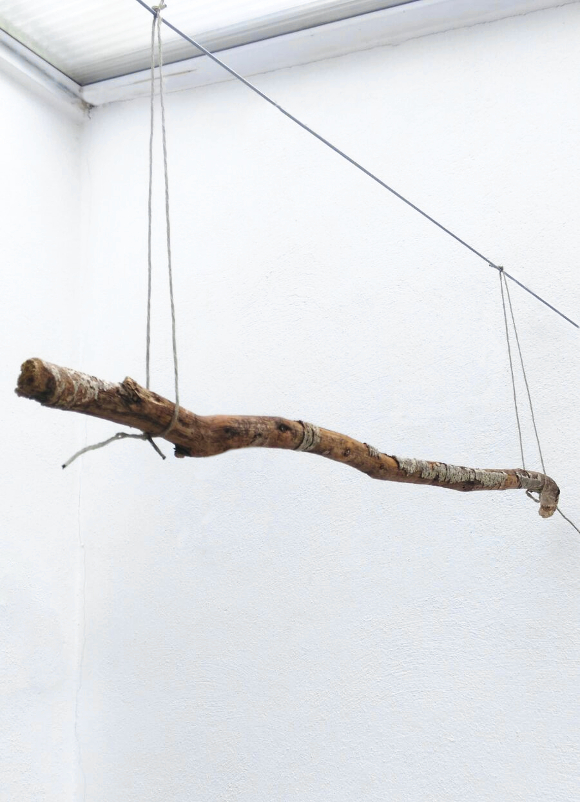
I wanted to keep this hanger idea very simple. Copper is very big this year so I quickly came to the conclusion of using a copper pipe and some rope to create an incredibly basic yet pretty hanger. I did a quick mock-up using some thick black ribbon I had laying around, and I think I actually prefer it. I think it works better with and compliments the blanket vs. using a piece of rope that might be competing in texture and attention. 

FUNNY STORY – I kinda managed to blag this piece of copper pipe. As I was leaving a restaurant I noticed a gentleman working outside with quite a lot of copper pipes. I plucked up enough courage to ask if he had any leftover when he was finished, would he mind keeping a piece aside for me. We got talking and it turns out his other half also is forever collecting random pieces for projects, so he was well used to such requests o/ We were discussing sizes of pipe etc. when he found a piece about 2ft / 60cm long. “Here, just take this piece. Maybe hide it in your bag …“, so off I went with 2ft of copper pipe sticking out of my handbag and headed home! [thank you again so much, Donnacha!]
It’s a pretty self-explainatory DIY so I figured there was zero point in photographing steps. But just in case, here’s what to do … 
– get copper pipe
– get some heavy ribbon or twine
– thread through and knot securely
– hang up blanket
– the end

So there you have it! Really simple, but [I think] gives a big impact. Happy Friday, homies! Hope you have a lovely weekend lined up.

#DublinDesignNight

This evening, thanks to Image Interiors & Living and Yelp, Dublin had its first ever #DublinDesignNight. A wide range of design shops across Dublin had special access for the Design Night pass holders. From screen printing to floral arranging to cocktails and delicious grub, it was a bustling evening of exciting trips back and forth across Dublin. 

I had only an hour to see as much as I could, so it was a bit of a design-drive-by. First up, I stopped into The Garden to make a little widdle terrarium. I ran into Rincy and Nathalie while I was waiting in line and then [finally!] met Hilda outside on the steps. You couldn’t swing a cat without running into someone you knew! [please don’t swing cats]. 

A photo posted by Alex C – The Interior DIYer (@interiordiyer) on Sep 30, 2015 at 2:30pm PDT

After our terrarium workshop, I popped into Designist, then looped back to Industry and the Irish Design Shop before heading into Article for Clover Rua‘s screen printing session.

Before I cycled home I dropped into Find for a good snoop around, then hopped on my bike, precariously balancing all of the things as I went, and made my way home [good news – my succulent survived the after-dark bicycle ride down Thomas Street with its characters]. 
While I was in Article I couldn’t resist one of their copper and blush pink candle sticks that I had spied on their Instagram a couple of weeks ago [plus my OTT comment]. At long last, I have a use for my copper atomizer! Welcome home, little succulent. I hope you don’t die. 
So in short, #DublinDesignNight was such a wonderful night, to be jumping from place to place with like-minded design enthusiasts and nerds alike, and I cannot wait for the next one. 

True story

A funny thing happened a few weeks ago. We were visiting my parents one weekend and when I first arrived I spied something unsual in my mom’s art room. I went in to inspect. There, hanging in the corner of the room was a branch suspended by two pieces of twine*. 

Oh I really like what you have going on here, mom“, I called out to her. 

Oh. OH! I HAVE TO SHOW YOU THIS!” my mom said, running for a magazine. “I was flicking through the last Image Interiors & Living when on page 69 I saw a room that had a branch hanging from the ceiling. I really liked it and thought it would look great to hang my paintings from. I kept flicking through the magazine and there on page 135 was a tutorial for how to hang a branch of your own. Oh! I thought, how lucky am I! It was only after I hung up my own branch that I noticed that the tutorial was written by an ‘Alex’ … Then I realised IT WAS YOUR TUTORIAL IN THE MAGAZINE“.

My mom is hilarious and was so excited, we were literally holding our faces because our minds were so blown. My mom DIYed a project she found in a magazine and later realised it was written by me. True story. 

You can now find my ‘Branch Out’ tutorial from the July / August issue available online on Image.ie!

*As it’s in their conservatory, it’s not suspended from the ceiling like in my tutorial because, well, there is no ceiling so my mom improvised.