Kitchen update – the bones

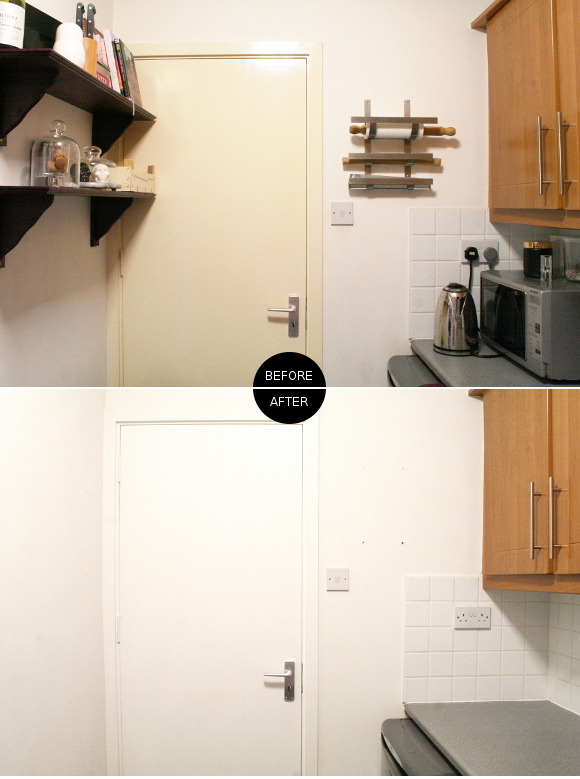
First up, thank you to everyone who let off steam along with me both online and off in regards to my rental rant last week. I’ve chosen to use my rental rage for good, and so this past weekend I channeled all said rage into bringing our rental kitchen into the 2000’s. It started so innocently on Saturday morning while Robert was asleep. “I’ll just reoganise the cutlery drawer … ” and as I gained momentum, much like Juggernaut, I was unstoppable. I whitened, sanded, scrubbed, stripped and painted our kitchen top to bottom in one day. I’ve got to say, even though I only painted everything white, it has made a world of difference. 
There are bare boned before and afters together below, but if you’d like, you can see a full room tour of what our kitchen looked like before here. Also, please note that our kitchen does not get any natural light, so my photos aren’t as wonderful as I’d like them to be. Yay, florescent lighting …

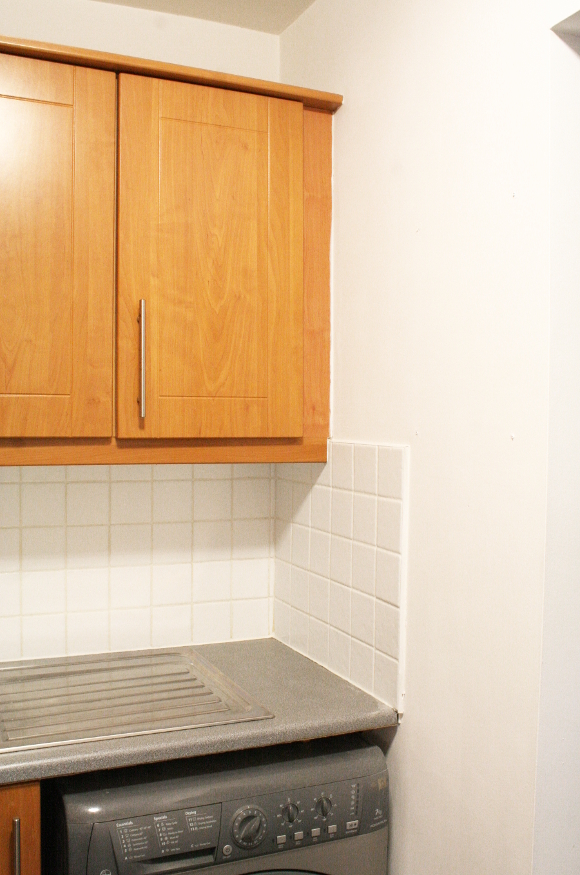
I started by taking everything off the walls and counter so I was starting with a blank canvas. I then tackled the more finicky task of bleaching the grout along the black splash. I normally clean it with an eco-friendly cleaner, but that never corrected the previous years of neglect [from the previous tenants]. I don’t use bleach unless I have to, so I figured this time wouldn’t hurt and I really had to go in with chemical warfare. I used thick bleach and a toothbrush and scrubbed all the grouting. I washed it off after 30 minutes, but I didn’t see the total effects until about an hour later. The grout came up beautifully. 

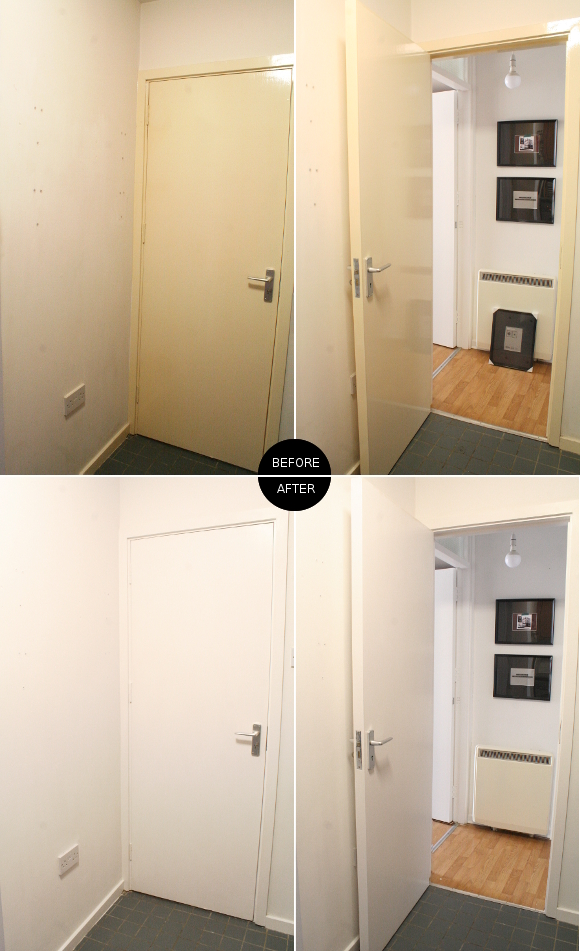
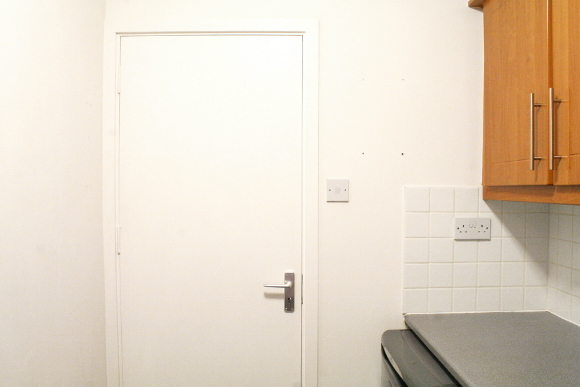
The kitchen hadn’t been painted during our time living here. I had white paint leftover from tackling the hallway a couple of months ago, so I got to work and repainted the walls next. That didn’t take long as there isn’t much bare walls. I recharged, then tackled the one thing I had been avoiding for months; the last door. I sanded the kitchen door, frame and skirting boards and painted them WHITE

Can we just have a moment of silence please, in honour of me sanding and painting the FINAL DOOR AND SKIRTING BOARDS IN OUR APARTMENT

I had to take the shelves down in order to open the door and properly paint both sides of it. The shelves will be going back up as we need them for extra storage. It’s a teeny kitchen. I cannot tell you how much I love our kitchen now that it’s not accented with that hot mess of high gloss yellow door.

But stay tuned because on Wednesday I’ll be sharing the fun bit [I think so at least] – the accessorising. I can’t wait to get in there and take a fresh look at our kitchen and reorganise it. Sometimes you just have to start from the beginning again. I picked up some extra goodies over the weekend that I cannot wait to add [and use!]. Woop! 

Kitchen update – beforemiddleafter

Image Interiors & Living – Ask the Experts

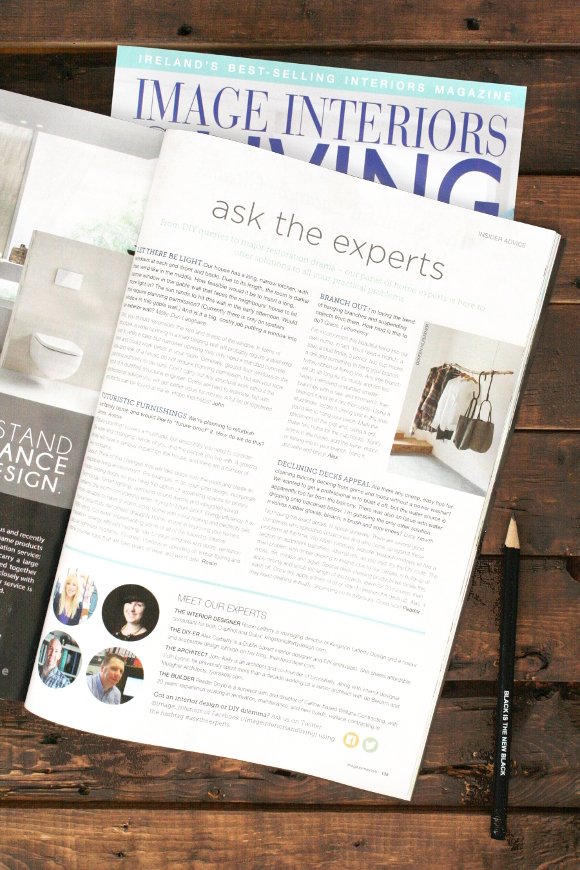
Hello Friday, you sexy beast. You are here at last and the cherry to the top this fine Friday – the new Image Interiors & Living is out! The Ask the Experts team is back and in this issue I put my DIY knowledge to good use with a readers’ question about how to DIY a hanging branch for their home. It was a perfect question as it was a culmination of two recent projects I did in our spare bedroom [pendant cord light + branch art], so I was like, don’t worry guys, I got this.

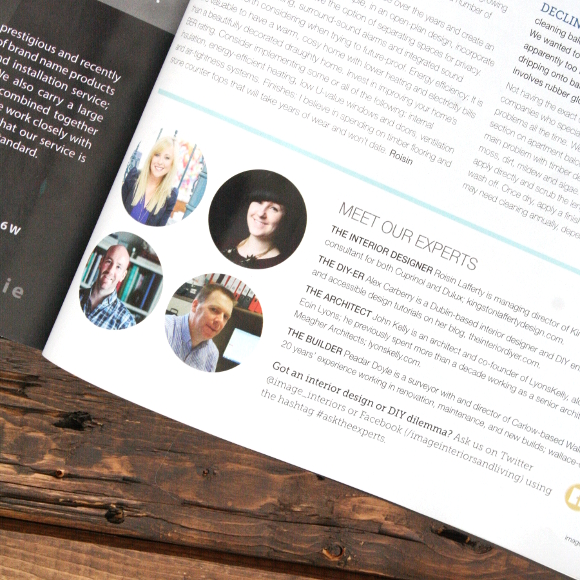
I still have to pinch myself when I see me alongside the likes of Roisin, John and Peadar. I’m just waiting for someone to realise I’m an intruder. Wait a second, how did SHE get in here! Off with her head. But seriously, there aren’t enough awkward words in my vocabulary to describe how humbled I am to be included in this panel. It’s pretty awesome.

You can check out the full mag in all good newsagents as and from today. And happy Friday of course! TFIF.

UPDATE – you can check the full tutorial online on Image.ie here

DIY Friday – travel pet pillows

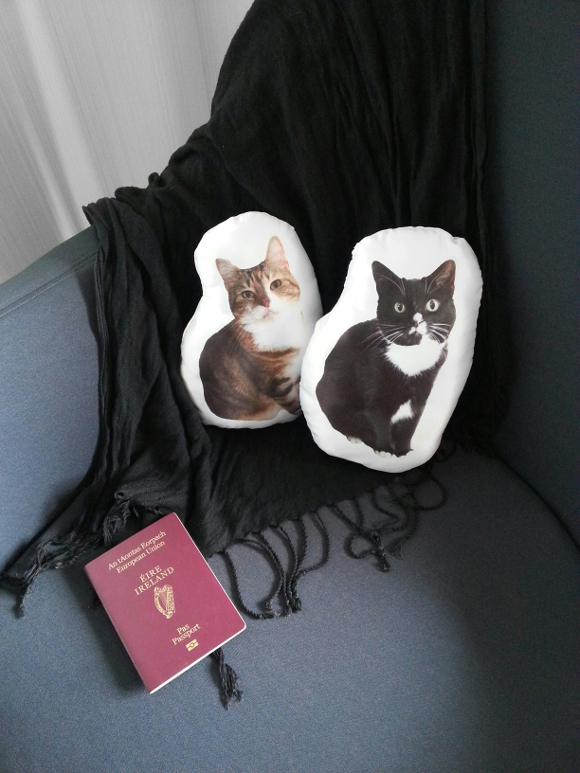
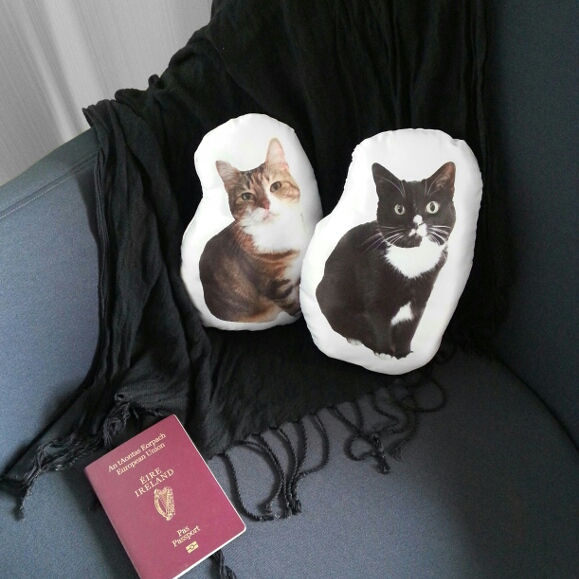
Around this time last year when we were away on holidays, I shared a little picture of the pet travel pillows I made especially for us to bring with us since we’re crazy cat people to our core and really miss little Juniper and Toshi while we’re away. I figured being able to smoosh our faces into poor replicas of them would stave off a small amount of home sickness whenever we’re away. And since we’ve brought them with us 3 times since, it actually works!

And here’s how I did it …

Last year when I made these travel pet pillows, I had taken photos of each step, but when I went through my external hard drive I couldn’t find a single picture. So apologies for the lack of tutorial photos. It’s a fairly straight forward project anyways, and I’ll try to explain as best as I can how I did it. 

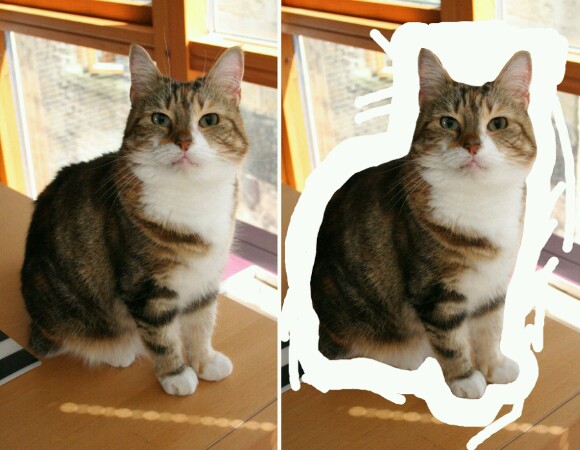
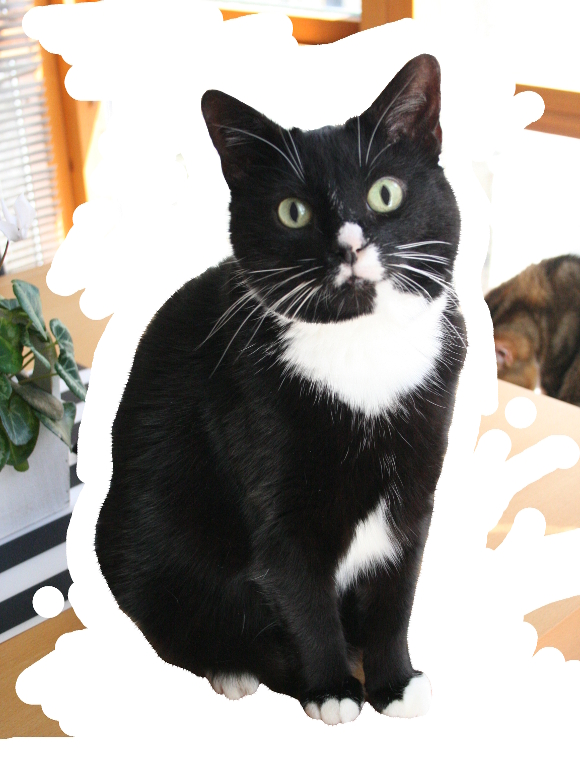
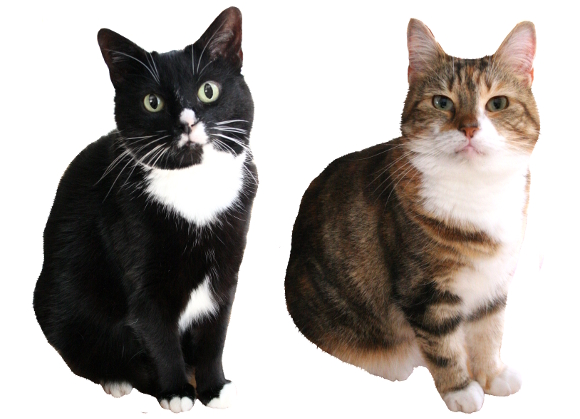
I first photographed Juniper and Toshi on their own, in good light, making sure they were facing me and being their cute selves. I opened each photo in Photoshop [or the Linux equivalent ‘Gimp’] and traced around them using the paint tool set to white. I carefully did this and coloured out the rest of the photo until the entire photo was white, with the exception for each fur baby. 

I saved each image as a jpgon a USB key and went to one of those gift kiosks in a local shopping centre that specialises in printing images onto objects. They printed Juniper and Toshi onto a square pillow each. As these were going to be travel pillows and the smaller they are the better, I sewed the pillow closer to the silhouettes of each cat and filled them with extra stuffing I had. That’s it really! 
We bring our travel pet pillows every time we’re away from home. Even during our Christmas holidays when we’re staying down the road with family for a few days, our pillowed kittens come with us too. As crazy as it sounds, it’s a little ritual we now have to take Juniper and Toshi out when we first get to our hotel and squeeze them a bit. 
Husband even has a few sneaky photos of me passed out, face mask on with a kitten pillow under each arm for every holiday we’ve been on since I made them. And no, you won’t find those pictures hitting the internet any time soon. Sorry 😉