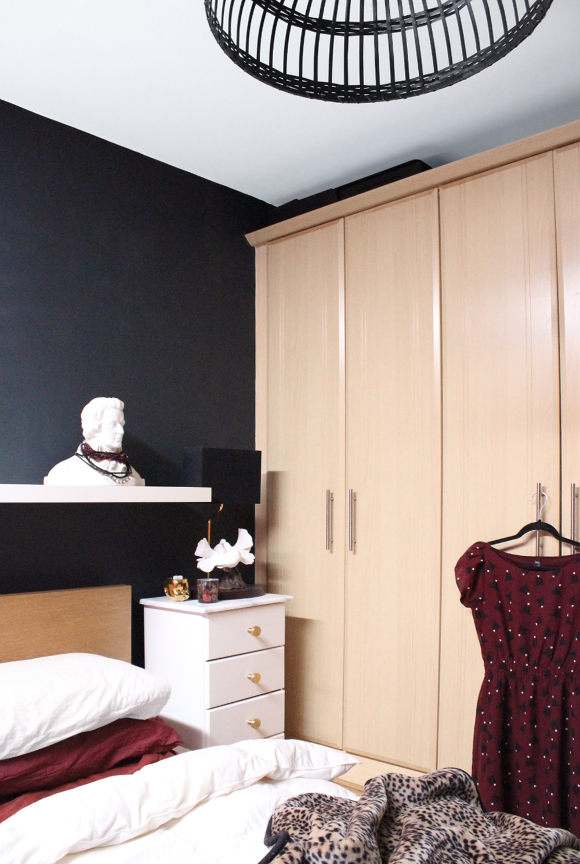
Renting tips – how to store your landlord’s stuff

If you’ve ever rented in Dublin [or Ireland], chances are, you moved into a furnished apartment or house. This will sound strange if you live somewhere where apartments and houses come unfurnished as standard, but here in Ireland, when you move into an apartment you acquire a lot more than just a lease. An apartment can come with furniture, accessories, knick-knacks, and depending on your landlord, a spectrum of interesting things.

Our current apartment came with a lot, most of which we found we wouldn’t need. Knowing what to do with our landlord’s things took some planning, so I figured if I had this problem, there might be other people out there in the same situation. There were things like vases, framed prints, photographs, pottery sets, curtains, objet d’ art and kitchen accessories that either weren’t to our taste or we didn’t need, so I carefully packed them away for storing. As the years went on, there were larger things we didn’t need either [a shelving unit and a double bed], so I spent some time planning how to store it all. Our apartment has very limited storage, so I looked to the unused areas of our home to store our landlord’s stuff …
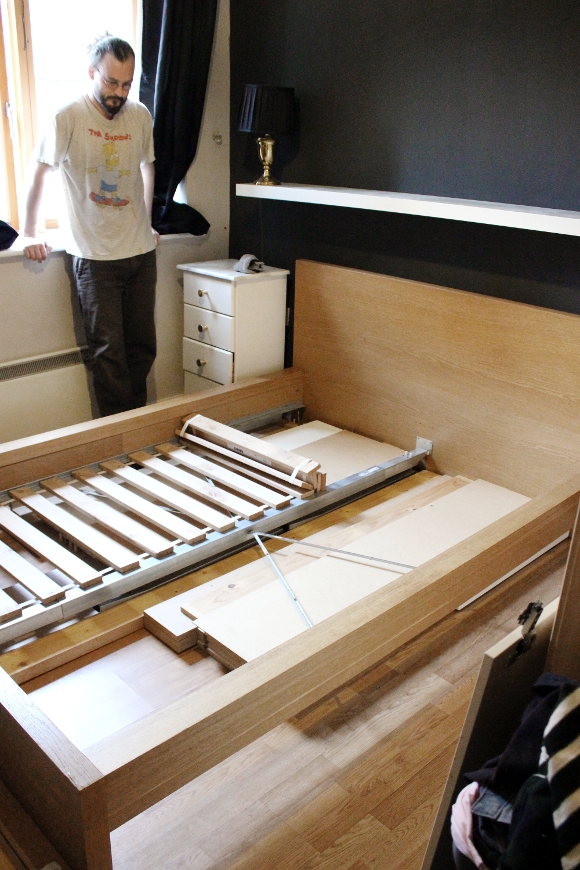
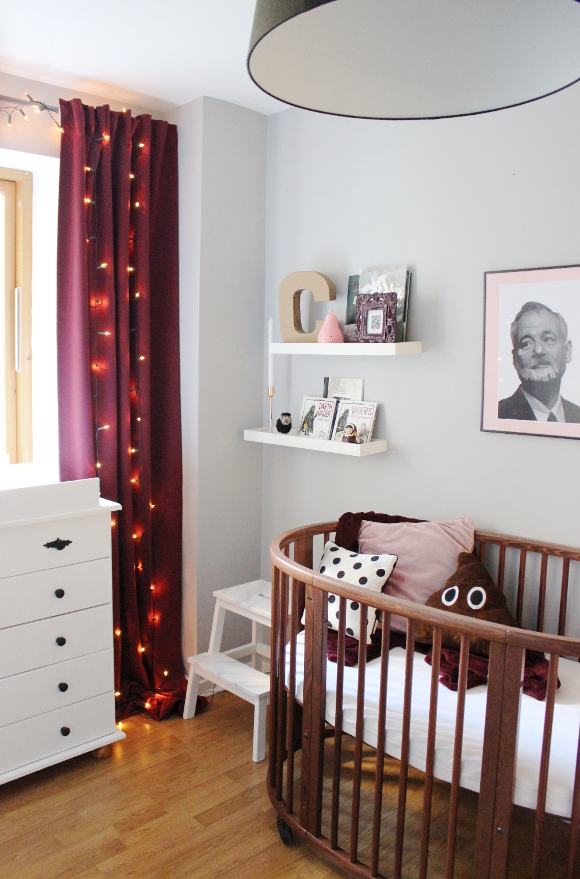
The larger pieces like the double bed that was in Cora’s room before it became a nursery and the unused middle shelving unit in our living room were both disassembled and carefully placed under our bed. It was the perfect space to store both disassembled pieces. 

TIP! If you don’t have instructions for a piece of furniture, photograph each step as you disassemble it so later when you reassemble the piece, you can look back at your photos and can be put it back together in the right order. 

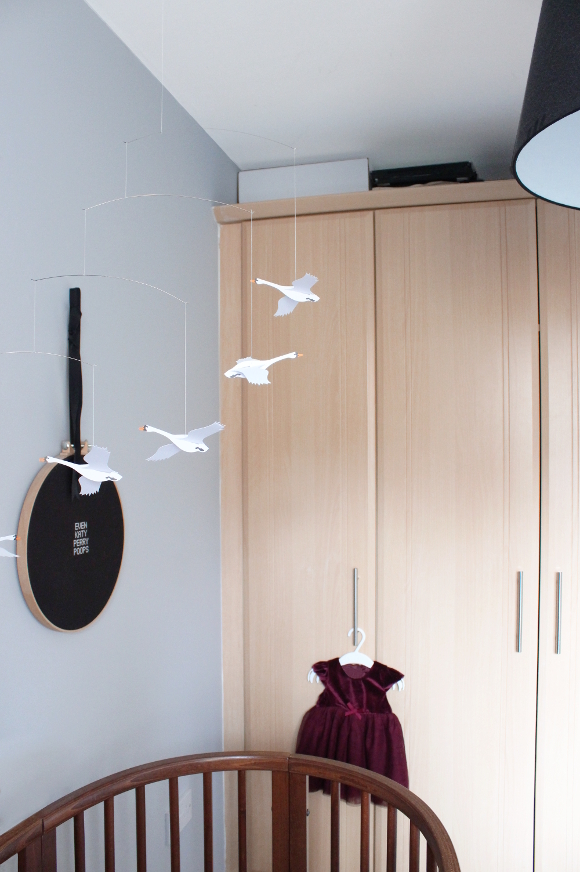
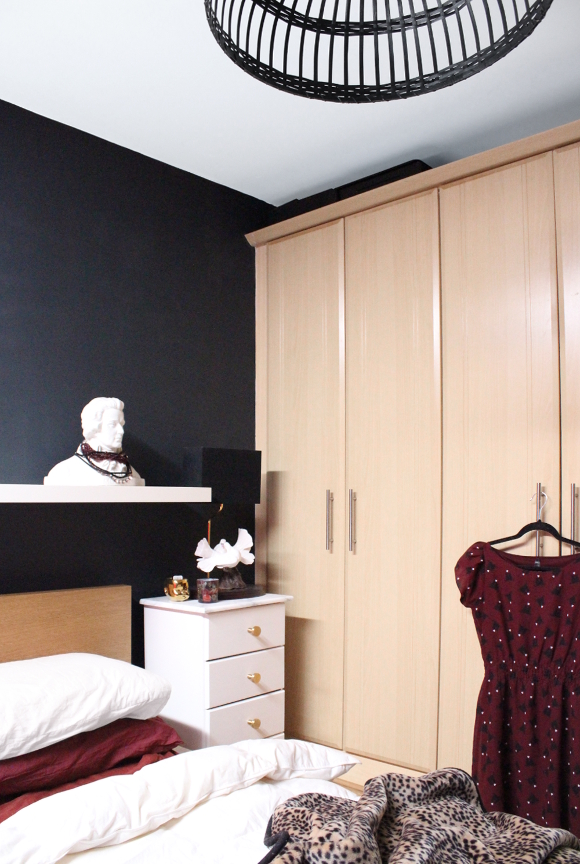
The top of the wardrobes in our bedroom and in Cora’s nursery took a lot of secret storage. It’s only when you stand at the far side of each room and look directly at them that you can see there’s stuff up there. I managed to hide quite a lot above each cupboard. There’s everything from pots and pans to mirrors carefully wrapped in newspaper to a samurai sword.

TIP! Make a list of what is in each box so if you need to find something quickly, you know exactly where it is.

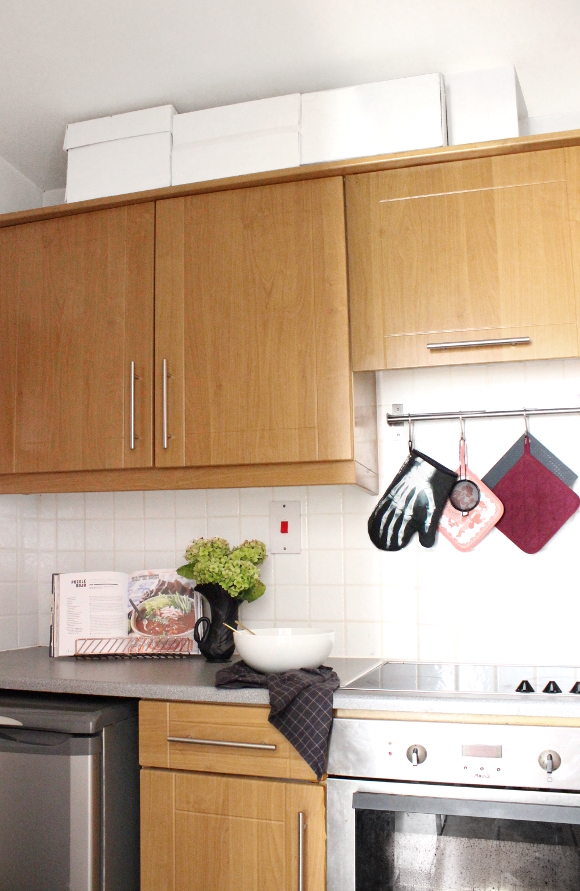
Above the cabinets in the kitchen was another great place to store things. I took empty printer paper boxes, painted them white [this was during my nesting period], and was able to carefully store quite a lot. The boxes seem pretty obvious in these pictures, but our kitchen is very small [and DARK and impossible to photograph], so from the living room you don’t see these boxes as there’s a wall between the kitchen and living room, except for the door opening.

This has been another one of those blog posts where I’ve thought, people are going to think I’ve lost my mind because this is boring as hell, but I always find if I have a problem like this, there are other people too with it. Knowing what to do with your landlord’s extra stuff can be overwhelming, but all it takes is planning and a bit of creativity!

Not quite Home of the Year

In September of last year, an RTE researcher contacted me looking to have our apartment take part and be in the running for RTE’s Home of the Year for 2017. After much hyperventilating I pulled myself together, but I decided, however exciting it was to be asked, it wasn’t something we could do. At the very least, the show tours each home for roughly 10 minutes and as I later said to the representative, the camera man would pan our living room and filming would be done. It would take all of three and a half seconds to feature our apartment. Our apartment simply isn’t enough of anything. And TBH I didn’t know it I was up for scrubbing the entire apartment at 8 months pregnant, because there was no way I was going to allow a TV crew and judges into our home without scrubbing an inch off everything.

We had a lovely discussion, I thanked them many times and politely declined after explaining my concerns. As it turns out, we couldn’t have been featured in the end as we don’t own our apartment and that was one of the base guidelines in order to be featured.

It’s a slightly pointless blog post, but the truth is that I’m very proud of that offer and opportunity. Our home didn’t need to be on the show. Having been asked was more than enough for me. 
Happy Friday, homies x

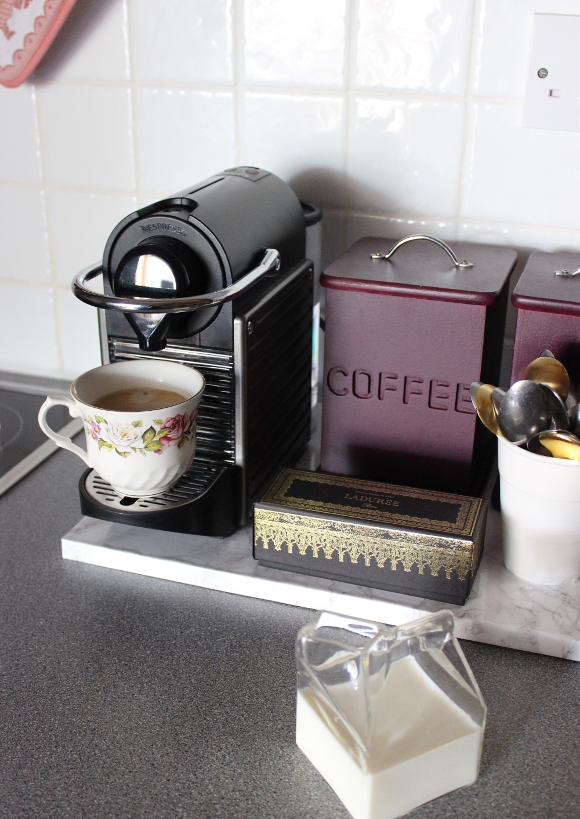
Coffee station update – mini faux marble plinth

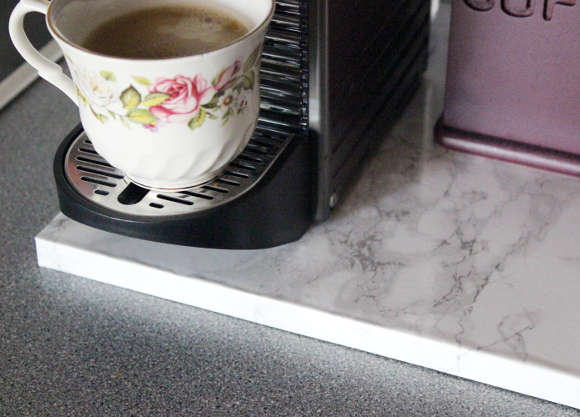
Last weekend I made a very simple change to our kitchen. This time last year I updated our kitchen and created a mini coffee station in the far corner. Said coffee station looked a bit lonely. Like it was being punished and put in the naughty corner. Making hot drinks is a social thing so I first brought it all forward to the middle of the kitchen. 

For a while now I’ve wanted to get rid of the black tray we were using previously and get [or make] something a bit more fresh all up in there. I had a large chunk of timber in our storage cupboard for a couple of years now, so I cut it to a more manageable size and luckily had the perfect amount of leftover marble contact paper to cover the piece. I quickly covered it and used it to prop up all our coffee and tea accessories. It’s the perfect size for our kitchen, helps define our little station without taking up too much space or height and is in a perfect wipe-able finish. 
I really do love when you make a small change to your home and it makes all the difference. Robert [who is the sole user of both coffee and tea in our household] was really happy with how it turned out and how fancy it looks. These kind of projects are my favourite. Especially when they cost next-to-nothing or even better – completely free.