Happy Friday, homies! Today I’ll be sharing the next installment of
#PicadoMexican – all about the kitchen details. To give you a little reminder, this is what the kitchen section of
#PicadoMexican looked like when we first got the keys …
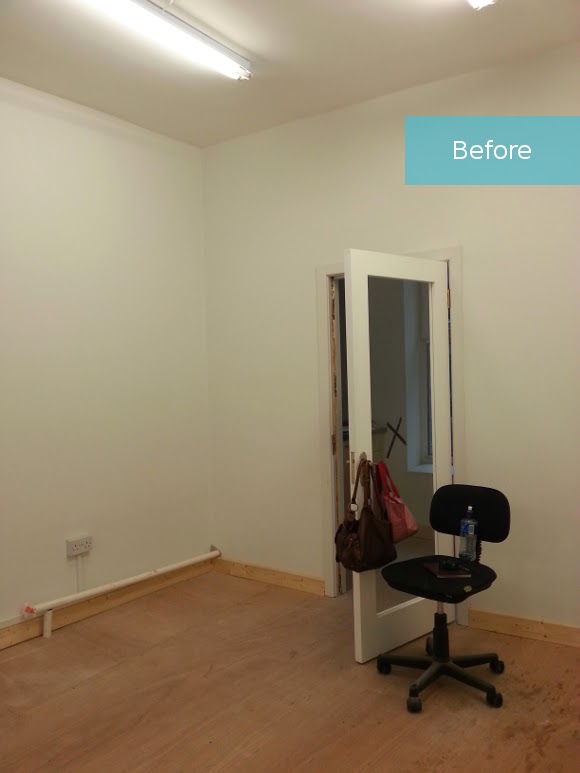
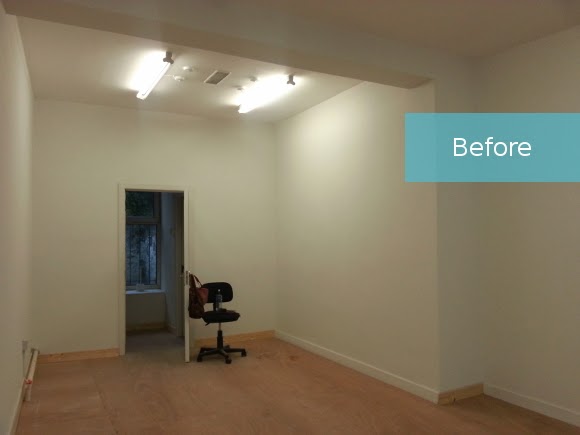
It had potential, but it was a fairly standard magnolia shell. This area of the shop made the most sense to house the kitchen; the shop narrowed a bit towards the back, there was a sink and plumbing in the back room
which meant we could knock through and continue the pipes and electricals through to the kitchen space, and there was also a toilet [on the right as you go through the door] so again, we could easily harness plumbing etc. Not to mention, this area was the
only relatively level part of the shop, so it had to go here.
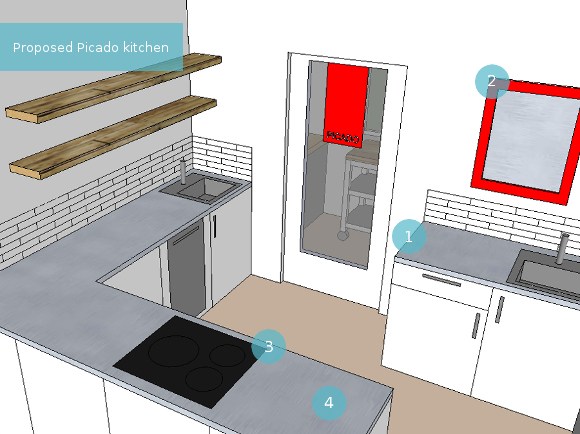
And this is what I had in mind …
1. Lily and Alan needed space dedicated to packaging foods. By food safety standards, their packaging space had to be separate from the general food preparation area as well as the retail section of the shop. Placing the counter here made it the ideal spot.
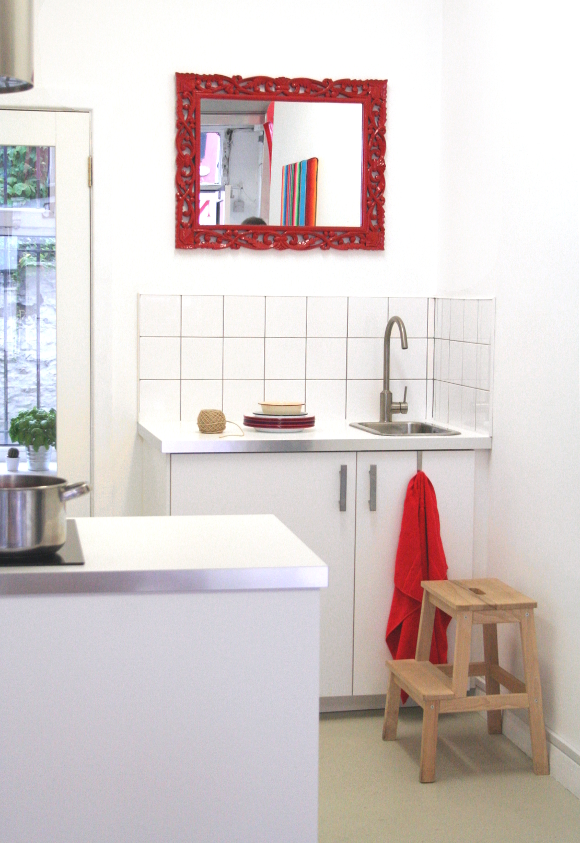
2. Understandably, Lily and Alan were conscious of having their backs turned on the front door while at the packaging station [the front door is behind them at the other end of the shop when they stand here]. My most simple solution for this was to hang a mirror so they can glance up whenever they hear the door open. I sourced a beautiful red
Carolyn Donnelly mirror, but unfortunately it’s no longer available online.
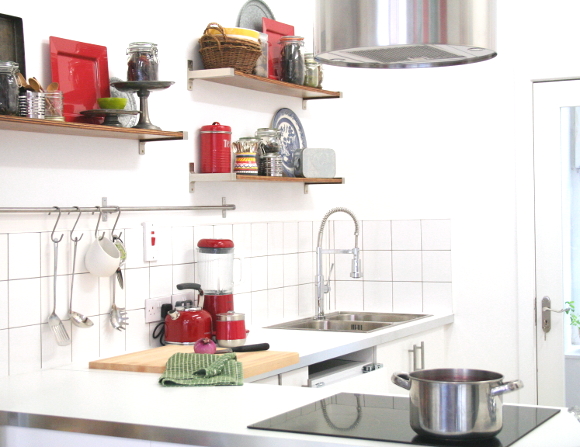
4. For the kitchen itself, we turned to IKEA. We used
METOD cabinets finished with
RINGHULT high-gloss cabinets,
HALLESTAD counter tops and finished them off with
EKEBODA stainless steel handles. We also sourced the appliances from IKEA as well as the ceiling-mounted
TURBULENS extractor fan which hangs over the stove top.
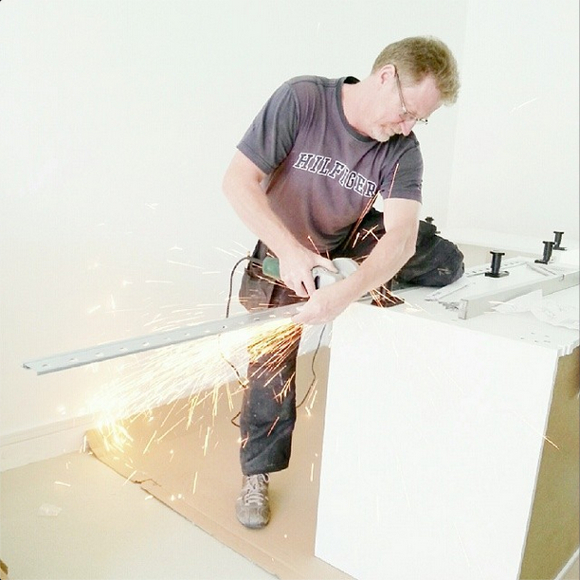
We hit IKEA, ordered the kitchen, and two days later we were up to our shoulders in boxes and doors and extraction hoods, oh my! Lily and Alan then did something that didn’t even cross my mind – hired a carpenter [genius Allen] to put it together. In my stupidity, I gave them stink-eye. “Sure, we’ll be able to put it together ourselves. It’s IKEA!” WRONG. To give you an idea, the walls weren’t build at 90-degree angles so things didn’t fit in corners properly, extra space had to be made for awkward plumbing and thanks to the minutely sloping floor, Allen had his work cut out for him. Srsly. I stupidly thought IKEA kitchens would just be like a bigger version of a bookcase.
Allen staging one of the many moves I didn’t think we’d have to pull in our wildest dreams.
[Allen – ahead of the official opening of
#PicadoMexican, I apologize in advance if I have too many margaritas and cry on you or try to awkwardly high-five you too many times.]
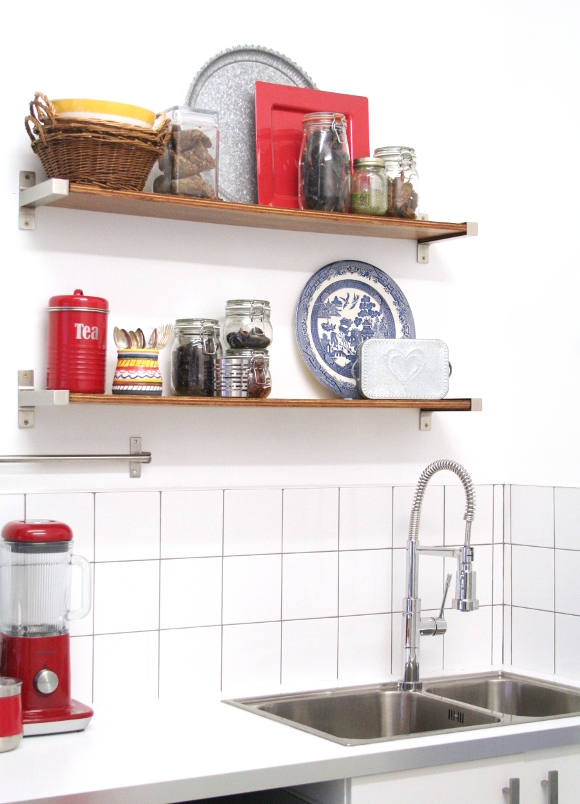
Alan’s dad crafted 3 shelves out of leftover board from the retail shelves, and around the counters we went with plain white square tiles. Lily and I spotted these
Utopia white tiles in
B&Q which were easy on the eyes as well as the pockets. I detest white or light grey grouting [it’s just gonna get filthy], so I suggested to Lily and Alan that they get dark grout so the areas around the sink won’t get noticeably darker after a couple of months. And as it happens, just as we were tiling he kitchen Anna Dorfman of
Door Sixteen wrote a feature about
square tiles with dark grout. Ohhhh snap. Yes, it did hurt to be that en trend, but we recovered.
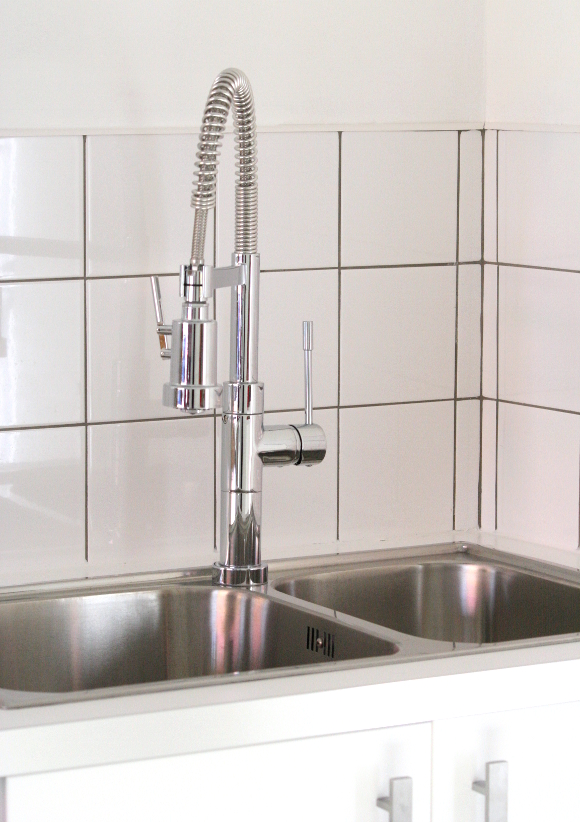
And as if I forgot – the sink saga. “
Ehhh, there’s quite the collection of sinks there in Picado“, I hear you say. You would be right. There are. There are 3 sinks in the kitchen altogether. That’s not including the two sinks behind the glass door. To adhere to the food safety regulations we needed a sink for food preparation, a sink for washing pots and pans, and a sink for hands. And they all had to be separate. We were short on counter space so we had to be clever. The easiest places to put the sinks were in the corners, not just because they were corners, but because that’s where the plumbing came in on both sides. Lily picked up a
Cooke & Lewis Locone spring neck tap from
B&Q for the double sink which looks well swish.

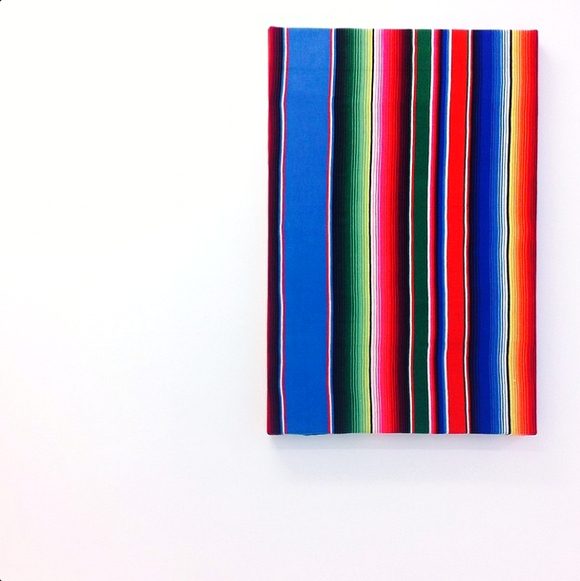
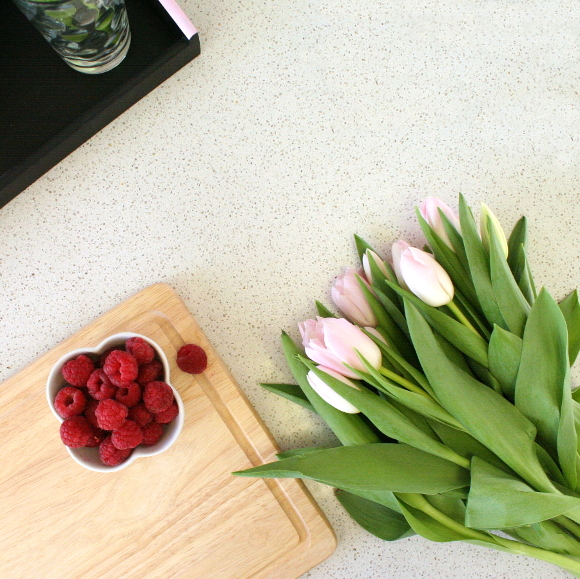
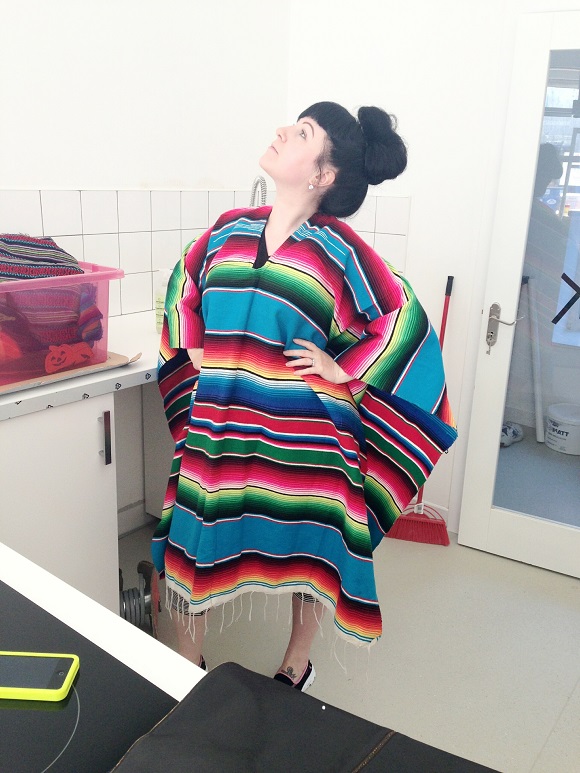
To add a little
je ne sais quoi to the blank wall in the kitchen, so far we’ve added some poncho art. I took a poncho of Lily’s that she no longer uses, stretched it around a cheap canvas and stapled it on as a mini focal point for the wall [above photo thanks to
Daili!]. I of course couldn’t resist taking it for one last spin before we committed it to a life as artwork …
And there you have it! Details for the
#PicadoMexican kitchen. I’m hoping to share the final installment [the pay and display area] of the shop within the next couple of weeks, so keep your eyes peeled xx A